The English Civil War was not one war, nor was it particularly confined to England. Between 1642 and 1651, England, Scotland, Wales and Ireland were drawn into an interconnected series of conflicts over monarchy, Parliament, religion, taxation and, ultimately, the question of who possessed the authority to govern.
For England, the familiar story begins with King Charles I raising his royal standard at Nottingham in August 1642. It ends nine years later with his son, Charles II, fleeing after defeat at Worcester. Between those points came pitched battles, sieges, cavalry raids, local uprisings and a quite extraordinary amount of marching through bad weather.
Calling the opposing sides simply Royalists and Parliamentarians is convenient, but increasingly inadequate as the wars progressed. Scottish Covenanters fought alongside Parliament during the First Civil War, then a Scottish Engager army invaded England on behalf of Charles I in 1648. In 1650 and 1651, another Scottish army supported Charles II. Political alliances shifted almost as readily as military fortunes.
What follows is a chronological guide to the major battles and strategically important engagements of the English Civil Wars, from Edgehill to Worcester.
The English Civil War at a Glance
| Phase | Dates | Broad outcome |
|---|---|---|
| First English Civil War | 1642–1646 | Parliamentarian victory |
| Second English Civil War | 1648 | Parliamentarian victory |
| Third Civil War | 1650–1651 | Commonwealth victory |
| Final major battle | 3 September 1651 | Charles II defeated at Worcester |
The First Civil War was far from an inevitable Parliamentarian victory. During 1643 the Royalists controlled substantial parts of western and northern England, while Parliament’s greatest strength lay around London, East Anglia and the south-east.
The balance shifted during 1644 and decisively during 1645. Parliament’s creation of the New Model Army provided a more centrally organised field force under Sir Thomas Fairfax, with Oliver Cromwell commanding its cavalry. Naseby then shattered Charles I’s principal army.
The King surrendered in 1646, but the political argument continued. That failure to reach a settlement produced another war in 1648 and, eventually, Charles I’s trial and execution.
Battle of Edgehill | 23 October 1642
Location: Warwickshire
Royalist commanders: King Charles I, Prince Rupert of the Rhine
Parliamentarian commander: Robert Devereux, Earl of Essex
Result: Inconclusive
Edgehill was the first great pitched battle of the war and immediately demonstrated how difficult this conflict was going to be.
Both armies numbered roughly 14,000 men. Prince Rupert’s Royalist cavalry smashed through Parliament’s horse on part of the field, but pursued too far beyond the main battle. It was a recurring problem with successful cavalry: winning the charge was one thing, remembering that there was still a battle behind you was another.
In the centre, infantry fought at close quarters with pike and musket. Neither side secured a decisive victory.
One particularly violent episode surrounded the King’s standard. Its bearer, Sir Edmund Verney, was killed and the standard captured before Royalist soldiers recovered it.
Why it mattered: Edgehill prevented either side from establishing immediate military supremacy. Charles continued towards London, but Parliament still possessed an army capable of resisting him.
Battle of Turnham Green | 13 November 1642
Location: West London
Result: Strategic Parliamentarian victory
Turnham Green receives less attention than Edgehill because the fighting itself was limited. Strategically, it may have mattered more.
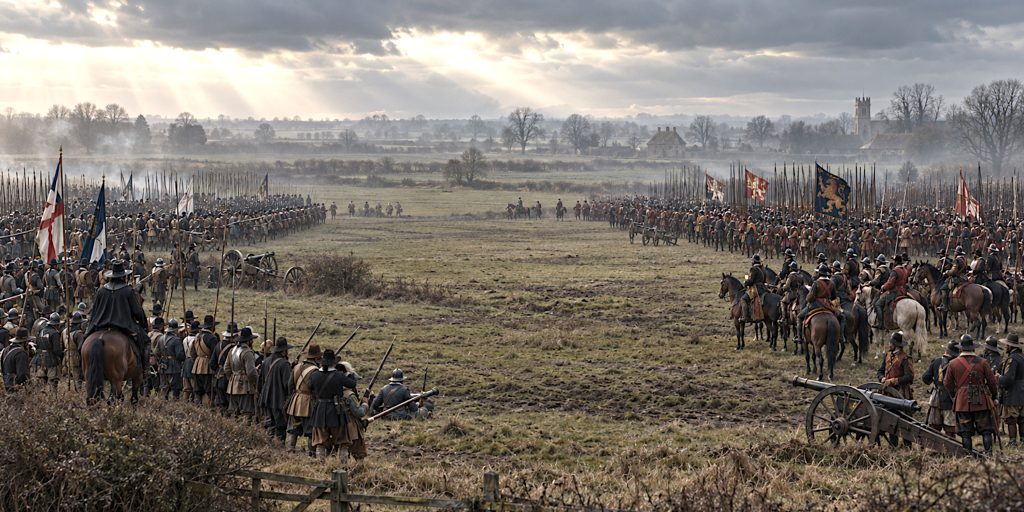
Charles approached London after capturing Brentford, but found a very large Parliamentarian force blocking his route. Londoners had turned out alongside regular troops to defend the capital.
The King withdrew rather than risk attacking.
Why it mattered: Charles never again came so close to taking London. Parliament retained its political centre, financial resources and access to the largest concentration of population and wealth in England.
Battle of Hopton Heath | 19 March 1643
Location: Staffordshire
Royalist commander: Spencer Compton, Earl of Northampton
Parliamentarian commanders: Sir John Gell and Sir William Brereton
Result: Inconclusive
Hopton Heath was a confused and hard-fought encounter in the Midlands.
Royalist cavalry performed strongly, but Northampton was killed after refusing quarter. Parliament retained possession of the battlefield and captured Royalist artillery, making the result difficult to categorise as a straightforward victory for either side.
Why it mattered: The battle shows why concentrating solely on the famous national campaigns gives a misleading impression of the war. Much of the conflict consisted of regional armies fighting for roads, towns and county influence.
Battle of Stratton | 16 May 1643
Location: Cornwall
Royalist commanders: Sir Ralph Hopton and Sir Bevil Grenville
Parliamentarian commander: Earl of Stamford
Result: Royalist victory
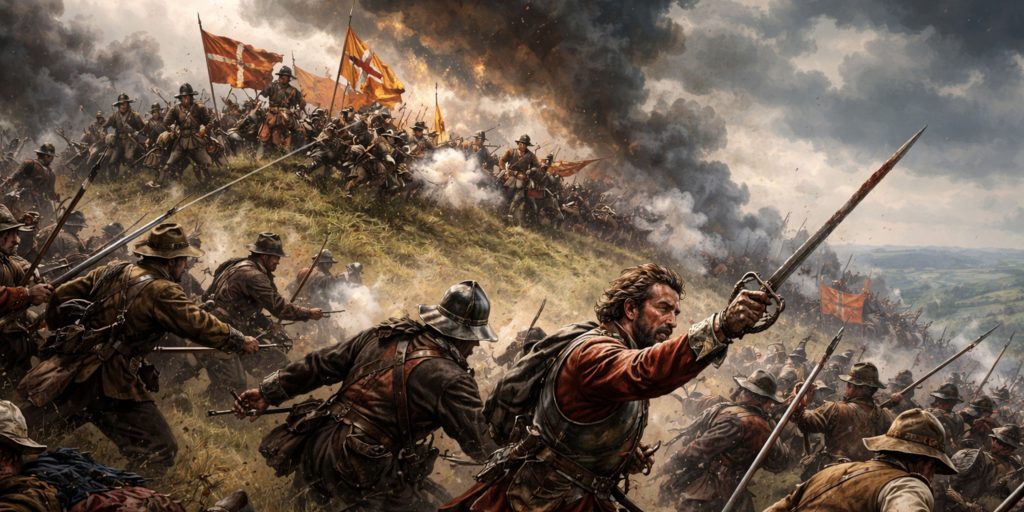
At Stratton, a smaller Royalist force attacked Parliament’s strong defensive position and won an unexpectedly complete victory.
The Cornish infantry gained a formidable reputation during the western campaigns. Parliament’s army broke, leaving the Royalists with guns, ammunition and control of much of the south-western initiative.
Why it mattered: Stratton opened the way for the Royalist advance out of Cornwall and into Devon.
Battle of Chalgrove Field | 18 June 1643
Location: Oxfordshire
Royalist commander: Prince Rupert
Parliamentarian commander: John Hampden among senior officers present
Result: Royalist victory
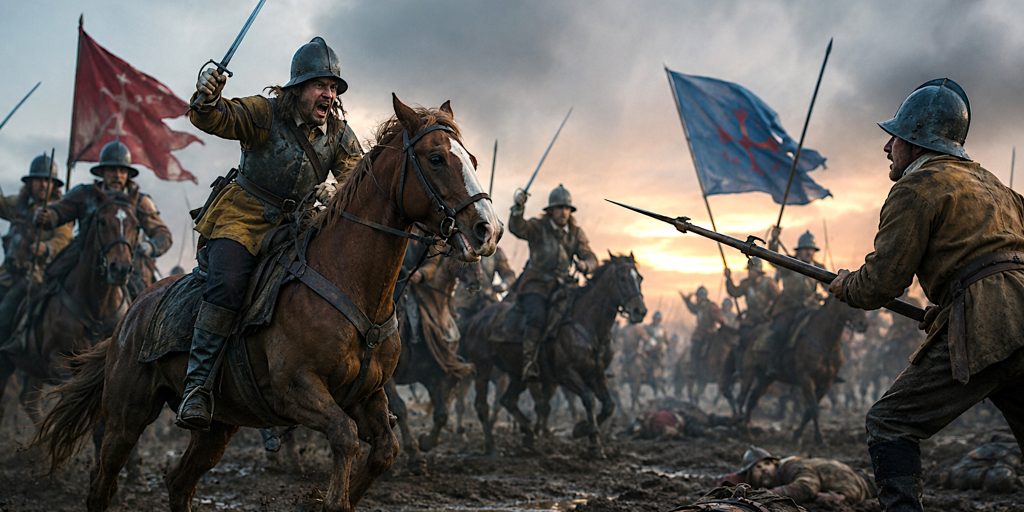
Chalgrove was relatively small, but politically significant.
Prince Rupert’s troops successfully fought their way out after a raid towards Parliamentarian territory. John Hampden, one of Parliament’s most prominent political figures and an important opponent of Charles I before the war, was mortally wounded.
He died several days later.
Why it mattered: Hampden’s death deprived Parliament of one of its most respected leaders at a particularly uncertain moment in the war.
Battle of Adwalton Moor | 30 June 1643
Location: Yorkshire
Royalist commander: William Cavendish, Earl of Newcastle
Parliamentarian commanders: Ferdinando Fairfax and Thomas Fairfax
Result: Royalist victory
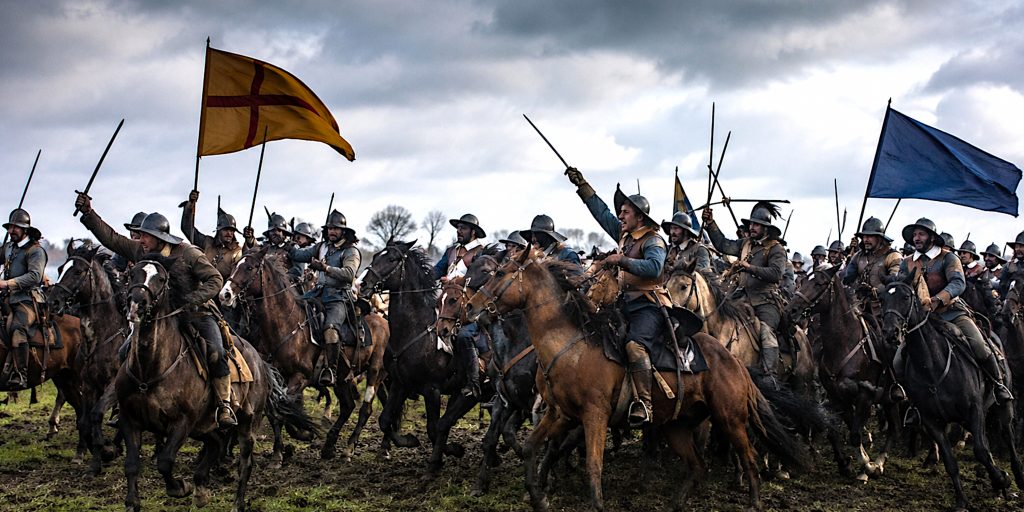
Adwalton Moor brought Royalist fortunes in Yorkshire close to their high point.
The Fairfaxes were defeated and Bradford subsequently fell. Parliamentarian control in Yorkshire was reduced largely to Hull.
Why it mattered: Northern England appeared to be slipping firmly into Royalist hands. Had the King’s commanders been able to exploit their successes more effectively, 1643 might have developed very differently.
Battle of Lansdown Hill | 5 July 1643
Location: Near Bath
Royalist commander: Sir Ralph Hopton
Parliamentarian commander: Sir William Waller
Result: Indecisive
Lansdown was brutal.
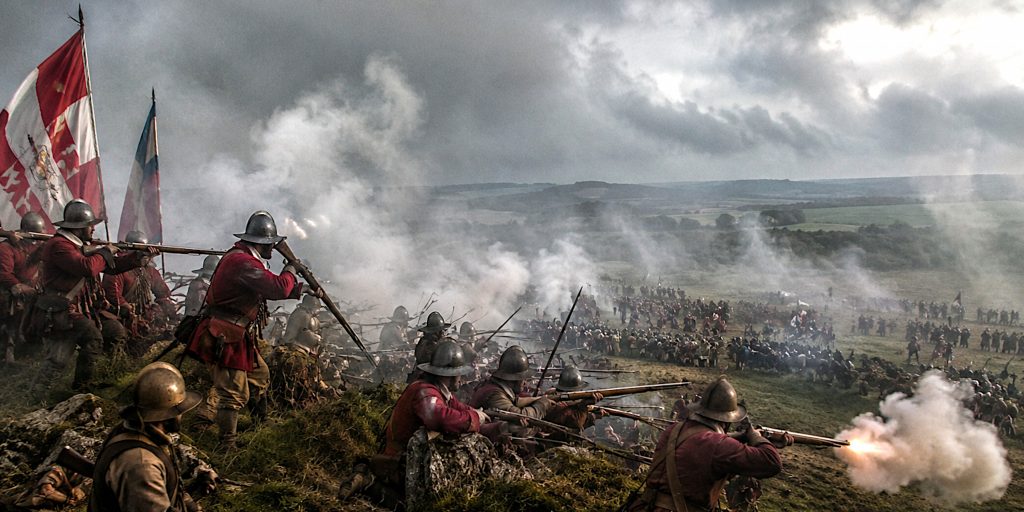
Royalist troops attacked Waller’s position on high ground and eventually forced the Parliamentarians to withdraw, but at considerable cost. Sir Bevil Grenville, one of the most respected Cornish Royalist commanders, was killed.
Captain Richard Atkyns later remembered the intensity of the musketry:
“The air was so darkened by the smoke of powder that for a quarter of an hour there was no light seen.”
It is one of the more vivid descriptions of what a seventeenth-century firefight actually looked like. Black-powder battlefields rapidly disappeared into smoke, leaving commanders trying to control formations they could barely see.
Why it mattered: Waller was forced back, but the Royalists had paid heavily for their success.
Battle of Roundway Down | 13 July 1643
Location: Wiltshire
Royalist commanders: Lord Wilmot and Sir John Byron
Parliamentarian commander: Sir William Waller
Result: Decisive Royalist victory
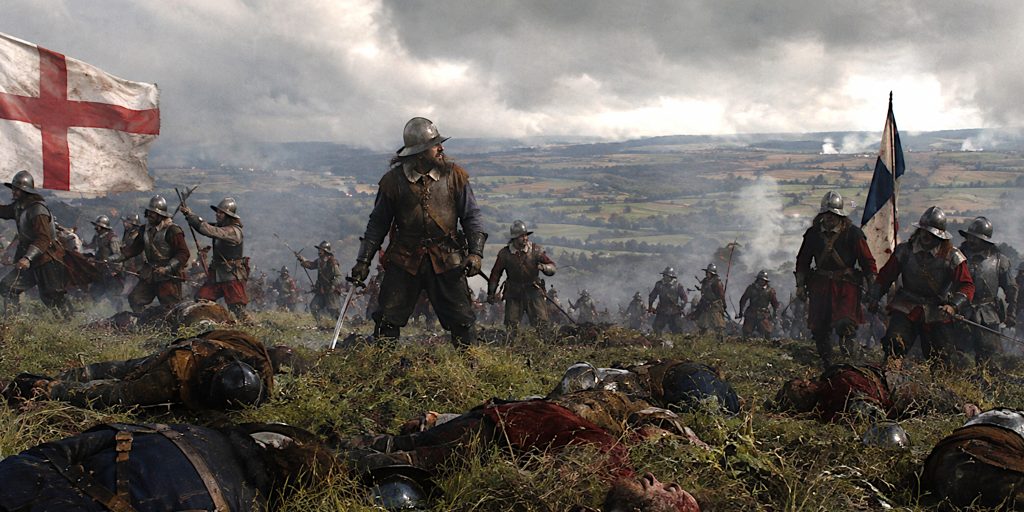
Roundway Down was one of the most complete Royalist victories of the First Civil War.
Royalist cavalry broke Parliament’s horse, while Waller’s infantry was eventually overwhelmed. Some fleeing Parliamentarian cavalry plunged over the steep escarpment later associated with the wonderfully grim name Bloody Ditch.
Why it mattered: Waller’s western army was badly damaged and the victory helped clear the way for the Royalist capture of Bristol later that month.
By the summer of 1643, Charles I had good reason for confidence.
First Battle of Newbury | 20 September 1643
Location: Berkshire
Royalist commander: King Charles I
Parliamentarian commander: Earl of Essex
Result: Inconclusive, with Parliament achieving its strategic objective
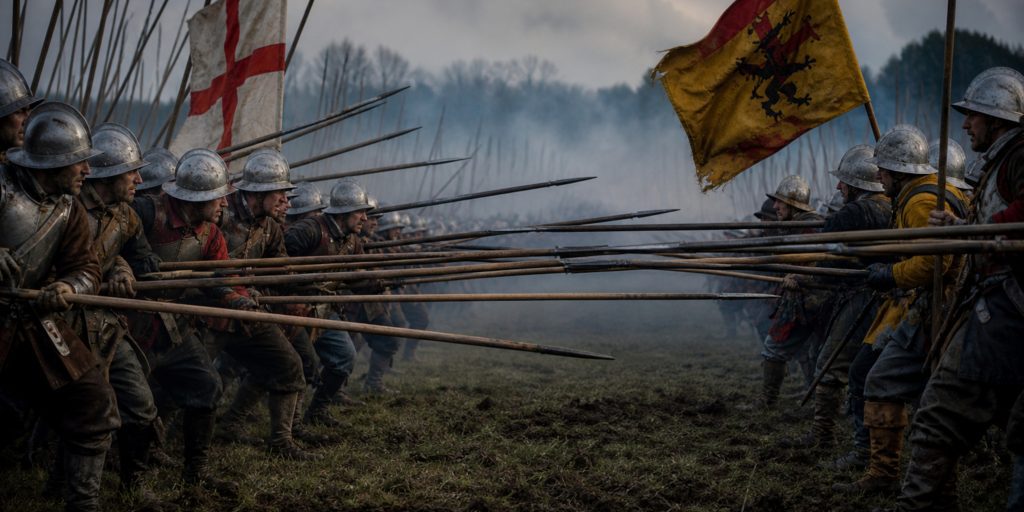
Essex had marched into the west to relieve Gloucester and now needed to return towards London. Charles attempted to block him near Newbury.
The resulting battle involved prolonged infantry fighting, cavalry attacks and artillery fire.
Sergeant Henry Foster left a characteristically unsentimental description of enemy cannon fire:
“The enemy’s cannon… were somewhat dreadful when bowels and brains flew in our faces.”
The seventeenth century rarely troubles itself with tasteful understatement.
Essex eventually continued towards London.
Why it mattered: Charles failed to destroy Parliament’s principal field army. The Royalists had enjoyed an excellent campaigning year, but they had not converted their successes into a decisive victory.
Battle of Winceby | 11 October 1643
Location: Lincolnshire
Parliamentarian commanders: Earl of Manchester and Oliver Cromwell
Royalist commander: Sir William Widdrington
Result: Parliamentarian victory
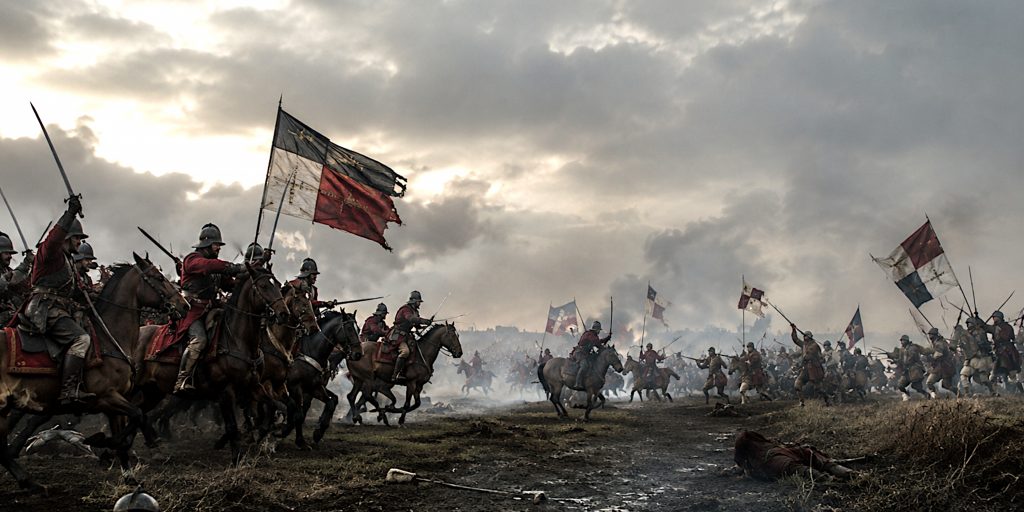
Winceby was a relatively small cavalry battle, but an important one for control of Lincolnshire.
Cromwell was temporarily unhorsed during the fighting but returned to the action. Parliamentarian cavalry eventually routed the Royalists.
Why it mattered: The victory strengthened Parliament’s Eastern Association and helped secure Lincolnshire.
Battle of Cheriton | 29 March 1644
Location: Hampshire
Parliamentarian commander: Sir William Waller
Royalist commander: Sir Ralph Hopton
Result: Parliamentarian victory
Cheriton ended a period of Royalist strength in southern England.
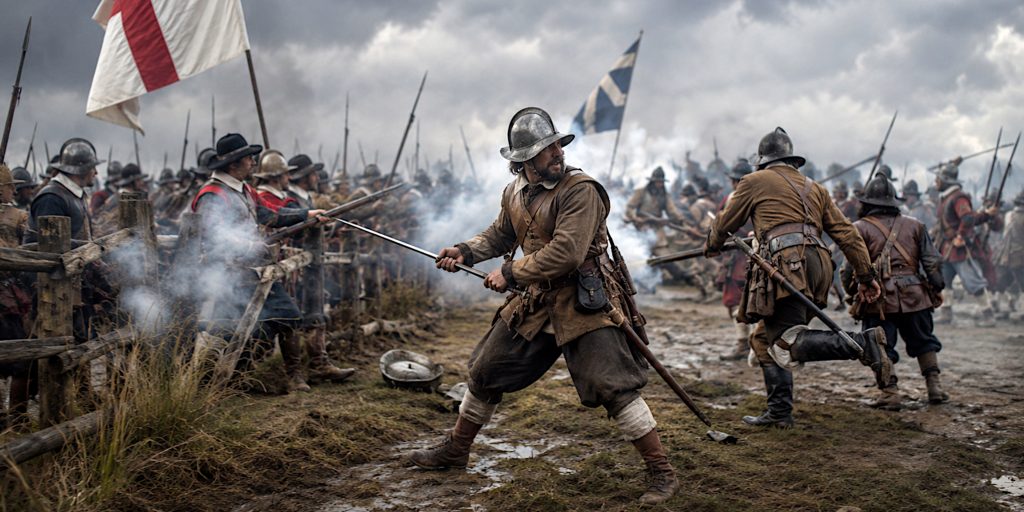
The fighting developed around hedgerows and enclosed ground, limiting cavalry manoeuvre and producing a difficult infantry battle. Parliament eventually forced Hopton to retreat.
Why it mattered: Royalist hopes of advancing through southern England were badly weakened.
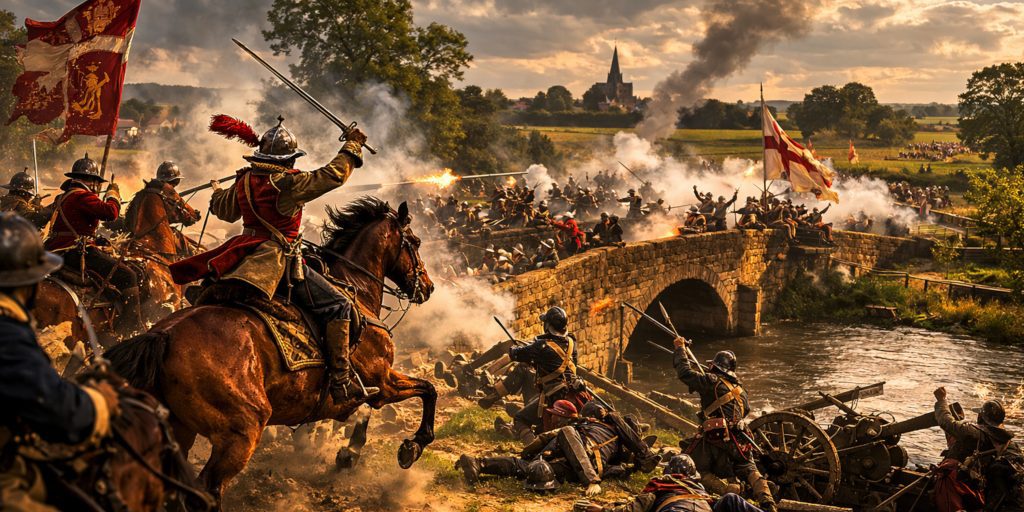
Battle of Cropredy Bridge | 29 June 1644
Location: Oxfordshire
Royalist commander: King Charles I
Parliamentarian commander: Sir William Waller
Result: Royalist victory
Charles exploited a gap in Waller’s stretched marching column near the River Cherwell.
Royalist forces attacked isolated Parliamentarian units and captured artillery. Waller avoided total destruction but suffered a serious reverse.
Why it mattered: Cropredy Bridge was one of Charles I’s most notable personal military successes and temporarily relieved pressure on the Royalist field army.
Unfortunately for Charles, news from Yorkshire was about to make that achievement look rather smaller.
Battle of Marston Moor | 2 July 1644
Location: Near York
Parliamentarian and Scottish commanders: Alexander Leslie, Earl of Leven; Lord Fairfax; Sir Thomas Fairfax; Earl of Manchester; Oliver Cromwell
Royalist commanders: Prince Rupert and Marquess of Newcastle
Result: Decisive Parliamentarian and Covenanter victory
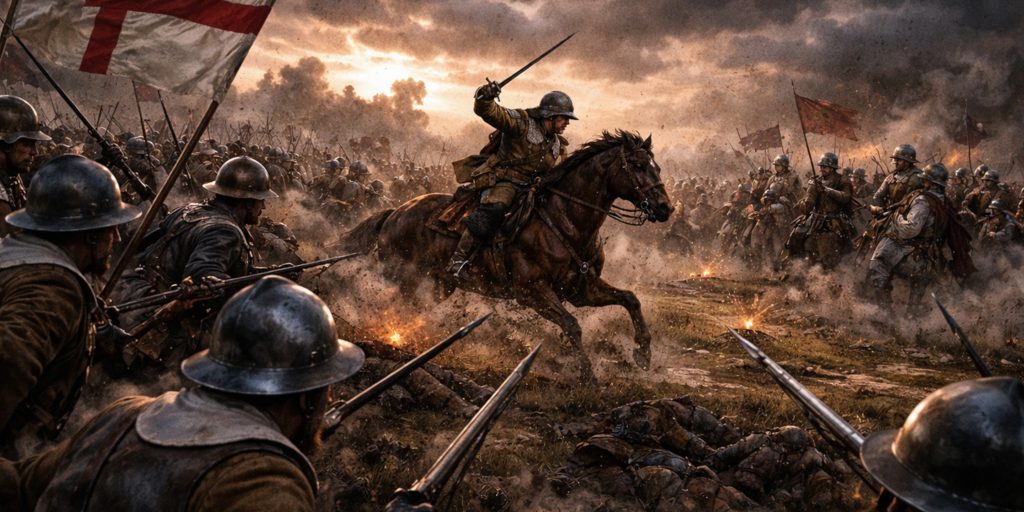
Marston Moor was one of the largest battles fought on English soil during the war.
Around 27,000 allied Parliamentarian and Scottish troops faced roughly 18,000 Royalists. Fighting continued into the evening.
Cromwell’s cavalry performed particularly well. Unlike cavalry that disappeared in enthusiastic pursuit after breaking an enemy formation, his troops retained sufficient cohesion to return to the battlefield and attack elsewhere.
The Royalist army was shattered.
Why it mattered: Royalist power in northern England never fully recovered. York surrendered shortly afterwards and the King’s strategic position deteriorated sharply.
Marston Moor also helped establish Cromwell’s military reputation, although later legend sometimes gives him rather more personal ownership of the victory than the coalition nature of the army warrants.
Battle of Lostwithiel | August to September 1644
Location: Cornwall
Royalist commander: King Charles I
Parliamentarian commander: Earl of Essex
Result: Major Royalist victory
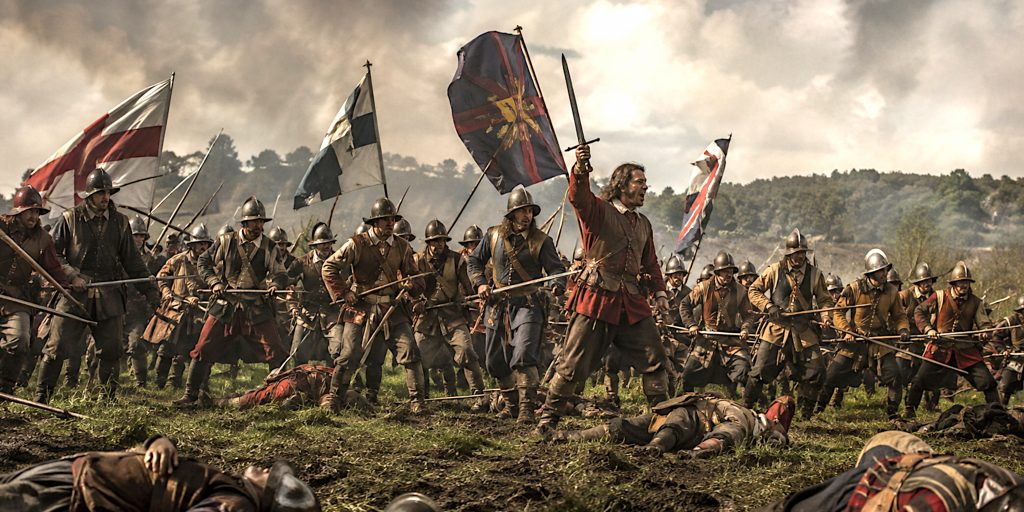
Lostwithiel was arguably the last great Royalist triumph of the First Civil War.
Essex’s army became trapped in Cornwall. Parliamentarian cavalry escaped under Sir William Balfour, and Essex himself departed by sea, but thousands of infantry were forced to surrender.
Charles had destroyed or dispersed a substantial enemy army.
Why it mattered: Lostwithiel demonstrated that the Royalists remained dangerous even after Marston Moor.
It also makes what happened in 1645 more striking. Parliament responded to its military problems by reorganising its war effort. The Royalists never achieved anything comparable.
Second Battle of Newbury | 27 October 1644
Location: Berkshire
Royalist commander: King Charles I
Parliamentarian commanders: Earl of Manchester, Sir William Waller and others
Result: Strategically inconclusive
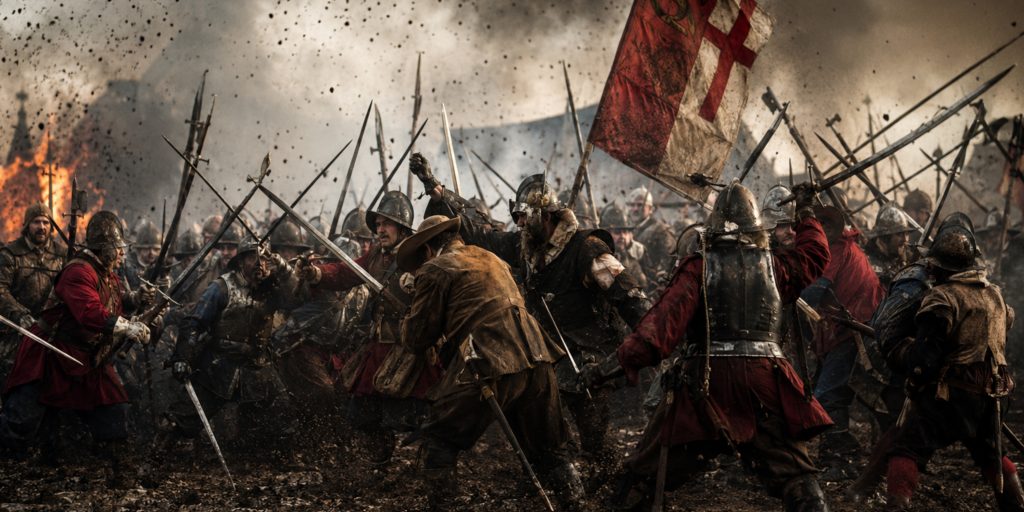
Parliament possessed a numerical advantage but failed to destroy Charles’s army.
The King withdrew, yet Parliament’s commanders allowed him to escape and later recover artillery from Donnington Castle.
The frustration surrounding Newbury intensified criticism of Parliament’s existing command structure.
Why it mattered: The disappointing result helped encourage the Self-Denying Ordinance and creation of the New Model Army.
Military stalemate was producing institutional reform.
The New Model Army Changes the War
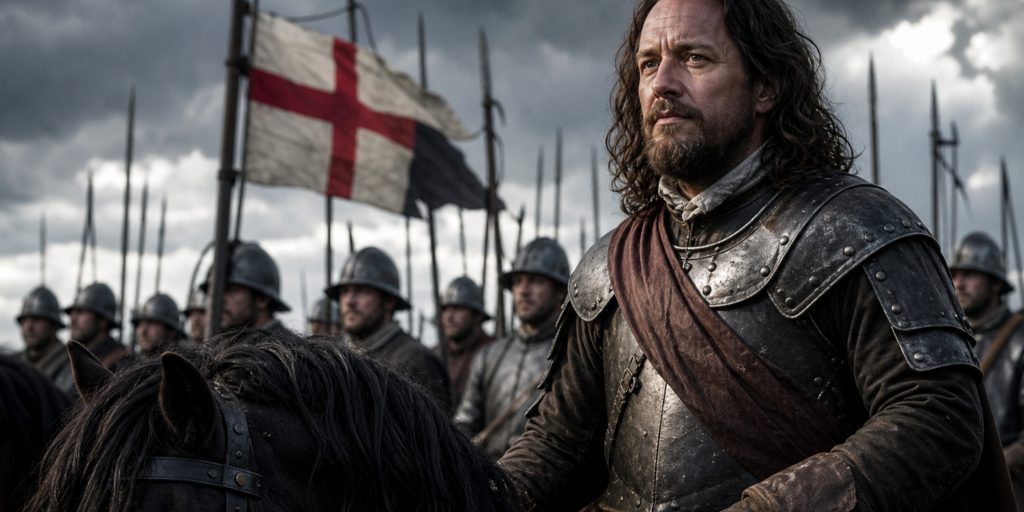
In early 1645 Parliament created a national field army rather than continuing to rely primarily upon regional forces.
Sir Thomas Fairfax became commander-in-chief. Philip Skippon commanded the infantry, while Oliver Cromwell emerged as the army’s dominant cavalry commander.
Its initial establishment was around 22,000 to 24,000 men, although formations rarely maintained their theoretical strength.
The New Model Army was not instantly an unstoppable professional machine. That description owes something to hindsight. What mattered was its increasingly centralised organisation, command structure, discipline and Parliament’s superior ability to finance prolonged warfare.
Then came Naseby.
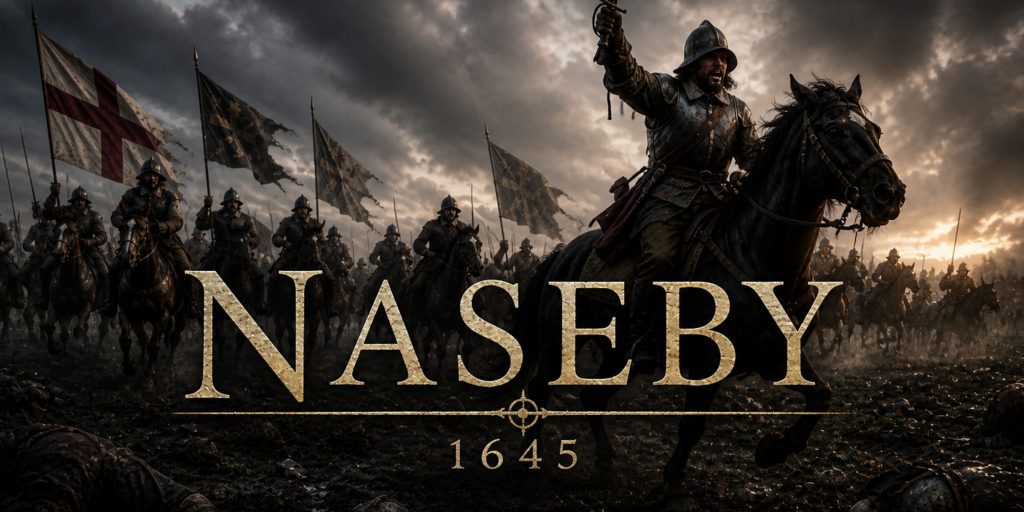
Battle of Naseby | 14 June 1645
Location: Northamptonshire
Parliamentarian commanders: Sir Thomas Fairfax and Oliver Cromwell
Royalist commanders: King Charles I and Prince Rupert
Result: Decisive Parliamentarian victory
Naseby was the decisive battle of the First Civil War.
Approximately 13,500 Parliamentarians confronted around 9,000 Royalists.
Rupert’s cavalry initially succeeded on the Royalist right, but once again pursued beyond the battlefield. Cromwell’s cavalry defeated the Royalist horse opposite them and then turned against the King’s infantry.
The Royalist centre collapsed.
Parliament captured artillery, baggage, thousands of weapons and, most damagingly, Charles’s correspondence. The letters revealed his attempts to obtain foreign and Irish support and were subsequently published by Parliament for political effect.
Why it mattered: Charles lost the core of his main field army. Royalist resistance continued for another year, but the possibility of winning the First Civil War through conventional military victory had effectively disappeared.
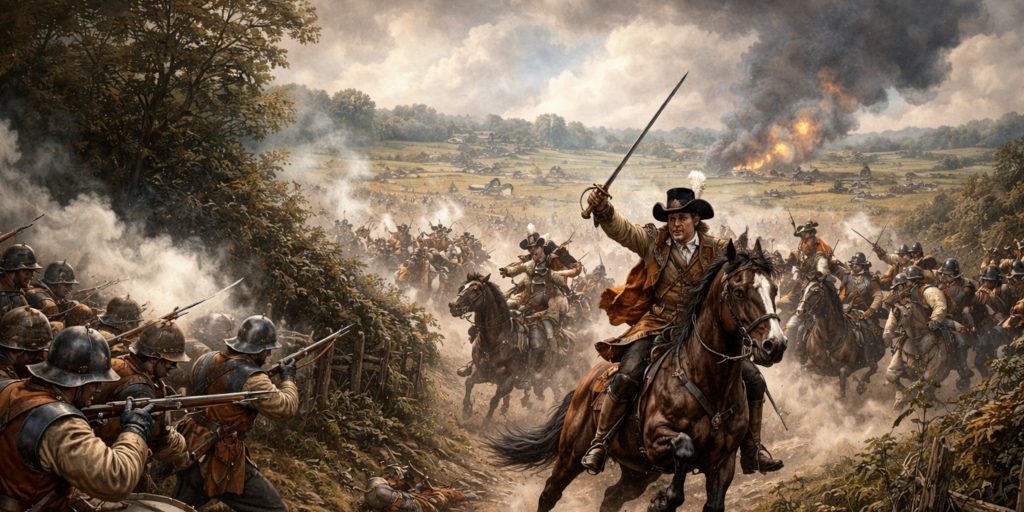
Battle of Langport | 10 July 1645
Location: Somerset
Parliamentarian commander: Sir Thomas Fairfax
Royalist commander: Lord Goring
Result: Parliamentarian victory
Less than a month after Naseby, Fairfax pursued the principal remaining Royalist army in the west.
At Langport the New Model Army forced a crossing and broke Goring’s forces. Parliamentarian cavalry exploited the retreat.
Why it mattered: Langport destroyed the Royalists’ ability to maintain a substantial field army in the West Country. Bristol fell in September.
The First Civil War was now entering its final stage.
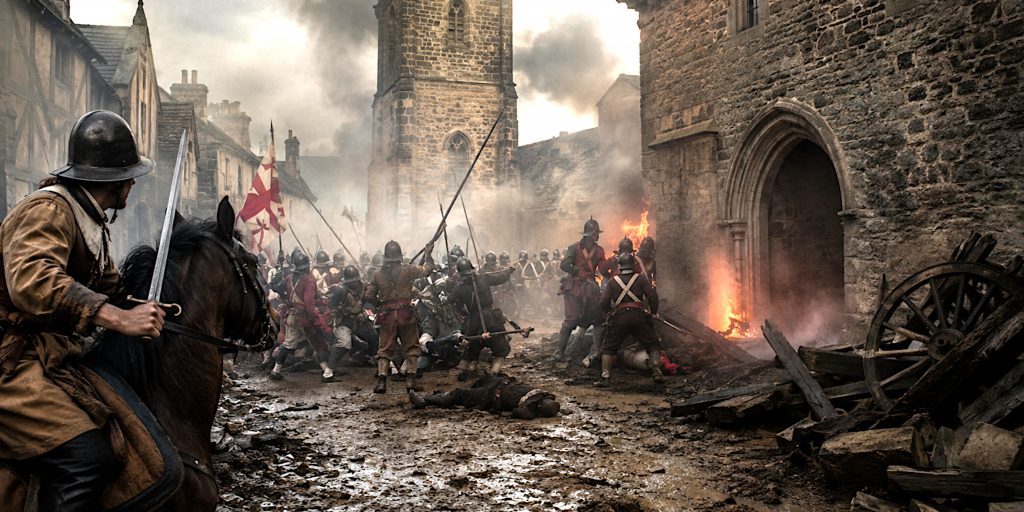
Battle of Torrington | 16 February 1646
Location: Devon
Parliamentarian commander: Sir Thomas Fairfax
Royalist commander: Lord Hopton
Result: Parliamentarian victory
Torrington was one of the final significant battles of the First Civil War.
The fighting spread into the town itself. During the struggle, a church being used to hold Royalist gunpowder exploded, killing soldiers and prisoners.
Hopton’s army retreated into Cornwall and soon surrendered.
Why it mattered: Organised Royalist resistance in the south-west was effectively finished.
Charles I surrendered to the Scottish army at Newark in May 1646. Oxford, the Royalist wartime capital, surrendered in June.
The first war was over.
The argument was not.
The Second English Civil War Begins | 1648
Charles I spent his captivity negotiating with competing factions while refusing to accept a permanent political settlement.
In December 1647 he reached an agreement with a Scottish faction known as the Engagers. In return for Scottish military support, Charles made religious concessions concerning Presbyterianism.
Royalist risings broke out during 1648 in Wales, Kent, Essex and elsewhere, while a Scottish Engager army prepared to invade England.
Parliament now faced rebellion across several fronts.
Battle of St Fagans | 8 May 1648
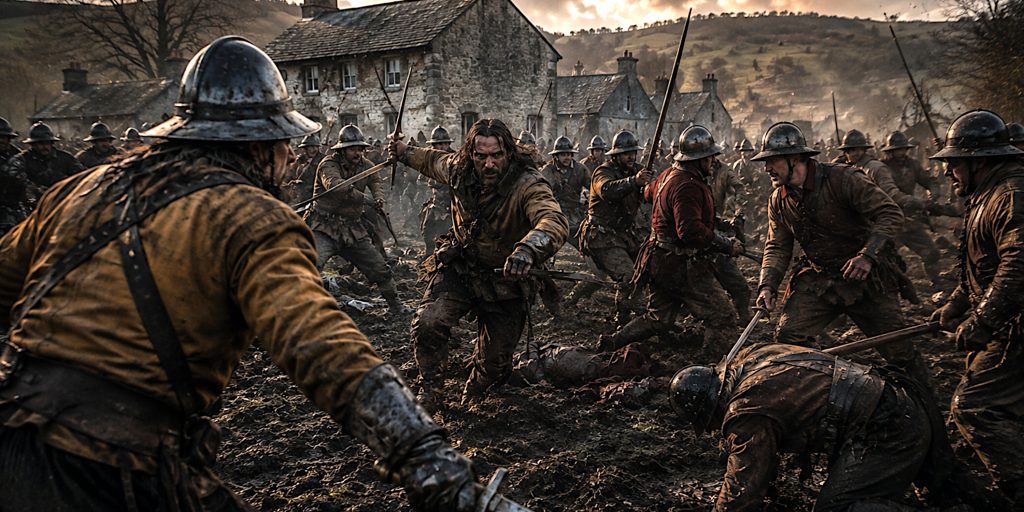
Location: Near Cardiff
Parliamentarian commander: Colonel Thomas Horton
Royalist commander: Rowland Laugharne
Result: Decisive Parliamentarian victory
Former Parliamentarian soldiers in South Wales had rebelled and joined the Royalist cause.
At St Fagans, Horton’s smaller force defeated Laugharne’s considerably larger army.
Why it mattered: The victory largely destroyed the organised Royalist uprising in South Wales and allowed Parliament to concentrate upon threats elsewhere.
Battle of Maidstone | 1 June 1648
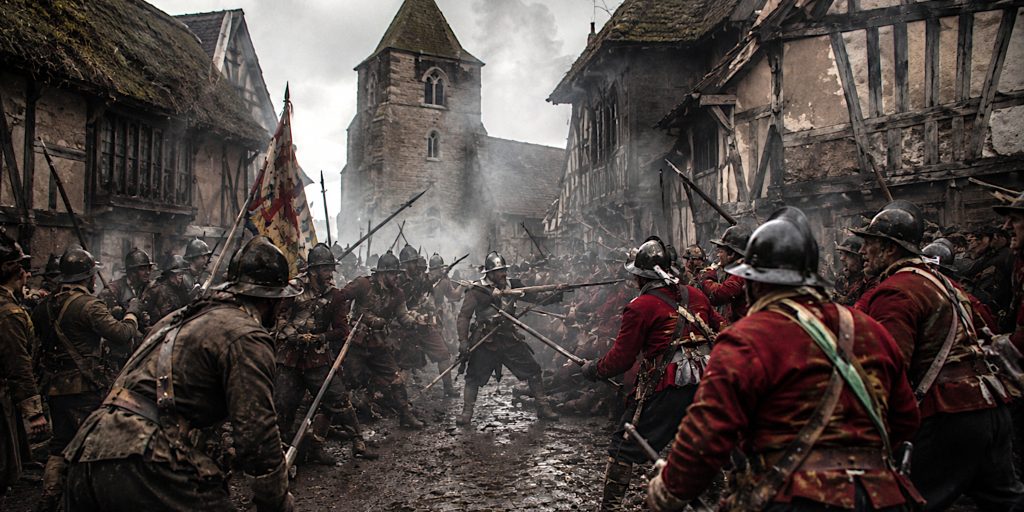
Location: Kent
Parliamentarian commander: Sir Thomas Fairfax
Royalist forces: Kentish insurgents
Result: Parliamentarian victory
Maidstone involved bitter street fighting in poor weather as Fairfax moved rapidly against the Kentish rising.
Parliamentarian troops fought through barricades and defensive positions before overcoming the Royalists.
Why it mattered: The defeat broke the main Kentish rebellion, although some Royalists escaped into Essex and eventually joined the defence of Colchester.
Siege of Colchester | June to August 1648
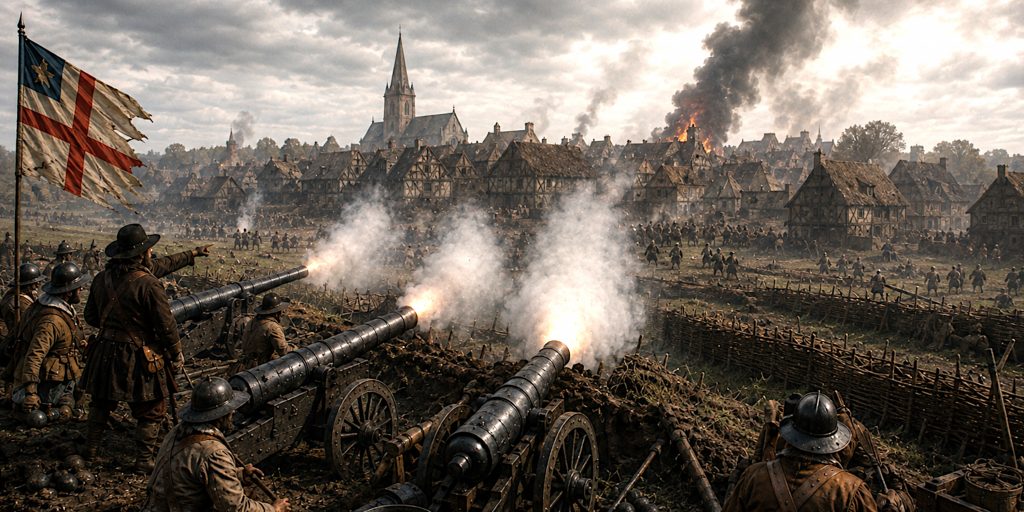
Location: Essex
Parliamentarian commander: Sir Thomas Fairfax
Royalist commanders: Sir Charles Lucas and Sir George Lisle
Result: Parliamentarian victory
Colchester was a siege rather than a conventional pitched battle, but excluding it from the story of 1648 would make little sense.
Royalist forces withdrew into the town after the collapse of the Kentish rebellion. Fairfax surrounded them and imposed a siege lasting roughly eleven weeks.
Food became desperately scarce before the garrison surrendered on 28 August.
Lucas and Lisle were executed by firing squad after the surrender.
Why it mattered: Colchester demonstrated the increasingly bitter character of the Second Civil War. Many Parliamentarian soldiers believed they had already won peace in 1646 and blamed renewed bloodshed upon those who had taken up arms again.
Battle of Preston | 17 to 19 August 1648
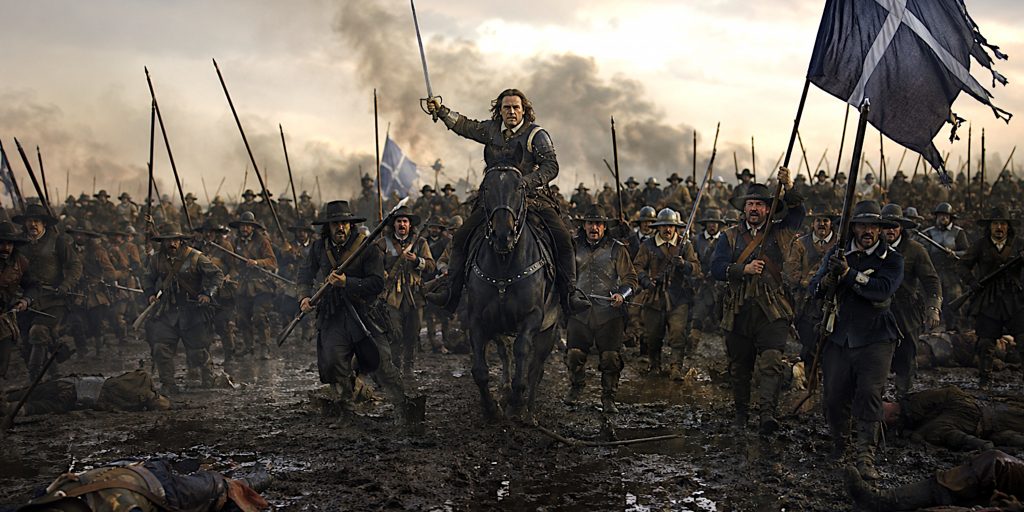
Location: Lancashire
Parliamentarian commander: Oliver Cromwell
Scottish Engager commander: James Hamilton, Duke of Hamilton
Result: Decisive Parliamentarian victory
Preston was less a single tidy battle than several days of confused fighting across Lancashire.
Hamilton’s army considerably outnumbered Cromwell’s force, but it was badly stretched along roads and poorly concentrated.
Cromwell attacked sections of the army before the Scots could deploy their full strength. The fighting continued southwards through difficult weather until organised resistance collapsed.
Why it mattered: Preston destroyed the principal military threat to Parliament and effectively ended the Second Civil War.
The consequences were political as well as military. Army leaders increasingly concluded that no stable settlement could be reached with Charles I.
The King was tried and executed outside the Banqueting House in Whitehall on 30 January 1649.
England became a Commonwealth.
Why the War Continued After Charles I’s Execution
Executing Charles I did not settle the question of monarchy throughout the British Isles.
Scotland recognised his son as Charles II. After negotiations, Charles agreed to Scottish religious demands and arrived in Scotland in 1650.
The English Commonwealth considered the developing alliance a threat.
Cromwell marched north.
This final phase is often called the Third English Civil War, although describing it as part of the broader Wars of the Three Kingdoms is historically more precise.
Battle of Dunbar | 3 September 1650
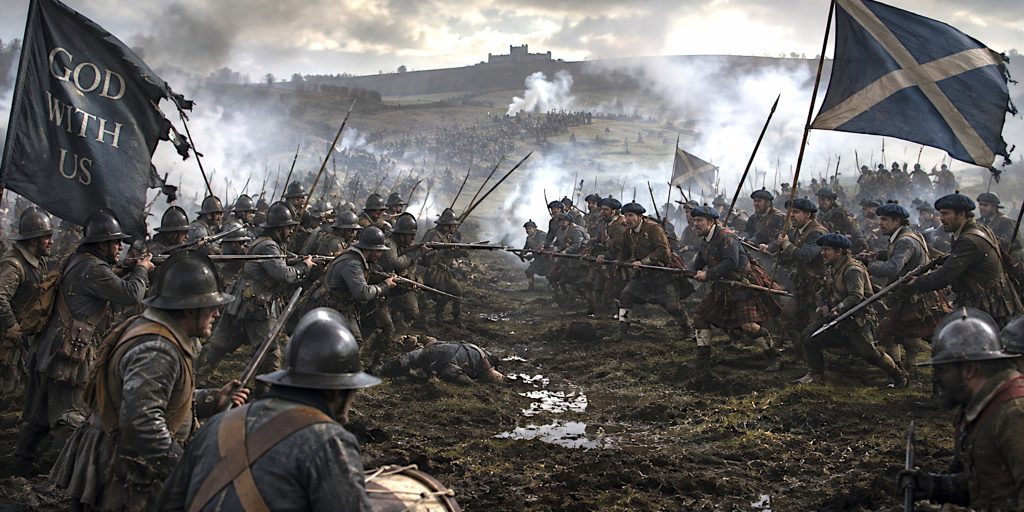
Location: East Lothian, Scotland
Commonwealth commander: Oliver Cromwell
Scottish commander: David Leslie
Result: Decisive Commonwealth victory
Cromwell initially found himself in serious difficulty.
Leslie’s Scottish army occupied strong ground and restricted Commonwealth supplies. Disease and shortages weakened Cromwell’s troops.
When the Scots descended from their advantageous position, Cromwell saw an opportunity and launched an early-morning attack.
The Scottish army collapsed.
Why it mattered: Dunbar opened much of southern Scotland to Commonwealth occupation and ranks among Cromwell’s greatest battlefield victories.
Yet Charles II remained free, and the war was not finished.
Battle of Inverkeithing | 20 July 1651
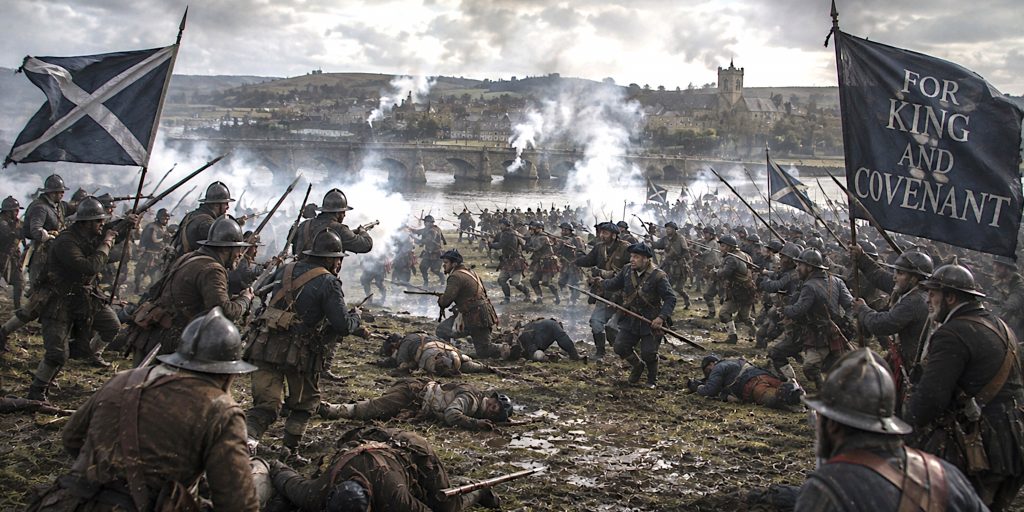
Location: Fife
Commonwealth commander: John Lambert
Scottish commander: Sir John Brown
Result: Commonwealth victory
Commonwealth forces crossed the Firth of Forth and defeated a Scottish army attempting to contain the bridgehead.
The victory threatened Scottish communications and placed Charles II’s position under severe pressure.
His response was audacious. Rather than remain trapped in Scotland, he marched south into England.
It was a gamble based upon the hope that English Royalists would rise to join him.
Most did not.
Battle of Worcester | 3 September 1651
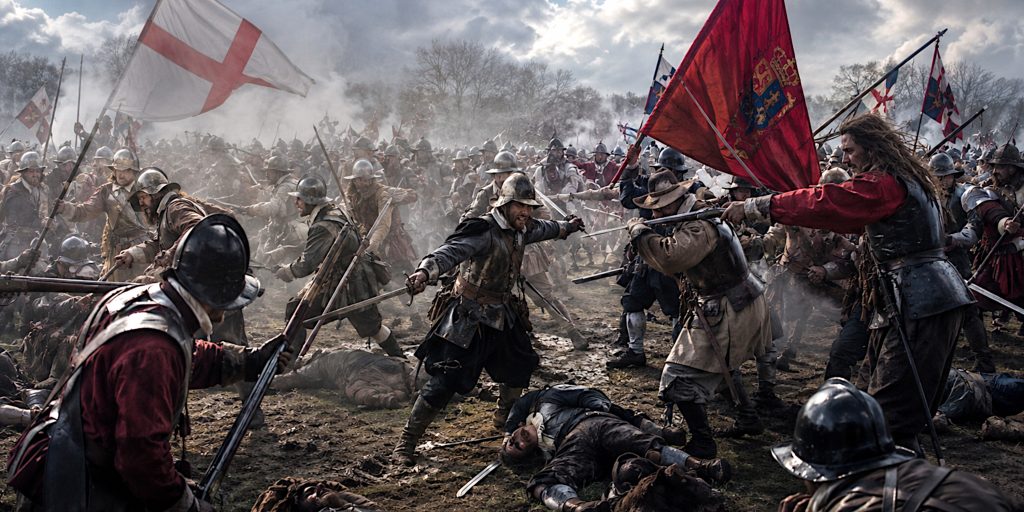
Location: Worcestershire
Commonwealth commander: Oliver Cromwell
Royalist commander: Charles II
Result: Decisive Commonwealth victory
Exactly one year after Dunbar, Cromwell confronted Charles II at Worcester.
The Commonwealth possessed an overwhelming numerical advantage, perhaps around 28,000 men against roughly 16,000 Royalists and Scots.
Fighting developed around the Rivers Severn and Teme before Commonwealth forces tightened their grip on the city. Charles attempted a counterattack but could not reverse the battle.
Royalist resistance collapsed and thousands were killed or captured.
Charles escaped, famously hiding in an oak tree at Boscobel before eventually reaching France.
Cromwell described Worcester as a:
“crowning mercy”
For once, the phrase was justified. There would be no fourth round.
Why it mattered: Worcester ended the major military phase of the Civil Wars. Royalist hopes of restoring the monarchy by force were destroyed.
English Civil War Battles Timeline
| Date | Battle or engagement | Victor |
| 23 October 1642 | Edgehill | Inconclusive |
| 13 November 1642 | Turnham Green | Parliament strategically |
| 19 March 1643 | Hopton Heath | Inconclusive |
| 16 May 1643 | Stratton | Royalists |
| 18 June 1643 | Chalgrove Field | Royalists |
| 30 June 1643 | Adwalton Moor | Royalists |
| 5 July 1643 | Lansdown | Inconclusive |
| 13 July 1643 | Roundway Down | Royalists |
| 20 September 1643 | First Newbury | Inconclusive |
| 11 October 1643 | Winceby | Parliament |
| 29 March 1644 | Cheriton | Parliament |
| 29 June 1644 | Cropredy Bridge | Royalists |
| 2 July 1644 | Marston Moor | Parliament and Covenanters |
| Aug–Sep 1644 | Lostwithiel | Royalists |
| 27 October 1644 | Second Newbury | Inconclusive |
| 14 June 1645 | Naseby | Parliament |
| 10 July 1645 | Langport | Parliament |
| 16 February 1646 | Torrington | Parliament |
| 8 May 1648 | St Fagans | Parliament |
| 1 June 1648 | Maidstone | Parliament |
| Jun–Aug 1648 | Colchester | Parliament |
| 17–19 August 1648 | Preston | Parliament |
| 3 September 1650 | Dunbar | Commonwealth |
| 20 July 1651 | Inverkeithing | Commonwealth |
| 3 September 1651 | Worcester | Commonwealth |
What Weapons Were Used in the English Civil War?
The Civil Wars belonged to the age of pike and shot.
Infantry regiments combined musketeers with pikemen. Most musketeers used matchlock firearms, although other ignition systems existed. Muskets could deliver devastating volleys, but they were slow to reload, vulnerable in close combat and capable of covering the battlefield in dense smoke.
Pikemen carried weapons that could approach five metres in length. Their formations provided protection against cavalry and considerable offensive weight in infantry combat.
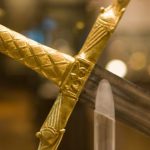
Cavalry generally fought with swords and pistols. The sword most associated with English Civil War cavalry is the heavy mortuary-hilted sword, although surviving weapons show considerable variation. Broadswords, backswords and simpler military hangers were also used.
Scottish forces brought their own military traditions, including basket-hilted swords.
Artillery ranged from relatively mobile field pieces to heavy siege guns. Cannon could be frighteningly destructive, but Civil War armies often struggled to move heavy pieces over Britain’s roads and fields.
The sword remained important, particularly for cavalry and officers, but this was fundamentally a gunpowder war.
Why Parliament Eventually Won
Parliament did not begin the war with an obviously superior army.
Its deeper advantages emerged over time.
It controlled London and much of England’s economically productive south-east. It possessed stronger access to taxation, ports, finance and population. The alliance with the Scottish Covenanters placed additional pressure upon the Royalists during the crucial campaigns of 1644.
Most importantly, Parliament proved capable of reforming its military system.
The creation of the New Model Army in 1645 provided a national force that could campaign wherever required. Naseby and Langport demonstrated what that army could achieve when combined with Parliament’s growing material superiority.
Charles, meanwhile, suffered from divided regional commands, declining resources and increasingly limited opportunities to replace losses.
The Royalists could still win battles. What they increasingly could not do was survive losing them.
The Human Cost of the Civil Wars
Lists of battles can make the Civil War appear deceptively orderly.
It was anything but.
Armies requisitioned food, horses and accommodation from civilian populations. Towns endured sieges. Disease killed soldiers who had never reached a battlefield. Trade was interrupted, farms were damaged and communities divided.
Historians continue to debate exact casualty figures, particularly when trying to separate deaths caused directly by fighting from those caused by disease and wider disruption.
What is certain is that the wars represented one of the most destructive periods experienced by seventeenth-century Britain and Ireland.
Contemporary descriptions repeatedly strip away the later romance of Cavaliers, plumes and polished armour. Sergeant Henry Foster’s memory of cannon fire at Newbury and Richard Atkyns’s account of Lansdown describe smoke, noise and mutilation rather than pageantry.
That is probably closer to how the ordinary soldier remembered it.
Which Was the Most Important Battle of the English Civil War?
If forced to choose one, I would pick Naseby.
Edgehill began the great military confrontation. Marston Moor destroyed Royalist dominance in the north. Preston ensured Charles I could no longer use renewed war as a route back to power. Worcester finally defeated his son’s attempt to recover the kingdoms.
But Naseby broke the King’s principal field army at the moment when Parliament’s reorganised military machine was reaching full effectiveness.
After June 1645, Charles could prolong the First Civil War. He could no longer realistically win it.
That distinction matters.
The Legacy of the English Civil War
The wars transformed the political landscape of Britain.
Charles I was executed. Monarchy and the House of Lords were abolished. England became a republic, although one increasingly dominated by the army and eventually by Cromwell as Lord Protector.
The monarchy returned in 1660 under Charles II, which can make the entire republican experiment look temporary. Constitutionally, however, Britain could not simply return to 1641 and pretend the intervening years had been an unfortunate administrative error.
The conflicts had demonstrated that a monarch could be resisted, defeated, tried and executed. They had also demonstrated the political dangers of a powerful standing army, a lesson that remained uncomfortable long after Cromwell’s death.
For a historian, perhaps the most interesting aspect is how quickly certainty disappears once the individual battles are examined. Royalist victory was plausible in 1643. Parliament’s command system looked distinctly unimpressive in 1644. The New Model Army changed the military balance in 1645, but even after the King surrendered, political compromise proved elusive.
Nine years after Edgehill, Worcester finally settled the matter by force.
It did not settle the arguments.