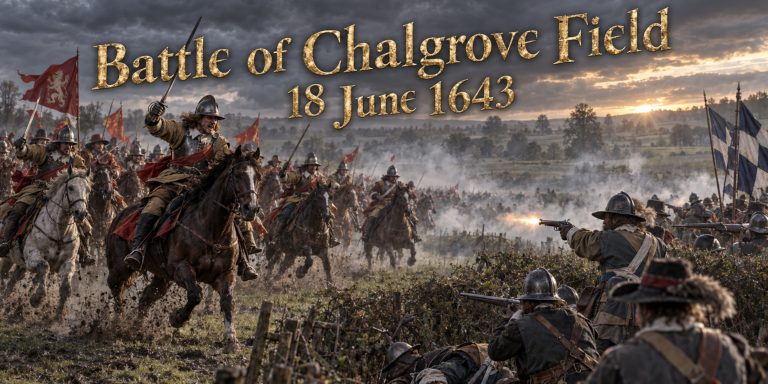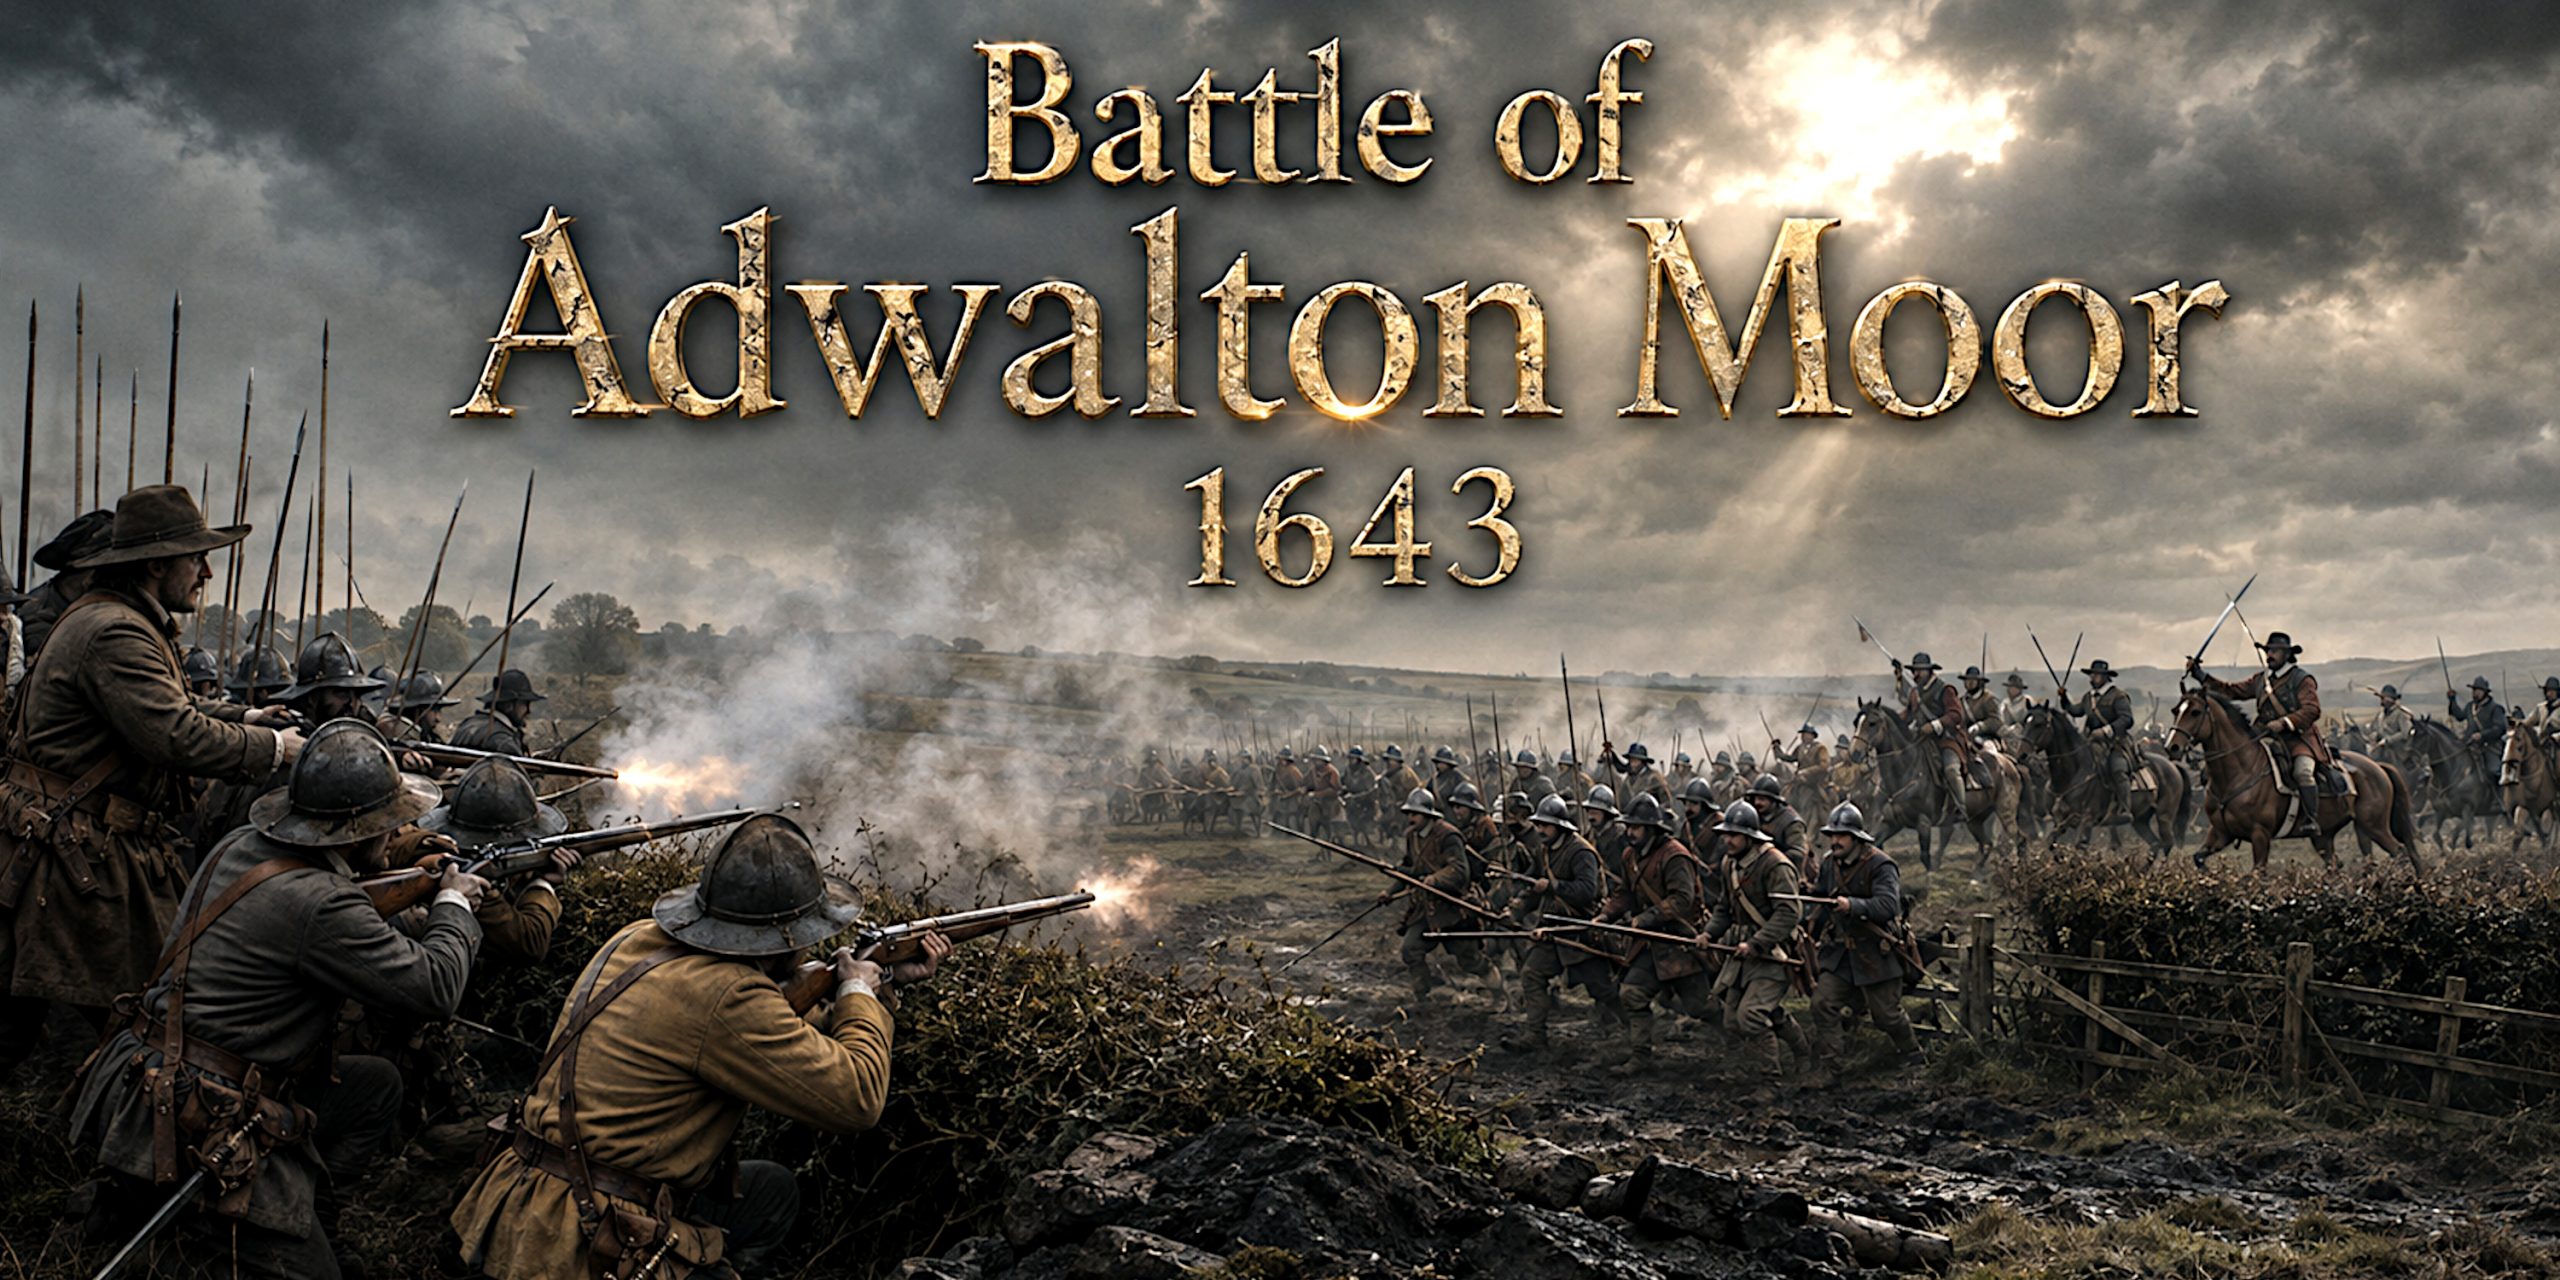
On 30 June 1643, two armies collided among hedged fields, lanes and old coal workings south-east of Bradford. The Battle of Adwalton Moor lasted about three hours. For much of that time, Parliament appeared to be winning.
Lord Fairfax’s infantry drove the Royalists from houses and enclosures, repelled repeated cavalry attacks and advanced towards the enemy guns. Then Colonel Richard Kirton led a body of Royalist pikemen against the exposed Parliamentarian left. Newcastle’s cavalry found room to manoeuvre, the Parliamentary line broke, and a hard-earned advantage dissolved with alarming speed.
Adwalton Moor gave the Royalists control of almost all Yorkshire. It was one of the most important battles fought in northern England during the First Civil War, yet it remains less familiar than Marston Moor, fought almost exactly a year later.
History has never been entirely fair about billing.
Battle of Adwalton Moor at a Glance
| Detail | Information |
|---|---|
| Date | 30 June 1643 |
| Location | Adwalton Moor, near Drighlington, West Yorkshire |
| Conflict | First English Civil War |
| Royalist commander | William Cavendish, Earl of Newcastle |
| Parliamentarian commander | Ferdinando Fairfax, 2nd Lord Fairfax of Cameron |
| Estimated Royalist strength | Around 10,000 |
| Estimated Parliamentarian strength | Around 3,000 to 4,000 |
| Result | Decisive Royalist victory |
| Strategic consequence | Royalist control of Yorkshire apart from Hull |
The traditional strength figures should be treated as estimates rather than a completed morning register. Contemporary writers were rarely disinterested accountants, particularly after a victory or defeat.
Why the Battle Was Fought
Yorkshire was central to the struggle for northern England. Its ports, roads, population and prosperous textile towns offered recruits, taxation and supplies. Control of the county also opened routes into Lincolnshire, the Midlands and the Parliamentarian Eastern Association.
The Royalist cause in the north was led by William Cavendish, Earl of Newcastle. Backed by the northern gentry and supported by a substantial field army, Newcastle steadily increased Royalist control during the first half of 1643.
Parliament’s strength rested largely in the West Riding cloth towns. Bradford, Leeds and Halifax provided men and political support to Ferdinando, Lord Fairfax, and his more militarily gifted son, Sir Thomas Fairfax.
The younger Fairfax had already demonstrated considerable ability. He captured Leeds in January 1643 and launched the daring attack on Wakefield in May. These successes were valuable, but they could not disguise Parliament’s worsening strategic position.
After taking Howley Hall near Batley, Newcastle prepared to move against Bradford. The town possessed no modern system of fortifications and was poorly placed to withstand a formal siege. Lord Fairfax therefore chose to march out and meet the Royalists before they reached it.
It was a dangerous decision, but remaining inside Bradford would merely have allowed Newcastle to bring up his guns and conduct matters at a more leisurely pace.
The Battlefield
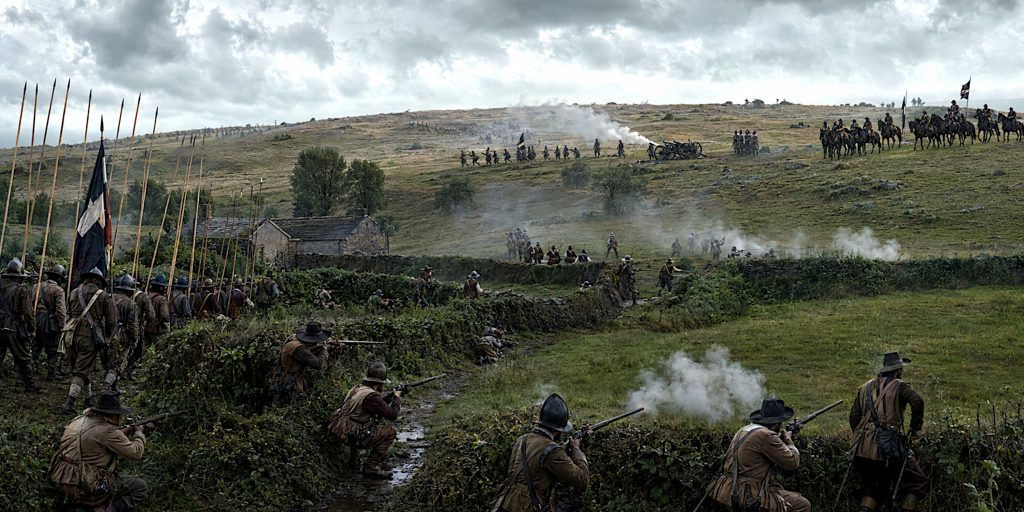
The fighting extended between Westgate Hill and the higher ground of Adwalton Moor. In 1643 this was not one uninterrupted stretch of open heath.
The lower ground contained:
- Hedged fields
- Narrow lanes
- Farm buildings and houses
- Banks and ditches
- Areas of enclosed pasture
Higher up lay rougher, more open moorland broken by old coal pits. These features mattered enormously.
The hedges and banks allowed Parliamentarian musketeers to fire from cover while restricting Royalist cavalry. The coal workings also made it difficult for Newcastle to deploy his horse in formed bodies. Once the Parliamentarians advanced beyond the enclosures, however, the same cavalry gained the space it needed.
Adwalton Moor is a fine warning against describing terrain as mere background. Here, the landscape shaped almost every stage of the battle.
Forces
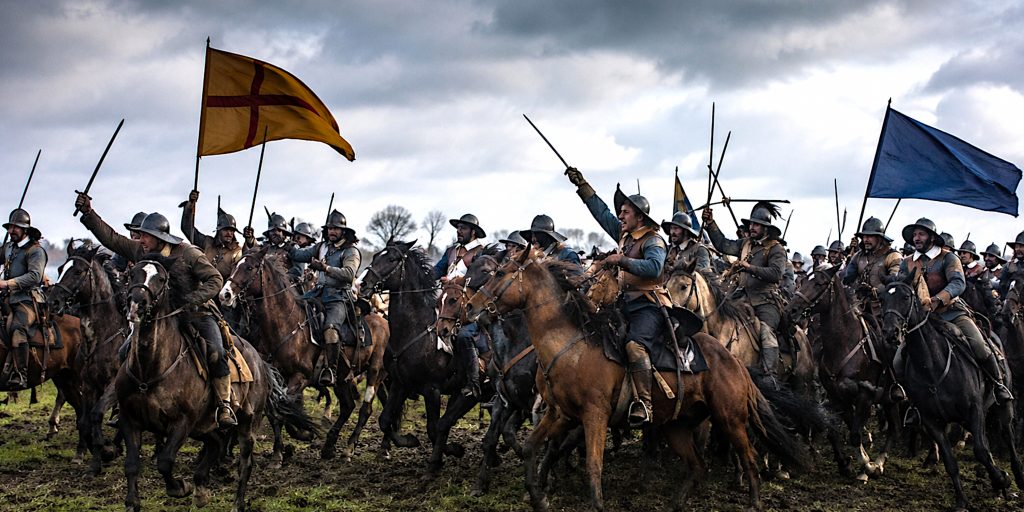
The Royalists greatly outnumbered their opponents, although surviving estimates vary. Historic England gives Newcastle approximately 10,000 men and Fairfax between 3,000 and 4,000. The Battlefields Trust suggests a Royalist army divided roughly equally between cavalry and infantry, while Parliament had around 3,500 infantry and only 500 cavalry.
These figures are plausible working estimates, not settled totals.
Leaders
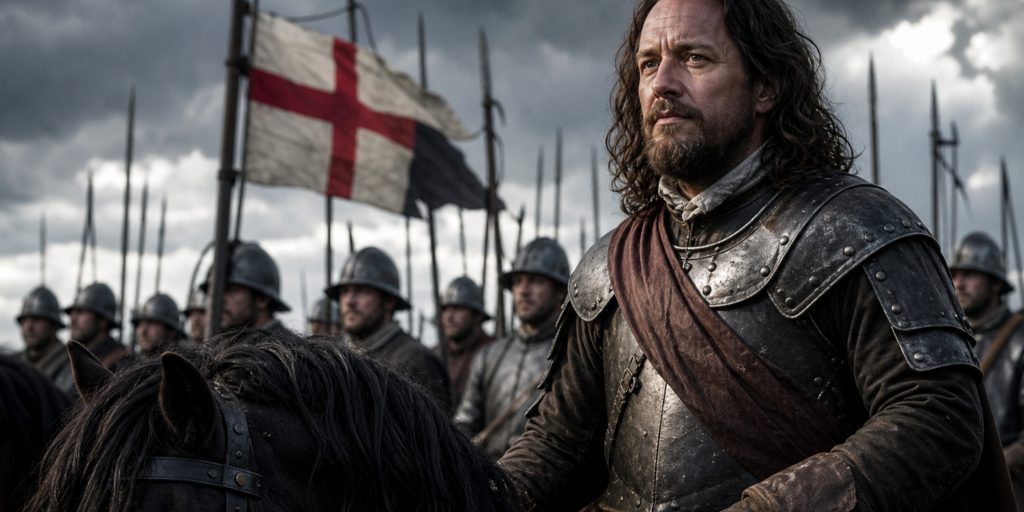
| Side | Commander | Role at Adwalton Moor |
|---|---|---|
| Royalist | William Cavendish, Earl of Newcastle | Commander of the northern Royalist army |
| Royalist | Lieutenant-General James King | Senior commander associated with the cavalry counterstroke |
| Royalist | Colonel Richard Kirton | Led the decisive attack by Royalist pikemen |
| Parliamentarian | Ferdinando Fairfax, Lord Fairfax | Commander-in-chief |
| Parliamentarian | Sir Thomas Fairfax | Commanded the right wing |
| Parliamentarian | Major-General John Gifford | Commanded the left wing |
| Parliamentarian | Captain Henry Hodgson | Led part of the advance and later recorded the battle |
Troop Composition
| Arm | Royalist army | Parliamentarian army |
|---|---|---|
| Infantry | Pikemen and musketeers, with musketeers apparently proportionally fewer than Parliament’s | Predominantly infantry, with a particularly strong musket component |
| Cavalry | Large and potentially decisive mounted force | Around 500 horse, divided into several troops |
| Artillery | At least two substantial field guns | Artillery presence uncertain and apparently limited |
| Irregular troops | Local levies and northern recruits | Armed townsmen and clubmen from West Riding communities |
| Experience | Mixed, though supported by established officers and a strong cavalry arm | Mixed regulars, local volunteers and men unfamiliar with large open-field battles |
Sir Thomas Fairfax described his right wing as containing about 1,000 foot and five troops of horse. Major-General Gifford commanded a similarly sized left wing, while Lord Fairfax directed the centre and exercised overall command.
The Parliamentarian army was heavily dependent upon local manpower. Many of its soldiers had courage, muskets and strong opinions, but comparatively little experience of conducting an orderly withdrawal under cavalry pressure. That final qualification proved inconvenient.
Arms and Armour
The weapons carried at Adwalton Moor were typical of the early English Civil War, although neither army was uniformly equipped. Shortages, private purchase and local supply produced considerable variation.
Infantry Weapons
- Matchlock musket: The principal firearm of the infantry. It was fired using a smouldering match applied to the priming powder. Musketeers carried powder charges, lead balls and sometimes a rest for heavier weapons.
- Pike: Usually around 16 to 18 feet long. Pikemen protected musketeers against cavalry and fought opposing infantry in close formation.
- Sword: Officers, pikemen and some musketeers carried swords as secondary weapons.
- Club and improvised polearms: Some locally raised Parliamentarian troops probably carried clubs, bills or other readily available weapons.
Swords Used
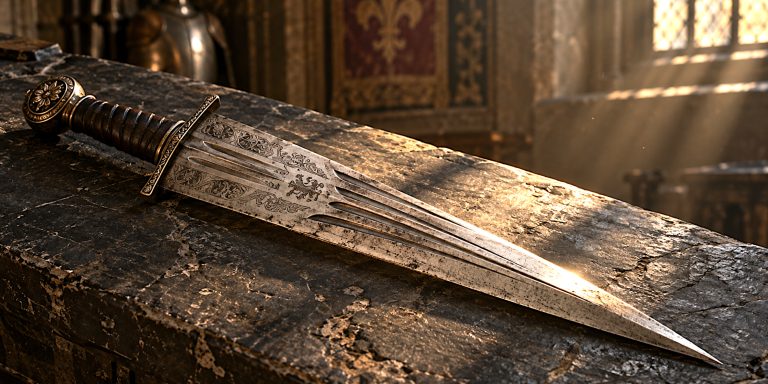
No excavated sword can be securely assigned to a named formation at Adwalton Moor, but several recognisable seventeenth-century types would have been present.
| Sword type | Likely users | Characteristics |
|---|---|---|
| Basket-hilted broadsword | Cavalry and officers | Straight, double-edged blade with a protective iron guard |
| Mortuary-hilted sword | Officers and cavalrymen | Straight blade with a pierced iron guard, increasingly fashionable during the Civil War period |
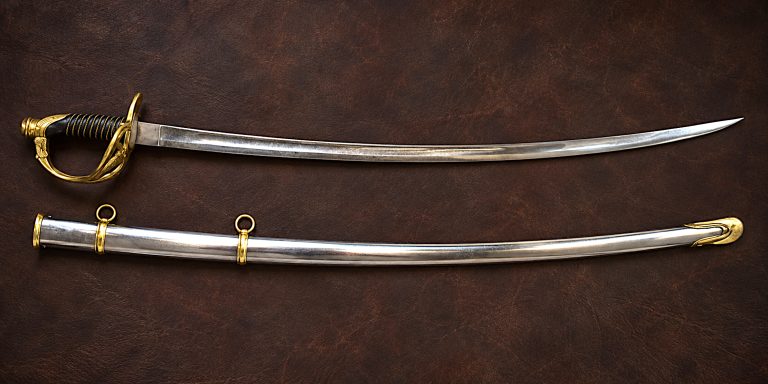
| Cavalry backsword | Horsemen | Single-edged blade designed for strong cutting blows |
| Hanger | Infantrymen, artillerymen and servants | Short, practical cutting sword with a relatively simple hilt |
| Rapier or transitional military rapier | Gentlemen and some officers | Longer, narrower blade suited to thrusting, though less practical in a crowded push of pike |
The basket-hilted broadsword and cavalry backsword were especially useful from horseback. The developing mortuary-hilt form also appears in surviving English swords of the 1630s and 1640s, although identifying an exact model from contemporary prose is rarely possible.
Firearms and Artillery
Royalist cavalrymen commonly carried pairs of wheellock or flintlock pistols in saddle holsters. Some may also have carried carbines. Parliamentary horse were similarly armed where supplies permitted.
Newcastle’s artillery played an important role at the decisive moment. Royalist accounts describe cannon fire disrupting Parliamentarian cavalry shortly before Newcastle’s horse passed through the constrained ground and charged.
Armour
- Pikemen might wear a steel breastplate and backplate, sometimes with tassets protecting the thighs.
- Cavalry officers and wealthier troopers could wear breastplates over thick buff coats.
- Lobster-tailed helmets offered protection to the head, neck and cheeks.
- Some cavalrymen wore a steel defence on the bridle arm.
- Musketeers generally fought without heavy armour, since carrying a musket and ammunition was punishment enough.
Armour was becoming lighter and less comprehensive, but it had not disappeared. At close range, a breastplate or helmet remained a reassuring possession, even when it failed to make its owner invulnerable.
The Battle Begins
At approximately 9am, the Parliamentarian advance encountered Royalist forward troops near Westgate Hill. The Royalist skirmishers were driven back, allowing Fairfax’s men to form their battle line.
Sir Thomas commanded the right, Gifford the left and Lord Fairfax the centre. Parliament’s troops then pushed through the enclosed ground towards the moor.
Musketeers cleared Royalist soldiers from houses, lanes and hedges. Parliament’s stronger infantry component gave it an important local advantage, while the enclosed landscape prevented Newcastle from bringing his numerous cavalry into effective action.
On the Parliamentarian right, Sir Thomas placed musketeers behind hedges overlooking a narrow opening onto the moor. Royalist cavalry attempting to pass through were channelled into a confined space and met by concentrated fire.
The first attack was repulsed. A second, reportedly involving 13 or 14 troops of horse, also failed. Parliament’s infantry continued to gain ground, driving the Royalists back towards their artillery.
Parliament Comes Close to Victory
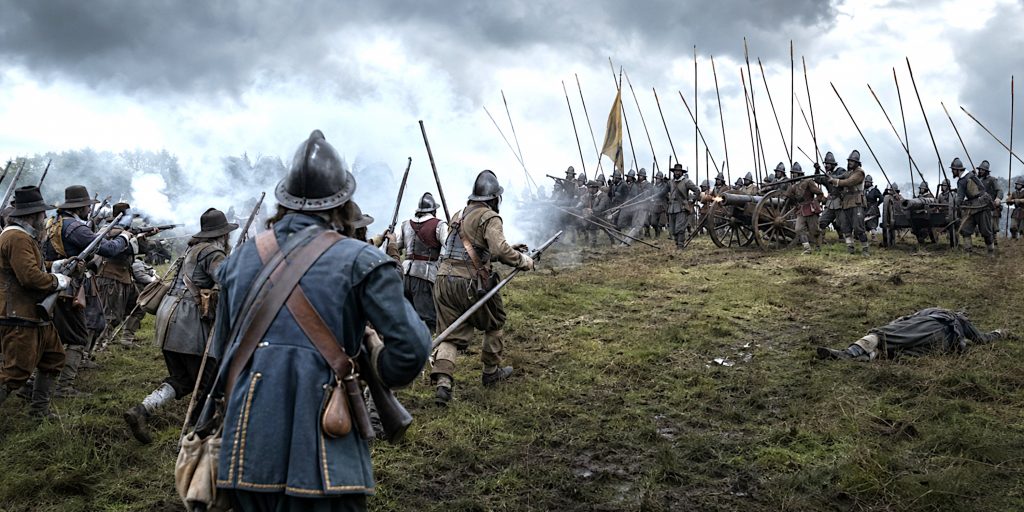
For perhaps two hours, the Royalists were under severe pressure. Sir Henry Slingsby, who fought for the king, recorded that Newcastle’s troops were beaten back “from one hedge, from one house to another”.
Some Royalist formations began to waver. Sir Thomas Fairfax later claimed that orders had even been given for part of Newcastle’s force to withdraw.
Parliamentarian troops approached the Royalist guns, where a body of pikemen held its ground. This was the high point of Fairfax’s attack and the most dangerous moment for Newcastle.
It was also where Parliament’s success began to work against it. Units advanced out of the protective enclosures and onto ground better suited to Royalist cavalry. Their line became extended, reserves failed to provide timely support, and the left wing was increasingly vulnerable.
Kirton’s Push of Pike
Colonel Richard Kirton asked permission to make another attack with a body of pikemen. Fairfax later characterised him as a “wild and desperate man”, which is not quite a staff appraisal but does capture something of the moment.
Kirton’s pikemen struck Gifford’s left wing. The Parliamentarian infantry, already drawn forward and insufficiently supported, began to give ground.
The pike attack was not a colourful sideshow before the cavalry arrived. It was the blow that disrupted Parliament’s formation and created the opening for everything that followed.
Newcastle’s guns fired into the Parliamentarian horse. Royalist cavalry then moved through or around the restrictive hedges, formed on more open ground and attacked the shaken line. Other mounted troops threatened the route back to Bradford.
Captain Hodgson remembered how quickly events turned. In his words, “the matter changed in a trice”.
Lord Fairfax ordered a retreat. On the left and in the centre, it became a rout.
Sir Thomas Fairfax Escapes
Sir Thomas Fairfax’s right wing remained in position longer than the rest of the army. By the time orders to withdraw reached him, Royalist forces had almost surrounded his troops and cut the direct road to Bradford.
Fairfax found an alternative lane leading towards Halifax and escaped with part of his command. His father withdrew towards Bradford, and the two men became separated during the collapse.
Parliamentarian soldiers fled through the enclosed country, pursued by Royalist cavalry. Cohesion vanished, equipment was abandoned, and many men were killed or captured before they could reach safety.
The battle was effectively over by midday.
Battle Timeline
| Approximate time | Event |
|---|---|
| Early morning | Newcastle marches from the Howley Hall area towards Bradford |
| Around 9am | Parliamentarian and Royalist advance troops meet near Westgate Hill |
| Shortly afterwards | Fairfax’s forlorn hope drives back Royalist skirmishers |
| Mid-morning | Parliamentarian infantry clears houses, lanes and hedged fields |
| Mid to late morning | Royalist cavalry attacks Sir Thomas Fairfax’s right wing and is repulsed |
| Late morning | Parliamentarian troops push towards the Royalist cannon position |
| Approaching midday | Kirton’s pikemen attack the Parliamentarian left |
| Around midday | Royalist artillery and cavalry exploit the disorder |
| Shortly afterwards | Lord Fairfax orders a retreat; much of the army breaks |
| Early afternoon | Royalist cavalry pursues fugitives towards Bradford |
| Night of 30 June | Newcastle brings artillery towards Bradford |
| 1 July | Royalist guns bombard the town and Parliament’s position collapses |
The timing is approximate. The broad sequence is well supported, but seventeenth-century battlefield witnesses had more urgent concerns than synchronising watches.
Casualties
Exact losses are unknown.
The Battlefields Trust estimates approximately 500 Parliamentarian casualties, while some later accounts place the number of prisoners much higher. Royalist casualties were lighter but not negligible. Several officers were killed during the early fighting, when Parliamentarian musketry held the advantage.
Claims of 500 dead and 1,500 prisoners appear in some modern summaries, but the evidence does not justify presenting these numbers as certain.
What can be said safely is that Fairfax lost a substantial part of his field army through death, wounds, capture and dispersal. For Parliament in Yorkshire, the organisational damage mattered as much as the immediate casualty count.
Contemporary Accounts
The battle survives through several important narratives:
- Sir Thomas Fairfax’s Short Memorial
- Captain Henry Hodgson’s memoir
- Thomas Stockdale’s Parliamentarian account
- Sir Henry Slingsby’s diary
- The Royalist Express Relation
- Margaret Cavendish’s later biography of her husband, William Cavendish
These accounts agree on the central drama. Parliament’s infantry initially drove the Royalists back, Newcastle’s cavalry was restricted by the terrain, and the battle turned only after a Royalist pike attack and mounted counterstroke.
They disagree over which army had chosen the ground. Royalist writers claimed Parliament occupied the advantageous position, while Parliamentarian writers suggested Newcastle had selected it. The likeliest explanation is that neither commander planned to fight at that exact spot. Both armies were advancing, met unexpectedly and assumed the other side had been rather more organised.
Margaret Cavendish described the reversal as a “strange change of fortune”. On this point, Parliamentarian veterans would probably have agreed.
Was a Shortage of Powder Responsible?
Some retellings claim that Parliament’s powder failed during the battle. The better contemporary descriptions of Adwalton Moor do not make ammunition shortage the principal cause of defeat.
Parliamentarian musketeers appear to have maintained effective fire during the early stages. The decisive problems were tactical:
- Parts of the army advanced beyond the shelter of the enclosures.
- The left wing was attacked by Royalist pikemen.
- Parliamentarian reserves did not restore the line.
- Royalist cavalry reached the exposed flank and rear.
- Inexperienced troops could not conduct an orderly withdrawal.
Powder supply may have been a general concern, but it should not replace the pike attack, the cavalry movement and the loss of formation in an explanation of the battle.
Archaeology and the Surviving Battlefield
Adwalton Moor is a Registered Battlefield. Historic England regards it as the most important First Civil War battlefield north of the Trent after Marston Moor.
Much of the historic landscape has been altered by housing, roads, industry and later enclosure. The A650 crosses part of the battlefield, while development has covered areas of the original approach.
Important features nevertheless survive:
- Open ground around Adwalton Moorside
- Sections of hedged landscape associated with the enclosed fields
- The higher ridge near Moorside Road
- Earthworks and boundaries that may relate to features described in contemporary accounts
- Areas around The Plantation associated with former coal workings
Historic England notes strong archaeological potential, particularly for finding scatters, old boundaries and coal pits. Mapping has identified historic ridge-and-furrow cultivation and former mining features, although some agricultural remains may post-date the battle.
Claims about discovered musket balls and weapon fragments require caution unless the objects were recorded through controlled survey. A lead ball without a precise find location and archaeological context tells us very little. A plotted distribution of projectiles, by contrast, could help identify firing lines, cavalry approaches and the extent of the final pursuit.
The battlefield still has unanswered questions. Its archaeology may eventually clarify exactly where Kirton’s pikemen attacked and how Newcastle’s cavalry worked around the Parliamentarian flank.
The Fall of Bradford
After the victory, Newcastle moved quickly against Bradford. Royalist artillery opened fire on 1 July. With its field army defeated and the town unable to endure a formal siege, Parliament’s position became untenable.
The Fairfaxes escaped separately and eventually reached Hull. Bradford fell, followed by the loss of other Parliamentarian positions in Yorkshire. Hull remained the principal exception.
For Newcastle, Adwalton Moor marked the summit of his northern campaign. He was later raised to the rank of marquess, with the victory contributing considerably to his reputation.
Why Adwalton Moor was Important
The Royalist victory transformed the war in Yorkshire. Parliament was pushed back to Hull, while Newcastle gained the opportunity to carry Royalist power southwards.
Its consequences also reached beyond the county. Parliament’s weakness in northern England encouraged closer cooperation with the Scottish Covenanters. The resulting alliance brought a Scottish army into England and helped create the coalition that defeated Newcastle and Prince Rupert at Marston Moor in July 1644.
Adwalton Moor therefore contains one of the Civil War’s sharper ironies. Newcastle’s victory looked decisive, but the strategic crisis it created helped Parliament obtain the Scottish military support that eventually destroyed Royalist power in the north.
Visiting Adwalton Moor Today
The battlefield lies around Drighlington and Adwalton, close to the boundary between Leeds and Bradford. Interpretation plaques mark parts of the action, and surviving open ground allows visitors to understand the relationship between the enclosed lower slopes and the moor.
The most useful approach is to follow the landscape rather than search for a single centre point. Adwalton Moor was a moving battle fought across more than a mile of fields, lanes and rising ground.
Bolling Hall Museum in Bradford has strong Civil War associations and has displayed material relating to the battle. Anyone planning a visit should check current opening arrangements before travelling.
Takeaway
Adwalton Moor was won by numbers, but not by numbers alone.
Fairfax used the enclosed ground intelligently and came close to defeating a much larger army. Parliament’s musketeers neutralised Newcastle’s cavalry, cleared the hedges and drove the Royalist infantry back towards its guns.
The failure came when success carried Parliament’s troops beyond the terrain that had protected them. Kirton’s pikemen broke the left, Royalist artillery deepened the disorder, and Newcastle’s cavalry completed the rout.
It was a battle of hedges, pikes and timing. For three hours, Yorkshire hung upon whether mounted men could get through a gap in a field boundary. Civil wars are often decided in grand declarations. Occasionally, they are decided by a hedge.
Further Reading
- Historic England: Battle of Adwalton Moor
- Historic England Battlefield Report
- Battlefields Trust: Adwalton Moor
- British Civil Wars: The Battle of Adwalton Moor