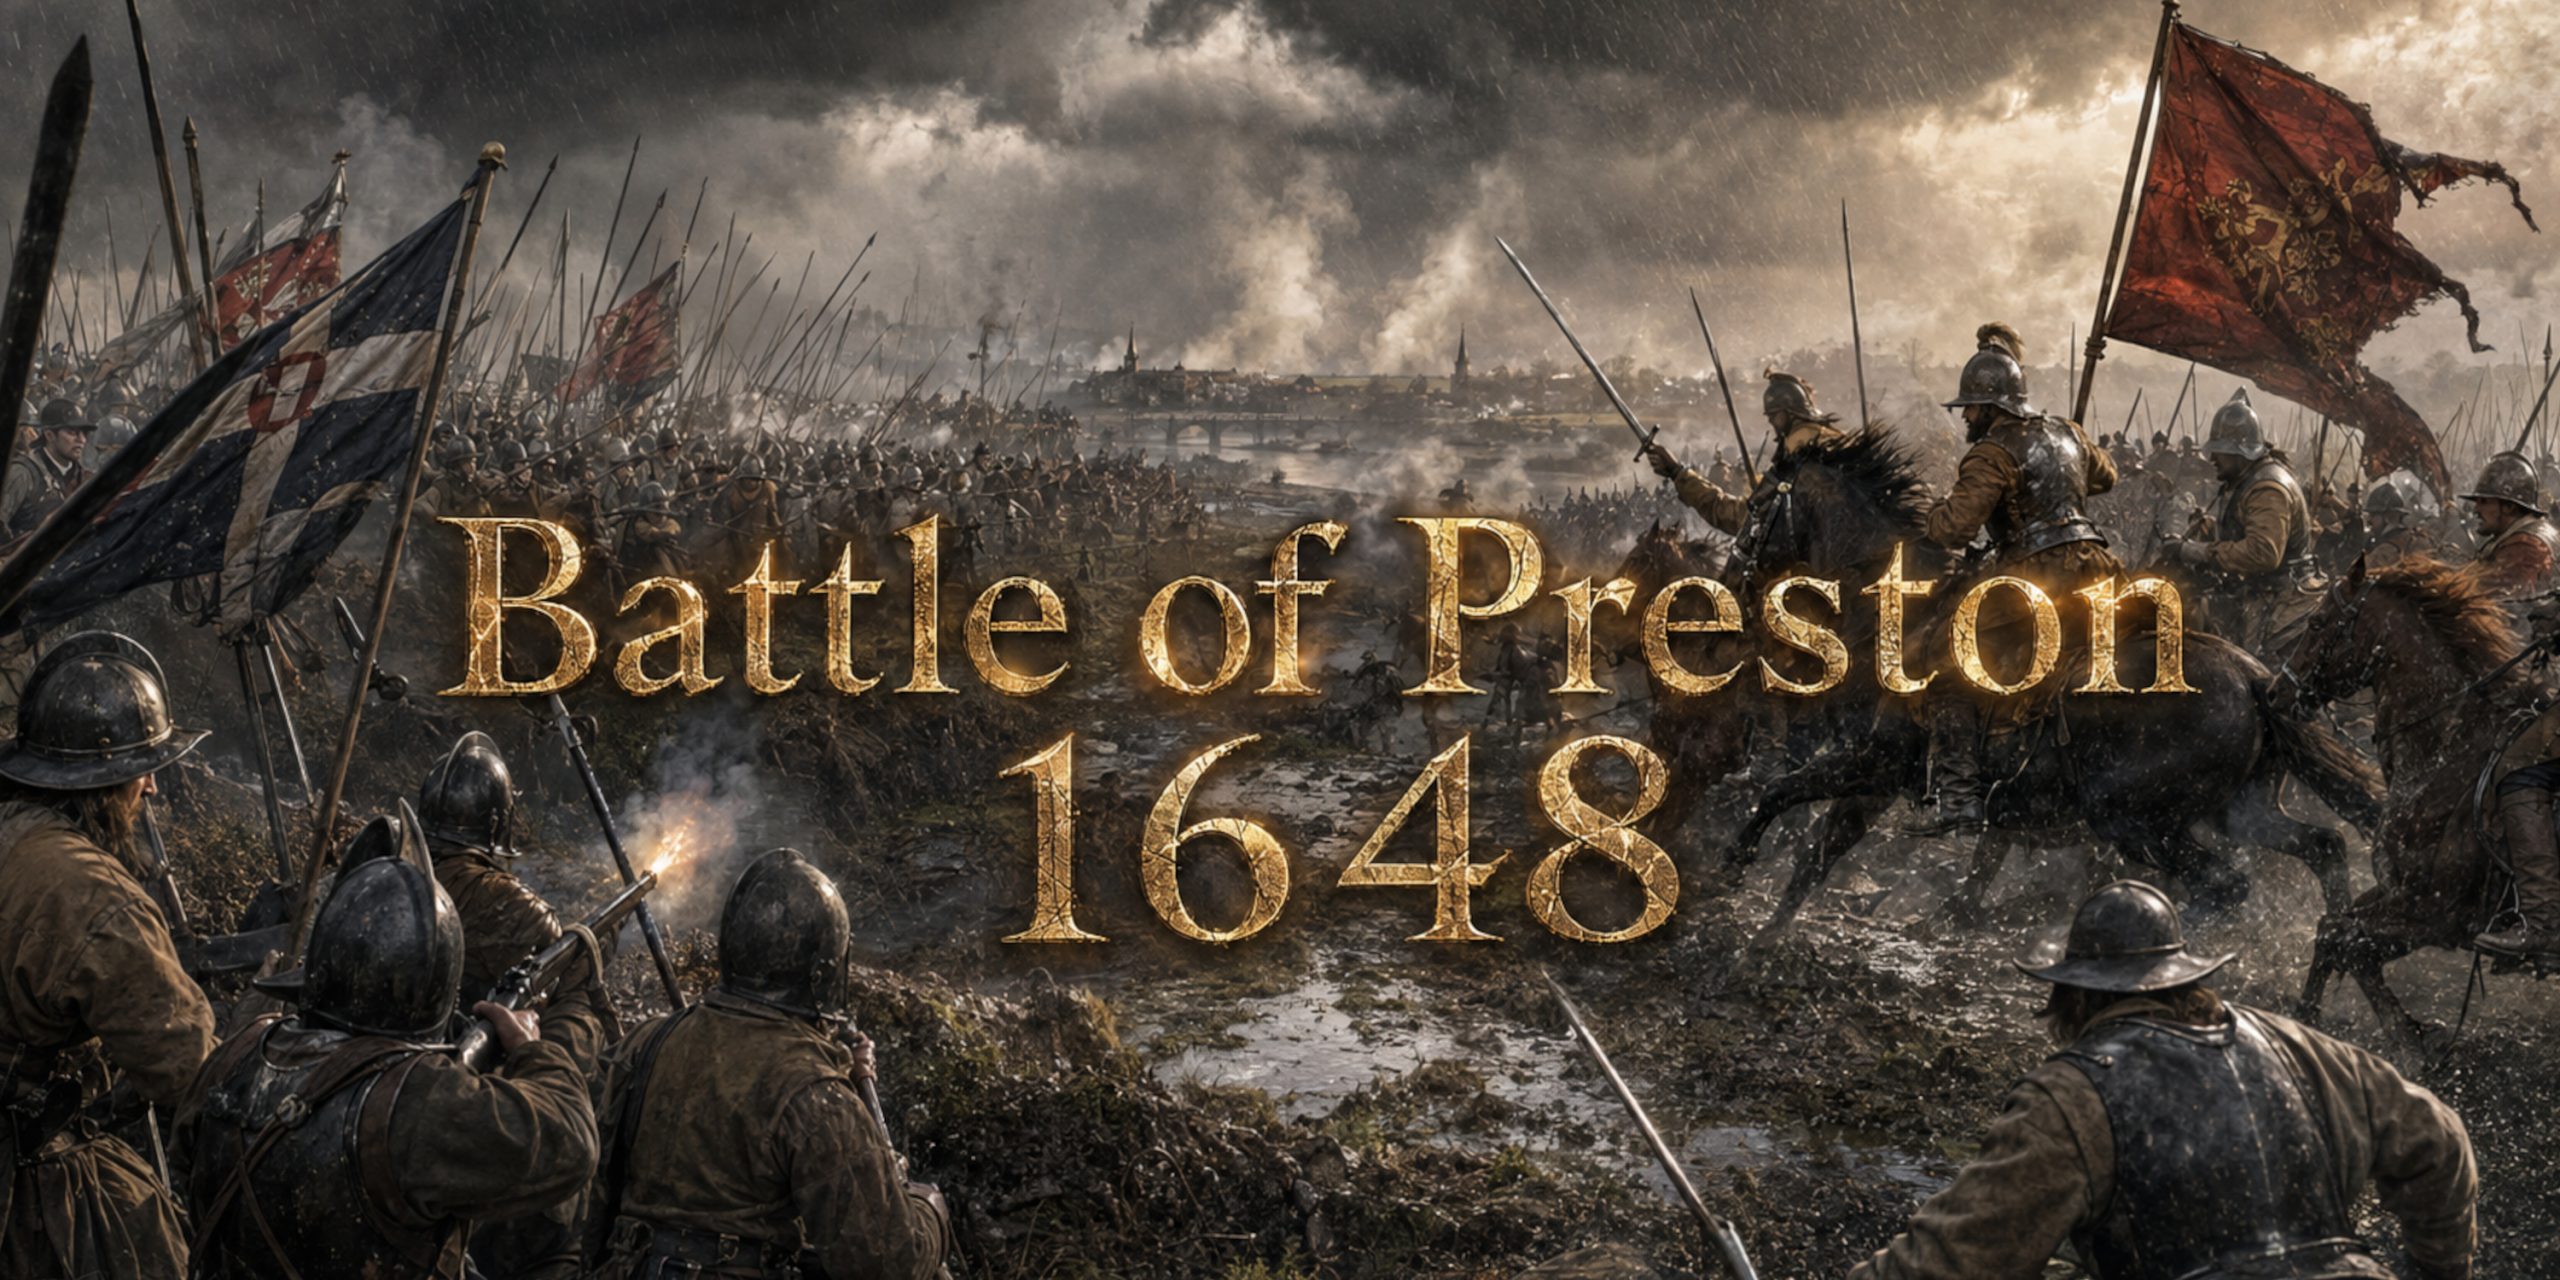
The Battle of Preston, fought on 17 August 1648, was less a tidy clash between two neatly arranged armies than a military collapse spread across sodden fields, cramped lanes, river crossings and the streets of Preston. Fighting continued south through Wigan and Winwick before the remnants of the defeated army finally surrendered or scattered.
Oliver Cromwell’s Parliamentarian force was heavily outnumbered on paper. Yet the Anglo-Scottish army supporting Charles I was dispersed across miles of Lancashire countryside, divided by rivers and commanded with a degree of confusion that almost feels collaborative. Cromwell recognised the opportunity, marched hard and attacked before his opponents could concentrate.
The result destroyed the Scottish Engager army, extinguished the main Royalist challenge of the Second English Civil War and helped set England on the road towards the trial and execution of Charles I.
Battle of Preston at a glance
| Detail | Information |
|---|---|
| Date | 17 August 1648, followed by pursuit and fighting to 19 August |
| Location | Preston, Walton-le-Dale, Wigan and Winwick, Lancashire |
| Wider conflict | Second English Civil War |
| Parliamentarian commander | Lieutenant-General Oliver Cromwell |
| Anglo-Scottish commanders | James Hamilton, Duke of Hamilton; Sir Marmaduke Langdale; William Baillie |
| Parliamentarian strength | Approximately 8,600 to 9,000 engaged |
| Anglo-Scottish strength | Up to 21,000 to 24,000 in the wider army, though many never fought at Preston |
| Result | Decisive Parliamentarian victory |
| Estimated losses at Preston | Around 1,000 Anglo-Scottish troops killed and 4,000 captured |
| Wider campaign losses | Around 2,000 killed and 8,000 to 9,000 captured, based on contemporary estimates |
| Historical importance | Destruction of the Engager invasion and effective end of the Second English Civil War |
Why was the Battle of Preston fought?
The First English Civil War ended in 1646 with Charles I defeated and in captivity, but the political settlement remained unresolved. Parliament, the New Model Army, English Presbyterians and competing Scottish factions all had different ideas about what should happen next.
Charles attempted to exploit those divisions. In December 1647 he reached a secret agreement with a group of Scottish politicians known as the Engagers. In return for military assistance, Charles promised to establish Presbyterianism in England for a trial period and suppress more radical religious groups.
It was an arrangement built upon mutual suspicion. Charles wanted his throne back. The Engagers wanted political and religious influence in England. Neither side appears to have trusted the other very much, which was probably wise.
The Scottish Parliament approved an invasion, although the decision was deeply controversial. Many Covenanters opposed the Engagement because Charles had not fully accepted their religious demands.
In July 1648, the Duke of Hamilton led the Engager army across the border. English Royalists under Sir Marmaduke Langdale joined him as the army moved south through Cumberland and Lancashire.
The invasion coincided with Royalist uprisings elsewhere in England and Wales. Parliament therefore faced several simultaneous threats, marking the beginning of the Second English Civil War.
The march towards Preston
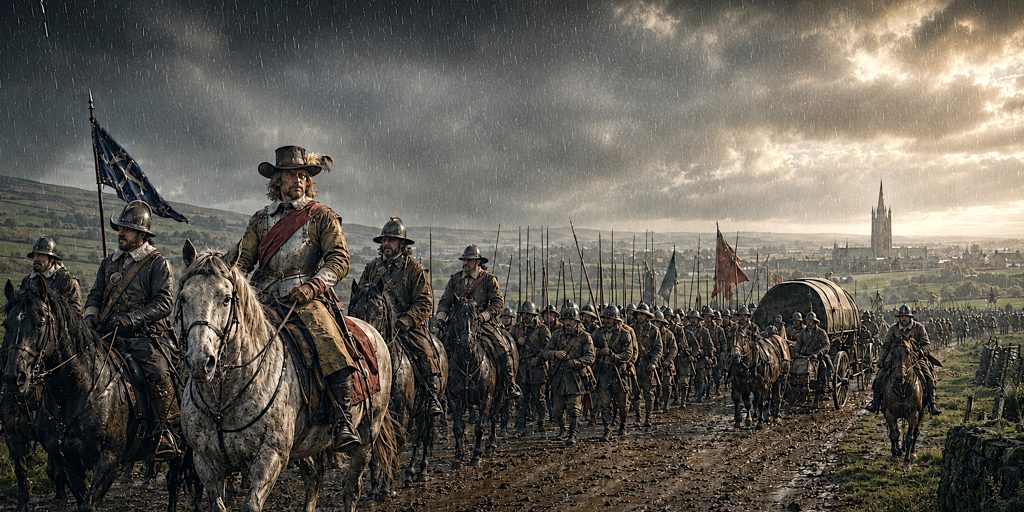
Hamilton crossed into England on 8 July 1648. His force captured Appleby Castle before advancing through Kendal, Lancaster and towards Preston.
The campaign moved slowly. Supplies were inadequate, senior officers disagreed and units were scattered across a long column. Sir George Munro’s experienced troops remained well to the north, while much of the Scottish cavalry moved ahead of the infantry to find food and forage.
Cromwell, meanwhile, had been campaigning in South Wales. After taking Pembroke Castle on 11 July, he marched through Gloucester, the Midlands and into Yorkshire. There he joined Major-General John Lambert’s Northern Association troops.
The combined Parliamentarian army moved west across the Pennines. It was a hard march conducted with limited baggage and little rest. Cromwell deliberately abandoned his heavy train so that his force could travel faster.
By 16 August he had reached the Hodder Bridge area, east of Preston. Rather than waiting for more troops, Cromwell chose to attack immediately. Hamilton’s army might have been larger, but only if someone could persuade all of it to appear on the same battlefield.
Forces at the Battle of Preston
Troop figures for Preston remain disputed. Contemporary commanders had political and personal reasons to exaggerate enemy strength while understating their own. Regiments were also frequently below their official establishment.
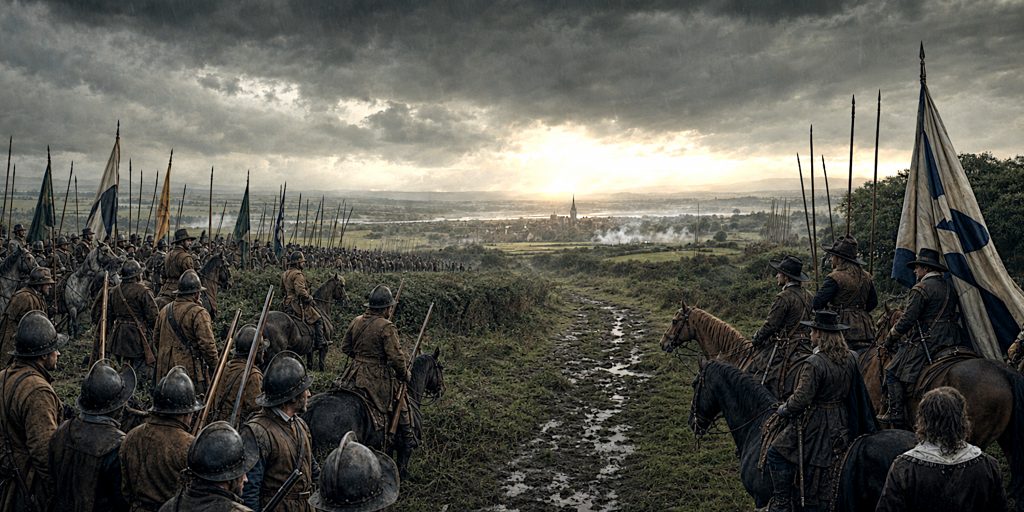
The most convincing modern estimates suggest Cromwell had around 8,600 to 9,000 men available at Preston. Hamilton’s wider army may have numbered approximately 21,000 to 24,000, but it was dispersed over such a wide area that only part of it could participate effectively.
Parliamentarian army
| Formation | Approximate strength | Notes |
|---|---|---|
| New Model Army infantry | 2,900 to 4,000 | Experienced veterans brought north by Cromwell |
| New Model Army cavalry and dragoons | Around 2,300 | Included Cromwell’s and Harrison’s cavalry |
| Lambert’s Northern Association infantry | Around 800 | Experienced northern troops |
| Lambert’s cavalry | 900 to 1,000 | Supported the advance and pursuit |
| Lancashire infantry | Around 1,600 | Commanded by Colonel Ralph Assheton |
| Lancashire cavalry | Around 500 | Local mounted troops |
| Total engaged | Approximately 8,600 to 9,000 | Most were concentrated and available for action |
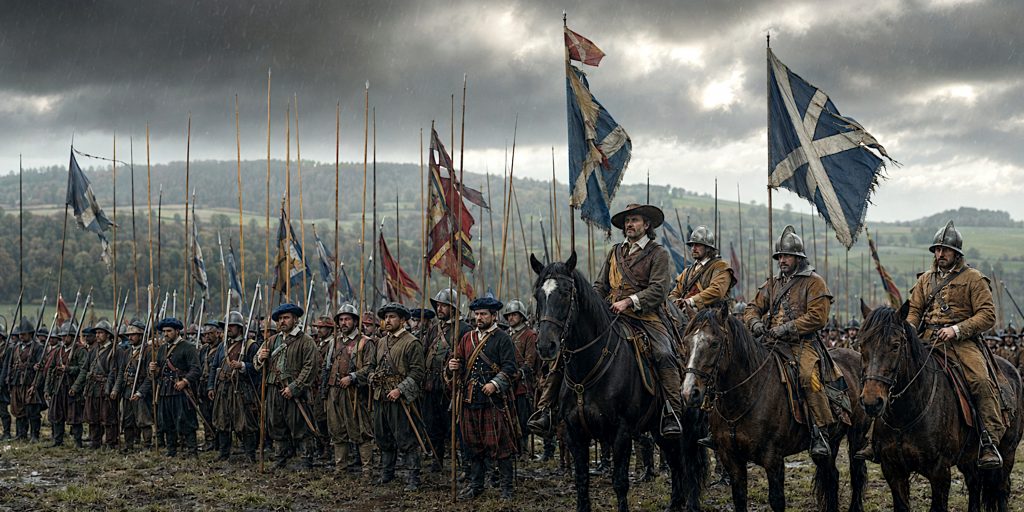
Anglo-Scottish and Royalist army
| Formation | Approximate strength | Notes |
|---|---|---|
| Scottish Engager infantry | Around 12,000 | Many regiments were under strength |
| Scottish cavalry | Around 3,500 | Much of it was dispersed south of Preston |
| Munro’s contingent | Around 2,800 | Experienced troops, but too far north to fight |
| Langdale’s English Royalist infantry | Around 4,000 to 4,500 | Formed the main defence north-east of Preston |
| English Royalist cavalry | Around 1,200 | Included northern Royalist horse |
| Wider total | Approximately 21,000 to 24,000 | Only a portion fought effectively at Preston |
The numerical disparity therefore requires context. Cromwell was not attacking 24,000 men standing in a single line. He was attacking separated groups before they could support one another.
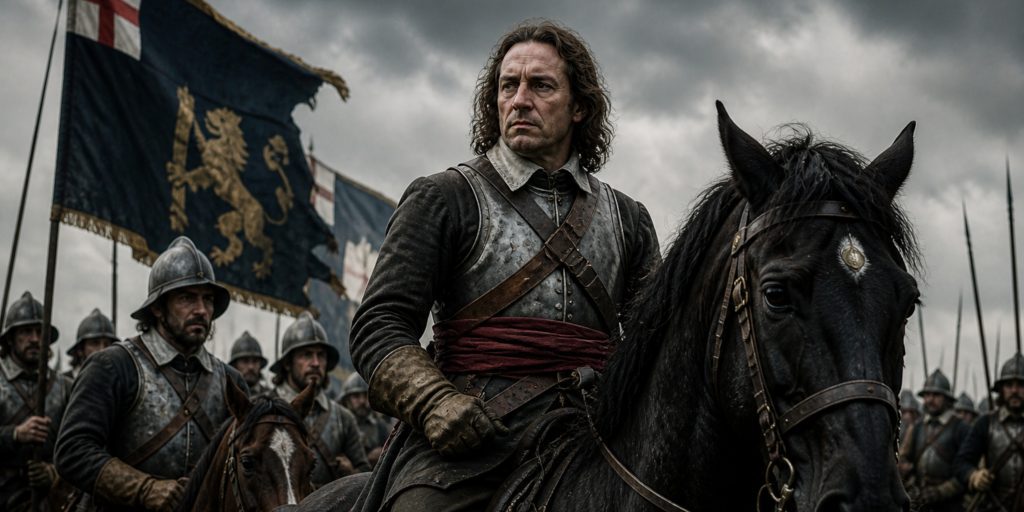
Leaders and commanders
| Commander | Side | Role at Preston |
|---|---|---|
| Oliver Cromwell | Parliamentarian | Directed the forced march, deployment and pursuit |
| John Lambert | Parliamentarian | Commanded Northern Association troops and supported the infantry attack |
| Thomas Harrison | Parliamentarian | Led cavalry through the lane and into Preston |
| Ralph Assheton | Parliamentarian | Commanded Lancashire troops, particularly important at Ribble Bridge |
| Thomas Pride | Parliamentarian | Commanded veteran infantry during the attack and later fighting at Winwick |
| James Hamilton, Duke of Hamilton | Anglo-Scottish | Overall commander of the Engager invasion |
| Sir Marmaduke Langdale | English Royalist | Commanded the determined defence north of Preston |
| William Baillie | Scottish Engager | Commanded much of the Scottish infantry |
| James Livingston, Earl of Callendar | Scottish Engager | Senior cavalry commander and political influence within the army |
| John Middleton | Scottish Engager | Commanded Scottish cavalry operating south of Preston |
| George Munro | Scottish Engager | Led experienced troops that remained too far north to intervene |
Oliver Cromwell
Cromwell’s contribution was not a miraculous cavalry charge or a single brilliant manoeuvre. It was his ability to recognise that speed could overcome numbers.
He brought his army across difficult country, accepted battle on awkward ground and committed his troops before Hamilton understood the scale of the threat. Cromwell took a considerable risk, but it was an informed one. He understood that the enemy’s scattered deployment was unlikely to improve if he attacked quickly.
The Duke of Hamilton
Hamilton has often been treated as the chief architect of the defeat. That verdict is harsh, but not entirely unfair.
His army suffered from political divisions, uncertain loyalties, shortages and arguments among senior officers. Even so, the decision to spread infantry, cavalry, artillery and reinforcements across such a vast distance was disastrous.
Hamilton also underestimated Langdale’s warnings that Cromwell was approaching in force. By the time the scale of the attack became clear, Scottish infantry were already crossing the Ribble and the cavalry was miles away.
Sir Marmaduke Langdale
Langdale performed considerably better. His English Royalists occupied defensive ground among hedges and enclosed fields north-east of Preston. They resisted for several hours, buying time for Hamilton’s army.
His failure was not tactical. It was that the support he expected never arrived in sufficient strength.
Arms and armour
The armies at Preston were equipped in broadly similar ways. The popular image of Parliamentarian soldiers in plain clothes fighting richly dressed Cavaliers is more theatrical than useful. By 1648, equipment depended upon supply, rank, regiment and personal wealth rather than political loyalty.
Infantry weapons
| Weapon | Users | Battlefield role |
|---|---|---|
| Matchlock musket | Musketeers on both sides | Delivered volleys at short to medium range |
| Pike | Pikemen on both sides | Protected formations and fought in close combat |
| Doglock or flintlock firearm | Some cavalry and officers | More reliable than a matchlock in mounted use |
| Hanger | Infantrymen, drummers and some officers | Short cutting sword useful in confined fighting |
| Rapier or transitional thrusting sword | Officers and gentlemen | Personal defence and symbol of rank |
| Polearms and halberds | Sergeants and officers | Formation control and close combat |
Heavy rain reduced the reliability and rate of fire of matchlock muskets. Slow match had to remain lit while powder needed to be kept dry, a combination that Lancashire weather treated with predictable contempt.
The enclosed terrain also prevented long, clear fields of fire. Musketeers fought from hedges and ditches, sometimes at very close range. Cromwell later reported repeated instances of “close firing” and “push of pike”.
Cavalry weapons
| Weapon | Likely users | Characteristics |
|---|---|---|
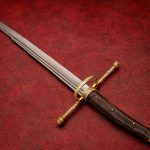
| Mortuary-hilted backsword or broadsword | English Parliamentarian and Royalist cavalry | Straight military blade with a protective iron guard |
| Basket-hilted broadsword | Scottish cavalry and officers | Broad cutting blade protected by a developed basket hilt |
| Walloon-hilted sword | Some cavalry officers and professional soldiers | Cut-and-thrust blade with pierced plates and knuckle protection |
| Cavalry pistol | English and some Scottish cavalry | Short-range firearm used before or during a charge |
| Lance | Scottish lancers | Powerful in formation and responsible for several Parliamentarian casualties |
| Carbine | Some mounted troops and dragoons | Short firearm suitable for mounted service |
The mortuary sword is particularly associated with English cavalry during the Civil Wars and Commonwealth. Its straight blade could cut and thrust, while its iron guard protected the hand during close mounted combat.
Scottish mounted troops often carried basket-hilted swords, including early forms of the Scottish broadsword. Some also retained lances, which were distinctly unfashionable in parts of western Europe but still extremely effective against tired or disordered cavalry.
Colonel Thomas Thornhaugh discovered this rather conclusively during the pursuit when he was run through by a Scottish lancer.
Armour and protection
Common protective equipment included:
- Lobster-tailed pot helmets worn by cavalry
- Iron breastplates and backplates
- Buff-leather coats
- Pikemen’s helmets and cuirasses
- Thick coats capable of offering limited protection from cuts
- Riding boots and heavy gloves for cavalrymen
Full armour had largely disappeared from the battlefield. Some pikemen still wore substantial protection, but heat, weight and the increasing power of firearms encouraged soldiers to discard parts of it.
The battlefield and terrain
The opening fighting occurred north-east of Preston around Ribbleton Moor and the enclosed ground leading towards the town. The landscape contained hedges, sunken lanes, streams and wet fields.
Cromwell described the terrain as “totally inconvenient for our horse, being all enclosure and miry ground”.
That observation matters. Preston was not a classic cavalry battlefield. Mounted regiments struggled to manoeuvre, while infantry could defend hedges, ditches and narrow approaches. Langdale used these features intelligently, placing musketeers behind cover and pikemen along the principal lane.
The Rivers Ribble and Darwen then shaped the second phase. Their bridges became bottlenecks through which Hamilton’s dispersed forces attempted to retreat or reinforce one another. Once Parliamentarian musketeers gained ground overlooking the Ribble crossing, the Scottish defenders were exposed to concentrated fire.
The Battle of Preston
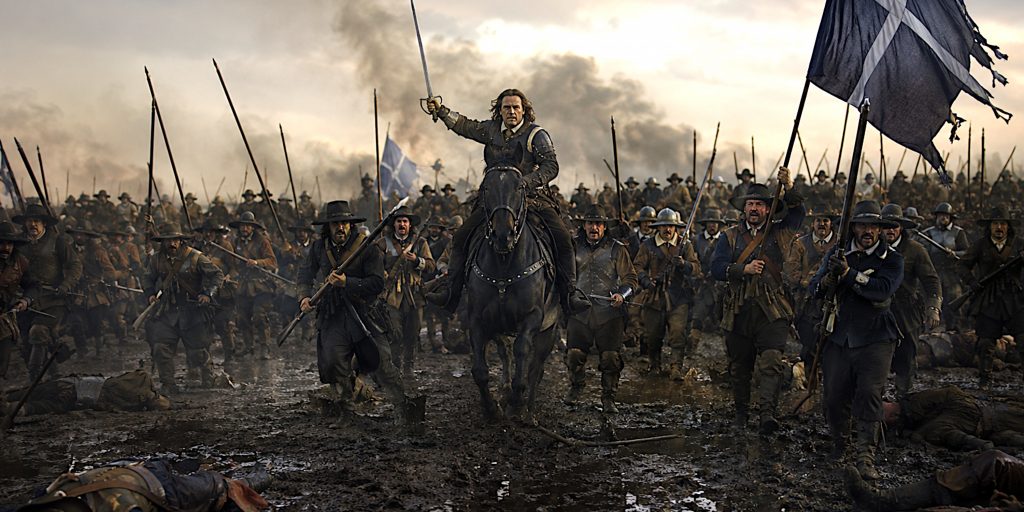
First contact on Ribbleton Moor
Early on 17 August, Cromwell sent approximately 200 cavalry and 400 infantry forward as an advance guard. They encountered Langdale’s scouts and outposts near Preston.
Langdale deployed around 4,000 English Royalists in enclosed ground across the Parliamentarian approach. His line incorporated hedges, a stream and the main road into Preston.
Cromwell brought forward his main body. Thomas Harrison’s cavalry and Cromwell’s own horse were ordered to attack along the lane, while Parliamentarian infantry advanced through the fields on either side.
The cavalry charge faltered. Pikemen blocked the lane while musketeers fired into the horses from the flanks. Scottish lancers briefly helped drive the Parliamentarian horse back.
For around four hours, the fighting became a grinding contest among hedges and muddy fields. Musketeers fired at close range. Pikemen pushed through gaps in the enclosures. Units advanced field by field rather than sweeping across an open front.
Langdale’s defence collapses
Langdale repeatedly appealed to Hamilton for support. Hamilton initially believed the action was only a skirmish or local attack, possibly involving Lancashire Presbyterians rather than Cromwell’s full army.
By the time the mistake became obvious, most of the Scottish infantry had been ordered south across the Ribble.
Parliamentarian infantry gradually forced Langdale’s men from their positions. The Lancashire brigade was committed from reserve, strengthening the attack on Cromwell’s left.
Langdale’s line finally broke. His troops retreated into Preston, pursued by Harrison’s cavalry. Fighting continued in the streets before the Royalists fled towards the Ribble crossing.
The struggle for Ribble Bridge
South of Preston, Scottish troops attempted to hold Ribble Bridge. Parliamentarian musketeers occupied higher ground around Frenchwood and fired upon the exposed approaches.
The Scottish defenders had little cover. Reinforcements moving north across the bridge were subjected to fire before they could deploy.
Lancashire infantry attacked the bridge in a prolonged close-quarters fight. Pikemen on both sides struggled for control of the narrow crossing. Cromwell described the contest as “a very hot dispute”, with the opposing formations repeatedly coming to push of pike.
After around two hours, the Parliamentarians secured Ribble Bridge and pressed towards the River Darwen.
Walton Hill and the night retreat
William Baillie concentrated surviving Scottish infantry on the rising ground around Walton Hill. Although the Engager army remained numerically formidable, its formations were separated and its ammunition train was vulnerable.
Night prevented Cromwell from launching a further organised assault.
Hamilton’s officers held a council of war. Baillie and Sir James Turner favoured remaining in position until the cavalry returned. Callendar argued for an immediate withdrawal towards Wigan.
The army marched south without drums, abandoning much of its baggage, artillery and ammunition. Orders were given to destroy the supplies after the retreat began, but the task was neglected. Cromwell captured the lot.
It was not the finest administrative moment of the campaign.
Pursuit through Wigan and Winwick
Cromwell resumed the pursuit on 18 August. Parliamentarian cavalry caught parts of the retreating army as it struggled through rain, mud and congested roads.
The soldiers were exhausted. Some had barely eaten or slept for two days. Stragglers were captured or killed, while the retreating troops plundered Wigan for supplies.
Cromwell described riding twelve miles through ground unlike anything he had experienced, “the day being very wet”. Coming from a man who had campaigned across much of Britain, this is a reasonably strong review of the local conditions.
On 19 August, approximately 7,000 Scottish infantry made a determined stand near Winwick. Pikemen blocked the road while musketeers occupied the hedges.
The first Parliamentarian attacks were repulsed. Once Pride’s veteran infantry arrived, Cromwell’s troops renewed the assault. After several hours of close fighting, the Scottish position collapsed.
Baillie withdrew to Warrington and negotiated a surrender. The Engager infantry handed over its weapons and became prisoners of war.
Hamilton escaped with part of the cavalry but surrendered near Uttoxeter on 25 August. Langdale evaded capture and eventually reached Scotland.
Battle timeline
| Date and time | Event |
|---|---|
| 8 July 1648 | Hamilton’s Engager army crosses into England |
| 11 July | Cromwell completes the siege of Pembroke and prepares to march north |
| 12 August | Cromwell joins Lambert near Wetherby |
| 13 to 16 August | Parliamentarian army marches through Otley, Skipton and Gisburn towards the Ribble |
| Night of 16 August | Cromwell’s army camps near Stonyhurst Hall |
| Morning, 17 August | Parliamentarian advance guard encounters Langdale’s troops near Preston |
| Late morning | Langdale forms a defensive line among hedges and enclosed fields |
| Early afternoon | Cromwell launches cavalry and infantry attacks along the Preston road |
| Afternoon | Four hours of close fighting force Langdale back towards the town |
| Late afternoon | Parliamentarian cavalry enters Preston and clears the streets |
| Evening | Lancashire infantry fights for Ribble Bridge |
| Night, 17 August | Hamilton abandons baggage and ammunition and retreats towards Wigan |
| 18 August | Cromwell pursues through appalling weather; further fighting occurs near Wigan |
| 19 August | Scottish infantry makes its final major stand at Winwick |
| Later on 19 August | Baillie surrenders the remaining infantry at Warrington |
| 25 August | Hamilton and the surviving cavalry surrender near Uttoxeter |
Contemporary accounts and quotations
Contemporary accounts must be handled carefully. Commanders wrote to defend their decisions, praise their soldiers and explain defeat. They remain invaluable, but they were hardly neutral match reports.
Cromwell described the fighting north of Preston:
“We came to a hedge-dispute.”
It is an economical phrase for several hours of musketry, pike fighting and cavalry attacks through enclosed fields.
He praised the Parliamentarian infantry:
“They often coming to push of pike and to close firing, and always making the Enemy to recoil.”
Cromwell also recorded the conditions during the pursuit:
“We lay that night in the field close by the Enemy; being very dirty and weary.”
Sir James Turner offered a less triumphant description of the Royalist council after Ribble Bridge was lost:
“Our soldiers exceedingly wet, weary and hungry.”
Turner believed the decision to retreat was disastrous and called it a:
“Shameful resolution.”
His account also preserved Hamilton’s reported words during the confused retreat through Preston:
“Charge once more for King Charles!”
Milton later commemorated the victory in a sonnet addressed to Cromwell, referring to the River Darwen:
“While Darwent streams with blood of Scots imbrued.”
It is powerful poetry, although less useful as a casualty return.
Casualties and prisoners
Reliable casualty totals are difficult to establish.
Cromwell estimated that around 1,000 of the enemy were killed and 4,000 captured during the fighting at Preston. He later claimed that the wider campaign produced approximately 2,000 dead and between 8,000 and 9,000 prisoners.
Modern estimates generally accept:
- Around 1,000 Anglo-Scottish soldiers killed at Preston
- Approximately 4,000 captured during the initial battle
- A further 1,000 killed during the retreat and fighting around Winwick
- Approximately 7,000 to 8,000 additional prisoners taken during the campaign
- Parliamentarian losses probably below those of their opponents, but higher than official claims suggested
- Several hundred Parliamentarian soldiers wounded
Parliament claimed that fewer than 100 of its soldiers were killed during the campaign. Historians have questioned this figure, particularly given the repeated close combat described by Cromwell himself.
The fate of prisoners was often grim. Some were released, exchanged or allowed to return home. Others were transported overseas as indentured labourers. Disease, hunger and confinement added to the suffering after the battle had ended.
Archaeology of the Battle of Preston
The archaeology of Preston is challenging because much of the battlefield has been altered by urban expansion, roads, housing and industrial development.
Unlike battlefields with clear surviving earthworks or concentrated artefact scatters, Preston was fought across a wide and changing landscape. The action moved from Ribbleton Moor through enclosed fields, into the town, across the Ribble and towards Walton-le-Dale.
Potential battlefield evidence includes:
- Musket balls and pistol shot
- Artillery shot
- Buckles, buttons and military fittings
- Horseshoes and harness equipment
- Sword and scabbard fragments
- Personal objects lost by soldiers
- Evidence associated with river crossings and defensive positions
The Battlefield Trust notes that surviving shot is likely to remain within undeveloped parts of the wider campaign landscape. Its distribution could help identify firing lines, concentrations of combat and the movement of troops.
However, finds without securely recorded locations are of limited archaeological value. A musket ball proves very little by itself. Its precise position, depth and relationship to other finds are what allow archaeologists to reconstruct a battle.
Research into Preston’s Civil War landscape remains active. Work publicised in 2025 included investigation connected with Andrew Stafford’s University of Glasgow doctoral research into the battle’s aftermath and its effect upon Preston. This is a useful reminder that battlefield archaeology is not limited to finding weapons. Damage to property, burial, disrupted land use and the economic burden placed on local communities all form part of the story.
Winwick, where the campaign’s final major action took place, retains a more legible battlefield landscape and is regarded by the Battlefield Trust as one of the best-preserved sites associated with the Second English Civil War.
Why did Cromwell win?
Concentration of force
Cromwell’s army was smaller but assembled. Hamilton’s larger force was spread between Lancaster, Preston, Wigan and locations farther north.
Speed
The Parliamentarian march across northern England allowed Cromwell to attack before Hamilton expected him. The decision to leave the heavy train behind improved mobility.
Better command
Cromwell and Lambert coordinated their formations under difficult conditions. Hamilton’s senior officers argued over routes, priorities and whether to fight or retreat.
Experienced soldiers
The New Model infantry had fought through the closing campaigns of the First Civil War. It could maintain pressure in close terrain and recover from local setbacks.
Hamilton’s deployment
The Scottish infantry, cavalry, artillery and reserves were separated. Rivers and narrow roads made the situation worse once fighting began.
Local support
Lancashire Parliamentarian troops played an important role, particularly in the battle for Ribble Bridge. Cromwell’s victory was not achieved by the New Model Army alone.
The consequences of Preston
The destruction of Hamilton’s army removed the greatest military threat faced by Parliament during the Second English Civil War.
The defeat also transformed Scottish politics. Opponents of the Engagement regained control, while Hamilton was captured, tried in England and executed in March 1649.
More importantly, Preston hardened attitudes within the New Model Army. Many officers believed Charles I had deliberately caused a second war after being defeated in the first. To them, further negotiation looked less like statesmanship and more like an invitation to repeat the entire performance.
In December 1648, soldiers purged the House of Commons of members willing to continue negotiating with Charles. The remaining Rump Parliament established the High Court of Justice.
Charles I was tried and executed on 30 January 1649.
Preston did not make that outcome inevitable, but it brought it considerably closer. The battle demonstrated that Charles could still inspire armed intervention even while imprisoned. For his most determined opponents, that made a permanent settlement with him appear impossible.
Was Preston Cromwell’s greatest victory?
Dunbar and Worcester are usually remembered as Cromwell’s grandest battlefield successes. Both produced more recognisable set-piece battles and striking tactical narratives.
Preston deserves comparison because it reveals a different kind of command. Cromwell defeated a larger army by exploiting its movement, separation and weak leadership. He attacked through terrain that restricted his strongest arm, the cavalry, and continued the pursuit despite exhausted men, ruined roads and atrocious weather.
Yet the victory should not be reduced to Cromwell’s personal genius. Langdale’s defence was formidable. Lancashire infantry carried much of the burden at Ribble Bridge. Lambert provided experienced leadership. Hamilton and his officers made mistakes that no opposing commander could have ordered more helpfully.
Preston was therefore a triumph of speed, discipline and concentration over superior numbers. It was also a warning about what happens when an army becomes a long queue of mutually inconvenienced regiments.
Visiting the Preston battlefield today
Modern development has obscured much of the original landscape, but several locations help trace the course of the fighting:
- Ribbleton and the ground north-east of Preston
- The historic approach into Preston
- Frenchwood and the high ground overlooking the Ribble
- The River Ribble crossing
- Walton-le-Dale and Walton Hill
- Wigan, along the line of retreat
- Winwick and Red Bank
- Warrington Bridge, where Baillie negotiated surrender
Visitors should remember that the Battle of Preston was a campaign spread across several days rather than a single compact battlefield. Walking its route gives a much clearer impression of the logistical disaster facing Hamilton’s army.
Legacy of the Battle of Preston
The Battle of Preston was among the most politically consequential victories of the British Civil Wars.
It destroyed the Engager invasion, weakened the moderate factions still seeking agreement with Charles and strengthened the army officers who believed the king could no longer be trusted. Within five months, Charles I was dead and England had become a republic.
The battle also exposes the limits of raw numbers. Hamilton possessed the larger army, but an army scattered across roads and river crossings is only theoretically large. Cromwell brought fewer soldiers to the campaign, yet placed more of them where they mattered.
Preston was wet, confused and brutally intimate. Much of the fighting occurred at hedges, bridges and in narrow lanes where formations could barely operate. It lacks the sweeping drama often attached to Naseby or Marston Moor, but that is precisely what makes it interesting. Victory emerged through marching, concentration and command, followed by a relentless pursuit of men who were already cold, hungry and exhausted.
History occasionally turns on a majestic charge. At Preston, it turned on who reached the right muddy field first.
Sources and further reading
- Stephen Bull and Mike Seed, Bloody Preston: The Battle of Preston, 1648
- Malcolm Wanklyn, Decisive Battles of the English Civil War
- Richard Brooks, Cassell’s Battlefields of Britain and Ireland
- Trevor Royle, Civil War: The Wars of the Three Kingdoms
- Michael Braddick, God’s Fury, England’s Fire
- The Battle of Preston, Newcastle University
- Preston Campaign, Battlefield Trust
- Cromwell’s letter to William Lenthall, 20 August 1648
- Sir Marmaduke Langdale’s account of Preston, Oxford Text Archive
- Research into Preston’s Civil War archaeology