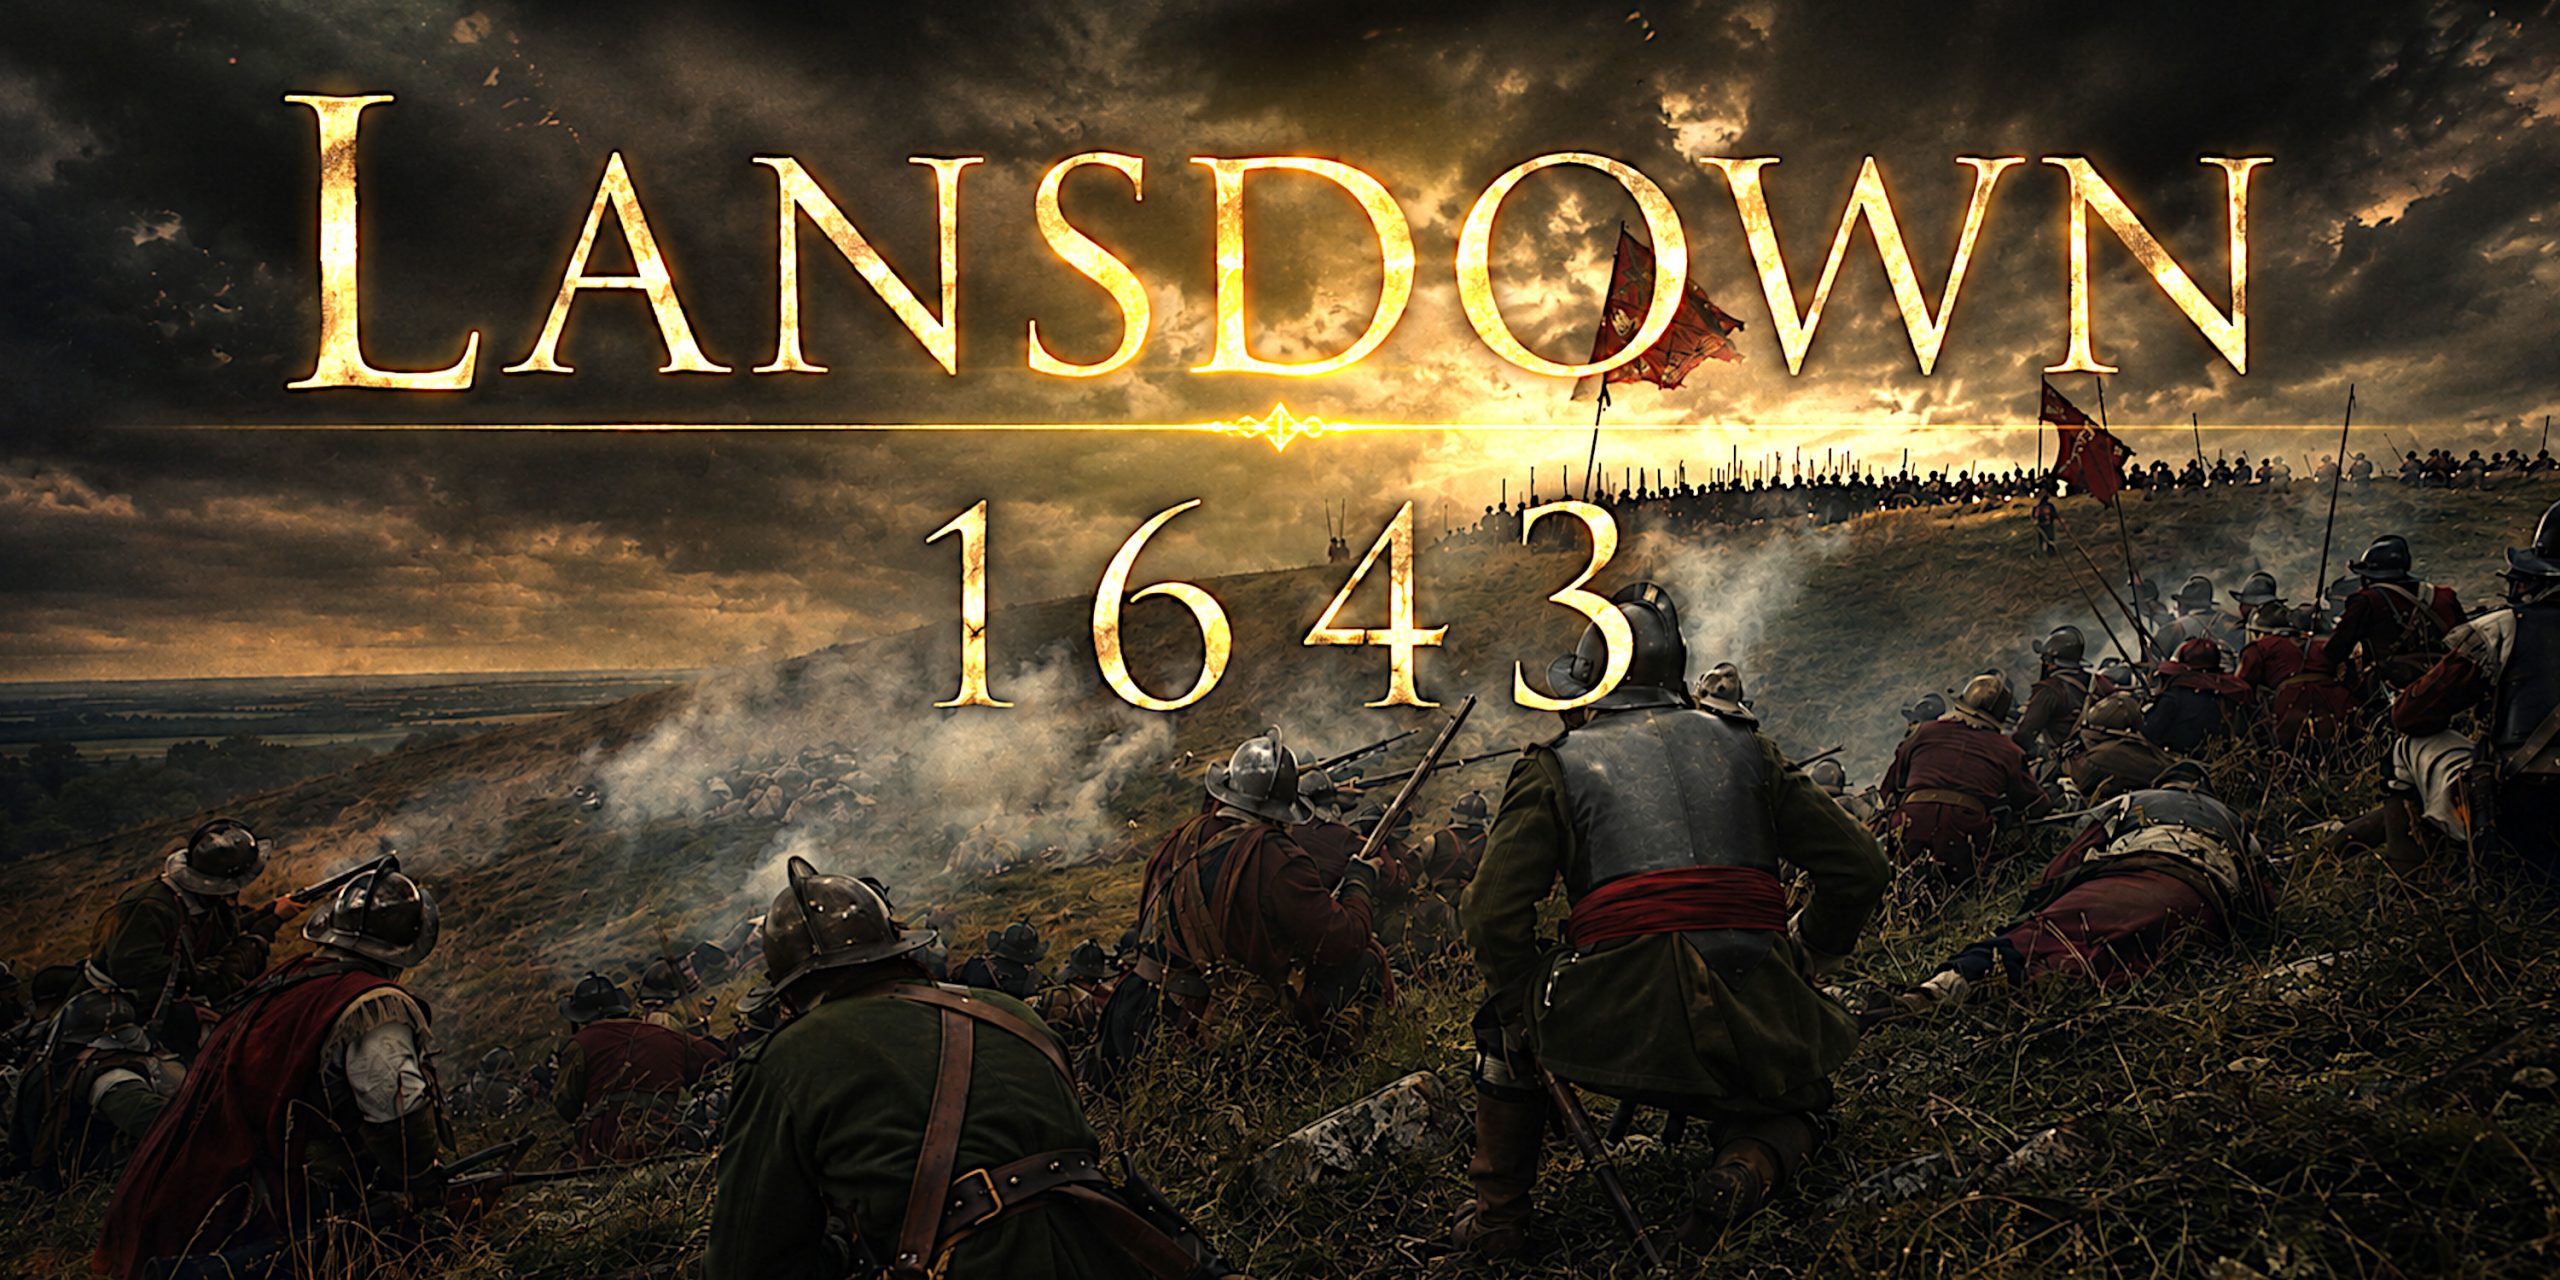
The Battle of Lansdown Hill, fought on 5 July 1643 during the First English Civil War, was one of those engagements where claiming victory required a certain generosity with the word.
Sir Ralph Hopton’s Royalists eventually occupied the ground abandoned by Sir William Waller’s Parliamentarians, but they paid heavily for it. Their infantry had attacked one of the strongest defensive positions in the region, advancing up a brutally steep slope into musket and artillery fire. Among the Royalist dead was the celebrated Cornish commander Sir Bevil Grenville.
Waller, meanwhile, withdrew his army intact towards Bath. He had lost the battlefield, but Hopton was in no condition to exploit his success.
It was a Royalist victory in the narrow seventeenth-century sense that they were still standing on the hill when their opponents left. Strategically, Lansdown was considerably messier.
| Battle | Battle of Lansdown Hill |
|---|---|
| Date | 5 July 1643 |
| War | First English Civil War |
| Location | Lansdown Hill, north of Bath |
| Royalist commander | Sir Ralph Hopton |
| Parliamentarian commander | Sir William Waller |
| Royalist strength | Approx. 4,000 infantry, 2,000 cavalry, dragoons and artillery |
| Parliamentarian strength | Approx. 1,500 infantry and 2,500 cavalry, with artillery |
| Result | Usually described as a costly Royalist victory or tactically inconclusive |
| Notable casualty | Sir Bevil Grenville, mortally wounded |
Why Lansdown Hill Mattered
By the summer of 1643 the war in south-west England was moving rapidly in the Royalists’ favour.
Hopton’s Cornish army had already demonstrated that it was among the most formidable Royalist infantry forces in the country. After campaigning through Devon and Somerset, Hopton joined forces with the Marquis of Hertford and Prince Maurice and pushed towards Bath.
Bath mattered because it was a significant Parliamentarian base and a gateway towards the Thames Valley and London. Sir William Waller, one of Parliament’s most capable field commanders, had no intention of simply handing it over.
The geography gave him an excellent opportunity to stop Hopton.
Lansdown Hill rises sharply north of Bath before opening onto a plateau. The northern face is particularly steep. Royalist officer Richard Atkyns compared the ascent to “the eaves of an house for steepness”.
That is not an encouraging description if you are about to climb it carrying a musket, ammunition, sword and assorted seventeenth-century baggage while somebody fires at you from the top.
Waller occupied the high ground and strengthened it with temporary fortifications. Woods protected parts of his flanks, while stone walls, hedges and broken ground complicated any Royalist approach.
Hopton would have to attack uphill.
Forces
Exact Civil War army strengths are notoriously slippery. Contemporary reports were influenced by incomplete information, propaganda and the ancient military tradition of making the enemy’s army sound enormous after you beat it.
The following figures are reasonable approximations.
| Army | Infantry | Cavalry | Dragoons | Artillery | Estimated total |
| Royalists | c. 4,000 | c. 2,000 | Small contingent, perhaps 30 to several hundred depending on source | Around 16 guns often cited | c. 6,000+ |
| Parliamentarians | c. 1,500 | c. 2,500 | Included among mounted forces in some accounts | Several guns | c. 4,000 |
The Royalists possessed a substantial advantage in infantry. Waller had more cavalry and, crucially, the better defensive position.
That combination explains much of what followed.
Royalist Commanders and Troop Composition
| Commander | Role | Troops or responsibility |
| Sir Ralph Hopton | Principal Royalist field commander | Overall direction of the army |
| Sir Bevil Grenville | Senior Cornish commander | Cornish infantry |
| Prince Maurice | Senior Royalist commander | Cavalry and operational command |
| Marquis of Hertford | Royalist commander | Senior overall authority in the western army |
| Earl of Carnarvon | Cavalry commander | Royalist horse |
| Colonel John Giffard | Infantry officer | Royalist foot |
The backbone of Hopton’s force was his Cornish infantry.
These troops had developed a formidable reputation during the western campaigns. Their performance at Lansdown helps explain why. They continued advancing over exceptionally difficult terrain despite artillery, musketry and cavalry attacks.
Royalist cavalry was rather less impressive during portions of the battle. Several formations were disrupted during Parliamentarian attacks, forcing infantry and other cavalry units to stabilise the situation.
Hopton’s army therefore contained:
- Cornish pikemen
- Cornish musketeers
- Royalist cavalry
- Dragoons
- Field artillery
- Infantry regiments raised across the south-west
The Cornish foot would bear much of the day’s hardest fighting.
Parliamentarian Commanders and Troop Composition
| Commander | Role | Troops or responsibility |
| Sir William Waller | Parliamentarian commander | Overall command |
| Sir Arthur Haselrig | Cavalry commander | Heavily armoured cuirassiers |
| Various regimental officers | Infantry command | Musketeers and pikemen defending the summit |
Waller had fewer infantrymen but possessed a significant mounted force.
Most famous were Sir Arthur Haselrig’s cuirassiers, nicknamed the “Lobsters” because of their extensive armour.
The Royalist historian Edward Hyde, Earl of Clarendon, described them as being so completely protected that their opponents called them lobsters because of their “bright iron shells”.
The nickname was funny. Being charged by several hundred heavily armoured cavalrymen was presumably less so.
Waller’s army included:
- Musketeers positioned behind breastworks
- Musketeers deployed in woodland
- Pikemen supporting the defensive line
- Conventional cavalry
- Haselrig’s cuirassiers
- Dragoons
- Artillery positioned to command the approaches
Waller had carefully turned the landscape into part of his army.
The Battlefield
Lansdown Hill lies roughly five miles north of Bath.
The northern slope rises sharply towards a plateau. Historic England notes that the summit position gave Parliament’s troops a considerable advantage over an attacker approaching from below.
Waller strengthened the position further.
Royalist officer Walter Slingsby described breastworks containing cannon and “great store of small shott”, with thick woodland protecting the flanks.
Behind the main position lay relatively level ground where Waller could keep reserves of infantry and cavalry.
The Royalists therefore faced several problems at once:
- A steep uphill approach
- Parliamentarian artillery
- Musketeers firing from prepared positions
- Woods restricting movement
- Walls and hedges breaking up formations
- Parliamentarian cavalry capable of counter-attacking
- Limited Royalist ammunition
Hopton nevertheless attacked.
There are moments in military history where determination and tactical wisdom part company for a few hours. Lansdown is a respectable candidate.
The Opening Skirmishes
Early on 5 July, Waller’s troops moved aggressively against Royalist positions around Tog Hill and Freezing Hill.
Dragoons and cavalry skirmished among lanes, hedges and fields. Hopton initially appears to have concluded that prolonged fighting would simply consume ammunition his army could ill afford to waste.
The Royalists began withdrawing towards Marshfield.
Waller saw an opportunity.
Parliamentarian cavalry and dragoons moved against the Royalist rear and flank. Several bodies of Royalist cavalry were thrown into disorder.
The Royalist infantry held.
Cornish musketeers remained in position even as friendly cavalry was routed around them, helping prevent the withdrawal from becoming a collapse.
The fighting then changed direction entirely.
The Royalists Turn Back
Rather than continuing their retreat, Hopton’s army rallied.
Royalist cavalry counter-attacked and the Parliamentarian mounted troops were themselves driven back.
Meanwhile, portions of the Cornish infantry were already moving towards Lansdown Hill.
The battle was slipping beyond the neat control implied by maps covered in tidy arrows.
Hopton now committed himself to an assault on Waller’s main position.
The Cornish foot began climbing.
The Assault on Lansdown Hill
The Royalist advance up the northern face of Lansdown was the defining episode of the battle.
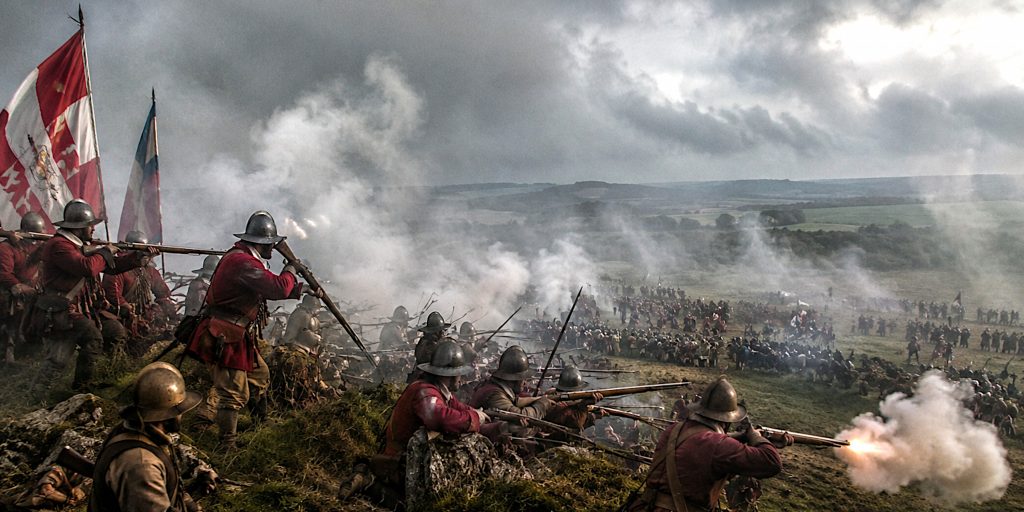
Waller’s musketeers fired from breastworks and woodland while artillery covered the approaches. Royalist infantry had to maintain formation while climbing increasingly steep ground under fire.
Cavalry attempting to support the attack struggled badly with the terrain.
The Cornish infantry continued.
Pike formations were particularly vulnerable during the climb because uneven ground disrupted the dense formations on which their effectiveness depended. Musketeers could use cover more easily, but reloading a matchlock while scrambling uphill was hardly ideal.
Despite heavy casualties, the Royalists reached the upper slopes.
Then came the close fighting.
The Fight at the Breastworks
Once the Cornish infantry reached Waller’s defensive line, the battle became much more intimate.
Musketry at close range was followed by fighting around walls, earthworks and field positions.
Pikemen attempted to maintain formations while musketeers fought with swords, musket stocks and whatever else remained useful.
Royalist pressure eventually forced Waller’s men away from their forward positions towards another defensive line on the plateau.
The Royalists had taken the crest.
They had also taken dreadful losses doing it.
The Death of Sir Bevil Grenville
Among those mortally wounded was Sir Bevil Grenville, one of the most important Royalist commanders in the West Country.
Grenville had been closely associated with the Cornish army’s earlier successes and personally led his men during the fighting.
Accounts differ over the precise circumstances of his fatal wound. Later tradition held that he was struck on the head by a polearm or axe during close combat with Parliamentarian cavalry.
He was carried from the battlefield and died shortly afterwards.
His death was a serious blow to Cornish morale and Royalist leadership.
A monument erected in 1720 now stands close to the battlefield and remains one of the most recognisable features of Lansdown Hill.
Arms and Armour at Lansdown Hill
The battle took place during a transitional period in European warfare. Firearms increasingly dominated combat, but pikes, swords and heavy cavalry armour remained important.
Infantry Weapons
| Weapon | Users | Role |
| Matchlock musket | Musketeers on both sides | Primary infantry firearm |
| Pike | Pikemen | Protecting infantry and fighting opposing formations |
| Bandolier and powder charges | Musketeers | Carrying pre-measured powder charges |
| Sword | Officers, cavalry and many infantrymen | Close combat and personal defence |
| Musket stock | Musketeers | Improvised weapon when fighting became extremely close |
Sword Types Used
Several forms of sword would have been present.
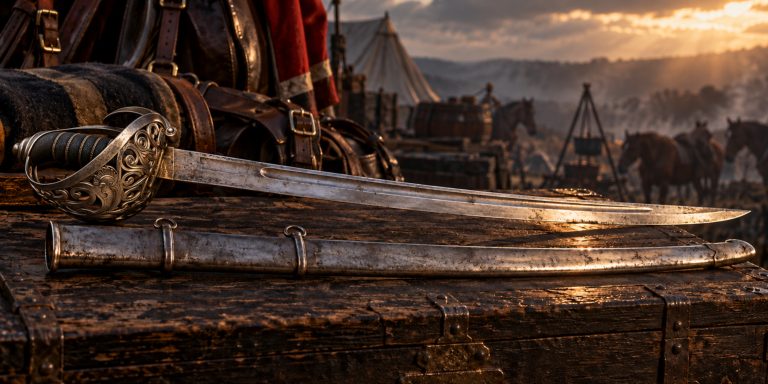
Associated particularly with cavalry and officers during the English Civil War. Surviving examples typically have relatively long straight blades and elaborate iron guards providing substantial hand protection.
English basket-hilted sword
Basket-hilted swords were widely used in Britain during the seventeenth century. Their protective hilts made them practical cavalry and infantry weapons.
Single-edged backswords were common military sidearms. They offered robust cutting performance without requiring an especially elaborate blade.
Straight, double-edged military swords remained in widespread use among officers and cavalry.
Shorter cutting swords or hangers were useful for infantrymen, particularly in the cramped fighting around fortifications, hedges and walls.
It is worth resisting the temptation to imagine Lansdown as primarily a sword fight. Muskets, pikes and artillery shaped the battle. Swords became particularly important when formations collided or cavalry entered close combat.
Cavalry Armour
Haselrig’s cuirassiers represented the heavier end of Civil War cavalry equipment.
A well-equipped cuirassier could wear:
- Helmet
- Breastplate
- Backplate
- Arm defences
- Thigh protection
- Gauntlets
Royalist cavalry was generally more lightly protected.
Clarendon specifically observed that Royalist horsemen found Haselrig’s heavily armoured troops difficult to injure with swords.
Fighting on the Plateau
Taking Waller’s forward position did not end the battle.
The Parliamentarians established themselves behind another defensive line, probably incorporating a stone wall across the plateau.
Both armies were exhausted.
The Royalists had suffered severe casualties and consumed much of their ammunition. Waller still possessed enough troops to make another assault extremely dangerous.
Firing continued into the evening.
Neither commander appears to have been particularly eager to discover what another full-scale attack would cost.
That reluctance was sensible.
Waller’s Night Withdrawal
At around 11pm, Parliamentarian troops delivered a heavy volley of musket fire.
Then the battlefield became suspiciously quiet.
Waller was withdrawing towards Bath.
He did so with considerable cunning.
According to Walter Slingsby, the Parliamentarians left burning matchcord along the wall and placed pikes upright so that, from a distance in the darkness, the position appeared to remain occupied.
The Royalists hesitated.
Eventually a soldier was paid to crawl forward and investigate.
The Parliamentarians had gone.
It was a lovely piece of battlefield theatre, provided one overlooks the thousands of armed men trying to kill each other.
Contemporary Voices
The surviving accounts of Lansdown are unusually valuable because several participants described the fighting.
Sir William Waller’s relationship with Hopton gives the battle a particularly melancholy character. Before the fighting, Waller wrote to his old friend:
“My affections to you are so unchangeable, that hostility itself cannot violate my friendship to your person.”
He continued by describing his hatred of “this war without an enemy.”
Few phrases capture the English Civil War more neatly.
Royalist Richard Atkyns remembered the terrain itself:
“The eaves of an house for steepness.”
Walter Slingsby’s account conveys the unease of the Royalists after taking the hill. One Royalist recollection later summarised the situation rather neatly:
“We were glad they were gone.”
For the supposed victors, that is quite an admission.
Casualties
Casualty figures remain uncertain.
| Army | Killed | Wounded |
| Royalists | Perhaps 200 to 300 | Possibly 600 or more |
| Parliamentarians | Perhaps around 20 | Around 60 often cited |
These figures should be treated cautiously.
The Royalists unquestionably suffered far more heavily. Their infantry had repeatedly attacked uphill against prepared positions, so the imbalance is entirely plausible even if the precise totals are not.
Grenville’s death also made the Royalist losses disproportionately damaging.
Battle Timeline
| Approximate time | Event |
| Early morning | Waller deploys on the northern crest of Lansdown Hill |
| Around 8am | Skirmishing develops around Tog Hill and Freezing Hill |
| Morning | Royalists begin withdrawing towards Marshfield |
| Late morning | Parliamentarian cavalry and dragoons attack the Royalist rear |
| Around midday | Royalist cavalry suffers disruption but infantry holds |
| Early afternoon | Royalists rally and counter-attack |
| Afternoon | Cornish infantry advances towards Lansdown Hill |
| Afternoon | Major Royalist assault begins up the northern slope |
| Late afternoon | Royalists reach and attack Parliamentarian breastworks |
| Evening | Waller falls back towards defensive positions on the plateau |
| After dark | Sporadic firing continues |
| Around 11pm | Parliamentarians fire a heavy final volley |
| Late night | Waller secretly withdraws towards Bath |
| After midnight | Royalists discover that the Parliamentarian positions have been abandoned |
Archaeology and the Surviving Battlefield
Lansdown is particularly valuable because much of the battlefield landscape remains readable.
The site is included on the Register of Historic Battlefields, reflecting both its historical importance and the survival of significant landscape features.
Historic England notes that the landscape retains similarities to its seventeenth-century appearance. The plateau was largely sheep pasture, with woodland on the steeper slopes.
Important surviving features include:
- The steep northern approach used by the Royalists
- Historic lanes associated with troop movements
- Sections of stone wall likely related to the battlefield landscape
- Earthworks associated with Waller’s defensive position
- Ancient quarry pits that influenced deployment
- The Grenville Monument
- Surviving views across Freezing Hill and the approaches to Lansdown
The battlefield has also attracted archaeological investigation and metal-detecting surveys. Finds associated with Civil War battlefields commonly include lead musket balls, pistol shot, fragments of equipment and horseshoes, although identifying individual artefacts securely with a particular phase of fighting requires careful archaeological context.
The physical landscape is arguably the most important surviving evidence at Lansdown.
Stand on the northern slope and Hopton’s problem becomes immediately obvious. No elaborate reconstruction is required. The hill does most of the explaining.
Was Lansdown Hill Really a Royalist Victory?
Technically, yes.
The Royalists captured Waller’s original position and remained on the battlefield after the Parliamentarians withdrew.
But the description needs qualification.
Hopton had failed to destroy Waller’s army. Bath remained in Parliamentarian hands. Royalist casualties were severe and ammunition was dangerously depleted.
Waller withdrew in good order and remained capable of further operations.
The following day Royalist misfortune became almost absurd when an ammunition wagon exploded. Hopton was badly injured and several officers were hurt.
The Royalists therefore moved towards Devizes.
Within days, Waller was pursuing them.
Calling Lansdown an outright Royalist triumph hides much of what actually happened. A costly tactical Royalist victory with limited immediate strategic benefit is closer to the mark.
The Battlefields Trust goes further and categorises the result as inconclusive, which is perfectly defensible.
What Happened Next?
Lansdown formed part of a much larger campaign.
Hopton’s battered army withdrew towards Devizes, with Waller following.
Waller soon appeared to have the Royalists trapped.
Then the campaign produced another dramatic reversal.
On 13 July 1643, Royalist cavalry reinforcements confronted Waller at the Battle of Roundway Down. Parliament’s cavalry was routed and Waller’s army effectively destroyed as a fighting force.
The result transformed the strategic picture in western England.
Lansdown therefore makes most sense when viewed alongside Roundway Down. At Lansdown, Hopton survived a bloody encounter that left his army dangerously weakened. Eight days later, Royalist reinforcements turned that precarious situation into one of their most significant victories of 1643.
Civil War campaigning rarely rewards anyone who stops reading after the first battle.
The Battlefield Today
Lansdown Hill remains one of the more accessible Civil War battlefields in England.
The Grenville Monument provides an obvious focal point, but anyone visiting should pay as much attention to the ground.
Look north from the crest towards Freezing Hill. Walk the slope. Consider what it meant for infantry formations carrying pikes more than four metres long or matchlock muskets weighing several kilograms to advance uphill while under fire.
The terrain makes the courage of Hopton’s infantry easier to understand.
It also makes his decision to send them up there look even more alarming.
Legacy of the Battle
Lansdown Hill never achieved the fame of Naseby, Marston Moor or Edgehill, yet it deserves considerably more attention.
It demonstrated the quality of Hopton’s Cornish infantry, the tactical ability of William Waller and the increasingly professional character of Civil War armies. Musketeers were deployed through woods and defensive works, artillery commanded avenues of approach, cavalry attacked exposed formations and commanders exploited terrain with considerable sophistication.
It was not an amateur brawl between Cavaliers and Roundheads.
More personally, Lansdown contains something especially uncomfortable about civil war. Waller and Hopton were friends. Their correspondence survived even while their armies manoeuvred to destroy one another.
Waller’s phrase “this war without an enemy” has stayed with me because it strips away much of the romantic varnish later generations applied to the conflict.
On 5 July 1643, thousands of Englishmen fought over a windy Somerset hillside. The Royalists won the ground. Parliament saved its army. Both sides suffered.
Sometimes that is as close to a neat conclusion as history allows.