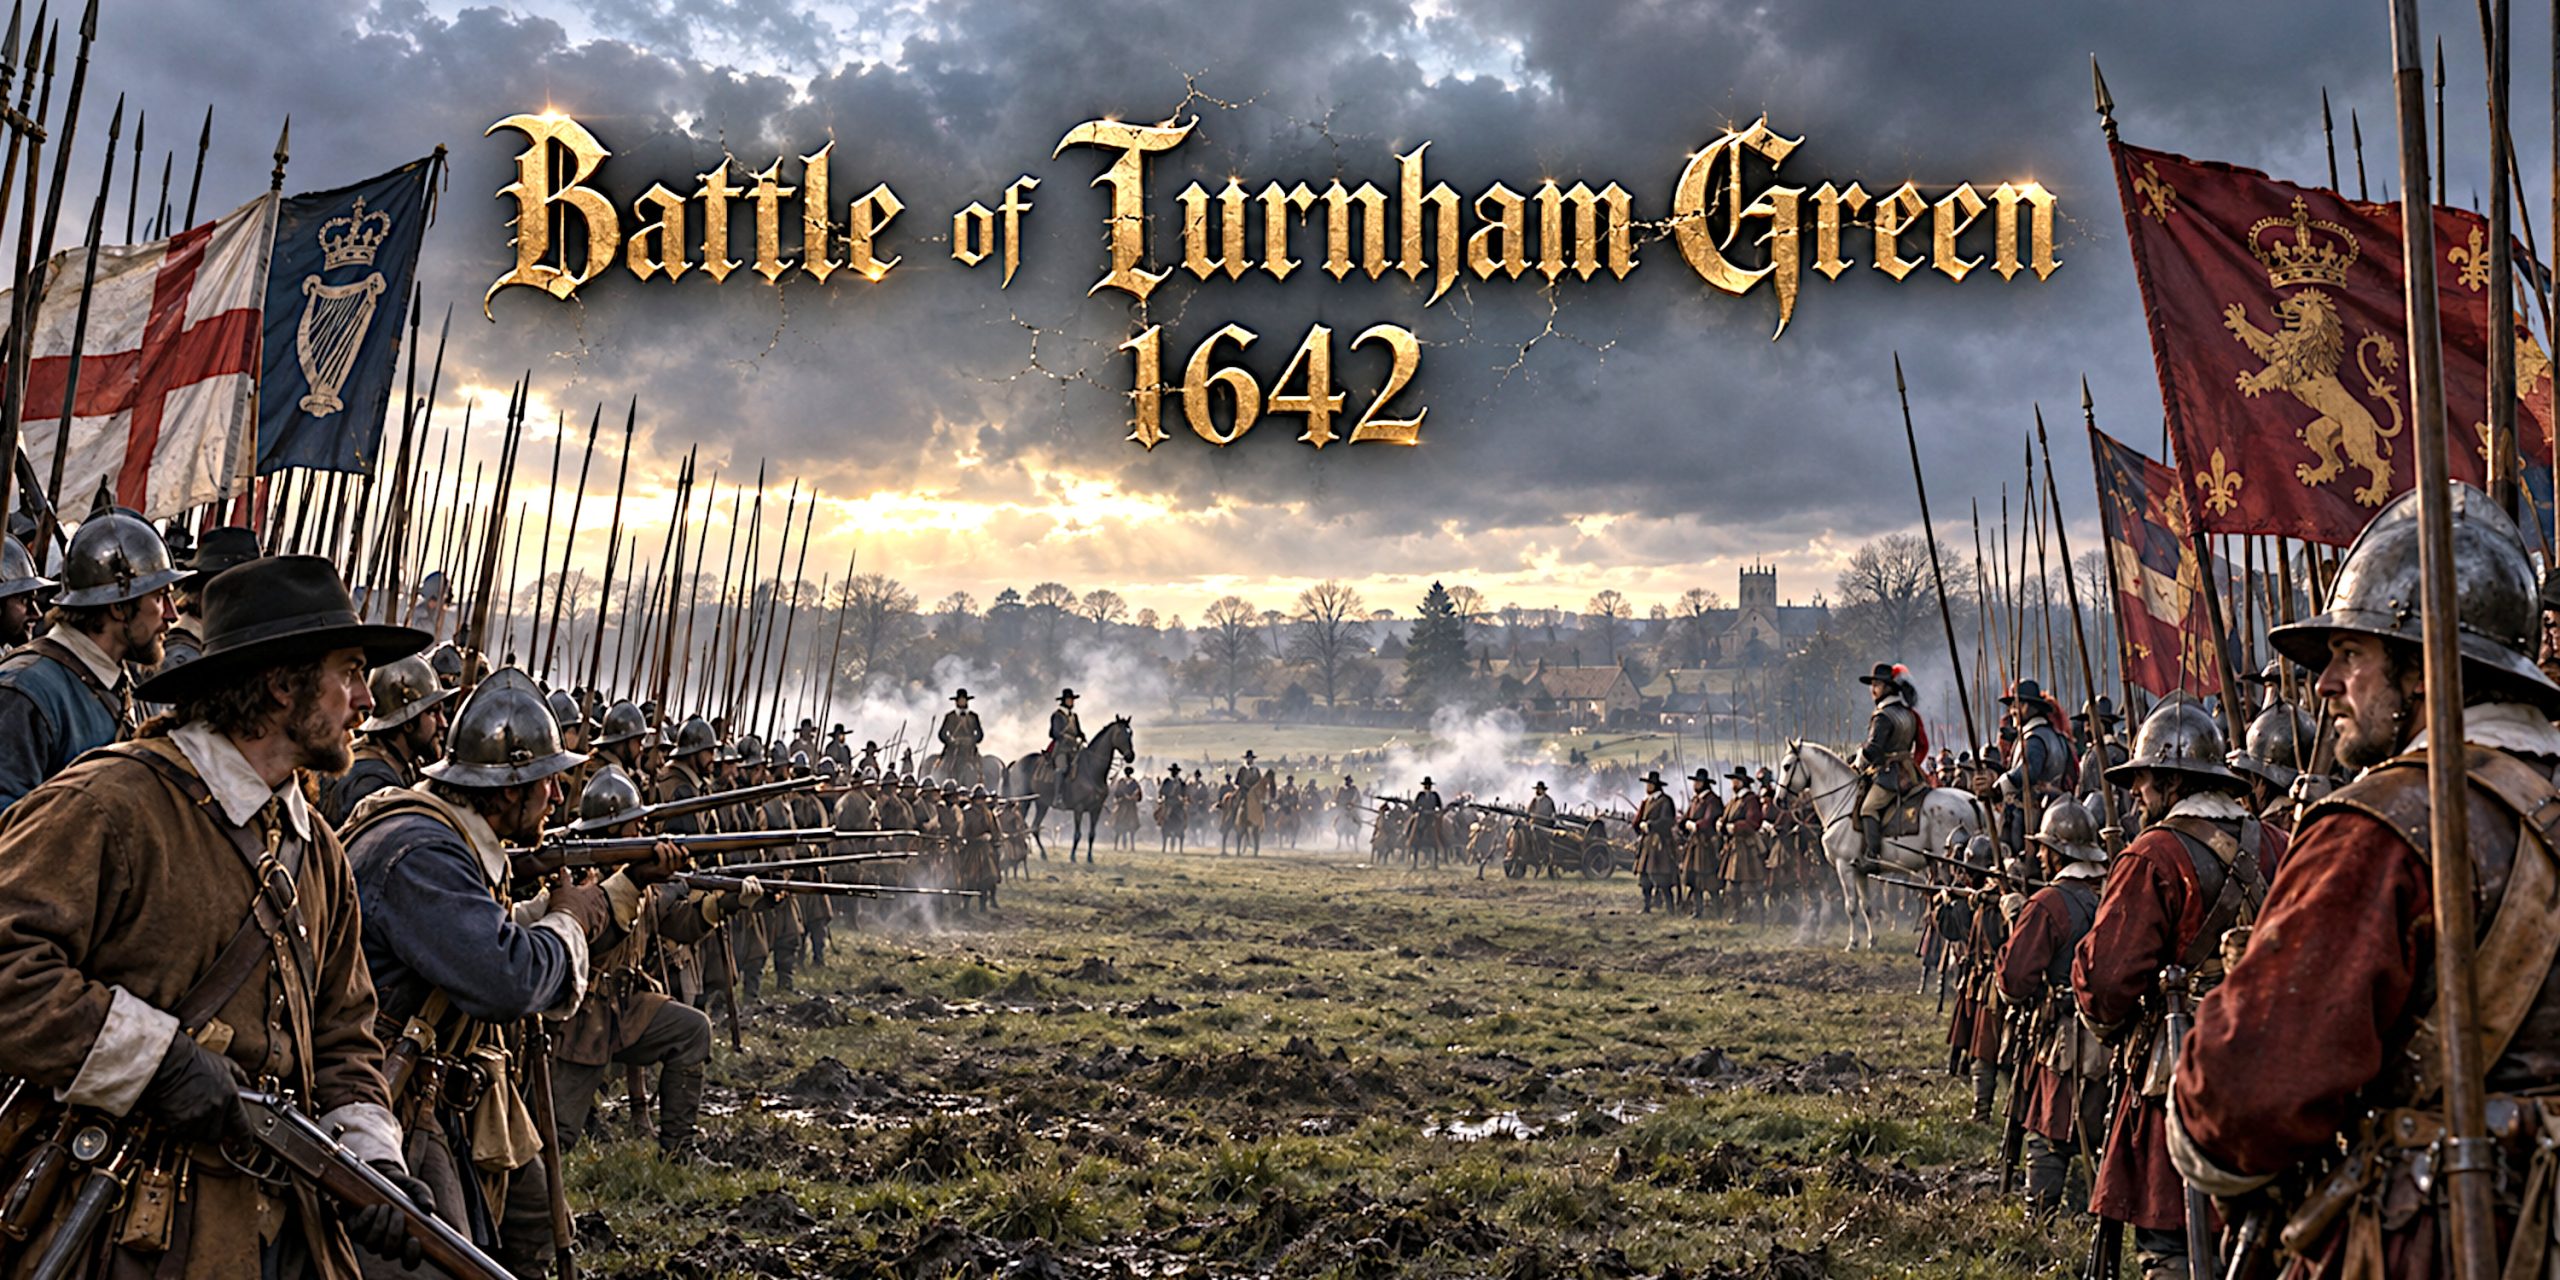
The Battle of Turnham Green was one of the largest confrontations of the First English Civil War, yet remarkably little fighting took place. On 13 November 1642, approximately 13,000 Royalists faced a Parliamentarian force that may have numbered more than 20,000 on the western approaches to London.
King Charles I had advanced to within a few miles of the capital after the inconclusive Battle of Edgehill and the Royalist victory at Brentford. London appeared vulnerable. Parliament responded by sending its field army, trained bands and armed citizens towards Turnham Green.
The two armies stood opposite one another for most of the day. There was artillery fire, skirmishing and plenty of nervous activity, but no general assault. By nightfall, the Royalists had withdrawn.
Turnham Green was therefore less a conventional battle than an armed refusal to move. Parliament held London, Charles lost his best opportunity to seize it, and the war continued for another four exhausting years.
| Battle details | Information |
|---|---|
| Date | 13 November 1642 |
| Location | Turnham Green, Acton Green and Chiswick Common, Middlesex |
| War | First English Civil War |
| Royalist commander | King Charles I and Patrick Ruthven, Earl of Forth |
| Parliamentarian commander | Robert Devereux, Earl of Essex |
| Estimated Royalist strength | Around 12,000 to 13,000 |
| Estimated Parliamentarian strength | Possibly 20,000 to 24,000 |
| Result | Parliamentarian strategic victory |
| Casualties | Light, but no dependable total survives |
Why Turnham Green Mattered
London was the political, financial and logistical centre of Parliament’s war effort. Its population, tax base, workshops, armouries, docks and printing presses gave Parliament resources that the King could not easily replace.
Had Charles entered London in November 1642, he might have broken organised resistance before Parliament developed a mature war machine. Whether he could have held the city is another question. London contained powerful Parliamentarian sympathies, and occupying it with a tired field army would have been a hazardous business.
Even so, the threat was real. After Edgehill on 23 October, the Royalists reached Oxford and continued down the Thames Valley. The Earl of Essex’s Parliamentarian army was initially behind them. Prince Rupert of the Rhine pushed ahead, threatening Windsor and opening the road towards the capital.
Peace negotiations slowed the Royalist advance. This allowed Essex to return to London and Parliament to gather reinforcements. One cannot help feeling that the King had reached the door and then paused to consider the quality of the hinges.
The Battle of Brentford
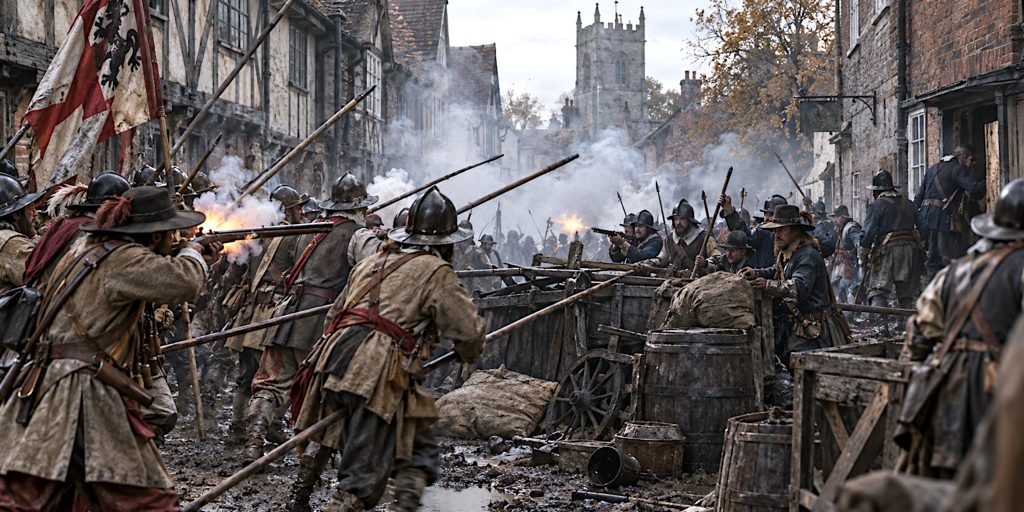
On 12 November, the Royalists attacked Parliamentarian troops holding Brentford. The regiments of Denzil Holles and Lord Brooke resisted but were overwhelmed after fighting through streets, houses and defensive barricades.
Royalist soldiers plundered parts of the town. Reports of the violence and looting spread rapidly through London, strengthening resistance rather than frightening the city into submission.
The attack also alarmed Parliament because negotiations had been taking place between the two sides. Many Parliamentarians regarded the Royalist advance as evidence that Charles had used diplomacy to gain time.
During the night, survivors from Brentford withdrew towards London. The capital responded with an extraordinary mobilisation.
Forces at Turnham Green
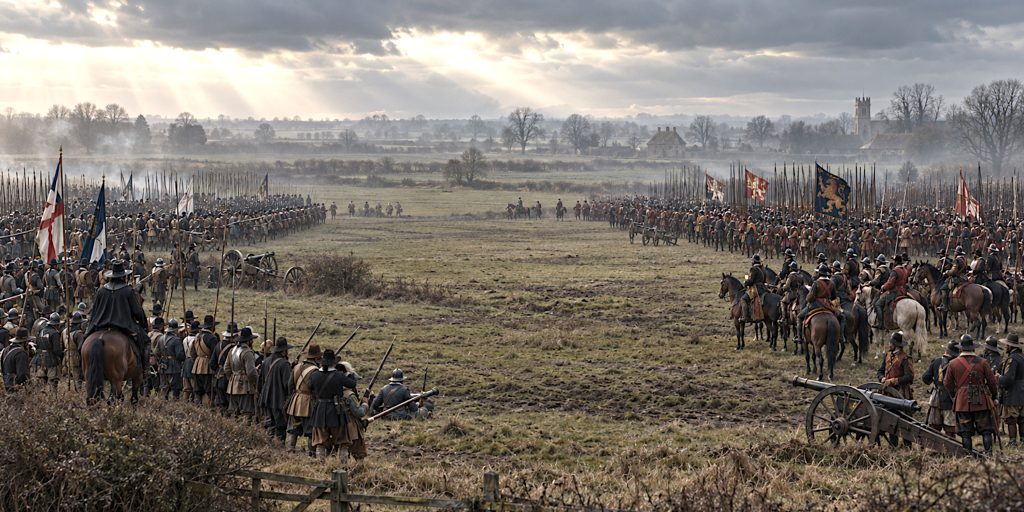
Precise figures are impossible to establish. Contemporary accounts frequently inflated the strength of opposing armies, while later estimates sometimes treated every armed Londoner as an effective soldier.
The commonly repeated figures of approximately 13,000 Royalists and 24,000 Parliamentarians are plausible as broad estimates, but they should not be mistaken for audited returns. A substantial part of Parliament’s apparent advantage consisted of militia and volunteers with limited battlefield experience.
Royalist Army
| Formation | Estimated composition | Battlefield role |
|---|---|---|
| Infantry | Around 7,000 to 8,000 | Pike-and-shot formations holding the centre |
| Cavalry | Around 3,000 to 4,000 | Offensive manoeuvre, flank protection and pursuit |
| Dragoons | Several hundred | Mounted infantry used for skirmishing and broken ground |
| Artillery and support | Unknown | Limited cannonade and protection of the line |
| Total | Approximately 12,000 to 13,000 | Experienced but tired and short of supplies |
The Royalist army contained troops who had fought at Edgehill and Brentford. It was arguably the more experienced force, especially in cavalry, but it had been campaigning for weeks and was operating close to a hostile city.
Parliamentarian Army
| Formation | Estimated composition | Battlefield role |
|---|---|---|
| Essex’s field infantry | Several thousand | Professional and semi-professional core of the army |
| London Trained Bands | Six regiments commonly identified | Reinforcement of the main defensive line |
| Cavalry | Perhaps 3,000 or fewer | Flank protection and reconnaissance |
| Volunteers and auxiliaries | Several thousand | Added depth and visible mass |
| Artillery and support | Strength uncertain | Covered approaches and discouraged assault |
| Total | Possibly 20,000 to 24,000 | Large but unevenly trained defensive force |
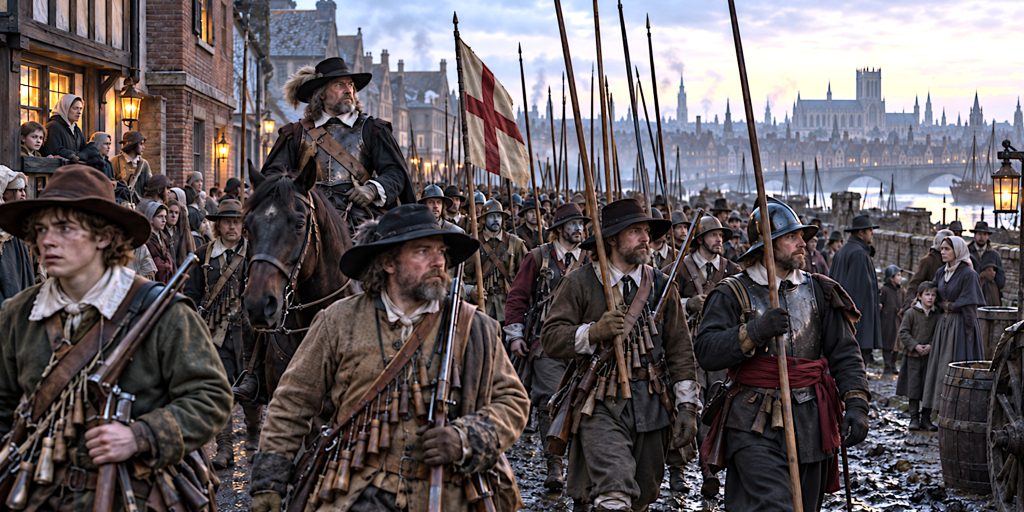
The Parliamentarian host reportedly included apprentices, householders and citizens who had marched from London. Their military value varied, but their presence demonstrated that the capital would not simply open its gates.
Leaders and Commanders
| Leader | Side | Role at Turnham Green |
|---|---|---|
| King Charles I | Royalist | Present with the army and responsible for the final strategic decision |
| Patrick Ruthven, Earl of Forth | Royalist | Lord General and senior professional commander |
| Prince Rupert of the Rhine | Royalist | Commander of the cavalry and advocate of aggressive action |
| Robert Devereux, Earl of Essex | Parliamentarian | Captain-General of Parliament’s main field army |
| Philip Skippon | Parliamentarian | Commanded the London Trained Bands |
| John Hampden | Parliamentarian | Supported a more ambitious attempt to outflank the Royalists |
| Denzil Holles | Parliamentarian | His regiment had suffered heavily at Brentford the previous day |
King Charles I
Charles was close to his greatest strategic opportunity of the war. He had reached the approaches to London before Parliament had fully recovered from Edgehill, but the position facing him was intimidating. An attack risked heavy casualties and the political disaster of slaughtering London citizens.
Earl of Forth
Patrick Ruthven was a highly experienced soldier who had served in continental warfare. As Lord General, he provided the Royalist army with a level of professional caution that did not always sit comfortably beside Prince Rupert’s aggression.
Earl of Essex
Essex had the unenviable task of defending the capital with a mixture of field troops, militia and volunteers. His decision not to launch a complex flanking attack has sometimes been criticised, but preserving his line was more important than attempting something clever with inexperienced men.
Philip Skippon
Skippon was a professional soldier with extensive experience in the Dutch service. His ability to organise and encourage the London Trained Bands was critical. The citizen soldiers may have lacked campaign experience, but they trusted their commander.
Arms and Armour
Turnham Green was fought during the age of pike-and-shot warfare. Infantry regiments combined musketeers with pikemen, while cavalry carried firearms and swords for close combat.
Infantry Weapons
- Matchlock musket: The principal firearm carried by infantry. It was powerful but slow to load and awkward in damp or windy conditions.
- Pike: Usually between 14 and 18 feet long. Pikemen protected musketeers from cavalry and helped maintain the regiment’s formation.
- Bandolier and powder charges: Musketeers commonly carried prepared wooden charges suspended from a shoulder belt.
- Musket rest: Some heavier muskets still required a forked rest, although lighter weapons were becoming increasingly common.
- Hanger: A short, single-edged sword carried by some infantrymen and artillery personnel.
- Rapier or civilian sword: Officers and wealthier volunteers might carry personal swords that reflected social status as much as battlefield practicality.
Cavalry Weapons
| Weapon | Typical users | Purpose |
|---|---|---|
| Basket-hilted broadsword | Cavalrymen and officers | Cutting weapon used during close combat |
| Early mortuary-hilt sword | Some English cavalry and officers | Hand protection combined with a broad cutting blade |
| Backsword | Cavalry and mounted officers | Strong single-edged blade suited to mounted blows |
| Rapier | Officers and gentlemen | Personal defence and symbol of rank |
| Wheel-lock or flintlock pistol | Cavalry | Fired at close range before or during contact |
| Carbine | Some cavalry and mounted troops | Short firearm suitable for use on horseback |
The mortuary-hilt sword is strongly associated with the English Civil War, although surviving examples can be difficult to date precisely. Its guarded hilt protected the hand better than a simple crossguard, while its substantial blade was suited to forceful cuts from horseback.
It would be misleading to imagine every cavalryman carrying an identical regulation sword. Weapons were supplied through a mixture of official purchase, local production and private ownership. Standardisation was an aspiration rather than a reliable feature of either army.
Armour
- Pikemen often wore a helmet, breastplate and backplate, sometimes with additional thigh protection.
- Cavalry officers and heavily equipped troopers could wear a buff coat beneath a breastplate and backplate.
- Lobster-tailed helmets offered protection to the head, cheeks and neck.
- Musketeers generally wore little armour because they needed to move and reload freely.
- Many London volunteers probably appeared with whatever military equipment could be issued or privately obtained.
By late 1642, full armour was already uncommon. Firearms had made heavy protection less attractive, though a good breastplate remained reassuring when several thousand armed strangers were staring at you across a field.
Deployment on Turnham Green
The battlefield consisted of open ground formed by Turnham Green, Acton Green and the fields and commons around Chiswick. Modern development has changed the landscape almost beyond recognition.
The Parliamentarian line probably extended southwards from the area near modern Turnham Green station towards the grounds now associated with Chiswick House. The Royalists faced them from the west, their formation stretching across Turnham Green towards the Thames-side approaches.
Parliament’s superior numbers allowed Essex to form a broader line. Yet numbers alone did not guarantee success. Many of the London troops had never experienced artillery fire or a cavalry charge.
The Royalists had better cavalry and more recent combat experience, but attacking such a wide formation would have exposed them to musketry and cannon fire. Even a successful assault could have left the army too badly damaged to enter London.
Contemporary Voices
Philip Skippon is traditionally credited with addressing the London Trained Bands before the confrontation:
“Come my boys, my brave boys, let us pray heartily and fight heartily. I will run the same fortunes and hazards with you.”
The fuller version reminded the men that they fought for God and for the defence of themselves, their wives and their children. The wording survives through later reporting, so it should be treated as a remembered speech rather than a modern transcript. Even allowing for polishing, it captures Skippon’s direct and practical manner.
Edward Hyde, later Earl of Clarendon, described the Parliamentarian mobilisation as:
“A full army of horse and foot, fit to have decided the title of a crown.”
Clarendon was a Royalist historian writing with hindsight, but his description conveys the scale of the force assembled outside London. The trained bands were not simply a crowd. In sufficient numbers, supported by regular soldiers and artillery, they presented a serious military obstacle.
How the Battle Unfolded
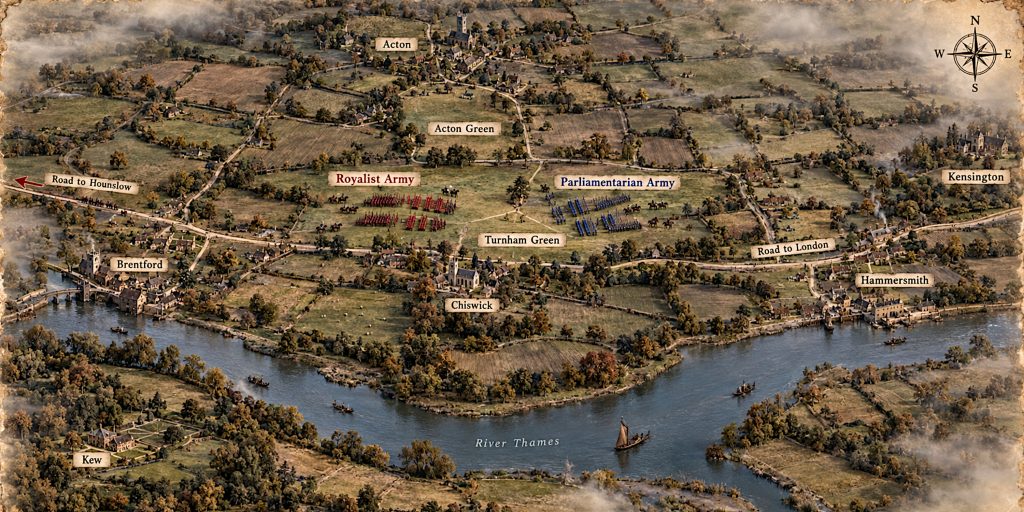
On the morning of 13 November, Parliament’s forces assembled and moved west from London. The march itself was a demonstration of political commitment. Citizens who might normally have spent Sunday at church, home or work were instead carrying muskets and pikes towards an approaching royal army.
The two forces formed opposing lines across the open ground.
There was limited cannon fire and some skirmishing. Royalist cavalry probed the Parliamentarian position, while both armies watched for signs of weakness. The confrontation appears to have lasted from morning until late afternoon.
John Hampden reportedly proposed sending troops around the Royalist flanks through Acton and Kingston. If successful, this could have threatened Charles’s line of retreat. Essex rejected or failed to implement the plan.
That decision was probably sensible. Coordinating distant movements without reliable communications was difficult even for veteran armies. Asking inexperienced London militia to hold the centre while regular troops disappeared on a wide flanking march would have been an impressive gamble. Civil wars already contained enough avoidable disasters without manufacturing another.
Charles also declined to attack. His army was outnumbered, its ammunition and supplies were limited, and the political consequences of a bloody assault on London’s citizens were unpredictable.
As daylight faded, the Royalists disengaged and withdrew towards Hounslow. Parliament remained in possession of the field.
Battle Timeline
| Time and date | Event |
|---|---|
| 23 October 1642 | The armies fight the inconclusive Battle of Edgehill |
| Late October | Charles advances to Oxford while Essex moves towards London |
| Early November | Royalist forces continue down the Thames Valley |
| 11 November | Negotiations between Charles and Parliament remain unresolved |
| 12 November, morning | Royalists attack Parliamentarian positions at Brentford |
| 12 November, evening | News of the fighting and plundering reaches London |
| Night of 12 to 13 November | Parliament concentrates regular troops, trained bands and volunteers |
| 13 November, morning | Parliamentarian forces march west and deploy around Turnham Green |
| 13 November, daytime | The armies exchange limited artillery fire and engage in minor skirmishing |
| 13 November, afternoon | Neither side commits to a general attack |
| 13 November, evening | The Royalist army withdraws towards Hounslow |
| Following days | Charles retreats through the Thames Valley and establishes his principal wartime base at Oxford |
Was Turnham Green Really a Battle?
The description remains debatable. Turnham Green lacked the sustained infantry fighting and massed cavalry charges seen at Edgehill, Marston Moor or Naseby. Casualties were light, and the principal armies did not close in a general engagement.
“Stand-off” may therefore be the more precise military term.
Yet battles are judged by consequences as well as body counts. Parliament blocked the Royalist approach to London and forced Charles to retreat. The capital remained in Parliamentarian hands, providing money, weapons, recruits and administrative support for the rest of the war.
Turnham Green was a battle won by deployment, morale and political mobilisation. The killing was limited. For once, that should not make the achievement seem smaller.
Casualties
No reliable casualty return survives. Some modern summaries suggest fewer than 50 deaths across both armies, but this figure should be treated cautiously.
There were artillery exchanges, scattered musket fire and cavalry skirmishes, so casualties almost certainly occurred. However, there is no evidence of the concentrated slaughter associated with a major pike-and-shot engagement.
The low losses reflected the decisions of both commanders. Essex would not risk his inexperienced reinforcements in an ambitious attack, while Charles would not send his smaller army against a broad defensive line.
Archaeology and the Lost Battlefield
The archaeology of Turnham Green presents an obvious problem: much of the battlefield now lies beneath the streets, houses and commercial development of Chiswick and west London.
The original landscape consisted of greens, common fields, lanes, hedges and open agricultural ground. Urban expansion during the eighteenth, nineteenth and twentieth centuries transformed or buried much of that terrain.
Unlike more rural Civil War battlefields, Turnham Green has not produced a well-documented distribution of musket balls, artillery shot and military fittings from a large systematic battlefield survey. The limited fighting also means that fewer objects may have entered the ground in the first place.
Potential archaeological evidence could include:
- Lead musket and pistol balls
- Iron or stone artillery projectiles
- Buckles, buttons and fragments of military equipment
- Horseshoes and horse furniture
- Defensive ditches, field boundaries or road surfaces
- Seventeenth-century occupation deposits associated with nearby buildings
Historic maps are particularly important for reconstructing the battlefield. They allow researchers to compare old roads, commons and property boundaries with the modern street plan. Chiswick High Road follows a broadly historic route through the area, while surviving open spaces at Acton Green and around Turnham Green preserve fragments of the battlefield’s setting.
Visitors should not expect an untouched field. This is battlefield archaeology through absence, reconstruction and urban survival. The landscape has been built over, but its shape has not vanished completely.
Why Did Charles Retreat?
Several factors worked against a Royalist assault:
- The Parliamentarian army held a strong blocking position.
- Parliament appeared to possess a major numerical advantage.
- The Royalists were short of ammunition and supplies.
- Charles could not be certain how London would react to an attack on its citizens.
- The army had already fought at Edgehill and Brentford.
- Winter was approaching, making prolonged operations increasingly difficult.
- Even a tactical victory might have left the Royalist army unable to occupy the capital.
Prince Rupert’s instinct was generally to press an advantage before the enemy could recover. At Turnham Green, however, boldness might have become recklessness. Charles needed London intact and politically manageable. A street-by-street struggle against its inhabitants offered neither.
Outcome and Strategic Consequences
Turnham Green was a Parliamentarian strategic victory. Essex had not destroyed the King’s army, but he had achieved the task that mattered most: London was secure.
Charles withdrew towards Reading and Oxford. Oxford became the Royalist capital and principal headquarters for much of the war.
The consequences were considerable:
- Parliament retained control of England’s largest city.
- London continued to finance and equip Parliamentarian armies.
- The Royalists lost their best early opportunity to end the war quickly.
- The London Trained Bands gained confidence and political importance.
- Parliament demonstrated that mass civic mobilisation could influence a national campaign.
- The conflict settled into a longer war of garrisons, sieges and regional campaigns.
The Royalists would threaten London again, but they never returned in comparable strength to its immediate western approaches.
The London Trained Bands
Turnham Green established the reputation of the London Trained Bands. These units were militia regiments drawn from the citizens of London and organised according to districts and companies.
They were not uniformly inexperienced. Some officers and men had military knowledge, and the capital possessed considerable resources for training and equipment. Nevertheless, they lacked the campaign experience of long-serving professional troops.
Their importance at Turnham Green lay partly in numbers and partly in symbolism. They showed that Parliament could call upon an organised urban population prepared to defend the capital.
The Royalists were not merely facing Essex’s battered field army. They were confronting London itself.
The Battlefield Today
The battlefield lies within modern Chiswick and the surrounding streets of west London. The open seventeenth-century landscape has largely disappeared, but several locations help visitors understand its former extent.
Places associated with the battlefield include:
- Turnham Green
- Acton Green Common
- Chiswick High Road
- The area around Turnham Green Underground station
- The grounds near Chiswick House
- Streets extending towards Sutton Court Road and the Great West Road
Information panels installed through local heritage work help interpret the confrontation. A walking route linking Brentford and Turnham Green is particularly useful because the two actions formed a single campaign. Brentford explains why London mobilised; Turnham Green explains why Charles stopped.
Legacy of the Battle of Turnham Green
Turnham Green is easy to overlook because it lacks a dramatic charge, a collapsed infantry centre or a famous surrender. Militarily, much of the day consisted of thousands of people standing in the cold while their commanders considered increasingly unpleasant possibilities.
Yet restraint shaped the war.
The King could not enter London. Parliament avoided exposing inexperienced militia to Royalist cavalry. Both armies survived, but only one side achieved its immediate objective.
In my view, Turnham Green deserves to be regarded as one of the decisive moments of 1642. It proved that the Royalist advance could be stopped and that London was willing to defend Parliament with weapons as well as petitions. Charles had come within a short march of the capital. He would never come so close again.
Frequently Asked Questions
Who won the Battle of Turnham Green?
Parliament won a strategic victory. Although neither army was defeated in conventional combat, the Parliamentarians blocked the Royalist advance and retained control of London.
How many soldiers fought at Turnham Green?
Common estimates suggest around 13,000 Royalists faced as many as 20,000 to 24,000 Parliamentarians. The totals remain uncertain, particularly because Parliament’s force included militia and volunteers.
How many people were killed?
Casualties were light, but no dependable total survives. Claims of fewer than 50 deaths are frequently repeated but cannot be verified with confidence.
Why did King Charles I not attack?
Charles was outnumbered, short of supplies and facing a large defensive army. An assault could also have alienated London permanently, even if the Royalists won.
Where was the battle fought?
The confrontation took place across Turnham Green, Acton Green and the surrounding fields near Chiswick, now part of west London.
What swords were used at Turnham Green?
Cavalry and officers used basket-hilted broadswords, backswords, early mortuary-hilt swords and rapiers. Some infantrymen carried short hangers as secondary weapons.
Sources for further reading: The Battlefields Trust, Brentford and Chiswick Local History Society, BCW Project