On 13 July 1643, on open downland north of Devizes in Wiltshire, one of the more extraordinary battles of the First English Civil War unfolded. A tired Royalist relief force consisting almost entirely of cavalry rode against Sir William Waller’s considerably larger Parliamentary army and destroyed it.
Roundway Down was the sort of victory that looks questionable when reduced to numbers. The Royalists had roughly 1,800 horse against an army of perhaps 5,000 men, supported by artillery. They had marched hard to reach the battlefield. They possessed virtually no infantry of their own when the fighting began.
They won anyway.
The explanation lies in cavalry morale, command, terrain and the rapid collapse of Parliamentary cohesion. Once Waller’s mounted wings were driven away, his infantry found themselves stranded on exposed ground with Royalist horse around them and troops from Devizes beginning to appear against them.
Waller later described the defeat as the “most heavy stroke” that had ever befallen him. That assessment feels entirely fair.
| Battle | Battle of Roundway Down |
|---|---|
| Date | 13 July 1643 |
| Location | Roundway Down, near Devizes, Wiltshire |
| War | First English Civil War |
| Royalist commander | Henry Wilmot, Lord Wilmot |
| Parliamentarian commander | Sir William Waller |
| Royalist strength | Around 1,800 cavalry |
| Parliamentarian strength | Around 5,000 horse and foot |
| Artillery | Parliament had around 8 guns; Royalists brought a small number of light pieces |
| Result | Decisive Royalist victory |
| Strategic consequence | Destruction of Waller’s Western Army and the opening of much of the West to Royalist operations |
Why Roundway Down Was Fought
The battle cannot really be separated from the fighting at Lansdown and Devizes.
On 5 July, Sir William Waller and Sir Ralph Hopton had fought the bloody and indecisive Battle of Lansdown near Bath. Hopton’s Royalist army subsequently withdrew towards Devizes. Its condition was dreadful. Ammunition was scarce, casualties had been substantial and Hopton himself had been injured when an ammunition wagon exploded.
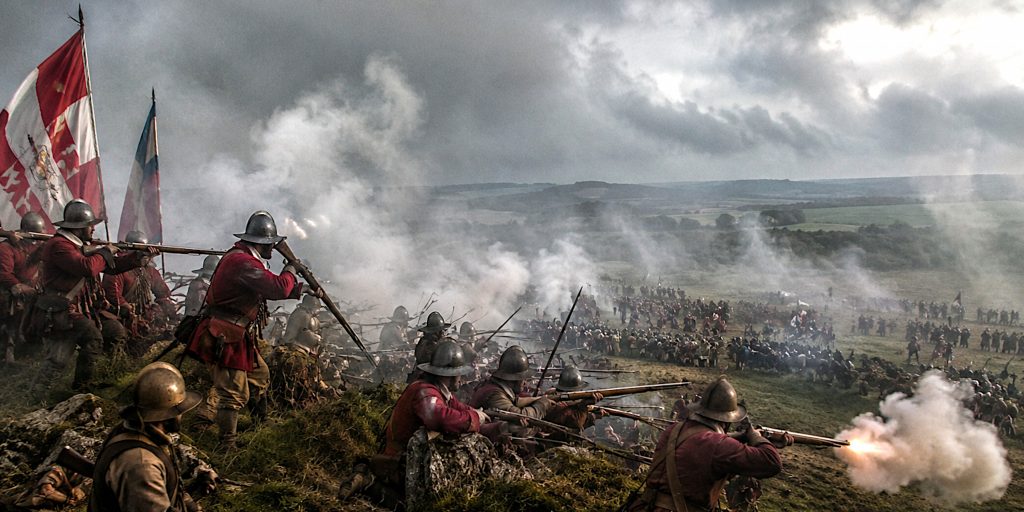
Waller followed.
By 9 July, the Parliamentary commander had Hopton effectively trapped at Devizes. The situation looked sufficiently bleak that the Royalists dispatched cavalry towards Oxford seeking assistance. Waller began tightening his grip around the town and prepared for what could have been the destruction or surrender of Hopton’s army.
Inside Devizes, ammunition shortages became severe. Contemporary accounts describe lead being stripped for shot and even bed cords being requisitioned, boiled with resin and converted into match cord. It is a wonderfully practical detail of seventeenth-century warfare. Grand strategy occasionally comes down to whether somebody can find enough string.
Help, however, was already coming.
Lord Wilmot assembled a relief force from Oxford. Sir John Byron brought another brigade of horse, while additional mounted troops joined the column. By 13 July approximately 1,800 Royalist cavalry were approaching Devizes.
Waller abandoned the immediate siege and moved onto Roundway Down to confront them.
The stage was set for a battle he should, on paper, have been well placed to win.
The Battlefield
Roundway Down is open chalk downland north of Devizes. In 1643 it offered unusually good ground for cavalry, with extensive areas of sheep pasture and open arable land. The modern straight-sided field pattern largely dates from later enclosure and should not be projected backwards onto the Civil War battlefield.
Waller occupied the higher ground around Roundway Hill. That gave him another apparent advantage.
But the terrain also contained a nasty surprise.
To the west, the ground falls sharply around the Iron Age hillfort now generally called Oliver’s Castle. During the Parliamentary rout, fleeing horsemen were driven towards this escarpment. Men and horses reportedly plunged down the steep slope into the area subsequently remembered as Bloody Ditch. Historic England records the drop as roughly 300 feet, or 91 metres.
The geography transformed a retreat into something much worse.
Forces
Numbers for Civil War battles are rarely as precise as we might like. Muster strengths, contemporary reports and later reconstructions do not always agree. The following figures therefore represent reasonable estimates rather than a battlefield headcount.
| Army | Approximate strength | Composition | Artillery |
|---|---|---|---|
| Royalist | 1,800 | Almost entirely cavalry | Around 2 light guns |
| Parliamentarian | 5,000 | Roughly 2,500 infantry and 2,500 cavalry | Around 8 guns |
The Battlefield Trust gives approximately 2,500 Parliamentary infantry, 2,500 cavalry and eight artillery pieces against around 1,800 Royalist cavalry. Historic England similarly emphasises the remarkable disparity between the two forces.
Royalist forces

The Royalist relief force was organised into three principal cavalry formations:
- Lord Wilmot’s brigade, positioned on the Royalist left
- Sir John Byron’s brigade, positioned to Wilmot’s right
- Earl of Crawford’s brigade, initially retained as a reserve
- Approximately 300 additional Western cavalry associated with Prince Maurice’s force had also joined the relief column
- Hopton’s infantry remained around Devizes at the opening of the battle, but elements subsequently emerged and participated in the destruction of Waller’s isolated infantry
Parliamentarian forces
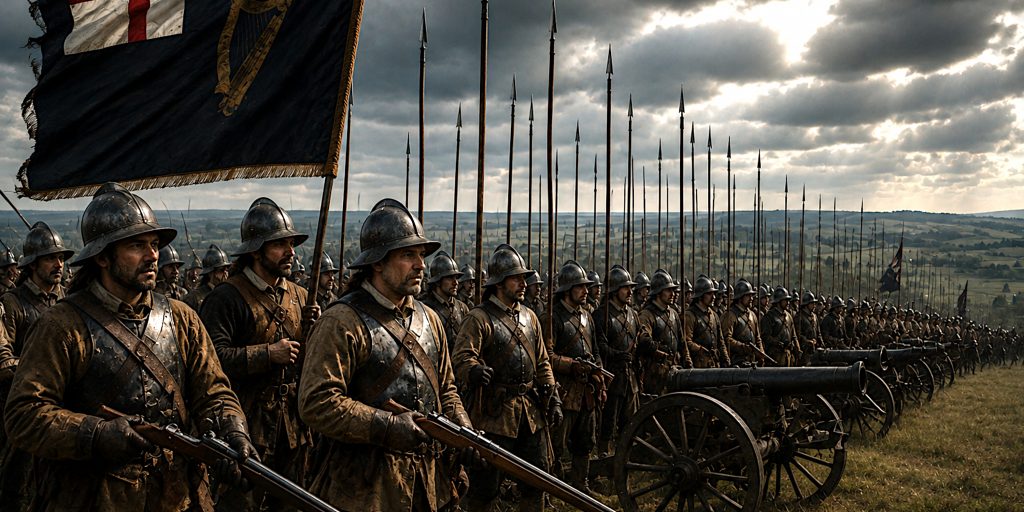
Waller possessed a much more conventional combined-arms army:
- Approximately 2,500 cavalry
- Approximately 2,500 infantry
- Around eight artillery pieces
- Sir Arthur Haselrig commanded cavalry on the Parliamentary right
- Sir Edward Hungerford commanded the left
- Acting Major-General James Carr and Colonel Alexander Popham were associated with the Parliamentary centre
Waller therefore had infantry, cavalry, artillery, superior numbers and favourable ground.
It is quite a collection of advantages to misplace in two or three hours.
Commanders and Leaders
| Commander | Side | Role at Roundway Down |
|---|---|---|
| Henry Wilmot, Lord Wilmot | Royalist | Commander of the Royalist relief force |
| Sir John Byron | Royalist | Commanded a major cavalry brigade |
| Earl of Crawford | Royalist | Commanded cavalry initially held in reserve |
| Sir Ralph Hopton | Royalist | Commanded the Royalist army trapped in Devizes |
| Prince Maurice | Royalist | Involved in obtaining relief and associated with the Western horse |
| Sir William Waller | Parliament | Overall Parliamentary commander |
| Sir Arthur Haselrig | Parliament | Commanded heavily armoured cavalry on the right |
| Sir Edward Hungerford | Parliament | Commanded the Parliamentary left |
| James Carr | Parliament | Acting Major-General, associated with the centre |
| Alexander Popham | Parliament | Parliamentary infantry commander |
The Royalist command structure was hardly a model of perfect battlefield coordination. What mattered was that its cavalry brigades retained enough cohesion and aggression to exploit the Parliamentary collapse once it began.
Arms and Armour
Roundway Down was primarily decided by cavalry, making it a particularly useful battle for understanding mounted warfare during the English Civil War.
Royalist cavalry
Most Royalist horsemen would have fought as relatively lightly armoured cavalry rather than the fully enclosed cuirassiers familiar from earlier seventeenth-century warfare.
Typical equipment included:
- Buff leather coat
- Iron pot helmet or lobster-tailed helmet
- Breastplate and sometimes a backplate
- Wheel-lock or flintlock pistols
- Carbine in some units
- Straight cavalry sword
- Riding boots and gauntlets
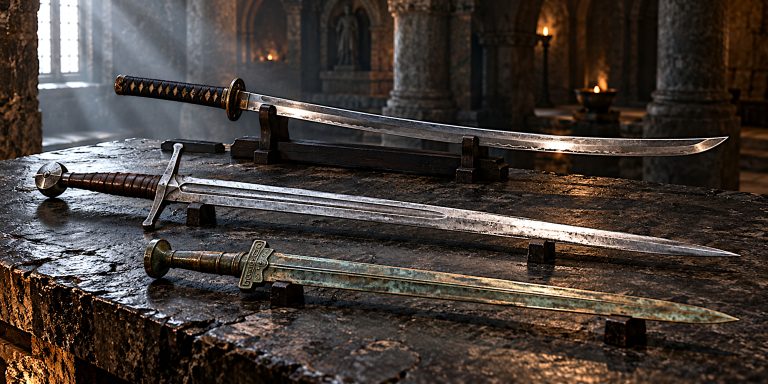
The sword was an important part of the cavalryman’s equipment. English Civil War cavalry swords commonly had broad, straight, single-edged backswords or double-edged blades suitable for both cutting and thrusting. Basket, half-basket and shell-influenced guards existed alongside simpler hilts.

The term mortuary sword is often associated with English cavalry weapons of this general period, although surviving examples vary enormously and the name itself is a later antiquarian classification. It should not be imagined that every Royalist trooper rode into Roundway Down carrying an identical “Cavalier sword”.
Haselrig’s cuirassiers
Sir Arthur Haselrig’s regiment provides the more visually striking contrast.
His heavily armoured cavalry became known as the London Lobsters. Cuirassiers could wear:
- Close helmet or substantial cavalry helmet
- Breastplate
- Backplate
- Tassets protecting the thighs
- Arm defences
- Heavy gauntlets
- Pistols
- Cavalry sword
Some armour was sufficiently substantial to offer protection against pistol fire at certain ranges and angles, though “bullet-proof” did not mean invulnerable. Armour could also be cumbersome, particularly on tired horses.
At Roundway Down, the psychological value of the Lobsters’ armour proved considerably less impressive than its appearance.
Wilmot’s cavalry attacked and eventually broke them.
Parliamentary infantry
Waller’s infantry consisted primarily of musketeers and pikemen.
Musketeers carried:
- Matchlock musket
- Bandolier or cartridge equipment
- Powder and shot
- Sword as a secondary weapon
Pikemen carried:
- Pike, potentially around 16 feet long
- Sword
- Breastplate and backplate in better-equipped units
- Helmet
The infantryman’s sword was generally a practical military sidearm rather than an elaborate fencing weapon. Simple straight blades with basic guards were common.
When Waller’s cavalry disappeared, these infantrymen were left facing one of the situations pike-and-shot doctrine was specifically designed to avoid: hostile cavalry with freedom to manoeuvre around them.
The Opening Moves
Wilmot’s approaching Royalists reportedly signalled their arrival by firing artillery, alerting the defenders inside Devizes but also warning Waller.
The Parliamentary army consequently had time to deploy.
Waller formed his infantry in the centre, cavalry on either flank and artillery forward of the main line. Haselrig occupied the right. Hungerford commanded the left.
Opposite them stood Wilmot’s horse on the Royalist left, Byron’s brigade to the right and Crawford behind as a reserve.
The battle began with skirmishing between advanced troops or “forlorn hopes”.
This apparently had consequences far beyond the modest size of the engagement.
Parliamentarian dragoons were driven back and the Royalists appear to have interfered with or disabled much of Waller’s forward artillery line. Parliamentary cavalry movements then further restricted the guns’ ability to fire effectively.
Waller’s numerical and artillery advantages were already being eroded before the main collision.
Wilmot Attacks Haselrig
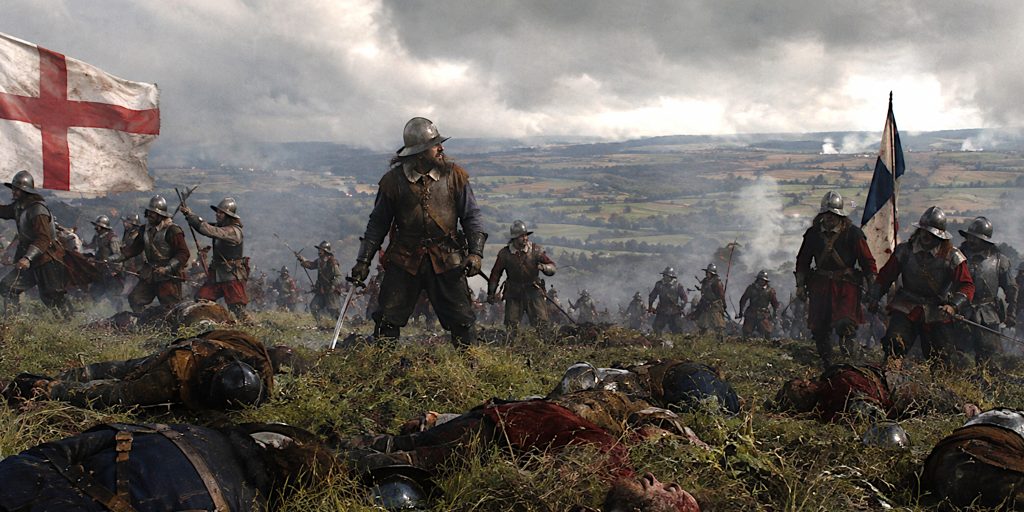
The crucial confrontation developed between Wilmot’s cavalry and Haselrig’s heavily armoured horse.
Haselrig’s men looked formidable. Their armour made them among the most distinctive cavalry formations fielded by Parliament.
Wilmot attacked them anyway.
After fierce fighting, Haselrig’s formation broke.
The collapse of a first line of cavalry could be catastrophic because fugitives frequently crashed into supporting troops behind them. That appears to have happened here. Retreating Parliamentary horse disrupted their own second line, spreading panic through formations that had not necessarily been defeated themselves.
This is one of the less glamorous realities of cavalry warfare. A horse does not care about the commander’s carefully prepared tactical diagram once several hundred frightened animals begin travelling in the opposite direction.
Byron Breaks the Parliamentary Horse
On the other wing, Byron’s cavalry also attacked successfully.
The Parliamentary mounted force began to disintegrate.
Some troops fled towards the steep western edge of the down. Here the terrain turned defeat into disaster.
Men and horses were forced towards the escarpment around Oliver’s Castle. Historic England records the tradition that many plunged over the steep slope into Bloody Ditch.
Others simply fled.
Within a remarkably short period, Waller had effectively lost his cavalry.
That left approximately 2,500 infantry alone on the battlefield.
The Parliamentary Infantry Stand
The infantry did not immediately collapse.
Parliamentarian musketeers and pikemen attempted to maintain disciplined formations against repeated cavalry attacks. Contemporary and later accounts indicate that some formations put up determined resistance.
Pikes remained dangerous to cavalry when infantry stood firm. Horses are not particularly enthusiastic about galloping directly into a wall of steel points, whatever their riders might prefer.
But the strategic situation was hopeless.
Royalist horse could manoeuvre around the Parliamentary formations. Waller’s artillery was captured and could be turned against its former owners. Most importantly, troops from Hopton’s force began emerging from Devizes.
The Parliamentarian infantry attempted to withdraw towards Bath.
Royalist cavalry and Hopton’s troops pursued them. A determined rearguard action around Beacon Hill helped some escape, but the army as a coherent fighting force ceased to exist.
Battle Timeline
| Approximate stage | Event |
|---|---|
| Morning, 13 July | Wilmot’s Royalist relief column approaches Devizes |
| Late morning | Waller abandons the immediate siege operation and deploys on Roundway Down |
| Opening phase | Forlorn hopes and dragoons skirmish ahead of the main armies |
| Early battle | Royalists disrupt much of Waller’s artillery position |
| Main cavalry action | Wilmot attacks Haselrig’s Parliamentary cavalry |
| Shortly afterwards | Haselrig’s horse breaks and disrupts supporting formations |
| Parallel action | Byron’s brigade defeats Parliamentary cavalry elsewhere on the field |
| Rout | Parliamentary horse flees, some towards the steep ground around Oliver’s Castle |
| Final phase | Waller’s isolated infantry attempts to resist and withdraw |
| Royalist reinforcement | Hopton’s troops emerge from Devizes |
| Collapse | Parliamentary infantry breaks, surrenders or escapes towards Bath |
| Aftermath | Waller retreats towards Bristol and his Western Army effectively ceases to exist |
The principal fighting probably lasted only two to three hours.
Casualties
Precise casualty figures remain uncertain.
The Battlefield Trust estimates approximately 300 to 400 Parliamentarians killed, around 800 captured, with further wounded. It gives Royalist losses at roughly 100 to 150 killed and wounded. Other accounts and later summaries give considerably higher Parliamentary losses and prisoner totals.
Parliament also lost:
- Its artillery
- Ammunition and baggage
- Numerous regimental colours
- Much of its Western field army
- A substantial amount of military prestige
Historic England describes the outcome as a remarkable victory in which an outnumbered Royalist cavalry force defeated a balanced army of horse, foot and artillery.
Contemporary Voices
Waller understood perfectly well what had happened to his reputation and army.
He later called Roundway Down:
“the most heavy stroke”
that had befallen him, and described the reversal in terms of victory being turned to mourning and glory to shame.
The Parliamentary writer Bulstrode Whitelocke attributed the cavalry collapse to:
“a panic fear”
which caused Waller’s horse to flee and abandon the infantry.
Royalist humour was rather less sympathetic. Waller’s rapid departure subsequently inspired the mocking verse:
“Great William the Con.,
So fast he did run”
The joke was that Waller had run so quickly he had left the second half of “Conqueror” behind.
Seventeenth-century political satire was not always subtle. It rarely needed to be.
Why Did Parliament Lose?
Roundway Down was not simply a case of Royalist cavalry being inherently superior. That explanation is tempting but much too easy.
Several factors combined.
Collapse of cavalry morale
Once Haselrig’s formation broke, fugitives disrupted troops behind them. Panic could travel through cavalry formations extraordinarily quickly.
Loss of artillery effectiveness
Parliament’s guns represented one of Waller’s strongest advantages. Skirmishing and cavalry movements appear to have prevented them from playing the decisive role expected of them.
Royalist aggression
Wilmot and Byron maintained offensive momentum. They did not give Waller time to reorganise once his mounted formations began failing.
The terrain
The downland was excellent cavalry country, but its western escarpment became lethal once Parliamentary troops began fleeing.
Isolation of the infantry
Waller’s foot had not necessarily been tactically defeated when the cavalry vanished. They were simply left in an increasingly impossible position.
Arrival of Hopton’s troops
Once Royalist forces emerged from Devizes, the Parliamentary infantry faced pressure from additional directions.
Roundway Down therefore demonstrates something easily forgotten when studying seventeenth-century formations on neat maps. Armies were psychological organisms. Once confidence collapsed in one part of the line, the physical destruction of the remainder could happen remarkably quickly.
Archaeology of Roundway Down
Roundway Down remains particularly valuable because substantial areas of the battlefield survive as open countryside.
The battlefield is included on the Register of Historic Battlefields, first registered in 1995, and Historic England identifies it as an area of high archaeological potential.
The wider landscape contains archaeology considerably older than the Civil War.
Oliver’s Castle
The Iron Age hillfort known as Oliver’s Castle occupies commanding ground overlooking the battlefield.
Despite the name, it has no genuine connection with Oliver Cromwell. The association appears to be later folklore. Cromwell was not commanding at Roundway Down.
The scheduled monument lies within the registered battlefield and overlooks the steep ground traditionally associated with the Parliamentary rout.
Bloody Ditch
The dramatic Parliamentary flight towards the escarpment has become one of the defining stories of Roundway Down.
Historic England’s records preserve the tradition that fleeing cavalry plunged down the approximately 300-foot slope, leading to the name Bloody Ditch.
The precise details are difficult to reconstruct archaeologically, but the landscape makes the danger immediately understandable. Standing there tells you something a map struggles to convey.
Earlier archaeology
Roundway Hill also contains prehistoric round barrows, some of which lie inside the registered battlefield area. These remind us that the soldiers of 1643 were fighting across an ancient ritual landscape that was already thousands of years old.
Battlefield archaeology
The precise deployment areas remain debated, and this is where further systematic battlefield archaeology could prove particularly useful.
Potential evidence includes:
- Lead musket and pistol balls
- Cavalry equipment
- Horseshoes and harness fittings
- Buckles
- Buttons and clothing fittings
- Weapon fragments
- Artillery-related material
- Concentrations of projectiles that could identify firing positions
- Distribution patterns capable of reconstructing cavalry clashes and the Parliamentary retreat
Projectile distribution is especially valuable on Civil War battlefields. A single musket ball tells us very little. Hundreds plotted accurately across a landscape can begin to reveal firing lines, troop movements and areas of concentrated fighting.
Roundway Down retains considerable potential for that sort of work.
Visiting the Battlefield Today
Roundway Down remains one of the better English Civil War battlefields for understanding terrain on foot.
Historic England notes good access to the down, including a network of public footpaths and access around Oliver’s Castle.
For anyone interested in the battle, the most useful approach is to walk rather than simply drive past.
From the higher ground it becomes possible to appreciate:
- The openness of the battlefield
- The suitability of the terrain for cavalry
- The relationship between Roundway Hill and Devizes
- The steep western escarpment
- The area traditionally associated with Bloody Ditch
- Why a cavalry rout in this landscape could become catastrophic
The Wiltshire Museum in Devizes is also a natural companion to a battlefield visit and provides local interpretation of Roundway Down and the wider history of the area.
Aftermath
The consequences were enormous.
Waller’s Western Army had effectively been destroyed. The Royalists had escaped what had looked like impending disaster at Devizes and suddenly possessed the operational initiative across western England.
Bristol became vulnerable.
Prince Rupert attacked the city later in July and captured it, giving the Royalists one of Britain’s most important ports.
Gloucester was next.
Yet this is where the strategic significance of Roundway Down becomes more complicated. The Royalists had won the opportunity for a potentially war-changing campaign, but they did not convert it into final victory.
Gloucester resisted.
Parliament organised a relief army under the Earl of Essex. The Royalist opportunity began to close. Historic England consequently describes Roundway as a battle that might have proved decisive in 1643, but whose potential was never fully exploited.
How Important Was Roundway Down?
I think Roundway Down deserves considerably more attention than it normally receives.
Naseby dominates popular histories because it helped decide the war. Edgehill is remembered because it was the first great field battle. Marston Moor has scale and famous names.
Roundway Down offers something different.
It is an unusually clear demonstration of how quickly a seventeenth-century army could unravel.
Waller began the battle with almost every conventional advantage. He had more men, infantry support, substantial cavalry, artillery and favourable ground. His opponent arrived after a punishing march with an overwhelmingly mounted force.
A few hours later, Waller’s army barely existed.
That makes Roundway Down much more interesting than a simple Cavalier victory. It exposes the limits of numerical superiority when command, morale and battlefield cohesion begin to fail.
The Royalists won because they turned a local cavalry success into general panic before Waller could regain control.
That was excellent battlefield exploitation.
It was also a reminder that in the English Civil War, as in most wars, an army could look perfectly respectable until approximately five minutes before it wasn’t.
Legacy
Roundway Down became one of the greatest Royalist victories of the First Civil War.
It saved Hopton’s army, destroyed Waller’s immediate military power in the West and contributed directly to the Royalist capture of Bristol.
Yet Waller himself survived politically and militarily. Parliament raised another army for him, and he returned to campaigning later in 1643.
The Royalists therefore destroyed an army without destroying the man who commanded it.
More importantly, they failed to translate their extraordinary summer of victories into victory in the war itself.
Roundway Down represents the Royalist cause near its high-water mark. In July 1643, the King’s armies seemed capable of winning almost anywhere.
The battlefield near Devizes shows just how close that possibility once appeared.
Battle of Roundway Down: Quick Facts
| Date | 13 July 1643 |
| Location | Roundway Down, Wiltshire |
| Nearest town | Devizes |
| Royalist commander | Lord Wilmot |
| Parliamentarian commander | Sir William Waller |
| Royalist strength | Around 1,800 cavalry |
| Parliamentarian strength | Around 5,000 |
| Duration | Approximately 2 to 3 hours |
| Result | Decisive Royalist victory |
| Notable unit | Haselrig’s cuirassiers, the “London Lobsters” |
| Key terrain | Roundway Hill, Oliver’s Castle and Bloody Ditch |
| Wider consequence | Opened the way for Royalist operations against Bristol and Gloucester |