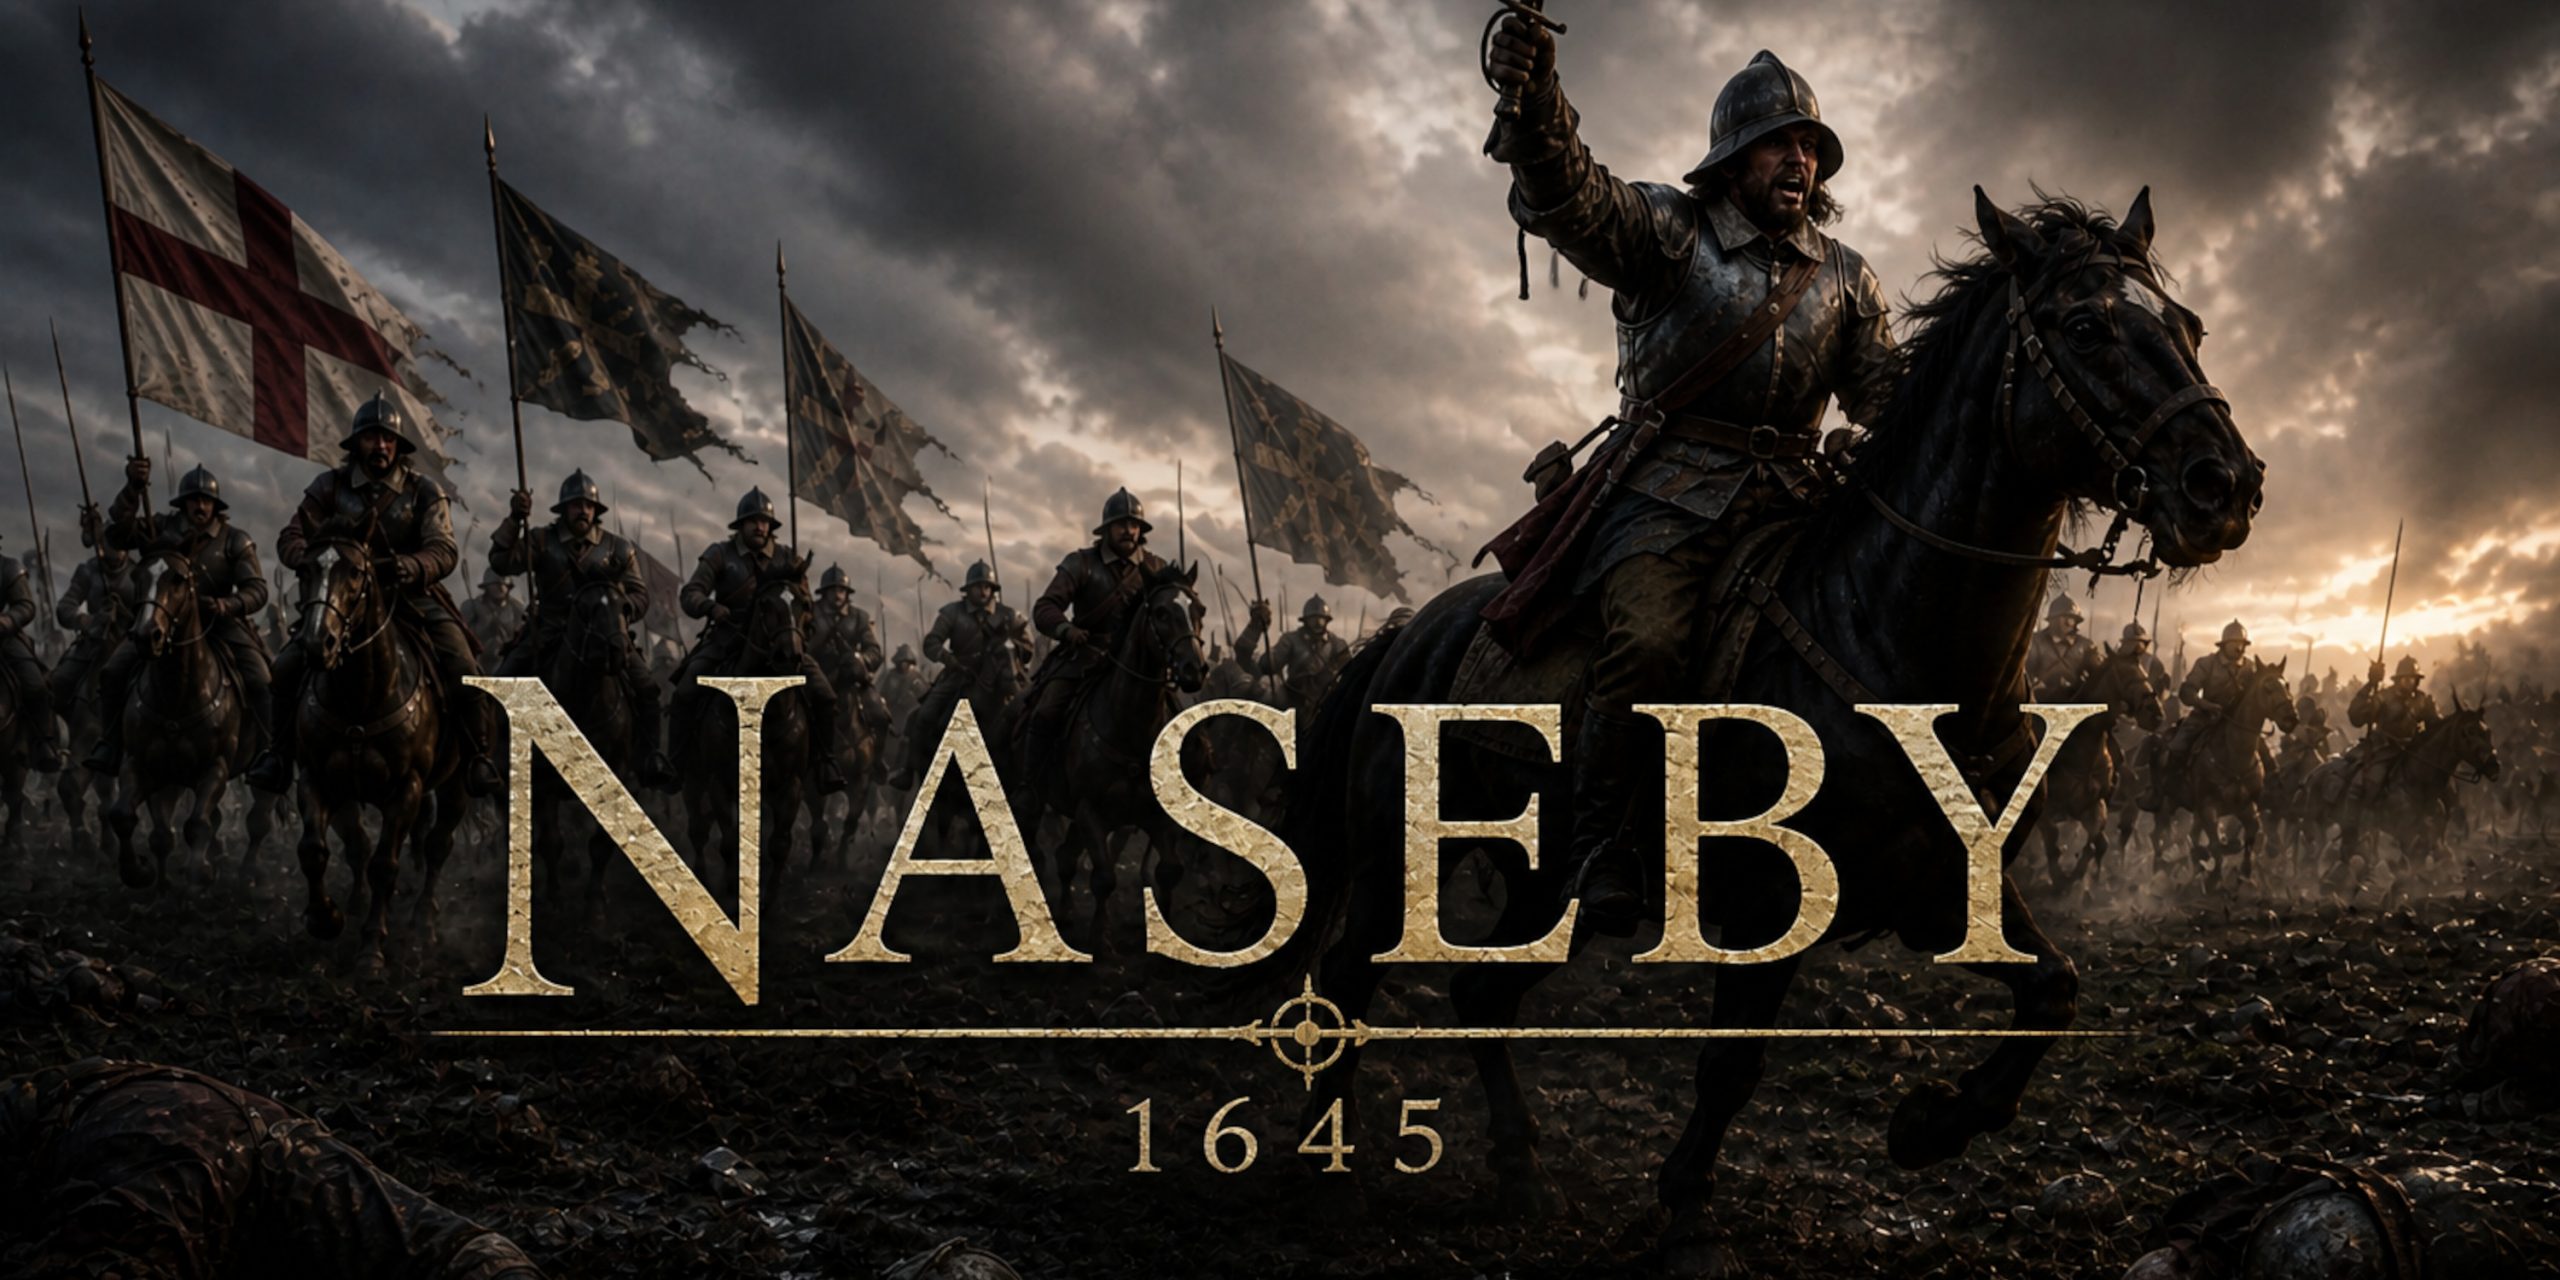
Fought in the Northamptonshire countryside on a warm June morning in 1645, Naseby was less a contest of equals and more a brutal unravelling of royal power.
By this point, the Parliamentarian New Model Army had become something new in English warfare. It was disciplined, well supplied, and increasingly confident. The Royalist army under Charles I still had courage and flashes of brilliance, but it was stretched thin, tired, and perhaps most importantly, predictable.
Naseby did not just defeat a royal army. It exposed its weaknesses in plain view.
Background to the Battle
By early 1645, the First English Civil War had dragged on for nearly three years. The initial Royalist advantage had faded, replaced by a steady Parliamentarian recovery.
The creation of the New Model Army marked a turning point. Under Sir Thomas Fairfax and Oliver Cromwell, Parliament now fielded a force that could fight consistently rather than sporadically.
Charles I, meanwhile, moved north from Oxford, hoping to draw Parliament into a decisive engagement or relieve pressure elsewhere. Instead, he found himself near Naseby, facing an army that was increasingly eager for exactly that kind of fight.
It is worth noting that neither side intended a small skirmish. Both marched into something that felt decisive.
Foces
Estimated Strength
| Side | Infantry | Cavalry | Artillery | Total |
|---|---|---|---|---|
| Parliamentarian (New Model Army) | ~7,000 | ~6,000 | 11 guns | ~13,000 |
| Royalist | ~4,500 | ~4,500 | 8 guns | ~9,000 |
Parliament held a clear numerical advantage, though not overwhelmingly so. The difference lay in organisation and cohesion rather than sheer numbers.
Commanders and Leadership
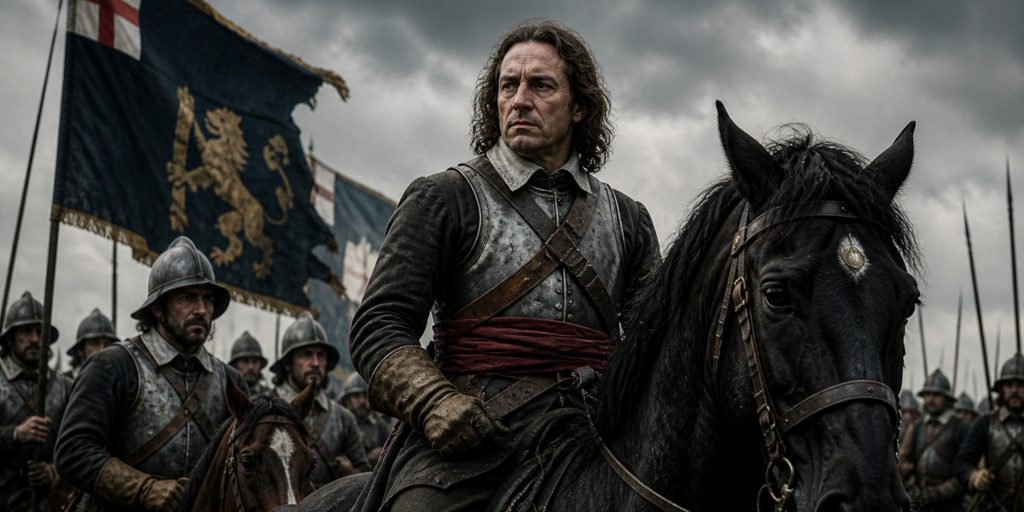
Parliamentarian Command
- Sir Thomas Fairfax, Commander-in-Chief
- Oliver Cromwell, Lieutenant-General of Horse
- Philip Skippon, Sergeant Major General of Foot
- Henry Ireton, Commissary-General of Horse
Royalist Command
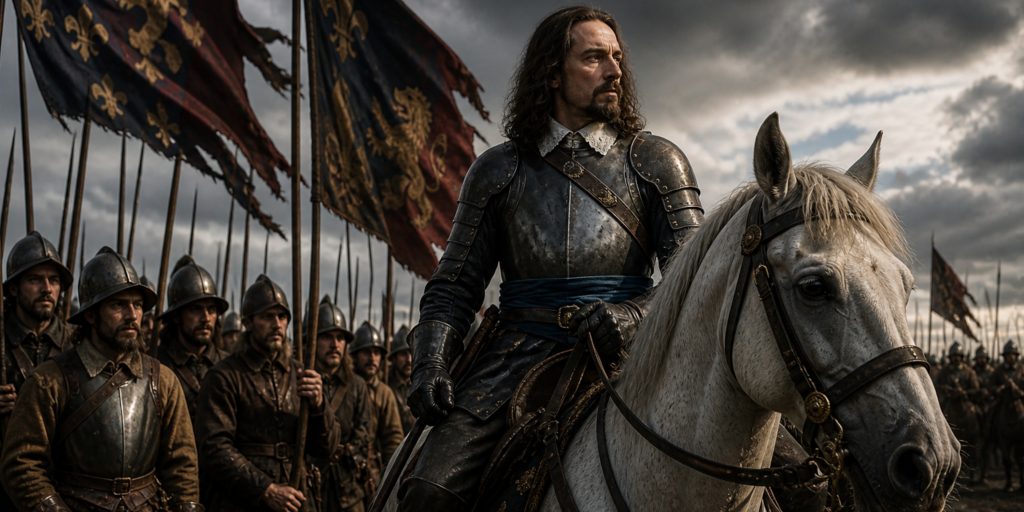
- King Charles I
- Prince Rupert of the Rhine
- Sir Marmaduke Langdale
- Lord Astley
The contrast between leadership styles is striking. Fairfax and Cromwell worked within a coordinated structure. The Royalists, by comparison, relied heavily on Rupert’s aggressive cavalry tactics, which had worked before but were beginning to show their limits.
Arms and Armour
Parliamentarian Equipment
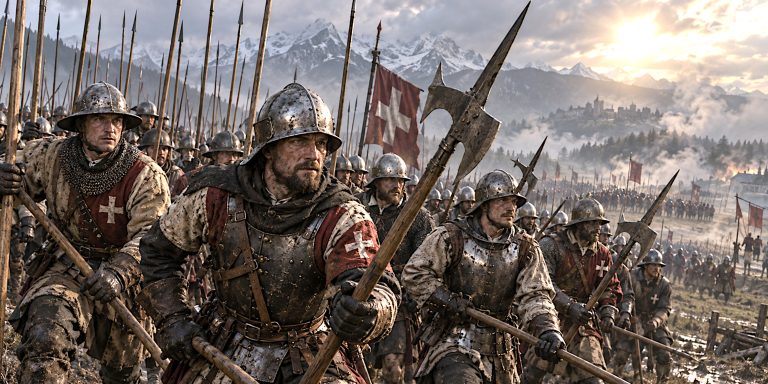
- Infantry: Pike and shot formations, matchlock muskets
- Cavalry: Heavily armoured cuirassiers and harquebusiers
- Artillery: Light field guns for mobility
Sword types used:
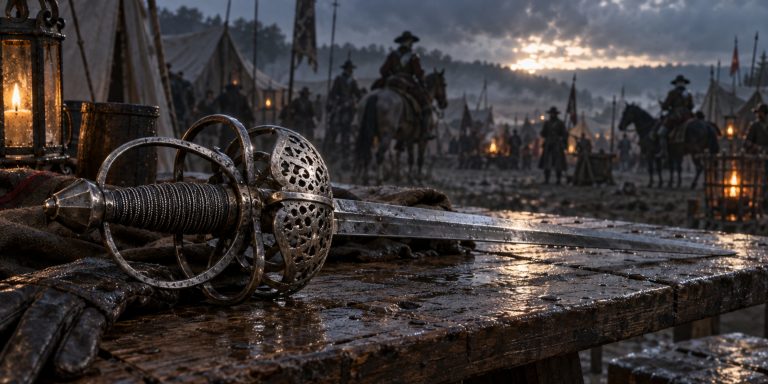
- Mortuary swords, commonly associated with cavalry officers
- Basket-hilted broadswords
- Straight cavalry backswords
Read: Iconic Civil War Weapons
Royalist Equipment
- Infantry: Similar pike and shot formations
- Cavalry: Shock cavalry under Rupert, favouring aggressive charges
- Artillery: Fewer guns, less effectively deployed
Sword types used:
- Basket-hilted swords, widely used among cavalry
- Rapier-influenced blades for officers
- Early backswords suited for slashing attacks
The equipment itself was not dramatically different. The real divide lay in how it was used. Parliamentarian cavalry had learned discipline. Royalist cavalry still chased glory.
Battlefield and Deployment
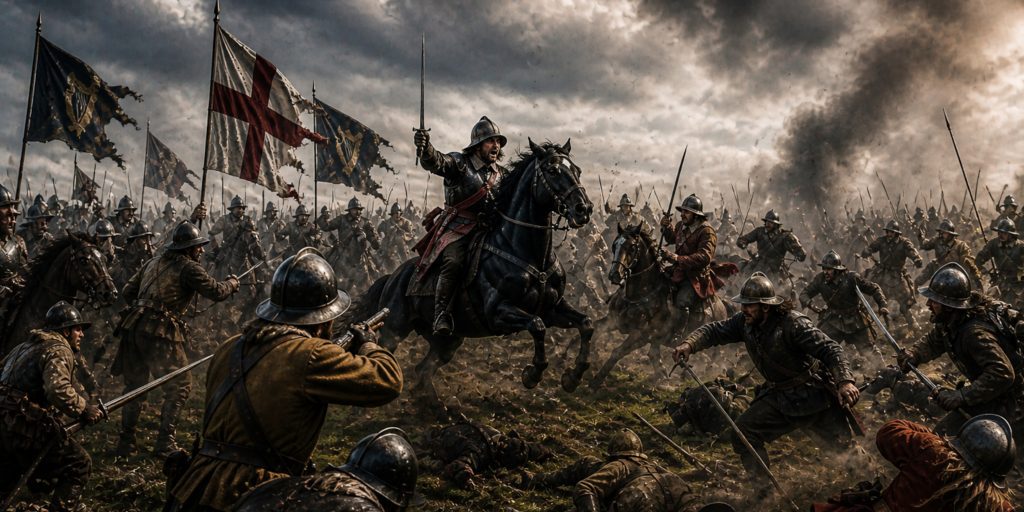
Naseby’s terrain played a quiet but important role. Rolling hills and open fields provided room for cavalry manoeuvres but also exposed flanks to exploitation.
- Parliament deployed with infantry in the centre, cavalry on both wings
- Cromwell commanded the right wing cavalry
- Ireton held the left
The Royalists mirrored this structure, with Rupert leading the right wing cavalry, as he often did, and Langdale on the left.
It looked symmetrical. It did not stay that way for long.
Battle Timeline
Early Morning
- Armies form up across Broad Moor
- Artillery exchanges begin, limited but symbolic
Opening Engagement
- Rupert leads a charge on the Royalist right
- Parliament’s left wing under Ireton is driven back
Mid-Battle Shift
- Rupert’s cavalry pursues fleeing enemies, leaving the field
- Cromwell holds discipline on the Parliamentarian right
Turning Point
- Cromwell’s cavalry defeats Langdale’s wing
- Parliamentarian cavalry swings inward toward the Royalist centre
Collapse of the Royalist Line
- Infantry under pressure from multiple directions
- Fairfax rallies Parliamentarian forces for a coordinated push
Final Phase
- Royalist infantry breaks
- King Charles considers leading a counterattack but is restrained
- Retreat turns into rout
The entire battle lasted only a few hours. The consequences lasted years.
Archaeology and Battlefield Evidence
Naseby has been the subject of extensive archaeological work, particularly metal detecting surveys and landscape studies.
Key findings include:
- Concentrations of musket balls marking infantry engagements
- Cavalry-related artefacts, including horse fittings and sword fragments
- Distribution patterns that confirm the collapse of the Royalist centre
The battlefield itself remains relatively intact compared to many sites, allowing historians to match physical evidence with contemporary accounts. It is one of the clearer cases where the ground still tells the story, even if quietly.
Contemporary Quotes
From a Parliamentarian perspective:
“The Lord gave them as stubble to our swords.”
From a Royalist observer:
“Never was a business worse managed, nor a victory more carelessly lost.”
These voices reflect the same moment from opposite ends of fortune. One sees divine favour. The other sees squandered opportunity.
Why the Royalists Lost
Several factors stand out:
- Cavalry indiscipline, particularly Rupert’s pursuit
- Inferior coordination between wings and centre
- Parliament’s ability to maintain formation under pressure
- Cromwell’s controlled use of cavalry at the decisive moment
There is also a quieter truth. By 1645, Parliament had learned from its earlier mistakes. The Royalists had not adapted as quickly.
Aftermath and Legacy
Naseby effectively destroyed the King’s main field army. More damaging still was the capture of Royalist baggage, including correspondence that revealed Charles I’s negotiations with foreign powers.
This had political consequences that extended far beyond the battlefield. It hardened Parliamentarian resolve and weakened any remaining support for compromise.
Within a year, the war’s outcome was no longer in serious doubt.
Takeaway
Naseby is often described as decisive, which is accurate but slightly understated. It was not just a victory. It was a dismantling.
Standing on that ground today, it is easy to imagine the chaos of the cavalry charges and the steady grind of the infantry fight. What is harder to grasp is how quickly momentum shifted once discipline held on one side and broke on the other.
History rarely offers clean conclusions. Naseby comes close.