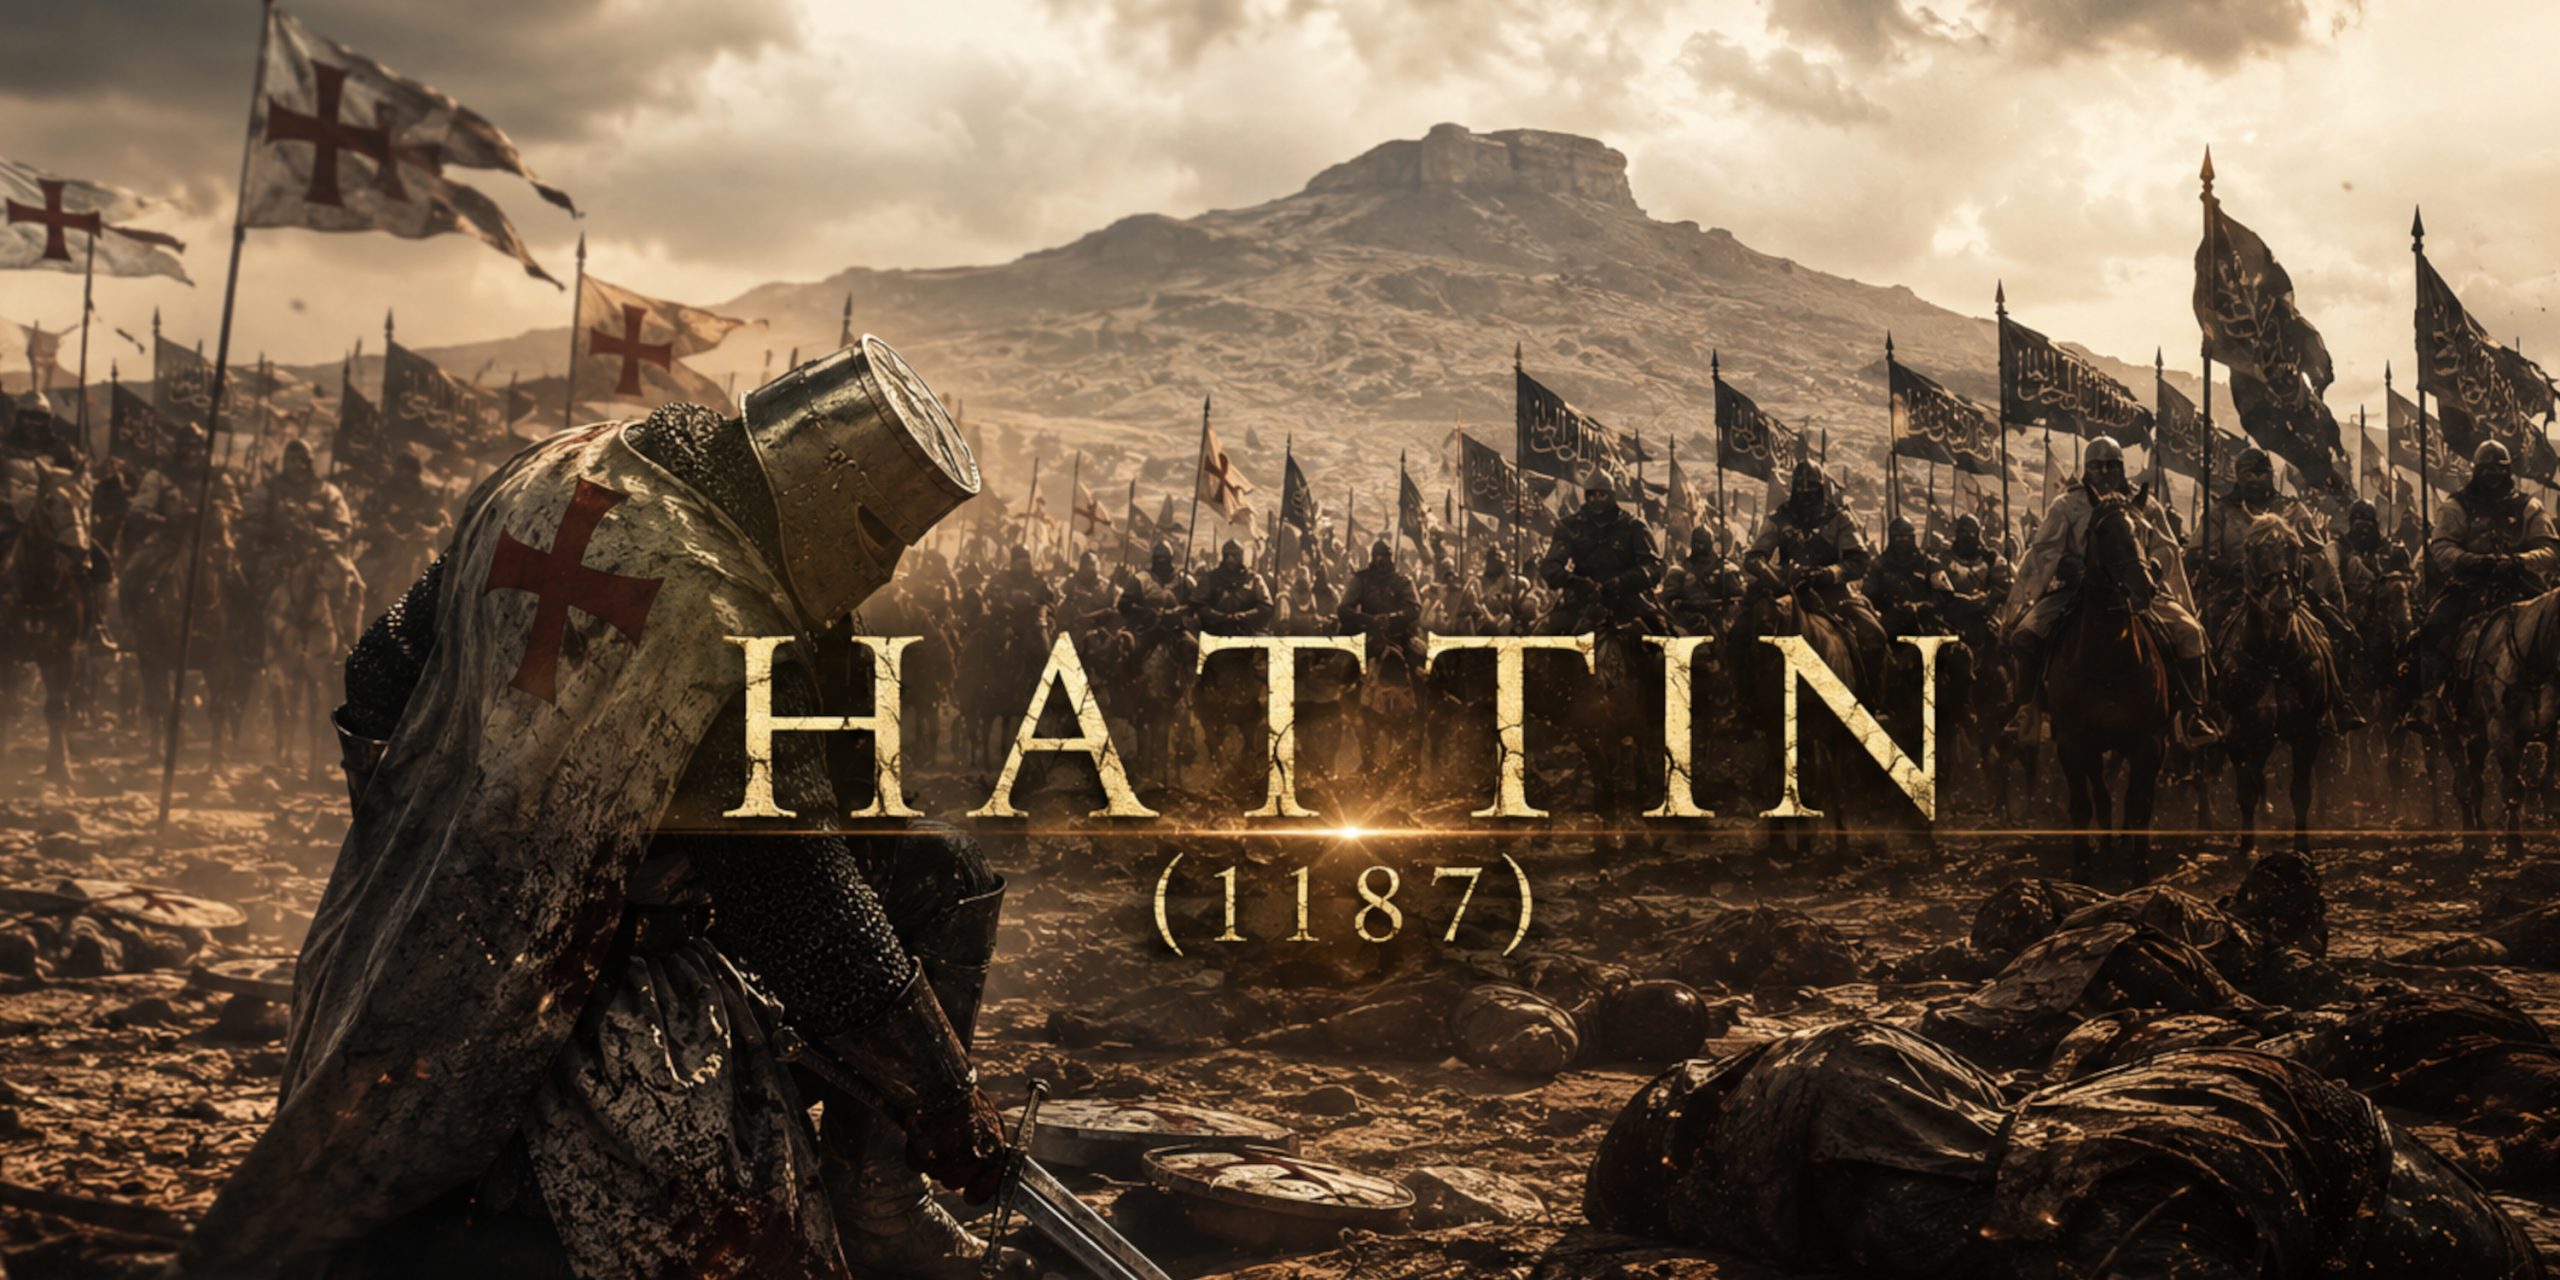
The Battle of Hattin stands among the most catastrophic defeats in medieval history. On 4 July 1187, the army of the Kingdom of Jerusalem marched into a furnace of heat, smoke, thirst, and tactical collapse near the twin volcanic hills known as the Horns of Hattin in modern-day Israel.
By sunset, the Crusader field army had effectively ceased to exist.
The defeat handed Saladin the strategic initiative across the Levant and opened the road to Jerusalem itself. Within months, the holy city fell. The shock echoed across Europe with enough force to launch the Third Crusade and drag Richard the Lionheart into the eastern Mediterranean.
There is something grimly fascinating about Hattin. It was not simply a battle lost through inferior numbers. It was a masterpiece of operational warfare combined with dreadful leadership decisions, factional politics, and the medieval equivalent of marching into a barbecue while carrying forty pounds of armour.
Background to the Battle
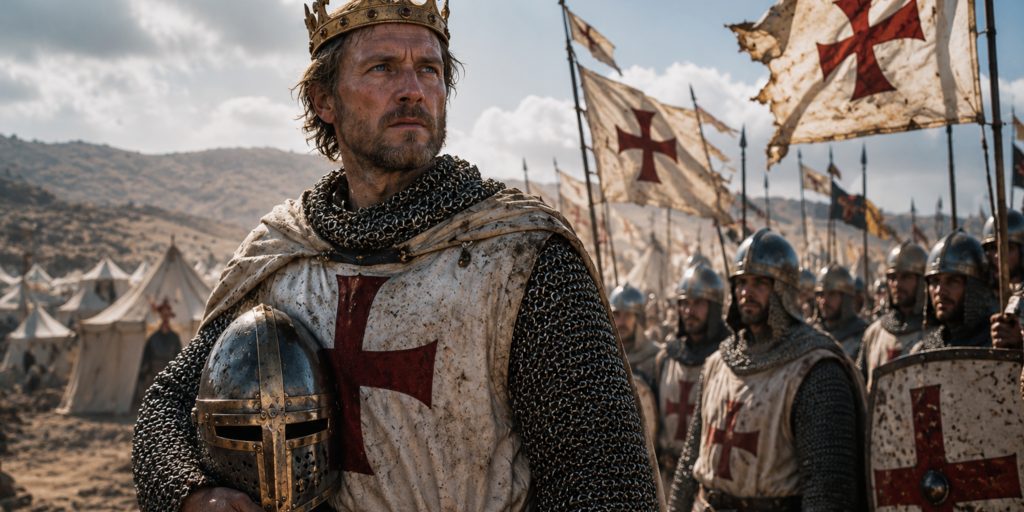
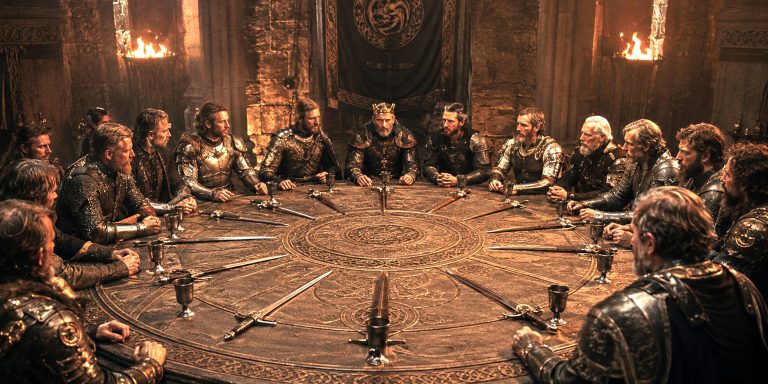
The Kingdom of Jerusalem in the late twelfth century was politically fragile despite its outward prestige. Rival factions within the Crusader nobility argued constantly over strategy, diplomacy, and succession. King Guy of Lusignan struggled to command authority, while experienced figures such as Raymond III of Tripoli often distrusted him openly.
Meanwhile, Saladin had achieved something rare in the Islamic world of the era. He unified Egypt and much of Syria under his rule, creating a powerful and coordinated military state capable of sustained campaigning against the Crusader kingdoms.
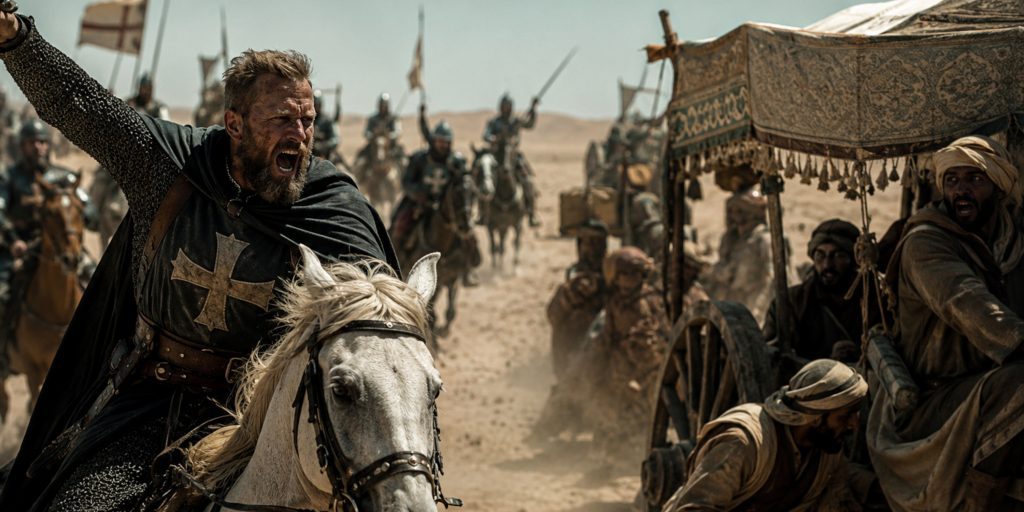
Tensions escalated after the reckless actions of Reynald of Châtillon, lord of Kerak. Reynald repeatedly violated truces and attacked Muslim caravans, reportedly even threatening routes connected to Mecca itself. Saladin swore a personal oath to kill him.
That promise would eventually be fulfilled after Hattin.
The Strategic Situation
In summer 1187, Saladin invaded the Kingdom of Jerusalem and targeted Tiberias, held by Raymond of Tripoli’s wife. The Crusader leadership gathered at Sephoria, where they possessed good water supplies and defensible ground.
Raymond advised remaining there and forcing Saladin to attack.
Instead, Guy chose to march east toward Tiberias across dry and exposed terrain under intense summer heat. Medieval chroniclers practically scream in frustration at this decision. Even modern historians read it with the same expression someone gives when watching a man reverse a wagon toward a cliff edge.
Saladin immediately recognised the opportunity.
Forces at the Battle of Hattin
Crusader Army
| Component | Estimated Numbers | Notes |
|---|---|---|
| Knights | 1,200 to 1,500 | Included Templars and Hospitallers |
| Infantry | 10,000 to 15,000 | Spearmen, crossbowmen, levies |
| Turcopoles | Several hundred | Light cavalry and mounted archers |
| Total | Roughly 15,000 to 20,000 | Main field army of Jerusalem |
Ayyubid Army
| Component | Estimated Numbers | Notes |
|---|---|---|
| Heavy Cavalry | 10,000+ | Professional mounted troops |
| Horse Archers | Large numbers | Highly mobile skirmishers |
| Infantry | Several thousand | Supporting troops |
| Total | Roughly 25,000 to 35,000 | Flexible and experienced army |
Saladin’s army possessed greater mobility, superior battlefield coordination, and far better logistical preparation.
The Crusaders, by contrast, were exhausted before the battle truly began.
Leaders and Commanders
Crusader Leadership
- King Guy of Lusignan
- Raymond III of Tripoli
- Reynald of Châtillon
- Gerard de Ridefort, Grand Master of the Templars
- Roger des Moulins, Grand Master of the Hospitallers
Ayyubid Leadership
- Saladin
- Al-Afdal ibn Salah ad-Din
- Gökböri
- Taqi ad-Din
Saladin’s command structure functioned cohesively. The Crusader leadership was deeply divided. That difference mattered enormously once pressure mounted.
Arms and Armour
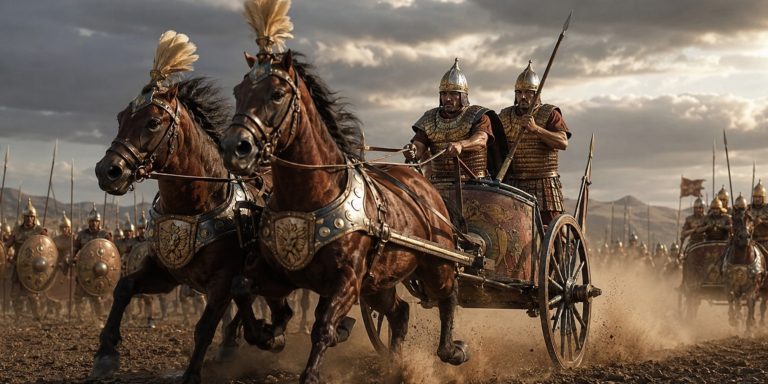
The battle featured a mixture of western European heavy cavalry traditions and highly mobile Near Eastern warfare.
Crusader Arms and Armour
| Equipment | Description |
|---|---|
| Arming Sword | Straight double-edged knightly swords |
| Broadswords | Heavier cutting blades used by mounted knights |
| Spears and Lances | Core cavalry shock weapons |
| Maces | Effective against mail armour |
| Crossbows | Powerful missile weapons with armour penetration |
| Kite Shields | Common among mounted troops |
| Mail Hauberks | Interlinked iron rings providing protection |
| Great Helms | Increasingly enclosed helmets |
Specific Sword Types Used
- Knightly arming swords
- Early cruciform longswords
- Falchion-style cutting swords among some infantry
- Cavalry blades influenced by Frankish traditions
Ayyubid Arms and Armour
| Equipment | Description |
|---|---|
| Saif Swords | Curved or slightly curved blades suited for cavalry combat |
| Spears | Widely used by mounted troops |
| Composite Bows | Devastating mounted archery weapons |
| Lamellar Armour | Layered armour offering flexibility |
| Round Shields | Light and mobile defensive equipment |
| Maces and Axes | Close-quarter weapons |
Muslim horse archers dominated the operational tempo of the battle. They harassed the Crusaders relentlessly while avoiding direct shock engagement until conditions favoured them.
The Battle Timeline

3 July 1187, The March Begins
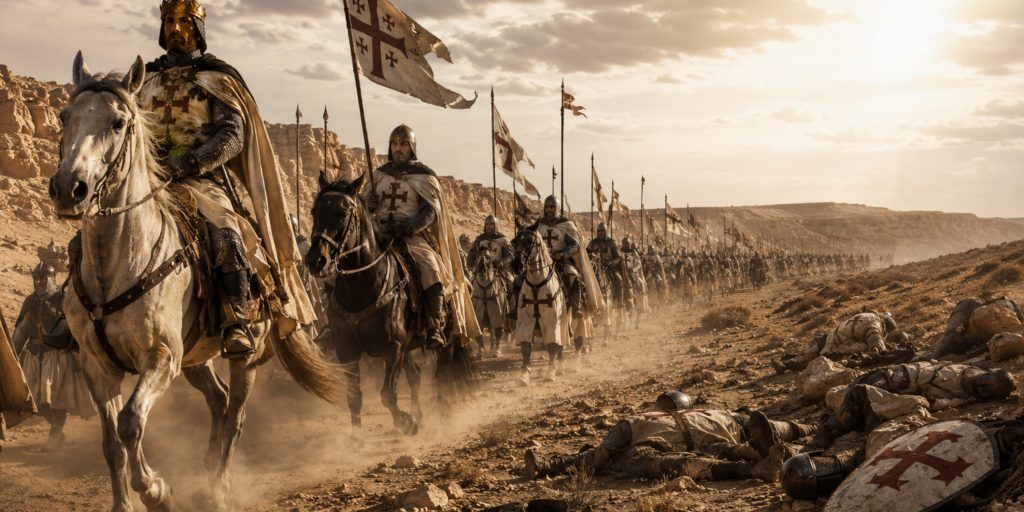
The Crusader army leaves Sephoria and marches toward Tiberias under punishing heat.
Saladin’s mounted archers begin harassment attacks almost immediately.
Afternoon
The Crusaders struggle to reach water sources. Muslim forces cut off access and maintain constant pressure.
Smoke from deliberately fired grass worsens the conditions.
Night of 3 July
The exhausted Crusader army camps near the Horns of Hattin without reliable access to water.
Morale deteriorates rapidly.
Morning of 4 July
Saladin surrounds the Crusader position.
Mounted archers shower the Crusaders with arrows while preventing organised movement.
Midday
Repeated Crusader attempts to break through fail.
Raymond of Tripoli escapes with a small force after a temporary gap appears in Muslim lines.
Afternoon
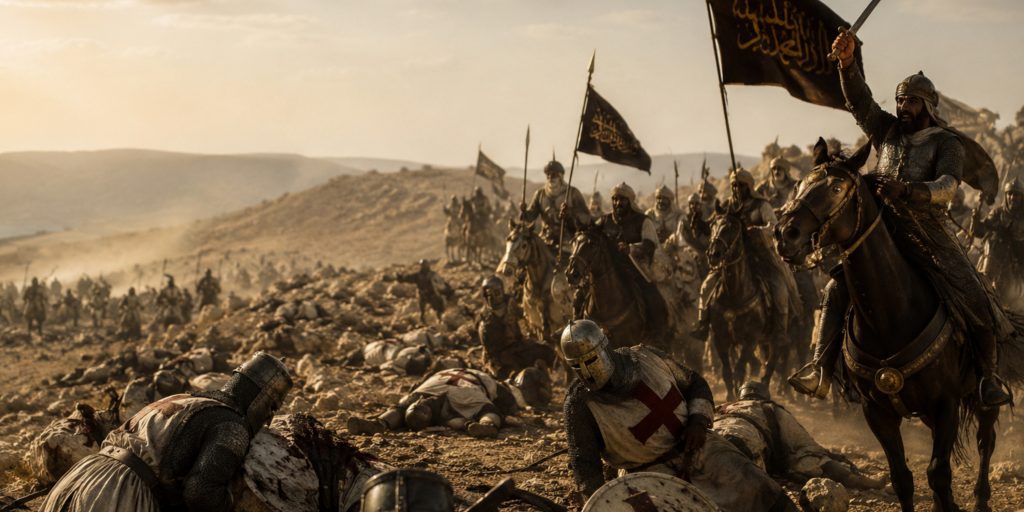
The Crusader infantry collapses.
The remaining knights make desperate final charges.
Late Afternoon
King Guy is captured.
The relic known as the True Cross is seized.
Reynald of Châtillon is executed personally by Saladin.
The battle ends in total Crusader defeat.
Contemporary Quotes
The medieval sources surrounding Hattin are vivid and often deeply emotional.
From the chronicler Ernoul:
“The Christians were so tormented by thirst that they could scarcely fight.”
From Imad ad-Din al-Isfahani:
“They were cut down and taken prisoner in every direction.”
On the capture of the True Cross:
“The Franks lost that cross which was the greatest of their possessions.”
Even allowing for medieval exaggeration, the sense of catastrophe is unmistakable.
Archaeology and the Battlefield Today
The battlefield lies near the Horns of Hattin, west of the Sea of Galilee. The volcanic hill formation remains immediately recognisable and still dominates the surrounding terrain.
Archaeological work in the region has uncovered:
- Arrowheads linked to twelfth-century warfare
- Campsite evidence and battlefield debris
- Fortification remains connected to Crusader occupation
- Ceramics and military artefacts from the Ayyubid period
Precise battlefield archaeology remains difficult due to centuries of farming and settlement activity, but landscape analysis strongly supports the traditional narrative of the Crusader army becoming trapped on exposed high ground without water.
Walking the terrain today reportedly changes one’s perspective immediately. Distances that appear manageable on maps suddenly feel oppressive under Levantine summer heat. One begins to understand why medieval armies feared thirst almost as much as steel.
The Fate of the Captured Leaders
Saladin treated King Guy relatively well according to contemporary standards.
Reynald of Châtillon received no such mercy.
Accounts describe Saladin personally striking Reynald before guards finished the execution. Reynald’s repeated attacks on caravans and violations of truces made him a uniquely hated figure.
The Templars and Hospitallers captured at Hattin suffered especially harsh treatment. Many were executed due to their status as dedicated military religious orders.
The Fall of Jerusalem
After Hattin, the Kingdom of Jerusalem lacked the manpower to resist effectively.
One city after another surrendered:
- Acre
- Nablus
- Jaffa
- Ascalon
Jerusalem itself fell in October 1187.
The loss stunned Christian Europe and triggered the Third Crusade led by figures including Richard the Lionheart and Philip II of France.
Without Hattin, the famous campaigns of Richard in the Holy Land might never have occurred.
Why Hattin Remains so Important
Hattin remains one of history’s clearest examples of operational encirclement, logistical warfare, and battlefield exhaustion.
Saladin did not simply defeat the Crusaders in combat. He manipulated terrain, climate, mobility, morale, and water access until their destruction became almost inevitable.
The battle also shattered the myth of Crusader invincibility in the Levant.
For historians, Hattin is endlessly compelling because it combines grand strategy with painfully human mistakes. Pride, rivalry, exhaustion, panic, stubbornness, courage, and heatstroke all collided on one terrible July afternoon.
And somewhere amid the smoke and dust, medieval warfare revealed its ugliest truth. Even the finest knights in Christendom become remarkably vulnerable when dehydrated and surrounded.
Legacy of the Battle
The Battle of Hattin transformed the political map of the eastern Mediterranean.
Its consequences included:
- The collapse of much of the Kingdom of Jerusalem
- The rise of Saladin as a legendary figure in both Islamic and European memory
- The launch of the Third Crusade
- A permanent shift in Crusader defensive strategy
Few medieval battles changed so much so quickly.
Hattin was the moment the Crusader Kingdom truly began to die.