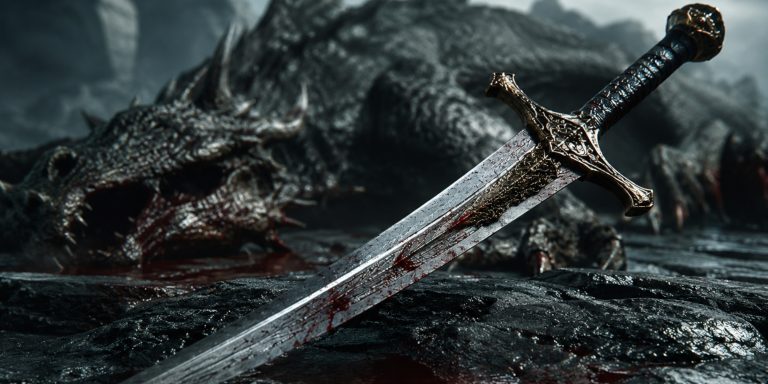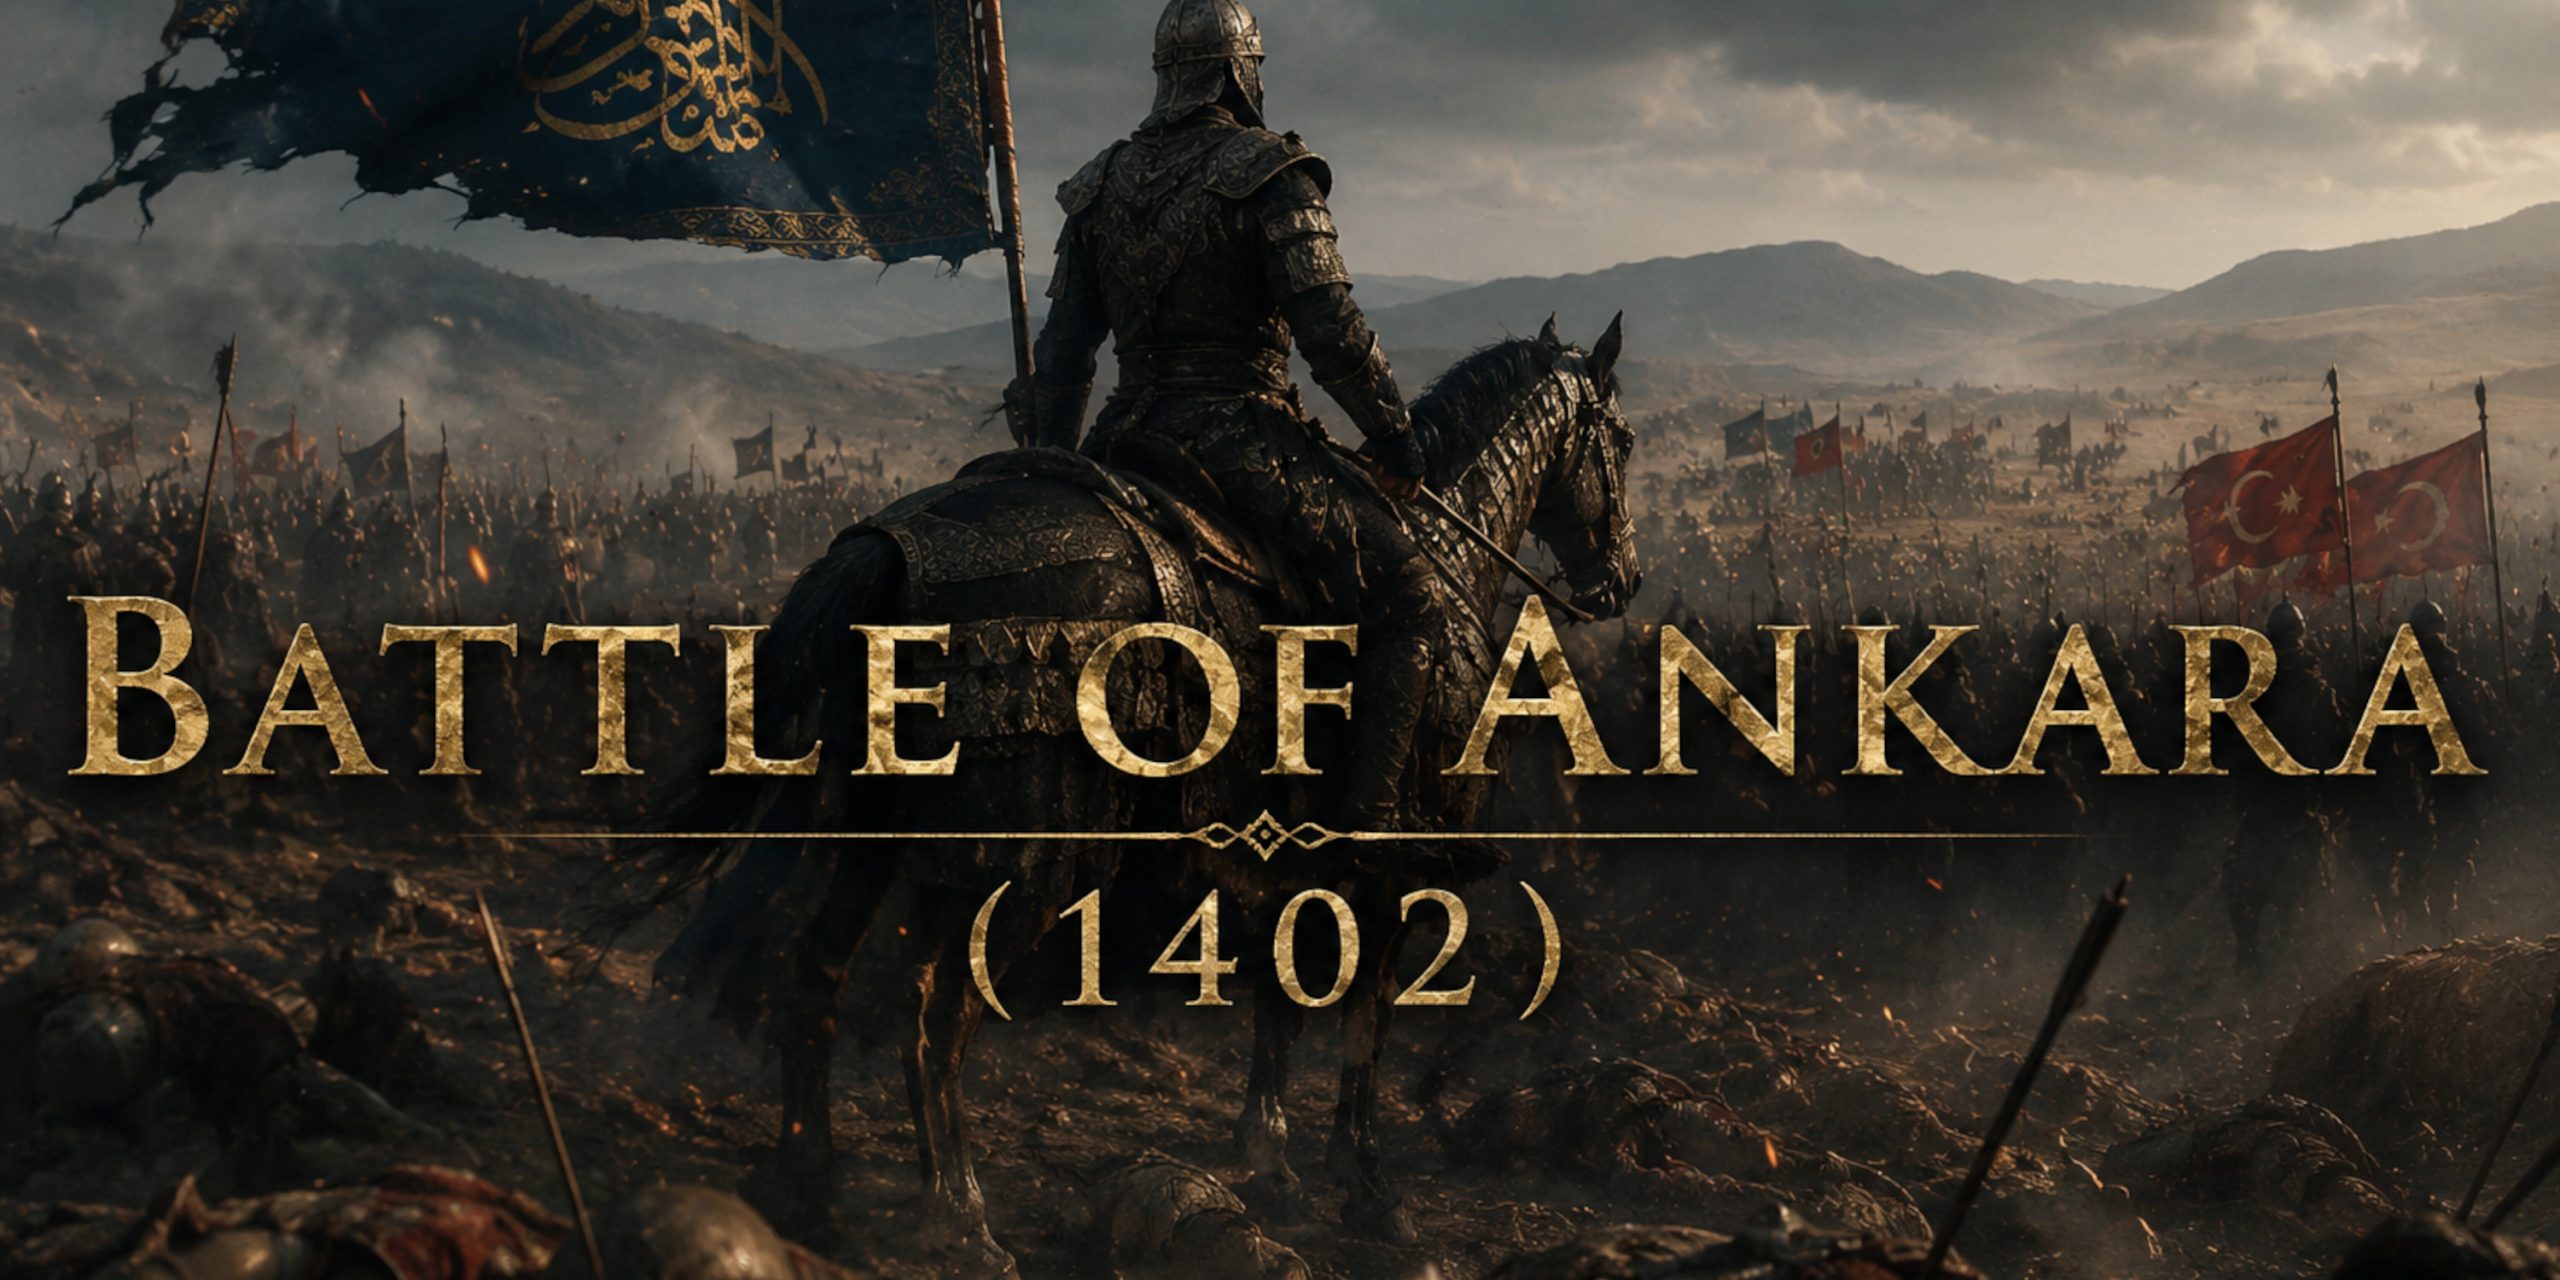
Fought on 28 July 1402 between the Ottoman Sultan Bayezid I and the Central Asian conqueror Timur, known in Europe as Tamerlane, the clash near Ankara became one of the greatest military disasters in Ottoman history. Bayezid had spent years building the Ottoman state into a terrifying Balkan and Anatolian power. Timur arrived like a storm from the east and broke it apart in a single brutal campaign.
The consequences were enormous. The Ottomans fell into civil war. Constantinople gained a temporary reprieve from conquest. Anatolia descended into chaos. Timur, meanwhile, added another shattered kingdom to his long and rather alarming résumé.
For historians, Ankara is fascinating because it was not just a contest of numbers. It was a collision between two military systems, two imperial ambitions, and two rulers who had spent years exchanging insults by letter before finally settling matters with steel.
Background to the Battle
By the late fourteenth century the Ottoman Empire had expanded rapidly across Anatolia and the Balkans. Sultan Bayezid I, nicknamed “Yıldırım” or “The Thunderbolt,” had defeated rival Turkish beyliks and threatened both Hungary and Constantinople.
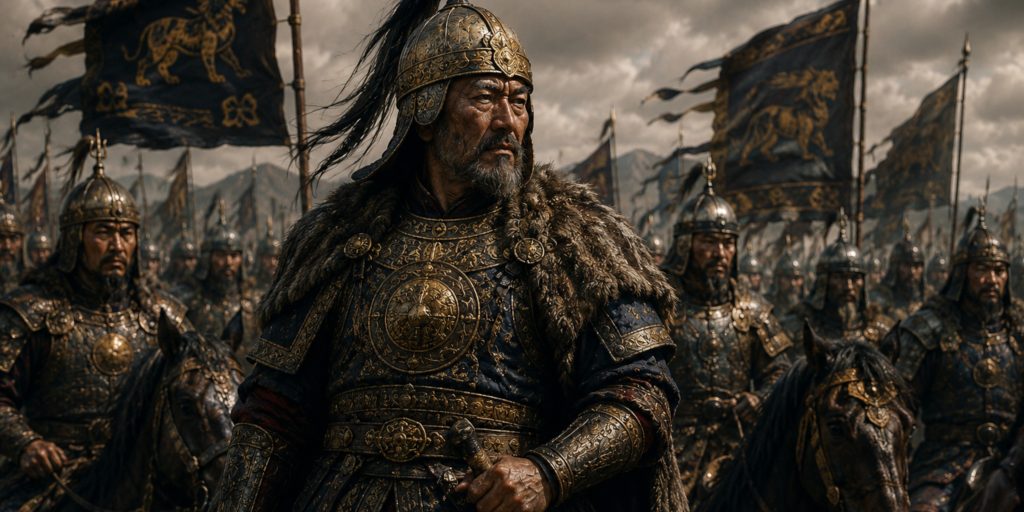
Timur had built a vast empire stretching from Transoxiana into Persia, Afghanistan, and northern India. His campaigns were infamous for speed, destruction, and theatrical brutality. Entire cities were sometimes annihilated to discourage resistance. Medieval diplomacy could be subtle. Timur generally preferred pyramids made of skulls.
Conflict became inevitable once both rulers claimed authority over eastern Anatolia. Several displaced Turkish rulers appealed to Timur for help after Bayezid annexed their lands. Timur gladly accepted the opportunity to undermine a rising rival.
The two rulers exchanged hostile letters for years. Bayezid mocked Timur’s legitimacy and threatened him openly. Timur responded with equal venom. By 1402, diplomacy had effectively become an extended argument waiting for cavalry.
The Road to Ankara
Timur invaded Anatolia in 1402 with a vast and highly mobile army. He captured Sivas after a brutal siege and advanced westward.
Bayezid reacted quickly, marching his forces from the Balkans into central Anatolia. The pace of the Ottoman march exhausted many troops before the battle had even begun. Timur exploited this brilliantly by manoeuvring around Bayezid’s forces and cutting them off from reliable water supplies near Ankara during the height of summer.
This proved devastating.
The battlefield itself consisted of dry plains broken by low hills and rough terrain. Heat, thirst, and exhaustion became critical factors before the first major charge even began.
Forces
Precise numbers remain debated because medieval chroniclers often treated arithmetic as an optional extra, especially after exciting victories. Most modern historians estimate Timur possessed numerical superiority.
Estimated Army Strengths
| Army | Estimated Strength | Composition |
|---|---|---|
| Ottoman Empire | 70,000 to 85,000 | Janissaries, Sipahis, Balkan vassals, Serbian heavy cavalry, Anatolian troops |
| Timurid Empire | 90,000 to 140,000 | Heavy cavalry, horse archers, engineers, war elephants, tribal cavalry |
Commanders and Leaders
| Side | Commander | Notes |
|---|---|---|
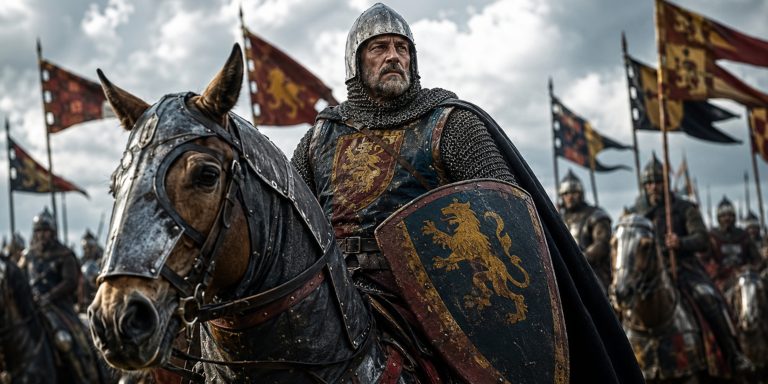
| Ottoman Empire | Bayezid I | Aggressive and experienced Ottoman sultan |
| Ottoman Empire | Stefan Lazarević | Serbian prince commanding elite cavalry |
| Timurid Empire | Timur | Veteran conqueror and master strategist |
| Timurid Empire | Shah Rukh and other Timurid princes | Commanded major wings of the army |
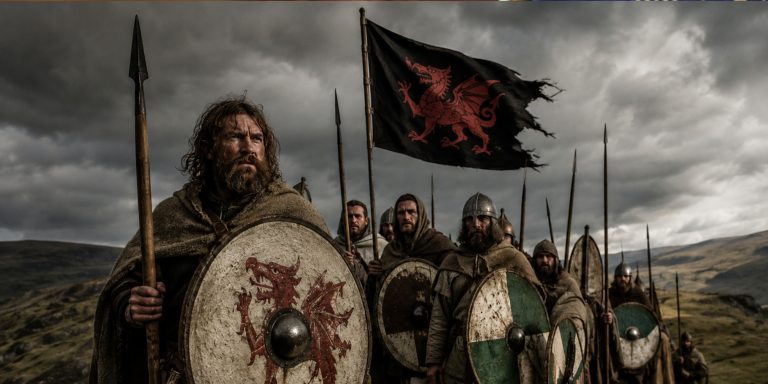
Arms and Armour
The Battle of Ankara featured a remarkable mix of military traditions from across Eurasia. Turkish cavalry fought alongside Balkan knights, Mongol-style horse archers, Persian infantry, and even Indian war elephants.
Ottoman Weapons
- Kilij sabres
- Straight double-edged swords
- Maces and war hammers
- Composite bows
- Spears and lances
- Janissary polearms
Timurid Weapons
- Turko-Mongol sabres
- Shamshir-style curved swords
- Composite reflex bows
- Heavy cavalry lances
- Axes and maces
- Siege incendiaries
Specific Sword Types Used
| Sword Type | Users | Description |
|---|---|---|
| Kilij | Ottoman cavalry | Curved cutting sword designed for mounted combat |
| Straight arming swords | Balkan and Serbian troops | European knightly swords suited for thrusting and cutting |
| Turko-Mongol sabres | Timurid cavalry | Fast slashing weapons ideal for mobile warfare |
| Shamshir prototypes | Persian-influenced Timurid elites | Deeply curved blades for cavalry charges |
Armour and Protection
| Troop Type | Armour |
|---|---|
| Janissaries | Mail armour, helmets, shields |
| Ottoman Sipahis | Lamellar and chain armour |
| Serbian heavy cavalry | Full or partial plate armour with mail |
| Timurid cavalry | Lamellar armour, silk underlayers, helmets with face guards |
The Serbian contingent under Stefan Lazarević reportedly fought with immense determination during the battle. Contemporary accounts describe repeated heavy cavalry charges against Timur’s forces. One suspects the Serbs realised fairly early that the day was deteriorating rapidly and decided they might as well become legends while they were there.
Battle Timeline
| Time | Event |
|---|---|
| Early July 1402 | Timur advances into Anatolia and captures key positions |
| Mid July 1402 | Bayezid marches rapidly east to intercept Timur |
| Days before battle | Timur seizes water sources near Ankara |
| 28 July, morning | Battle begins with skirmishing and cavalry attacks |
| Midday | Anatolian contingents in Bayezid’s army defect to Timur |
| Afternoon | Timurid horse archers encircle Ottoman forces |
| Late afternoon | Serbian cavalry conducts fierce defensive actions |
| Evening | Ottoman army collapses |
| Night | Bayezid I captured while attempting retreat |
The Battle Itself

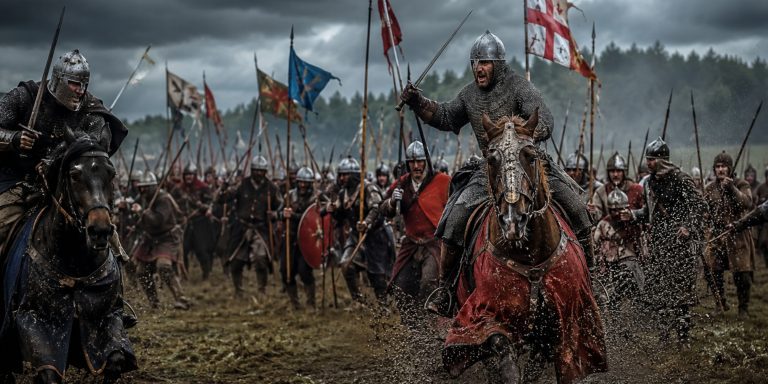
The battle opened with cavalry manoeuvres and missile exchanges. Timur relied heavily on mobility and horse archery, tactics perfected across generations of steppe warfare.
Bayezid attempted direct engagement before thirst and fatigue destroyed morale. Initially, parts of the Ottoman line held firm, especially the Serbian cavalry contingent. However, Timur’s strategy slowly suffocated the Ottoman army.
Several Anatolian Turkish contingents defected during the battle, recognising Timur as the stronger claimant or simply deciding survival was preferable to loyalty. Medieval politics could be brutally practical.
Timur then unleashed encirclement tactics against the increasingly isolated Ottoman centre. Mounted archers harassed the Ottomans relentlessly while fresh Timurid reserves pressed the attack.
Bayezid’s elite Janissaries fought stubbornly around their ruler. Contemporary chroniclers describe desperate resistance as the Ottoman position collapsed. Eventually Bayezid attempted escape but was captured.
The image of the Ottoman sultan in chains became one of the most famous scenes of medieval warfare.
Capture of Bayezid I
Bayezid’s capture transformed the battle into a political catastrophe.
Accounts differ wildly regarding his treatment. Some later European stories claimed Timur kept Bayezid in a cage and humiliated him publicly. Modern historians generally treat the more theatrical versions with caution. Medieval chroniclers loved dramatic storytelling almost as much as they loved exaggerating army sizes.
Bayezid died in captivity in 1403.
His defeat shattered the unity of the Ottoman state.
Contemporary Quotes
Johann Schiltberger
The Bavarian traveller and captive Johann Schiltberger later wrote:
“The Tartars fought with bows and surrounded the Turks on every side.”
Sharaf ad-Din Ali Yazdi
The Timurid chronicler described Timur’s victory as:
“The armies of Rum were scattered like dust before the wind.”
Ottoman Chroniclers
Ottoman writers later portrayed the defeat as a divine punishment for arrogance and internal division, themes common in medieval Islamic historiography after major disasters.
Archaeology and Battlefield Evidence
Archaeological work around Ankara has uncovered limited but valuable evidence connected to the campaign.
Finds in the region include:
- Arrowheads linked to mounted archery warfare
- Fragments of horse equipment
- Military metalwork from late medieval Anatolia
- Remains of fortified positions associated with the campaign
Precise battlefield archaeology remains difficult because the exact deployment areas are still debated. Agricultural activity and urban expansion have also altered parts of the landscape.
Nevertheless, the surviving terrain still reflects the environmental pressures faced by Bayezid’s army. The dry plains around Çubuk Creek help explain why Timur prioritised water control so aggressively. Logistics often decides battles long before swords meet.
Why Timur Won
Several factors explain the Timurid victory.
Superior Mobility
Timur’s army excelled at manoeuvre warfare and mounted archery.
Control of Water Sources
This may have been the decisive factor. Bayezid’s exhausted troops entered battle already weakened by thirst and heat.
Defections
Anatolian contingents abandoning Bayezid undermined cohesion at critical moments.
Tactical Flexibility
Timur adapted continuously during the battle, using reserves and encirclement effectively.
Exhaustion of Ottoman Forces
Bayezid’s forced march into Anatolia left many soldiers physically depleted before combat even began.
Consequences of the Battle
The aftermath changed the course of Eurasian history.
Ottoman Interregnum
Bayezid’s sons fought a civil war lasting over a decade. Ottoman expansion temporarily halted.
Survival of Constantinople
The Byzantine Empire gained precious extra years before its eventual fall in 1453.
Restoration of Anatolian Beyliks
Timur restored several Turkish principalities dismantled by Bayezid.
Timurid Prestige
The victory reinforced Timur’s reputation as the most feared conqueror of his age.
Ironically, Timur did not establish lasting rule in Anatolia. Like many conquerors, he excelled at smashing political systems apart but showed less interest in building stable replacements afterwards. History is full of men who could conquer continents but probably should not have been trusted to organise a pantry.
Legacy of the Battle
The Battle of Ankara remains one of the greatest defeats in Ottoman history and one of the finest examples of steppe warfare defeating a settled imperial power.
For military historians, it demonstrates the devastating effectiveness of mobility, logistics, psychological warfare, and battlefield deception. It also reveals how fragile medieval empires could become when built around a single dominant ruler.
Yet the Ottomans eventually recovered. Within decades they resumed expansion and became one of the dominant powers of the early modern world.
That recovery perhaps makes Ankara even more remarkable. Few states survive such humiliation. Fewer still return stronger.
The Thunderbolt was broken at Ankara, but the Ottoman storm had not yet passed.