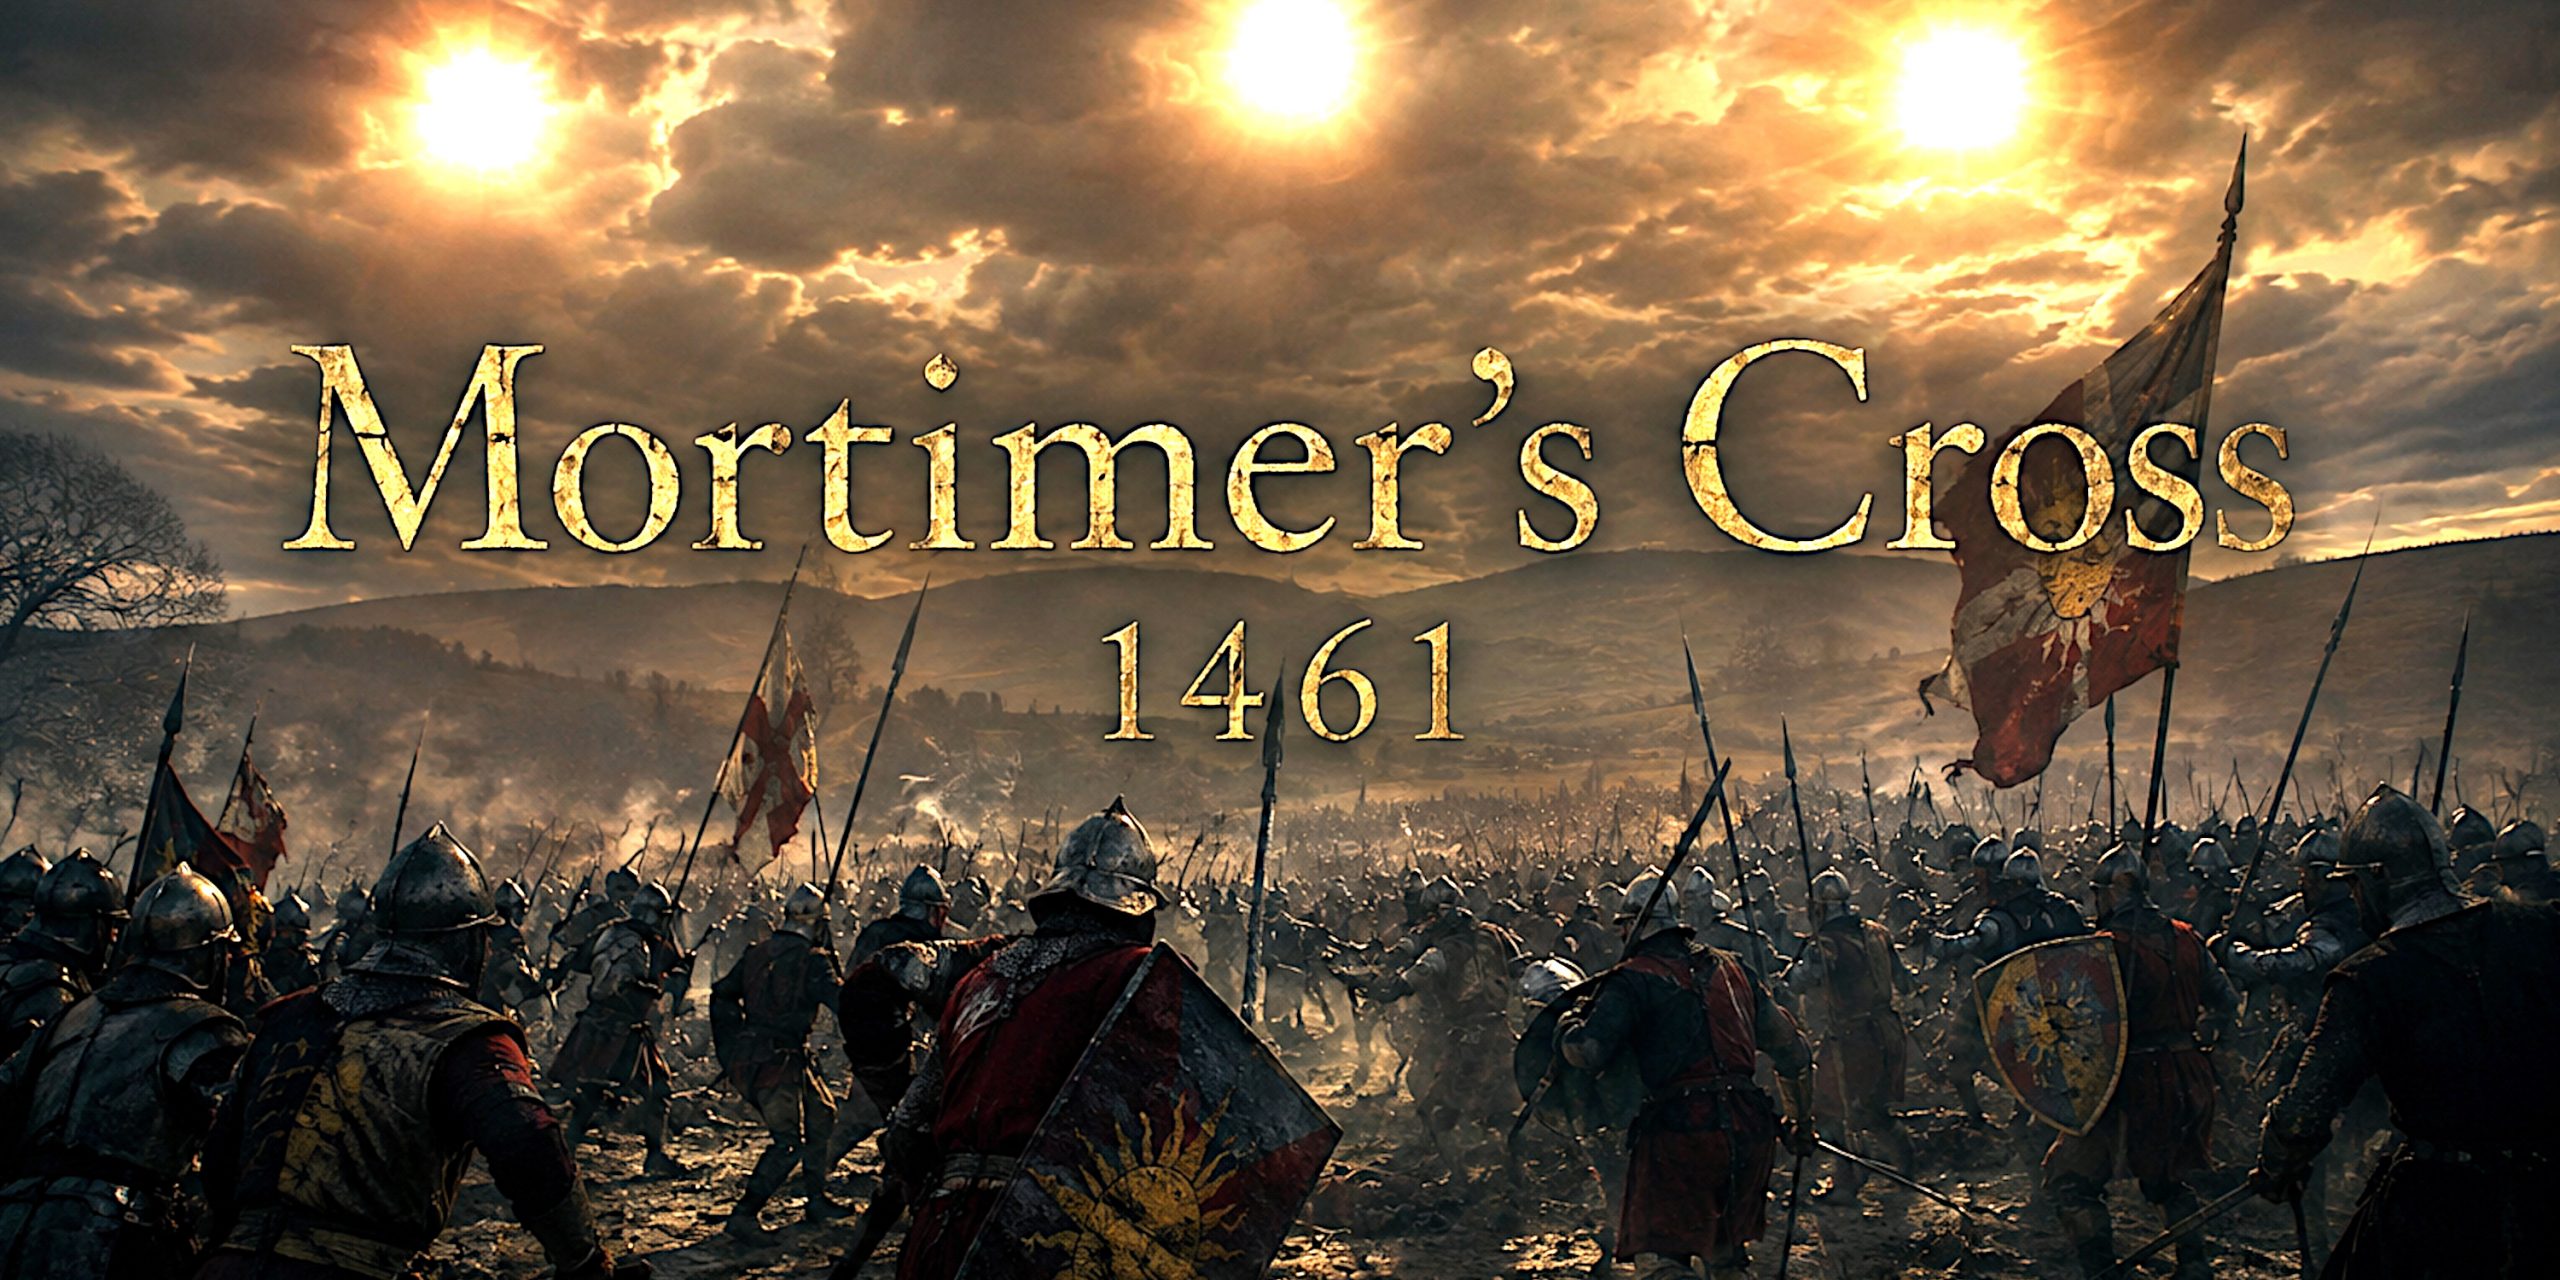
The Battle of Mortimer’s Cross, fought on 2 or 3 February 1461 in Herefordshire, was one of those deceptively small battles that changed the direction of English history. It was here that Edward, Earl of March, the future Edward IV, proved that the death of his father Richard, Duke of York, had not destroyed the Yorkist cause.
Edward was only eighteen. His father had been killed at Wakefield little more than a month earlier, Lancastrian forces were active across England and Wales, and the House of York desperately needed a commander who could do rather more than possess an impressive pedigree.
At Mortimer’s Cross, Edward delivered.
His victory over the army of Jasper Tudor, Earl of Pembroke, destroyed an important Lancastrian force in the west and established Edward as a credible military leader. Within weeks he would enter London and be proclaimed king.
The battle is also famous for one of the strangest episodes of the Wars of the Roses. Before the fighting, three suns apparently appeared in the sky. Edward promptly decided that this was excellent news. Medieval commanders were rarely inclined to waste a useful omen.
| Battle | Mortimer’s Cross |
|---|---|
| Date | 2 or 3 February 1461 |
| Location | Between Mortimer’s Cross and Kingsland, Herefordshire |
| War | Wars of the Roses |
| Belligerents | House of York vs House of Lancaster |
| Yorkist commander | Edward, Earl of March |
| Lancastrian commanders | Jasper Tudor, James Butler and Owen Tudor |
| Estimated strength | Possibly around 2,500 Yorkists and 3,500 Lancastrians, although highly uncertain |
| Result | Decisive Yorkist victory |
| Political consequence | Strengthened Edward’s path towards becoming Edward IV |
Why the Battle of Mortimer’s Cross Happened
The battle cannot really be understood without the disaster that befell the Yorkists at Wakefield on 30 December 1460.
Richard, Duke of York, had been killed there along with his son Edmund, Earl of Rutland. Richard Neville, Earl of Salisbury, was captured and subsequently executed.
The Yorkist leadership had suffered an appalling blow.
Richard’s eldest surviving son, Edward, Earl of March, was campaigning in the Welsh Marches when news reached him. Edward suddenly inherited his father’s titles, political ambitions and rather inconvenient collection of enemies.
Meanwhile, Jasper Tudor, a committed supporter of Henry VI, was assembling Lancastrian forces in Wales. He was joined by his father Owen Tudor and James Butler, Earl of Wiltshire and Ormond.
The Lancastrian army appears to have included Welsh troops alongside Irish and continental soldiers. Its probable strategic intention was to move eastwards and ultimately combine with the main Lancastrian army. Edward could hardly permit that.
He therefore moved to intercept it.
The armies eventually met somewhere between Mortimer’s Cross and Kingsland, close to the River Lugg and the old routes through the Welsh Marches. The precise battlefield remains disputed, which is worth stressing because older accounts often present reconstructed deployments as though someone had thoughtfully drawn a map for us in 1461.
They had not.
The Three Suns of Mortimer’s Cross
Before the battle began, witnesses reportedly saw three suns in the sky.
The phenomenon was almost certainly a parhelion, commonly called a sun dog. Ice crystals suspended in the atmosphere refract sunlight and can create bright secondary images on either side of the actual sun.
To a fifteenth-century army, atmospheric optics were unlikely to be the first explanation considered.
Some soldiers apparently regarded the sight with alarm. Edward instead presented it as a favourable sign.
Later tradition connected the three suns with Edward’s famous Sun in Splendour badge. Whether the battlefield apparition directly inspired his adoption of the emblem is less certain than popular histories sometimes suggest, but the association became firmly attached to his legend.
The episode tells us something important about medieval command. Morale depended on more than formations and weapons. Religion, prophecy and perceived divine favour mattered. Edward took something potentially frightening and turned it into propaganda before the first arrow had been loosed.
For an eighteen-year-old commander, that was impressively assured.
Forces
Numbers for Mortimer’s Cross should be treated cautiously.
Some contemporary accounts give enormous totals. The Annales Rerum Anglicarum, for example, records thousands of Lancastrians against a Yorkist army represented in one surviving reading as 51,000, possibly a corruption of 15,000. Such figures are difficult to reconcile with the armies that could realistically have been assembled in the region.
Modern work has produced much smaller estimates. The Battlefields Trust notes a reconstruction suggesting approximately 3,500 Lancastrians and perhaps 2,500 Yorkists, while emphasising that the true strength of either army cannot be established confidently.
| Force | Plausible modern estimate | Composition |
| Yorkist | Around 2,500 | Marcher retainers, men-at-arms, archers, billmen and regional levies |
| Lancastrian | Around 3,500 | Welsh troops, retainers, Irish soldiers and French or Breton mercenaries |
| Medieval claims | Up to many thousands more | Almost certainly exaggerated or textually corrupted |
The important point is uncertainty. We cannot confidently say Edward was heavily outnumbered, despite the temptation to make his victory look even more heroic.
Yorkist Leaders and Troop Composition
Edward, Earl of March
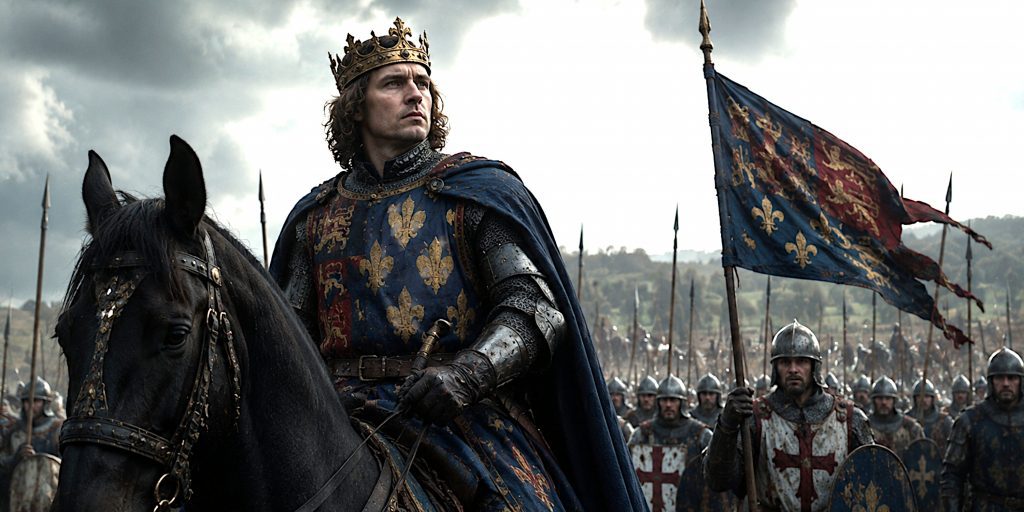
The future Edward IV was eighteen years old at Mortimer’s Cross and already physically imposing. Contemporary and near-contemporary descriptions emphasise his exceptional height and presence.
More importantly, he demonstrated an ability to command independently.
Edward’s army probably drew heavily upon the Yorkist and Mortimer affinities of the Welsh Marches. His family’s political connections in the region provided experienced retainers rather than simply an improvised collection of local men.
Likely components included:
- Retainers of the Mortimer and Yorkist affinity
- Marcher gentry and their armed followers
- Dismounted men-at-arms
- Longbowmen
- Billmen
- Household troops
- Regional levies
- Possibly troops recruited or paid from farther afield
The Paston Letters contain evidence concerning East Anglian soldiers being paid for service associated with Edward’s campaign, another warning against imagining the army as purely local.
Lancastrian Leaders and Troop Composition
Jasper Tudor, Earl of Pembroke
Jasper Tudor was one of the most committed Lancastrian commanders of the Wars of the Roses. His position in Wales made him particularly valuable to Henry VI’s cause.
He escaped from Mortimer’s Cross and would continue fighting for Lancaster for years afterwards.
Owen Tudor
Owen Tudor was Jasper’s father and the widower of Catherine of Valois, the widow of Henry V.
His marriage to Catherine had produced the Tudor family from which Henry VII would eventually emerge. At Mortimer’s Cross, however, the dynasty’s future looked decidedly less promising.
Owen was captured after the Yorkist victory.
James Butler, Earl of Wiltshire and Ormond
Butler brought additional Lancastrian support and was associated with troops arriving through south-west Wales. Sources and later interpretations suggest the army contained soldiers from Ireland and continental Europe alongside its Welsh component.
The Lancastrian force probably included:
- Welsh retainers and levies
- Men-at-arms
- Archers
- Billmen and other polearm-equipped infantry
- Irish troops
- French and Breton mercenaries
- Mounted retainers and messengers
This was therefore not simply a Welsh army fighting an English one. Political loyalties during the Wars of the Roses were considerably messier than that.
Arms and Armour at Mortimer’s Cross
No detailed inventory survives for the two armies, so the equipment has to be reconstructed from what we know about English and Welsh warfare in the 1460s.
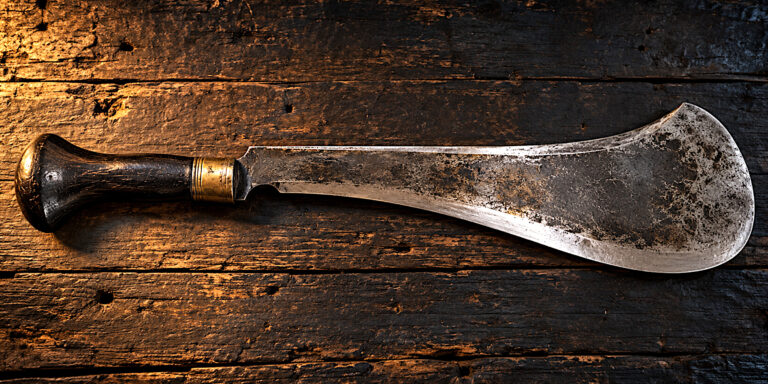
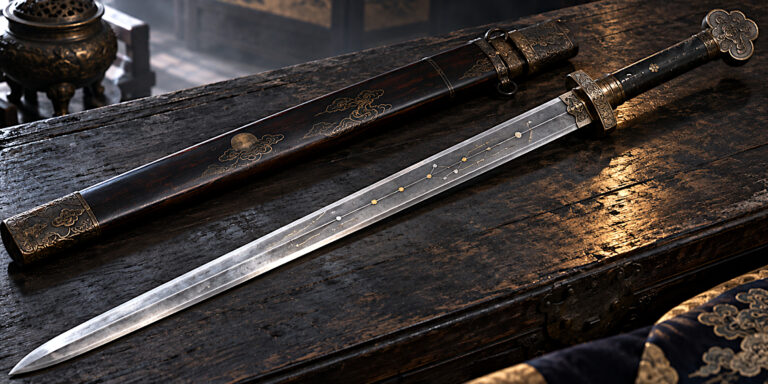
Swords
Several sword forms could have appeared on the battlefield.
| Weapon | Likely users | Battlefield role |
| Arming sword | Men-at-arms, knights and wealthier retainers | One-handed sidearm used with shield or independently |
| Longsword | Men-at-arms and elite combatants | Two-handed cutting and thrusting weapon |
| Bastard sword | Wealthier professional soldiers | Versatile hand-and-a-half weapon |
| Falchion or hanger-type blade | Some infantry and retainers | Powerful cutting sidearm |
| Long knife or dagger | Almost universal | Close combat and finishing weapon |
By 1461 the sword was important, but it was not necessarily the principal battlefield weapon of an English man-at-arms.
Polearms generally offered greater reach and leverage.
Polearms
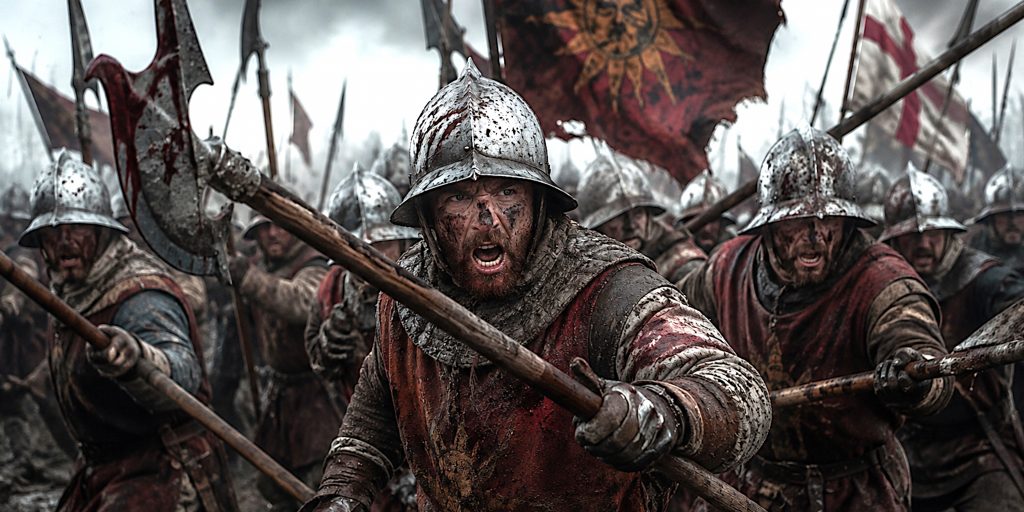
The English bill was one of the defining infantry weapons of the period. Its combination of blade, hook and spike made it effective for cutting, thrusting and pulling opponents off balance.
Professional men-at-arms could carry poleaxes, particularly when fighting on foot. Against an armoured opponent, the concentrated force delivered by a hammer, spike or axe head was considerably more useful than repeatedly striking plate armour with a sword and hoping enthusiasm would eventually solve the problem.
Longbows
The English and Welsh longbow remained a major battlefield weapon.
Archers could deliver sustained volleys before the armies closed. Even where arrows failed to penetrate high-quality plate armour directly, they threatened horses, lightly protected soldiers and vulnerable areas of the body.
Daggers
The rondel dagger was especially associated with armoured combat.
Its stiff, narrow blade could be forced into gaps around the visor, armpit, groin or joints of armour. Battles of the Wars of the Roses frequently ended in extremely close-quarter killing, where such weapons became brutally practical.
Armour
A wealthy man-at-arms in 1461 might wear:
- Plate cuirass or breastplate
- Plate arm and leg defences
- Mail protecting vulnerable gaps
- Sallet helmet
- Bevor protecting the throat and lower face
- Gauntlets
- Brigandine or supplementary torso protection
Less wealthy troops might rely upon:
- Brigandines
- Mail shirts
- Jacks or padded textile armour
- Open sallets
- Kettle hats
- Simple breastplates
Equipment was far from uniform. Medieval armies were not issued matching equipment from some conveniently organised royal warehouse. Wealth, status, regional supply and personal preference all mattered.
The Battlefield
This is where Mortimer’s Cross becomes frustrating.
We know roughly where the battle happened. We do not know its precise location with sufficient confidence to reconstruct the fighting exactly.
The traditional battlefield lies between Mortimer’s Cross and Kingsland, close to the River Lugg.
Two principal locations have been proposed:
- An area at or immediately south of Mortimer’s Cross
- An area roughly a mile south-east, nearer Kingsland
Historic routes complicate matters further because modern roads do not precisely reproduce the medieval road network.
The Battlefields Trust therefore describes attempts to reconstruct the deployment and action as necessarily speculative.
This matters. Claims that Edward placed archers on a particular slope or cavalry in a specific valley are interesting reconstructions, not documented facts.
How the Battle Was Fought
The precise sequence of the battle is unknown.
Edward appears to have deliberately intercepted the Lancastrian advance, preventing Jasper Tudor’s army from joining other Lancastrian forces.
Both armies probably deployed according to the familiar fifteenth-century practice of dividing troops into battles, or major tactical divisions.
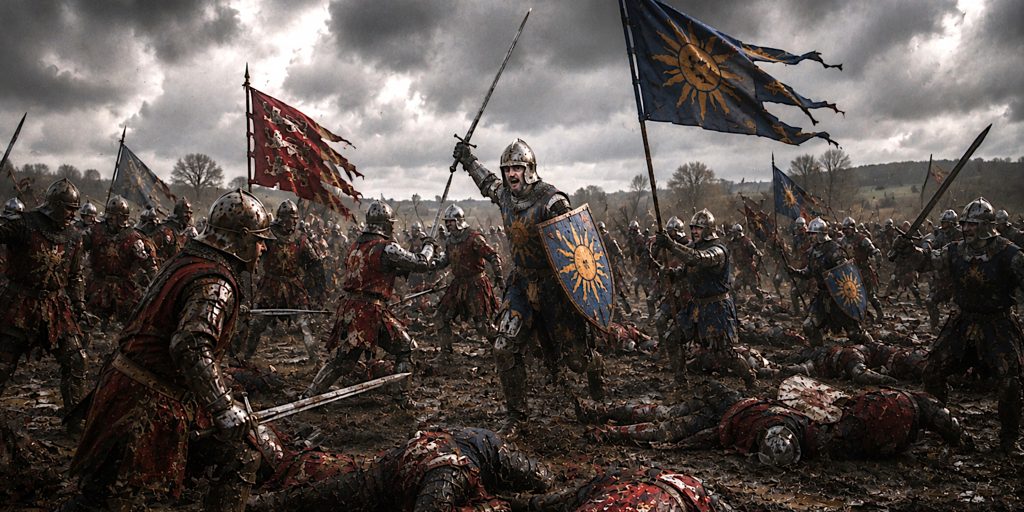
Archery likely preceded the main engagement. Once the formations closed, fighting would have centred upon men-at-arms, bills, polearms and close infantry combat.
What we can say with confidence is that the Lancastrian army eventually collapsed.
Jasper Tudor escaped.
James Butler also fled.
Owen Tudor was captured.
Edward remained master of the field.
That basic sequence is rather less cinematic than some modern reconstructions, but considerably safer historically.
Battle Timeline
| Stage | Event |
| January 1461 | Jasper Tudor and his allies gather Lancastrian forces in Wales |
| Late January | Edward learns of the Lancastrian movement and manoeuvres to intercept |
| 2 or 3 February | The opposing armies meet near Mortimer’s Cross |
| Before battle | A parhelion creates the appearance of three suns |
| Opening phase | The armies deploy and probable missile exchanges begin |
| Main engagement | Yorkist and Lancastrian formations enter close combat |
| Lancastrian collapse | Jasper Tudor and James Butler escape from the field |
| After battle | Owen Tudor and other Lancastrian leaders are captured |
| Shortly afterwards | Owen Tudor is taken to Hereford and executed |
| 4 March 1461 | Edward is proclaimed king in London |
| 29 March 1461 | Edward defeats the main Lancastrian army at Towton |
Casualties
Medieval chronicles provide dramatic casualty figures.
The English Chronicle claimed that 4,000 Welshmen were killed. Gregory’s Chronicle gives a figure of around 3,000 killed or captured.
Neither should be accepted literally.
The entire armies may have been considerably smaller than the chroniclers claimed. Medieval writers regularly inflated battlefield numbers, sometimes because accurate information was unavailable and sometimes because a victory sounded much better if several thousand additional enemies could be killed on parchment.
Casualties were nevertheless probably substantial, particularly during the Lancastrian rout.
The Capture and Execution of Owen Tudor
The most famous individual casualty was Owen Tudor.
Captured after the battle, he was taken to Hereford and executed.
Gregory’s Chronicle preserves a striking story suggesting that Owen continued to expect a pardon almost until the moment of execution.
After his beheading, his head was displayed on the market cross.
The same chronicle describes a woman washing the blood from Owen’s face, combing his hair and placing candles around his severed head.
Whether every detail is reliable is impossible to establish, but the episode is unusually vivid for the period.
Owen’s death did not destroy the Tudor family. Jasper escaped, and Owen’s grandson Henry Tudor would eventually defeat Richard III at Bosworth in 1485.
History does enjoy a delayed response.
Contemporary Accounts and Quotes
Mortimer’s Cross is unusually poorly documented, which makes the surviving chronicles particularly valuable.
The Crowland Chronicle summarised Edward’s achievement:
“won a glorious victory over them at Mortimer’s Cross.”
Gregory’s Chronicle described how Edward:
“put to flight the Earls of Pembroke and Wiltshire.”
The English Chronicle similarly records that Edward:
“won a victory over his enemies.”
These are brief notices rather than detailed battlefield narratives, but their agreement on the fundamental result is important.
The Brut Chronicle also associates the battle with Candlemas and describes Edward seeking support after learning of his father’s death.
One difficulty remains the date. Gregory’s Chronicle places the battle on 2 February, while several other accounts indicate 3 February. Modern histories commonly use 2 February, but the uncertainty should be retained rather than quietly edited out of the story.
Archaeology of Mortimer’s Cross
Archaeology has not yet provided the sort of breakthrough achieved at battlefields such as Towton.
The exact location remains uncertain enough that Mortimer’s Cross has not been securely added to Historic England’s Register of Historic Battlefields. Heritage assessments have specifically cited the need for further research before the battlefield can be confidently defined.
This is a significant correction to some older accounts of the battle.
Reported Finds
Nineteenth-century observers recorded claims of objects discovered around the traditional battlefield, including:
- Bridle bits
- Stirrups
- Iron fragments
- Long iron objects interpreted as possible sword blades
These reports are intriguing, but they were made long before modern battlefield archaeology developed. Their provenance and interpretation therefore require caution.
A place called Battle Acre near the later monument may preserve local memory of the fighting, although it could equally have acquired its name because antiquarians already believed the battle had occurred nearby.
Modern Investigation
The Battlefields Trust, working with community volunteers and academic partners, has undertaken research into the landscape and battlefield.
Modern work has concentrated heavily on:
- Reconstructing the medieval road network
- Studying historic field boundaries
- Comparing alternative battlefield locations
- Examining local traditions
- Assessing reported artefact distributions
- Reconstructing the likely approaches of the armies
The central problem remains remarkably simple: historians know that a battle happened here, but the ground has not yet surrendered enough evidence to tell us precisely where.
For a historian, this is simultaneously fascinating and irritating.
The Mortimer’s Cross Monument
A monument commemorating the battle was erected in 1799 near Kingsland.
It remains one of the most visible reminders of the engagement, although its position should not be taken as definitive proof that the main fighting occurred immediately around it.
The monument reflects eighteenth-century commemoration of the battlefield rather than a contemporary marker.
Nearby landscape names and traditions, including the former Battle Oak, have also contributed to attempts to reconstruct the battlefield.
Why Mortimer’s Cross Mattered
Mortimer’s Cross was not the largest battle of the Wars of the Roses.
It may not even have involved particularly large armies.
Its importance lies elsewhere.
Edward had entered the campaign as the eighteen-year-old son of a defeated and recently killed claimant to the throne. He emerged from Mortimer’s Cross as a victorious commander.
That transformation mattered enormously.
The victory:
- Destroyed an immediate Lancastrian threat in the west
- Prevented Jasper Tudor’s army from joining other Lancastrian forces
- Strengthened Yorkist control of the Marches
- Enhanced Edward’s personal military reputation
- Preserved the Yorkist cause after Wakefield
- Helped make Edward a credible candidate for the crown
Only weeks later, Edward entered London.
On 4 March 1461, he was proclaimed King Edward IV.
Mortimer’s Cross and the Road to Towton
The victory did not settle the war.
Queen Margaret’s Lancastrian army defeated Richard Neville, Earl of Warwick, at the Second Battle of St Albans on 17 February 1461 and recovered Henry VI.
Yet the political situation increasingly favoured Edward.
His victory at Mortimer’s Cross gave him the prestige of battlefield success at exactly the moment he needed it.
The decisive confrontation came at Towton on 29 March 1461.
There Edward faced the principal Lancastrian army in what became one of the largest and bloodiest battles fought on English soil.
Mortimer’s Cross had shown that Edward could command an army.
Towton would win him a kingdom.
Legacy
Mortimer’s Cross deserves more attention than it usually receives.
It lacks the horrifying archaeological record of Towton, the famous cavalry manoeuvres associated with Tewkesbury or the dramatic royal deaths of Barnet and Bosworth. Even the battlefield itself refuses to sit conveniently in one agreed location.
Yet politically it was crucial.
Edward of March arrived in Herefordshire as the heir of a defeated father. He left as the most formidable Yorkist claimant to the English throne.
The three suns have inevitably dominated the popular memory of the battle, but the more important story is Edward himself. At eighteen, under enormous political pressure, he intercepted an enemy army, defeated it and removed the Lancastrian threat to his western power base.
Within a month he was Edward IV.
For all the uncertainties surrounding Mortimer’s Cross, that consequence is difficult to dispute.
Frequently Asked Questions
When was the Battle of Mortimer’s Cross?
The battle was fought on 2 or 3 February 1461. The traditional date is 2 February, but contemporary chronicles disagree.
Who won the Battle of Mortimer’s Cross?
The Yorkists under Edward, Earl of March, won a decisive victory over the Lancastrian army commanded principally by Jasper Tudor and James Butler.
How old was Edward IV at Mortimer’s Cross?
Edward was eighteen years old. He became King Edward IV only weeks later.
Did Edward IV really see three suns?
A phenomenon described as three suns was reported before the battle. It was almost certainly a parhelion, an atmospheric optical effect now commonly called a sun dog.
How many soldiers fought at Mortimer’s Cross?
The numbers are unknown. Medieval accounts give very high totals, but modern reconstructions suggest the armies may have numbered only a few thousand each.
Where exactly was the battle fought?
The battle occurred between Mortimer’s Cross and Kingsland in Herefordshire, but its exact location remains disputed.
What happened to Owen Tudor?
Owen Tudor was captured following the Lancastrian defeat and subsequently executed at Hereford.