

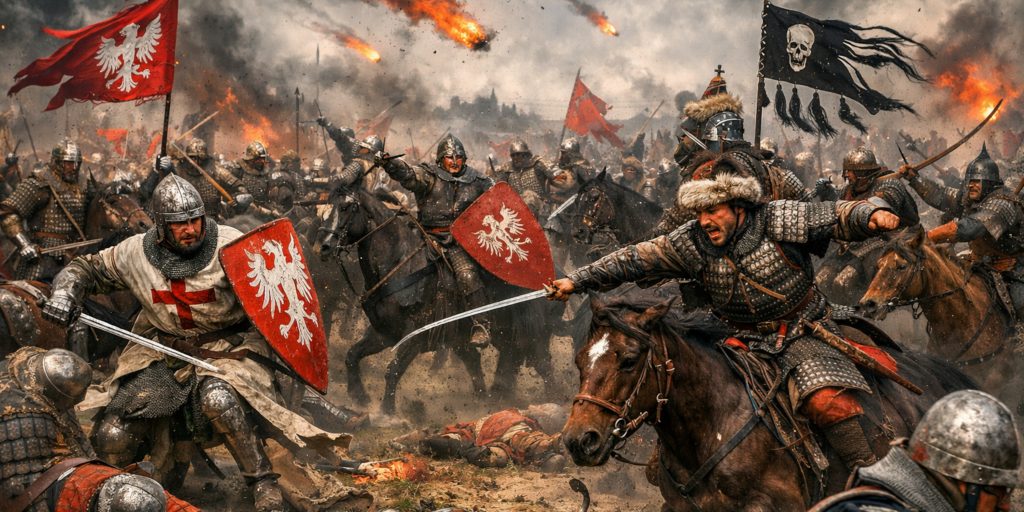
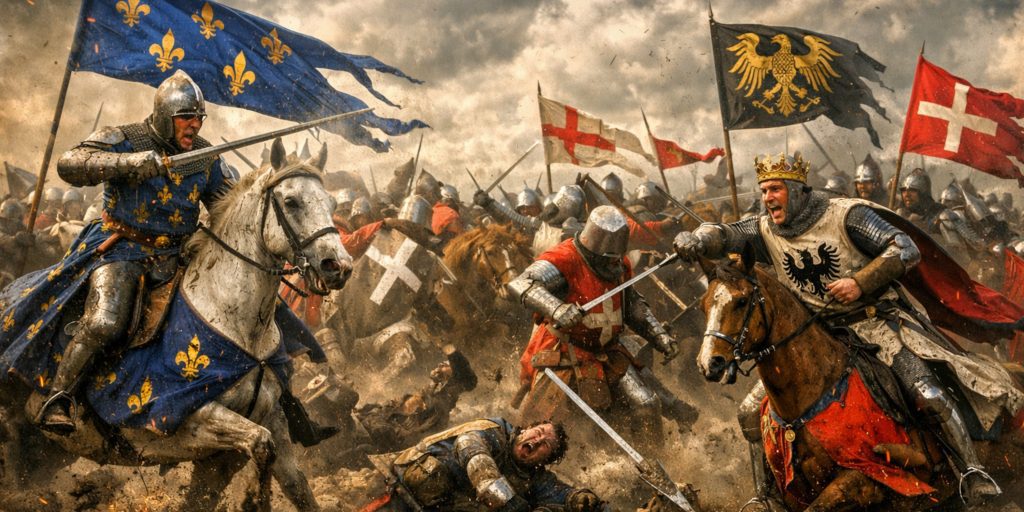
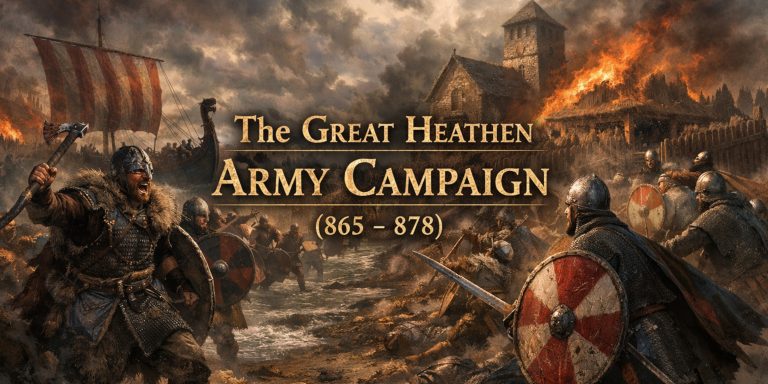
Medieval battlefields were rarely quiet places. Thousands of soldiers gathered under banners representing kings, princes, religious orders, and ambitious nobles hoping to gain land or reputation. What followed was often hours of brutal fighting where tactics, discipline, terrain, and occasionally pure luck determined the fate of entire kingdoms.
Some battles on this list were enormous clashes involving multiple armies from across Europe and the Middle East. Others were slightly smaller engagements that nevertheless altered the political direction of regions for centuries. Size alone does not define importance. A battle could involve fewer troops yet still transform the course of history.
This ranking balances scale, strategic consequence, and historical memory. These are battles historians still debate, battlefield archaeologists still study, and reenactment societies continue to recreate centuries later.
As someone who has spent a good number of afternoons walking quiet fields where armies once collided, I can confirm that medieval battlefields rarely look dramatic today. A peaceful meadow can hide a rather alarming amount of history beneath the soil.
25. Battle of Lake Peipus (1242)

Location: Lake Peipus, Estonia Russia border
Combatants: Novgorod Republic vs. Teutonic Order
Overview
The Battle of Lake Peipus, often called the Battle on the Ice, was fought on the frozen surface of the lake between the forces of the Novgorod Republic and the Teutonic Order. Prince Alexander Nevsky led Russian forces against crusading knights attempting to expand eastward.
Though not the largest medieval battle, its symbolic importance in eastern Europe is immense. It halted Teutonic expansion into Russian lands and helped secure Novgorod’s independence.
| Aspect | Details |
|---|---|
| Commanders | Novgorod: Alexander Nevsky Teutonic Order: Hermann of Dorpat |
| Weapons | Russians: Spears, axes, sabres Teutonic Knights: Lances, longswords |
| Units | Russian infantry militia, light cavalry, Teutonic heavy cavalry knights |
| Tactics & Outcome | Russian forces absorbed the cavalry attack before pushing the knights back across the frozen lake. Teutonic defeat ended their eastern campaign. |
Why it is notable
The battle became a defining moment in Russian national history and was immortalised in Sergei Eisenstein’s famous historical film Alexander Nevsky.
Reenactment and Historical Groups
- Russian Military Historical Society
- Alexander Nevsky historical festivals
- Baltic medieval reenactment groups
24. Battle of Legnica (1241)
Location: Legnica, Poland
Combatants: Mongol Empire vs. European coalition
Overview
Legnica was part of the Mongol invasion of Europe. A Mongol army advanced into central Europe where a coalition of Polish, German, and Teutonic forces attempted to stop them.
The battle demonstrated the devastating effectiveness of Mongol tactics against traditional European cavalry warfare.
| Aspect | Details |
|---|---|
| Commanders | Mongols: Baidar, Kadan Europeans: Duke Henry II of Silesia |
| Weapons | Mongols: Composite bows, sabres Europeans: Swords, lances, maces |
| Units | Mongol horse archers, European heavy cavalry knights |
| Tactics & Outcome | Mongols used feigned retreat to scatter European cavalry. Once isolated, the knights were surrounded and destroyed. Mongol victory. |
Why it is notable
Legnica revealed the tactical superiority of Mongol warfare and terrified European rulers.
Reenactment and Historical Groups
- Polish medieval reenactment associations
- Piast dynasty historical festivals
23. Battle of Stamford Bridge (1066)

Location: Near York, England
Combatants: Kingdom of England vs. Norwegian invasion army
Overview
Stamford Bridge ended the last major Viking invasion of England. Harold Godwinson marched his army north in remarkable speed and surprised the forces of Harald Hardrada.
The battle was fought almost entirely at close quarters.
| Aspect | Details |
|---|---|
| Commanders | England: Harold Godwinson Norway: Harald Hardrada |
| Weapons | Viking axes, spears, swords English spears, swords |
| Units | Viking housecarls, Anglo Saxon fyrd infantry |
| Tactics & Outcome | English forces overwhelmed the Viking army after fierce fighting around the bridge crossing. Viking invasion collapsed. |
Why it is notable
It marked the end of the Viking age in England, though Harold’s exhausted army soon faced the Norman invasion at Hastings.
Reenactment and Historical Groups
- The Vikings Society
- Regia Anglorum living history group
22. Battle of Bouvines (1214)
Location: Northern France
Combatants: Kingdom of France vs. Anglo Imperial coalition
Overview
Bouvines was one of the most politically important battles of medieval Europe. King Philip II of France defeated a coalition including the Holy Roman Empire and the allies of King John of England.
| Aspect | Details |
|---|---|
| Commanders | France: Philip II Augustus Coalition: Emperor Otto IV |
| Weapons | Knightly lances, swords, maces |
| Units | French heavy cavalry knights, coalition infantry and cavalry |
| Tactics & Outcome | French cavalry charges broke the coalition centre and captured several nobles. French victory secured Philip’s dominance. |
Why it is notable
The defeat weakened the Angevin empire and strengthened the French monarchy.
Reenactment and Historical Groups
- French medieval living history groups
- Bouvines historical commemorations
21. Battle of Adrianople (378)
Location: Adrianople, modern Turkey
Combatants: Roman Empire vs. Gothic tribes
Overview
Adrianople is widely considered one of the most devastating defeats in Roman military history. Emperor Valens attacked Gothic forces without waiting for reinforcements and was overwhelmed.
| Aspect | Details |
|---|---|
| Commanders | Romans: Emperor Valens Goths: Fritigern |
| Weapons | Roman spears and spatha swords Gothic axes and spears |
| Units | Roman infantry legions, Gothic cavalry |
| Tactics & Outcome | Gothic cavalry returned to the battlefield and smashed Roman formations. Roman army destroyed and Valens killed. |
Why it is notable
The battle exposed the declining power of the Roman army and signalled the transformation of Europe’s military landscape.
20. Battle of Nicopolis (1396)
Overview
Nicopolis was the final great crusade of the medieval era. European knights attempted to halt Ottoman expansion but underestimated the discipline of the Ottoman army.
| Aspect | Details |
|---|---|
| Commanders | Crusaders: Sigismund of Hungary Ottomans: Bayezid I |
| Weapons | Longswords, lances, sabres |
| Units | Knightly cavalry, Ottoman infantry, janissaries |
| Tactics & Outcome | Crusader cavalry attacked too early and became exhausted. Ottoman counterattack destroyed the crusader army. |
Why it is notable
It confirmed Ottoman dominance in southeastern Europe.
Nicopolis marked the end of large crusading armies in eastern Europe and confirmed Ottoman military dominance in the Balkans.
Reenactment and Historical Groups
European Historical Martial Arts societies
Bulgarian National Military History Museum commemorations
Bulgarian medieval reenactment festivals
19. Battle of Kosovo (1389)
Location: Kosovo Polje
Combatants: Serbian coalition vs. Ottoman Empire
Overview
The Battle of Kosovo was one of the defining conflicts in Balkan history. Serbian forces under Prince Lazar attempted to halt Ottoman expansion into southeastern Europe.
The battle involved large cavalry formations on both sides and intense close combat across the plains of Kosovo.
| Aspect | Details |
|---|---|
| Commanders | Serbs: Prince Lazar Ottomans: Sultan Murad I |
| Notable Nobles | Miloš Obilić, Vuk Branković |
| Weapons | Serbian: Lances, longswords, maces Ottoman: Sabres, bows, spears |
| Units | Serbian noble cavalry, infantry spearmen, Ottoman sipahi cavalry and janissaries |
| Tactics & Outcome | Fierce cavalry clashes and infantry fighting left both sides with heavy casualties. Ottoman reserves ultimately secured the battlefield. |
Why it is notable
The battle became a symbolic cornerstone of Serbian national identity and marked the gradual Ottoman dominance of the Balkans.
Reenactment and Historical Groups
Balkan historical festivals
Serbian medieval reenactment groups
Kosovo battlefield commemorations
18. Battle of Falkirk (1298)
Location: Falkirk, Scotland
Combatants: Scotland vs. England
Overview
After the Scottish victory at Stirling Bridge, Edward I of England personally led a large army north to confront William Wallace.
The Scottish army relied heavily on schiltron formations, dense circles of spearmen designed to resist cavalry attacks.
| Aspect | Details |
|---|---|
| Commanders | Scotland: William Wallace England: Edward I |
| Weapons | Scots: Long spears, axes English: Longbows, swords, lances |
| Units | Scottish schiltron infantry, English longbowmen, heavy cavalry |
| Tactics & Outcome | English archers shattered the spear formations before cavalry completed the assault. English victory forced Wallace to resign as Guardian of Scotland. |
Why it is notable
The battle demonstrated the devastating effectiveness of English longbowmen against tightly packed infantry formations.
Reenactment and Historical Groups
- Scottish Battlefields Trust
- Living history groups such as Regia Anglorum
17. Battle of Poitiers (1356)
Location: Poitiers, France
Combatants: England vs. France
Overview
Poitiers was one of the most dramatic victories of the Hundred Years War. The English army under Edward the Black Prince faced a much larger French force led by King John II.
Despite the imbalance in numbers, English defensive tactics and archery proved decisive.
| Aspect | Details |
|---|---|
| Commanders | England: Edward the Black Prince France: King John II |
| Notable Nobles | French royal household knights |
| Weapons | Longbows, poleaxes, swords |
| Units | English archers, dismounted men at arms, French knightly cavalry |
| Tactics & Outcome | English archers devastated the French advance. Close combat followed and King John II was captured. |
Why it is notable
Capturing a reigning king on the battlefield was extraordinarily rare and caused a major political crisis in France.
Reenactment and Historical Groups
Hundred Years War historical festivals
French medieval reenactment societies
16. Battle of Manzikert (1071)
Location: Eastern Anatolia
Combatants: Byzantine Empire vs. Seljuk Turks
Overview
Manzikert was a turning point in Byzantine history. Emperor Romanos IV attempted to halt Seljuk expansion into Anatolia but faced a highly mobile army led by Alp Arslan.
The battle involved prolonged skirmishing before the decisive collapse of the Byzantine line.
| Aspect | Details |
|---|---|
| Commanders | Byzantines: Romanos IV Seljuks: Alp Arslan |
| Weapons | Byzantine spears and swords, Seljuk composite bows and sabres |
| Units | Byzantine infantry and cavalry, Turkish horse archers |
| Tactics & Outcome | Seljuk cavalry harassed Byzantine formations with arrow fire before encircling them. Byzantine defeat opened Anatolia to Turkish settlement. |
Why it is notable
The loss of Anatolia weakened the Byzantine Empire and contributed directly to the later Crusades.
Reenactment and Historical Groups
- Turkish historical festivals
- Byzantine reenactment groups in Europe
15. Battle of Bannockburn (1314)

Location: Near Stirling, Scotland
Combatants: Scotland vs. England
Overview
Bannockburn was the decisive battle of the First War of Scottish Independence. Robert the Bruce confronted a much larger English army attempting to relieve the siege of Stirling Castle.
Scottish forces relied heavily on disciplined infantry spear formations.
| Aspect | Details |
|---|---|
| Commanders | Scotland: Robert the Bruce England: Edward II |
| Weapons | Spears, axes, swords |
| Units | Scottish schiltron infantry, English heavy cavalry and archers |
| Tactics & Outcome | Scottish infantry held firm against repeated cavalry charges. English forces became disordered and retreated. Scottish victory secured independence momentum. |
Why it is notable
The battle became one of the most famous victories in Scottish history.
Reenactment and Historical Groups
- National Trust for Scotland battlefield events
- Scottish historical reenactment groups
14. Battle of Mohi (1241)
Location: Hungary
Combatants: Mongol Empire vs. Kingdom of Hungary
Overview
The Battle of Mohi was part of the Mongol invasion of Europe. Hungarian forces attempted to block the Mongol advance across the Sajó River.
Subutai’s strategic planning allowed the Mongols to outmanoeuvre the Hungarian army.
| Aspect | Details |
|---|---|
| Commanders | Mongols: Batu Khan, Subutai Hungary: King Béla IV |
| Weapons | Composite bows, sabres, lances |
| Units | Mongol horse archers, Hungarian knights and infantry |
| Tactics & Outcome | Mongols crossed the river during the night and attacked the Hungarian camp. Hungarian forces were surrounded and destroyed. |
Why it is notable
The battle revealed the extraordinary operational mobility of Mongol armies.
Reenactment and Historical Groups
- Hungarian medieval reenactment societies
- Central European historical festivals
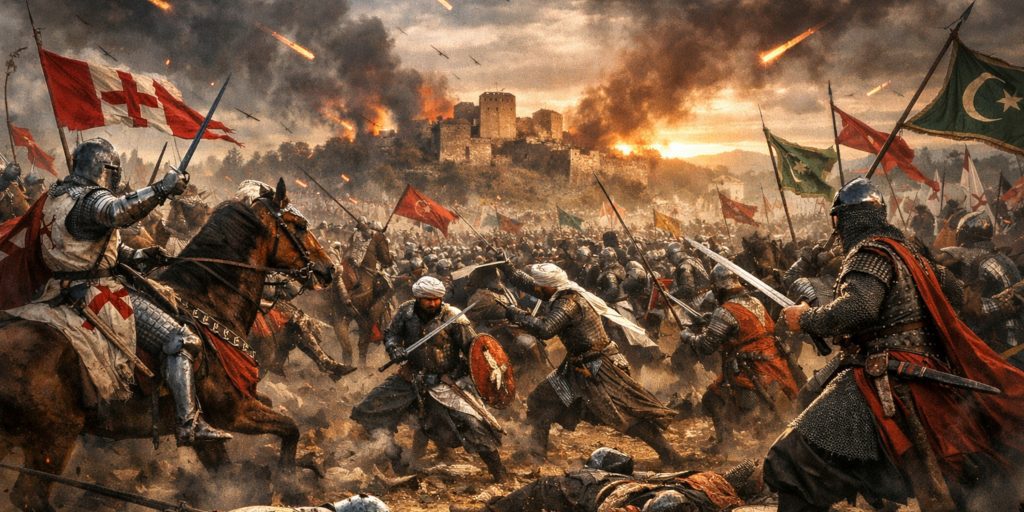
13. Battle of Yarmouk (636)
Location: Yarmouk River Valley, modern Syria Jordan border
Combatants: Rashidun Caliphate vs. Byzantine Empire
Overview
The Battle of Yarmouk was one of the most decisive military encounters of the early medieval world. The Byzantine Empire attempted to reclaim control of Syria from rapidly expanding Arab Muslim forces.
Over several days of fighting, Khalid ibn al Walid manoeuvred his army with remarkable flexibility, repeatedly countering Byzantine attacks.
| Aspect | Details |
|---|---|
| Commanders | Rashidun Caliphate: Khalid ibn al Walid Byzantines: Vahan |
| Notable Nobles | Byzantine Armenian and Greek generals |
| Weapons | Spears, straight swords, composite bows |
| Units | Byzantine infantry formations, Arab cavalry and infantry |
| Tactics & Outcome | Mobile Muslim cavalry reserves counterattacked Byzantine advances. Byzantine formations collapsed and the army retreated in disorder. Muslim victory secured Syria. |
Why it is notable
The battle permanently shifted control of the Levant away from the Byzantine Empire and accelerated the early Islamic expansion.
Reenactment and Historical Groups
Large scale reenactments are rare, but the battle is studied by:
- Middle Eastern historical research institutes
- Early Islamic military history societies
12. Battle of Tours (732)
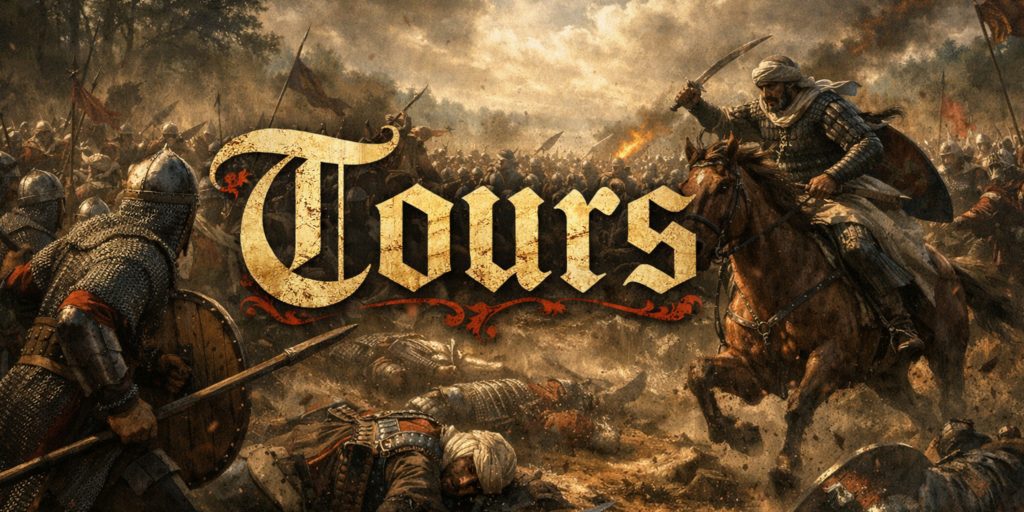
Location: Near Tours, France
Combatants: Frankish Kingdom vs. Umayyad Caliphate
Overview
The Battle of Tours, sometimes called the Battle of Poitiers, was fought between the Frankish forces of Charles Martel and an Umayyad raiding army moving north from Iberia.
| Aspect | Details |
|---|---|
| Commanders | Franks: Charles Martel Umayyads: Abdul Rahman Al Ghafiqi |
| Weapons | Franks: Spears, axes, spatha swords Umayyads: Sabres, lances, bows |
| Units | Frankish infantry shield wall, Umayyad cavalry |
| Tactics & Outcome | Frankish infantry held defensive formations against repeated cavalry attacks. The Umayyad commander was killed and the army withdrew. |
Why it is notable
The victory strengthened Frankish authority and laid foundations for the Carolingian dynasty that later produced Charlemagne.
Reenactment Groups
- Carolingian reenactment societies
- Early medieval living history groups across France and Germany
11. Battle of Varna (1444)
Location: Varna, Bulgaria
Combatants: Crusader coalition vs. Ottoman Empire
Overview
Varna was the last major crusading attempt to push the Ottoman Empire out of southeastern Europe. A coalition army led by the young King Władysław III confronted Sultan Murad II.
Despite early successes, the crusader army collapsed after an impulsive charge toward the Ottoman centre.
| Aspect | Details |
|---|---|
| Commanders | Crusaders: Władysław III, John Hunyadi Ottomans: Murad II |
| Notable Nobles | Hungarian and Polish nobles |
| Weapons | Longswords, lances, sabres |
| Units | Crusader heavy cavalry, Hungarian infantry, Ottoman janissaries and sipahi cavalry |
| Tactics & Outcome | The crusader king launched a direct attack on the Ottoman centre. The charge failed and the army collapsed. Ottoman victory. |
Why it is notable
Varna ended hopes of a major crusader reconquest of the Balkans.
Reenactment and Historical Groups
- Varna battlefield commemorations in Bulgaria
- Bulgarian medieval reenactment societies
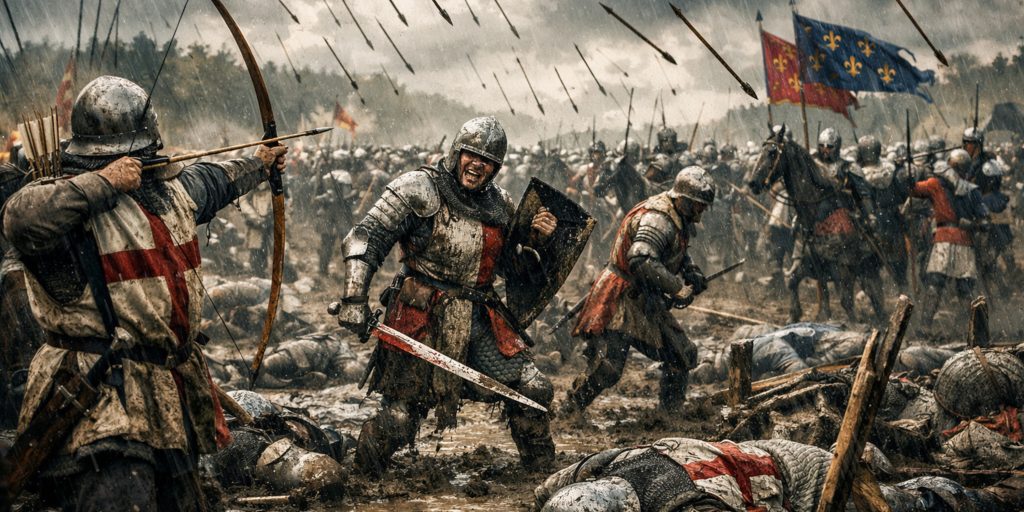
10. Battle of Crécy (1346)
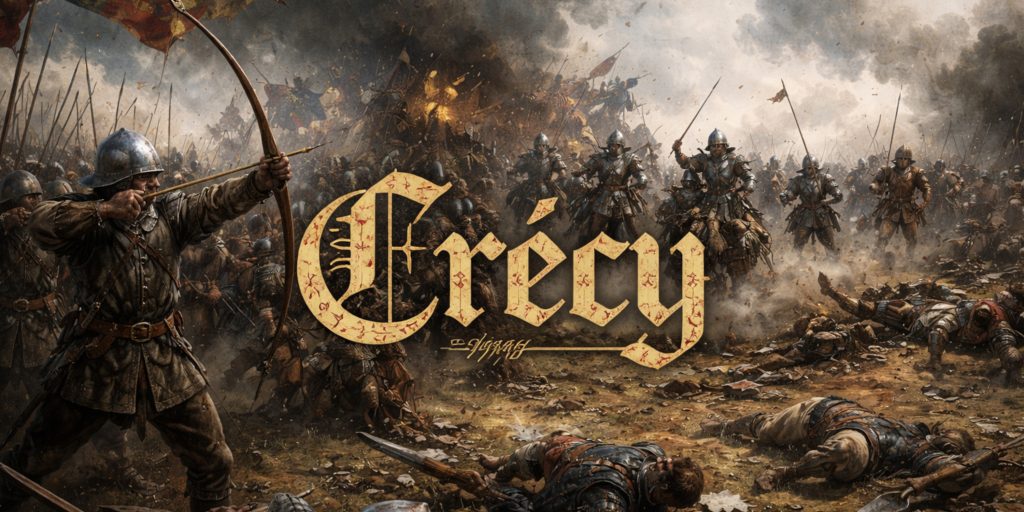
Location: Crécy en Ponthieu, France
Combatants: England vs. France
Overview
Crécy was one of the defining battles of the Hundred Years War. Edward III’s army faced a much larger French force led by King Philip VI.
English defensive positioning and archery proved devastating.
| Aspect | Details |
|---|---|
| Commanders | England: Edward III France: Philip VI |
| Notable Nobles | Edward the Black Prince |
| Weapons | English longbows, swords, poleaxes |
| Units | English longbowmen, dismounted men at arms, French knights, Genoese crossbowmen |
| Tactics & Outcome | English archers devastated repeated French cavalry charges. English victory established the dominance of the longbow. |
Why it is notable
Crécy transformed medieval warfare by demonstrating the effectiveness of disciplined missile troops.
Reenactment and Historical Groups
- French medieval reenactment festivals
- Hundred Years War living history groups
9. Battle of Hattin (1187)
Location: Near the Sea of Galilee
Combatants: Crusader Kingdom of Jerusalem vs. Ayyubid Sultanate
Overview
Saladin trapped the crusader army in the dry hills near Hattin after cutting off access to water.
The exhausted crusaders were gradually surrounded and destroyed.
| Aspect | Details |
|---|---|
| Commanders | Crusaders: Guy of Lusignan Muslims: Saladin |
| Notable Nobles | Raynald of Châtillon |
| Weapons | Swords, maces, bows |
| Units | Crusader knights and infantry, Muslim cavalry archers |
| Tactics & Outcome | Muslim cavalry harassed the crusaders before surrounding them. Crusader army destroyed and the True Cross captured. |
Why it is notable
The battle led directly to the Muslim reconquest of Jerusalem.
8. Battle of Towton (1461)
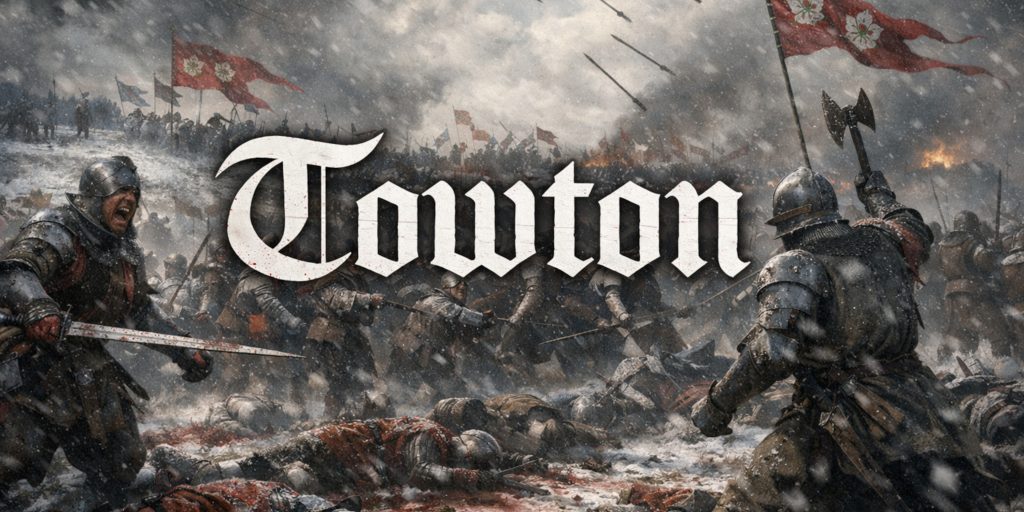
Location: Towton, Yorkshire, England
Combatants: House of York vs. House of Lancaster
Overview
Towton was the largest and bloodiest battle fought on English soil during the Wars of the Roses.
Fought during a snowstorm, the battle lasted several hours and involved enormous infantry formations.
| Aspect | Details |
|---|---|
| Commanders | Yorkists: Edward IV Lancastrians: Duke of Somerset |
| Weapons | Longbows, bills, poleaxes, swords |
| Units | English longbowmen, billmen infantry, armoured knights |
| Tactics & Outcome | Snow and wind gave Yorkist archers an advantage. Brutal close combat followed until Lancastrian lines collapsed. |
Why it is notable
Towton remains the bloodiest battle ever fought in England.
Reenactment and Historical Groups
7. Battle of Ain Jalut (1260)
Location: Palestine
Combatants: Mamluk Sultanate vs. Mongol Empire
Overview
Ain Jalut was the first major defeat of a Mongol army in the Middle East.
Mamluk forces under Baybars used tactics that mirrored Mongol strategies themselves.
| Aspect | Details |
|---|---|
| Commanders | Mamluks: Qutuz and Baybars Mongols: Kitbuqa |
| Weapons | Sabres, bows, maces |
| Units | Mamluk cavalry archers, Mongol horse archers |
| Tactics & Outcome | Mamluks used a feigned retreat to lure Mongols into an ambush. Mongol army destroyed. |
Why it is notable
The battle halted Mongol expansion into the Middle East.
6. Battle of Las Navas de Tolosa (1212)
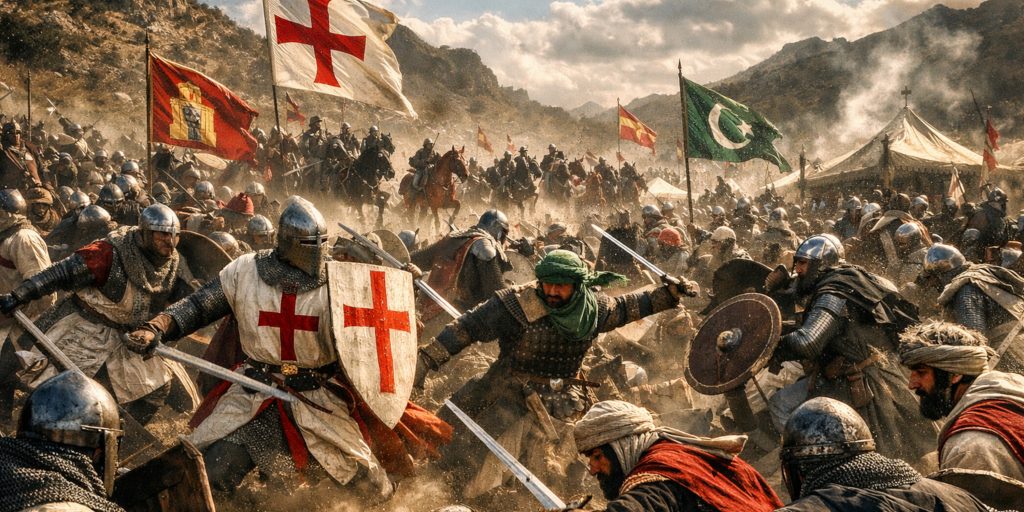
Location: Andalusia, Spain
Combatants: Christian coalition vs. Almohad Caliphate
Overview
Christian armies from Castile, Aragon, and Navarre united to confront the Almohad Caliphate in one of the largest battles of the Reconquista.
| Aspect | Details |
|---|---|
| Commanders | Christians: Alfonso VIII Almohads: Caliph Muhammad al Nasir |
| Weapons | Lances, swords, bows |
| Units | Knightly cavalry, infantry spearmen, archers |
| Tactics & Outcome | Christian forces broke through Almohad defensive lines and overran the caliph’s camp. |
Why it is notable
The battle marked a decisive turning point in the Reconquista.
5. Battle of Agincourt (1415)
Location: Northern France
Combatants: England vs. France
Overview
Agincourt remains one of the most famous medieval battles. Henry V’s exhausted army defeated a far larger French force during the Hundred Years War.
| Aspect | Details |
|---|---|
| Commanders | England: Henry V France: Charles d’Albret |
| Weapons | Longbows, poleaxes, swords |
| Units | English longbowmen, French knights |
| Tactics & Outcome | Muddy ground trapped advancing knights. English archers devastated the French advance before infantry finished the fight. |
Why it is notable
The battle became legendary in English history and literature, especially through Shakespeare’s Henry V.
Reenactment
- Azincourt 1415 historical centre events
- Medieval combat reenactment groups in northern France
4. Battle of Grunwald (1410)
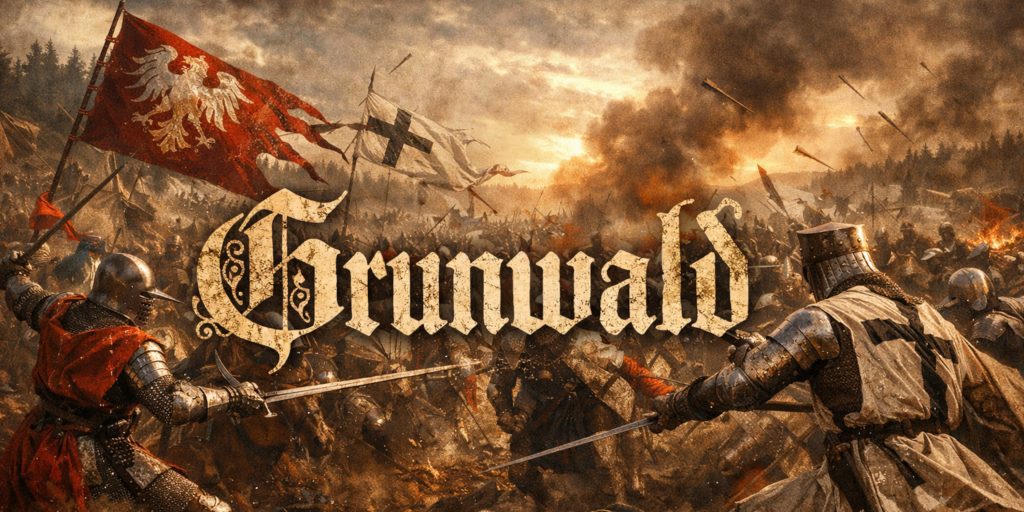
Location: Poland
Combatants: Polish Lithuanian alliance vs. Teutonic Order
Overview
Grunwald was one of the largest battles of medieval Europe. The Polish Lithuanian alliance destroyed the power of the Teutonic Order.
| Aspect | Details |
|---|---|
| Commanders | Poland Lithuania: Władysław II Jagiełło Teutonic Order: Ulrich von Jungingen |
| Weapons | Lances, swords, maces |
| Units | Knightly cavalry, infantry formations |
| Tactics & Outcome | Coordinated attacks by Polish and Lithuanian forces overwhelmed the Teutonic knights. Decisive allied victory. |
Why it is notable
It permanently weakened the Teutonic Order.
Reenactment
The Grunwald reenactment festival is the largest medieval battle reenactment in Europe.
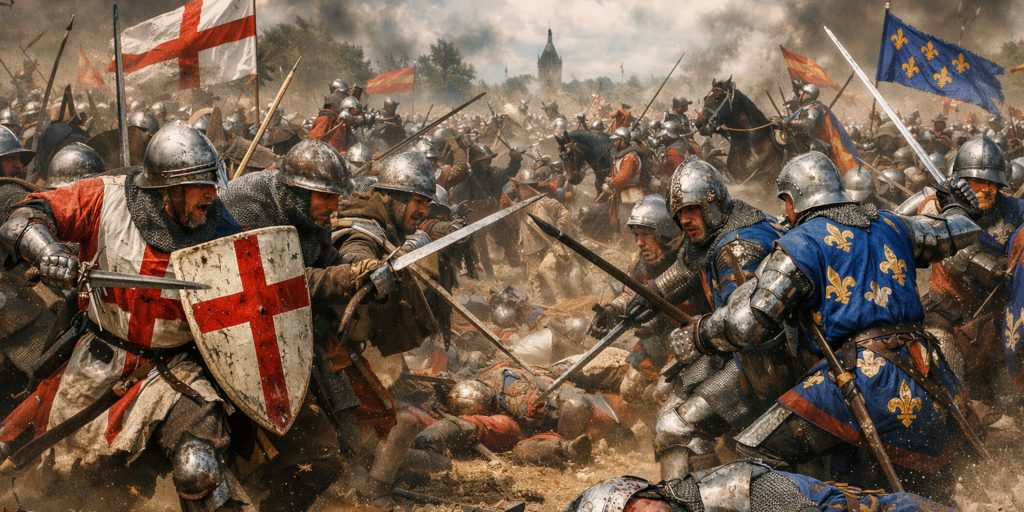
3. Battle of Hastings (1066)
Location: Near Hastings, England
Combatants: Norman Duchy vs. Anglo Saxon England
Overview
Hastings reshaped the political and cultural history of England. William of Normandy defeated the army of King Harold Godwinson after a long day of fighting.
| Aspect | Details |
|---|---|
| Commanders | Normans: William of Normandy Saxons: Harold Godwinson |
| Weapons | Lances, swords, axes |
| Units | Norman cavalry, Saxon infantry shield wall |
| Tactics & Outcome | Norman feigned retreats broke the Saxon shield wall. Norman victory led to the conquest of England. |
Reenactment
Large scale reenactments occur annually at the Hastings battlefield organised by English Heritage.
2. Battle of Ankara (1402)
Location: Near Ankara, Turkey
Combatants: Ottoman Empire vs. Timur’s Empire
Overview
The battle between Timur and the Ottoman Sultan Bayezid I was one of the largest cavalry clashes in medieval history.
| Aspect | Details |
|---|---|
| Commanders | Ottomans: Bayezid I Timur: Tamerlane |
| Weapons | Sabres, bows, lances |
| Units | Massive cavalry armies |
| Tactics & Outcome | Timur’s forces encircled the Ottomans and captured Bayezid. Ottoman empire entered a period of civil war. |
1. Battle of the Catalaunian Plains (451)
Location: Northeastern France
Combatants: Roman coalition vs. Hunnic Empire
Overview
This enormous battle saw Roman and Gothic forces unite to stop Attila the Hun’s advance into western Europe.
| Aspect | Details |
|---|---|
| Commanders | Romans: Flavius AetiusFlavius Aetius: Magister Militum Huns: Attila |
| Weapons | Spears, swords, bows |
| Units | Roman infantry, Gothic cavalry, Hunnic horse archers |
| Tactics & Outcome | Coalition forces halted the Hunnic advance in one of the largest battles of the late ancient world. |
Why it is notable
The battle helped preserve the remaining Western Roman territories from Hunnic domination.
Common Weapons Used in Medieval Battles
Medieval warfare relied on a surprisingly wide range of weapons, many of which evolved over centuries as armour improved and battlefield tactics changed. While swords dominate popular imagination, they were only one part of a much larger arsenal.
Infantry soldiers often relied on simpler and cheaper weapons such as spears or polearms, while elite warriors carried specialised arms designed to penetrate armour.
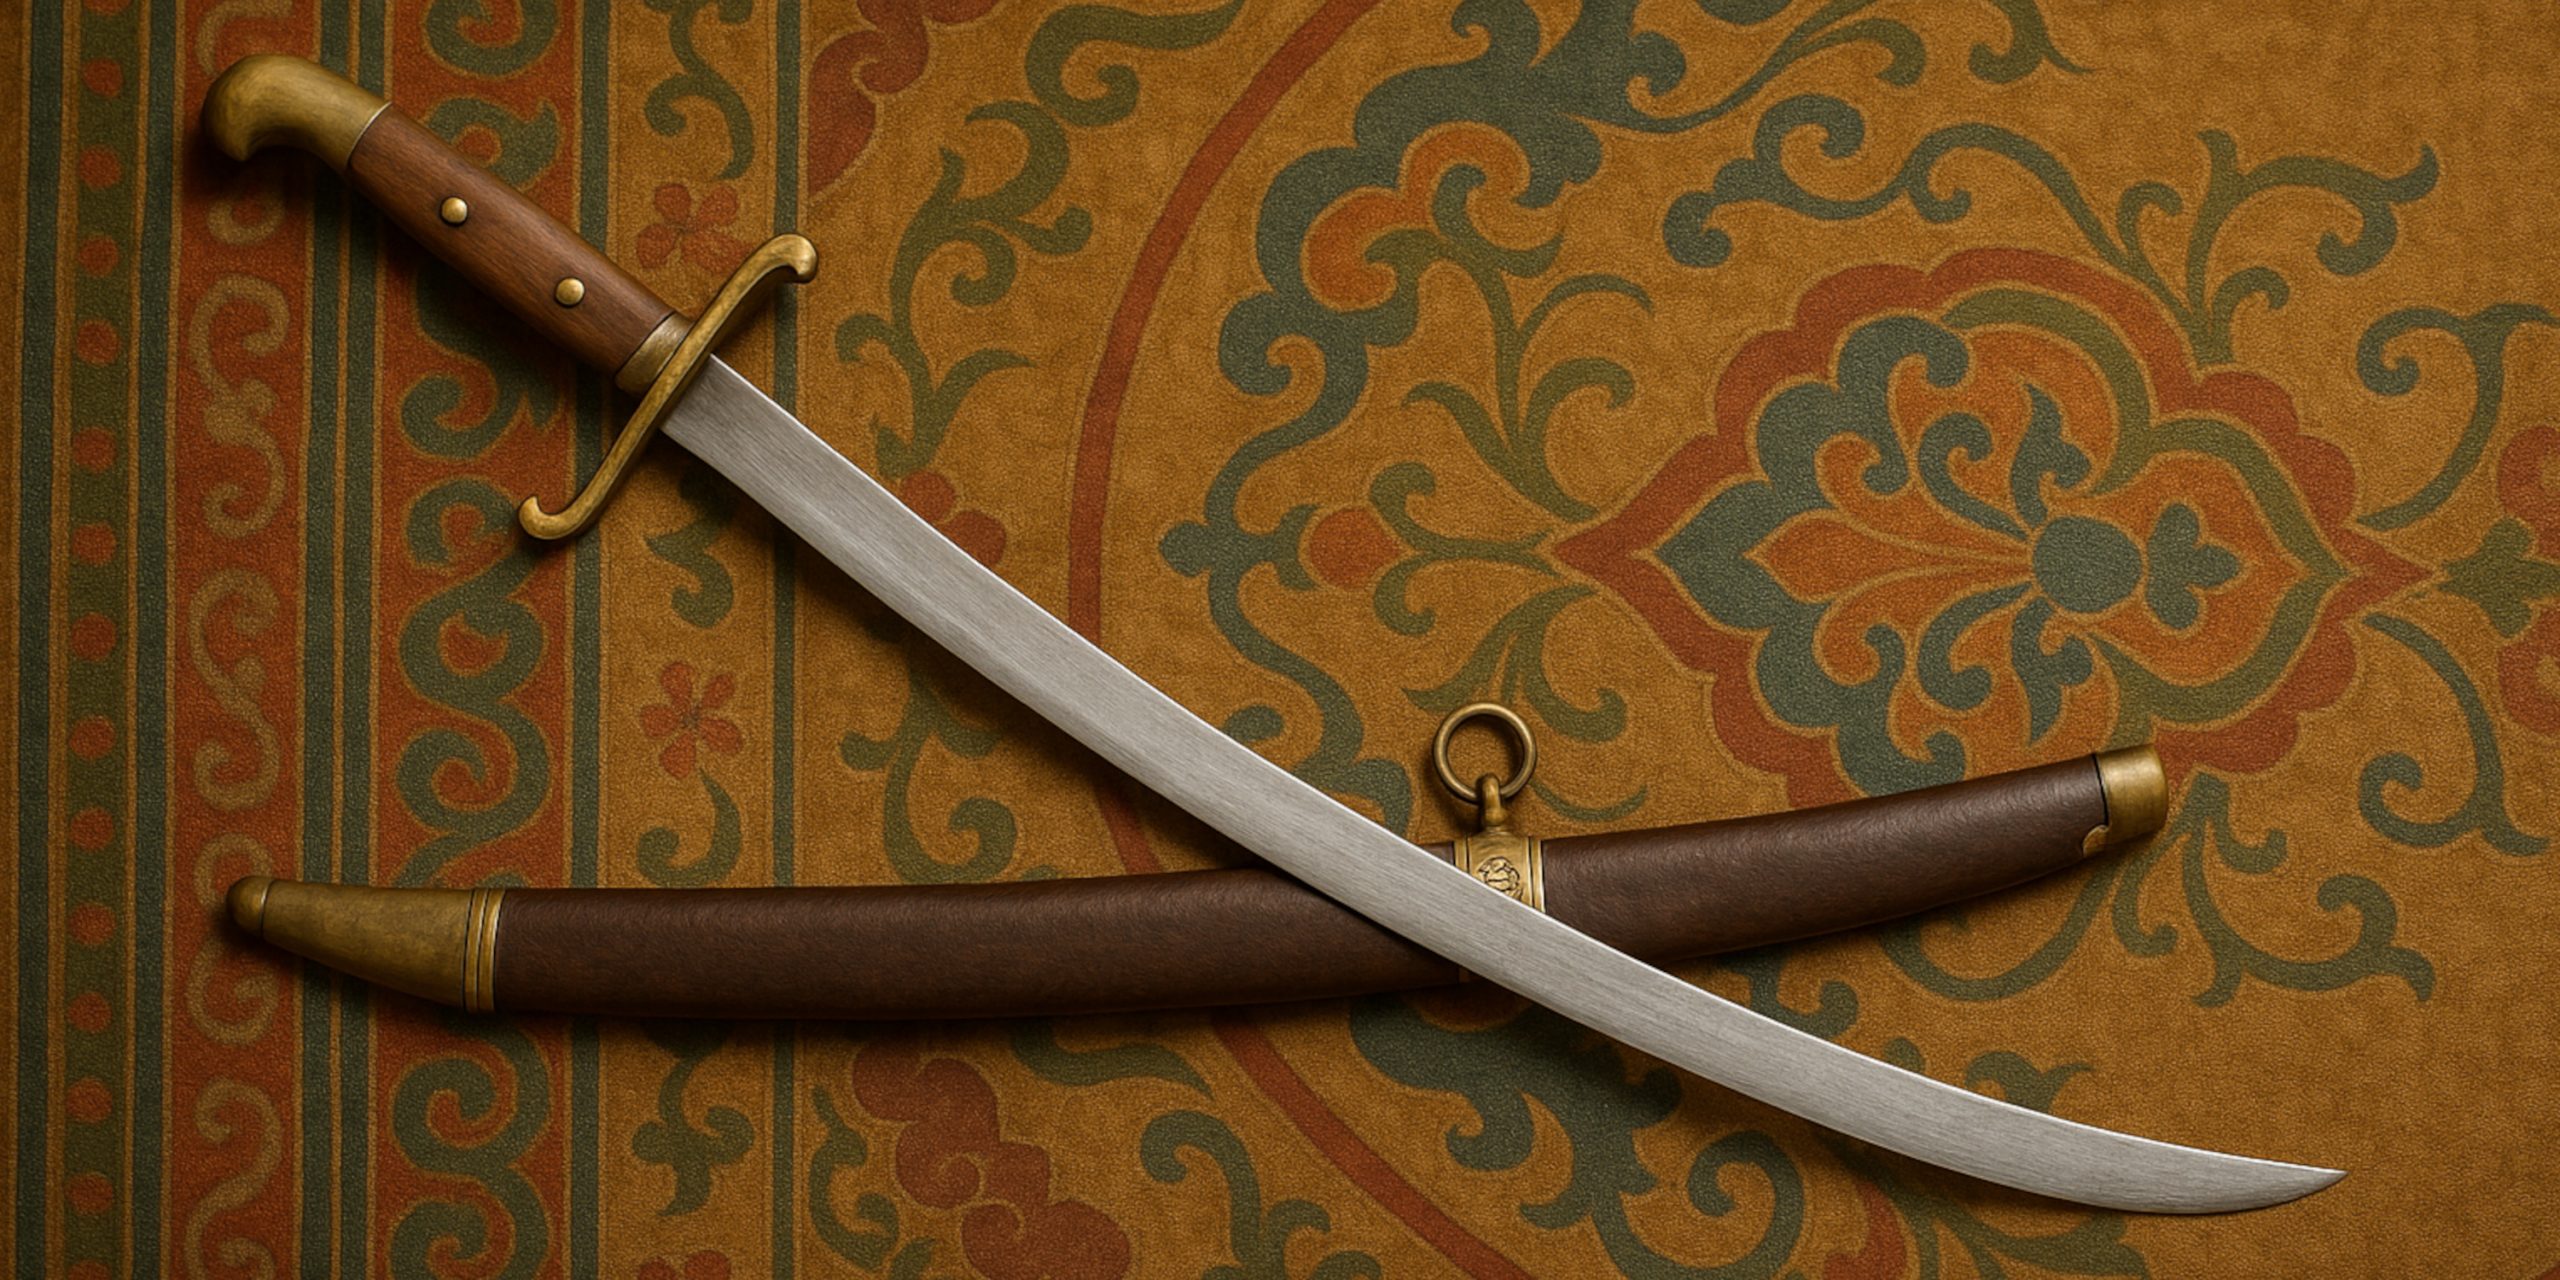
Swords
The sword remained the most iconic medieval weapon, though it was rarely the primary battlefield tool.
Common battlefield sword types included:
- Arming swords used by knights and infantry throughout Europe
- Longswords which became increasingly common during the fourteenth and fifteenth centuries
- Falchions, heavy chopping blades often favoured by infantry
- Sabres used widely in eastern and Islamic cavalry forces
- Spatha type swords, early medieval blades used by Frankish and Germanic warriors
Swords were versatile sidearms that could be used for cutting, thrusting, or fighting in close quarters after polearms broke.
Spears and Lances
Spears were arguably the most common weapon in medieval warfare. They were inexpensive, easy to manufacture, and effective against both infantry and cavalry.
Key forms included:
- Infantry spears, often between two and three metres long
- Knightly lances, designed specifically for cavalry charges
- Pikes, extremely long spears used by infantry formations such as Swiss or Scottish schiltrons
Large spear formations could stop even heavily armoured cavalry if discipline held.
Polearms
As armour improved, specialised polearms became increasingly common.
Examples included:
- Halberds, combining axe blade, spike, and hook
- Bills, agricultural tools adapted into infantry weapons
- Poleaxes, knightly weapons designed to defeat armour
Polearms allowed infantry to pull riders from horses or strike through armour joints.
Missile Weapons
Ranged weapons often determined the outcome of battles before infantry even met.
The most influential examples included:
- English longbows, capable of penetrating armour at shorter ranges
- Crossbows, widely used in continental Europe and by Genoese mercenaries
- Composite bows, powerful weapons used by Mongol and Turkic cavalry archers
Missile troops were especially devastating when defending strong positions or narrow terrain.
How Medieval Armies Were Organised

Medieval armies were not standing professional forces in the modern sense. Most were temporary coalitions of feudal retainers, mercenaries, and local militia assembled for a campaign.
Despite this, many armies developed surprisingly effective organisational structures.
Feudal Retinues
Kings and nobles relied heavily on feudal obligations. Vassals were expected to provide troops when summoned.
Typical contributions included:
- Mounted knights and men at arms
- Household retainers
- Local levies from estates and towns
These forces formed the core of most medieval armies.
Infantry Levies
Infantry often made up the largest portion of an army. Many were peasants or townsmen summoned for temporary service.
Their equipment varied widely but commonly included:
- Spears or pikes
- Shields
- Short swords or axes
Well trained infantry formations could be extremely effective, particularly when defending terrain.
Knightly Cavalry
The medieval knight represented the elite military class. Knights were heavily armoured cavalrymen capable of delivering devastating charges.
Typical knightly equipment included:
- Warhorse and heavy saddle
- Lance for the initial charge
- Sword or mace for close combat
- Shield and full armour
While powerful, cavalry charges required discipline and suitable terrain to succeed.
Mercenaries and Specialists
Many medieval armies also hired professional soldiers.
Examples included:
- Genoese crossbowmen serving across Europe
- Swiss pikemen, feared infantry mercenaries
- Turkish or Mongol horse archers
- Janissaries in Ottoman armies
These specialists often provided tactical advantages that feudal levies lacked.
Why Medieval Battles Still Capture the Imagination
Despite the centuries that separate us from these events, medieval battles remain remarkably vivid in historical memory. Archaeological discoveries continue to uncover weapons, armour fragments, and mass graves that reveal the scale and brutality of these clashes.
Modern reenactment societies and battlefield preservation groups also play an important role in keeping this history alive. By reconstructing equipment, formations, and tactics, they allow visitors to see how medieval warfare actually functioned.
Standing on a quiet battlefield today, it can be difficult to imagine thousands of soldiers clashing with swords and spears. Yet beneath many of those peaceful fields lies the legacy of conflicts that shaped kingdoms, cultures, and the medieval world itself.