The Battle of Hastings was fought on 14 October 1066, but it has never remained safely in the eleventh century. It became an origin story, a national trauma, a Norman success story and, much later, a schoolroom parade of arrows, axes and suspiciously tidy explanations.
The secure outline is familiar. William, Duke of Normandy, landed in Sussex to pursue his claim to the English throne. King Harold II marched south and confronted him near the present town of Battle. After a day of fighting, Harold was killed, the English army broke and William began the difficult business of turning victory in Sussex into rule over England.
The details are less obedient. Our accounts were written by people with loyalties, patrons and theological explanations to offer. The Bayeux Tapestry is invaluable, but it is not medieval CCTV. Even the location has produced far less battlefield archaeology than one might reasonably expect.
So, what can we say with confidence, what remains probable, and what belongs in the very crowded cupboard marked “good story, uncertain evidence”?
Battle of Hastings at a glance
| Detail | Evidence-based summary |
|---|---|
| Date | 14 October 1066 |
| Location | Traditionally identified with Battle Abbey and the ridge at Battle, around seven miles north-west of Hastings |
| English commander | King Harold II, usually known as Harold Godwinson |
| Norman commander | William, Duke of Normandy, later William I of England |
| Probable strength | Often estimated at roughly 7,000 to 8,000 men on each side, although no contemporary source provides a reliable total |
| English composition | Housecarls and fyrd fighting predominantly, and probably entirely, on foot |
| Norman-led composition | Archers and crossbowmen, infantry and mounted warriors drawn from Normandy, Brittany, Flanders and other regions |
| Result | Decisive Norman victory; Harold, Gyrth and Leofwine were killed |
| Wider consequence | William secured the crown in December 1066, although conquest and resistance continued for years |
Why the battle happened
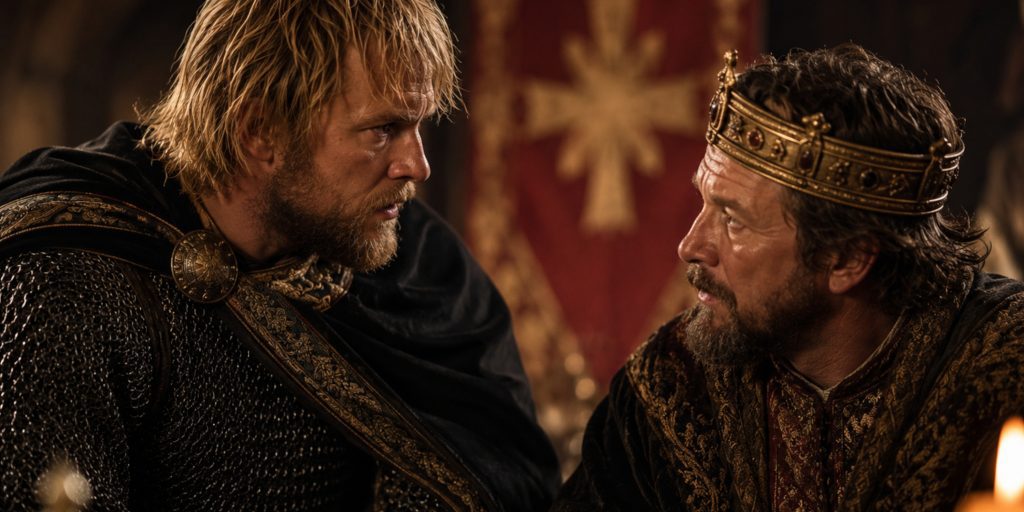
Edward the Confessor died on 5 January 1066 without a son. The English political elite selected Harold Godwinson, Earl of Wessex and the kingdom’s most powerful noble, as king. Harold was crowned on 6 January.
William of Normandy argued that Edward had earlier promised him the throne and that Harold had sworn to uphold his claim. Norman sources made much of this alleged oath, especially because it was said to have been sworn over holy relics. Harold’s supporters could answer that an English king was not free simply to bequeath the realm like a favourite hunting dog. The witan, the kingdom’s senior political assembly, had a decisive part in recognising a successor.
There was also a third claimant. Harald Hardrada of Norway invaded northern England with Harold’s estranged brother Tostig. The English king defeated them at Stamford Bridge on 25 September. While Harold was in the north, William landed at Pevensey on 28 September and established a base at Hastings.
Harold then marched south. The journey mattered, but the familiar picture of a shattered army staggering straight from Yorkshire to Sussex is too simple. Harold had time to reach London, gather forces and decide upon his next move. His army may still have lacked men who had not yet arrived. Whether he attacked too quickly is a fair question. Calling it obvious recklessness is hindsight wearing a general’s cloak.
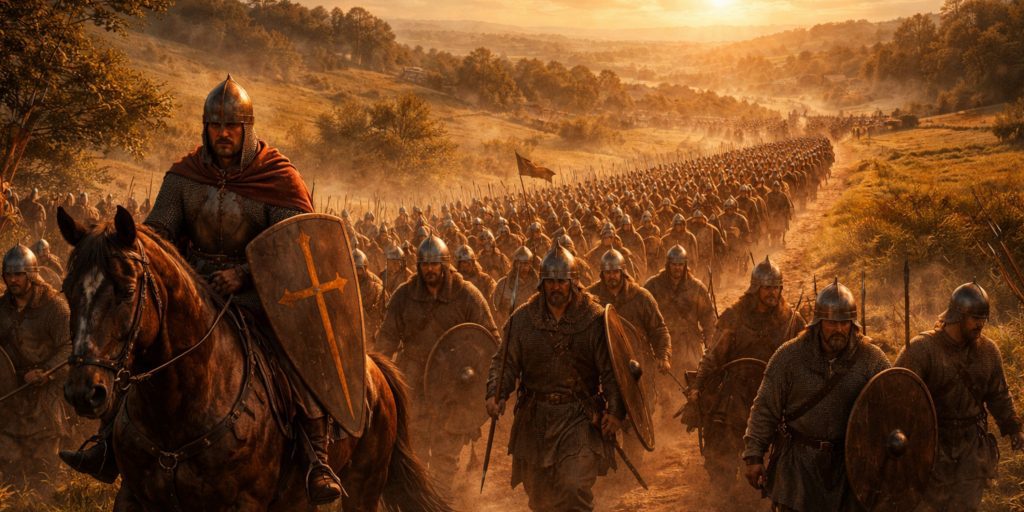
Forces and troop composition
No dependable muster roll survives. Medieval chroniclers supplied enormous totals when grandeur or moral drama required them, which was often. Most modern reconstructions place both armies somewhere around 7,000 to 8,000 men, but estimates vary and should not be mistaken for a headcount.
| Army | Main troops | Battlefield role | Important limitations |
|---|---|---|---|
| English | Housecarls | Professional retainers forming a heavily armed core, associated particularly with the two-handed axe | Their exact number is unknown |
| English | Fyrd | Regional levies who made up much of the infantry and shield wall | The fyrd included landholders with military obligations, not merely untrained peasants |
| English | Archers and missile troops | Probably supplied some supporting fire | Their numbers appear to have been limited, but complete absence cannot be proved |
| Norman-led | Archers and crossbowmen | Opened attacks and supported later assaults | Precise numbers and the proportion of crossbowmen remain uncertain |
| Norman-led | Infantry | Attacked the English position with spears, shields and swords | Included contingents from several regions, not only Normandy |
| Norman-led | Mounted warriors | Delivered repeated attacks, pursued exposed troops and exploited disorder | Horses could not simply crash through a firm shield wall like furry siege engines |
The English army
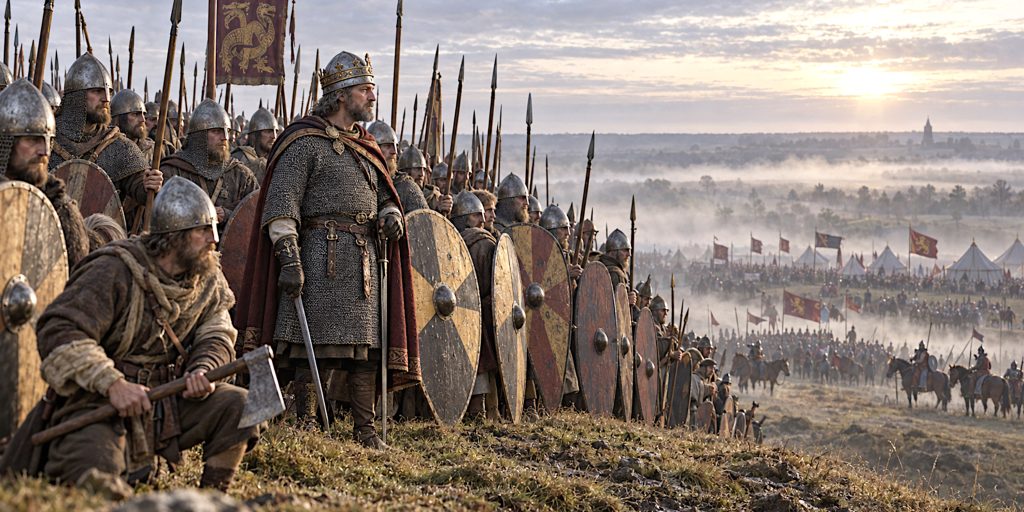
Harold’s men fought on foot on a ridge. Their formation is usually described as a shield wall, a dense defensive line in which overlapping or closely presented shields gave protection against missiles and direct assault.
The housecarls were experienced royal and aristocratic retainers. The fyrd is harder to summarise. Some fyrdmen were well-equipped local landholders with genuine military experience. Others may have possessed more modest equipment. Calling the whole force a peasant rabble is Norman-flavoured nonsense. Calling every man a professional veteran goes too far in the other direction.
Harold’s brothers Gyrth and Leofwine fought and died with him. Their presence gave the army senior commanders but also concentrated much of the Godwinson family’s leadership in one dangerous place.
William’s army
William commanded a combined-arms force. Contemporary accounts and the Bayeux Tapestry indicate archers or crossbowmen, infantry and cavalry. The army was commonly arranged in regional divisions:
- Bretons and other troops on the left
- Normans in the centre under William’s close direction
- French and Flemish contingents on the right
Among William’s prominent followers were his half-brothers Odo, Bishop of Bayeux, and Robert, Count of Mortain, as well as William fitzOsbern. Eustace II of Boulogne is also associated with the battle. Odo is shown in the Bayeux Tapestry carrying a club-like weapon and rallying the troops. The old explanation that clergy used clubs to avoid shedding blood is not convincing. A club can shed blood perfectly well, as anyone with a passing knowledge of clubs might suspect.
Leaders at Hastings
| Leader | Side | Position and likely role | Fate |
|---|---|---|---|
| Harold Godwinson | English | King of England and overall commander; held the ridge with an infantry army | Killed late in the battle |
| Gyrth Godwinson | English | Earl of East Anglia and Harold’s brother; senior commander | Killed |
| Leofwine Godwinson | English | Earl of Kent and Essex and Harold’s brother; senior commander | Killed |
| William of Normandy | Norman-led | Duke of Normandy and overall commander; personally rallied troops when rumours of his death spread | Survived and was crowned on 25 December 1066 |
| Odo of Bayeux | Norman-led | Bishop, magnate and William’s half-brother; shown rallying troops in the Tapestry | Survived |
| Robert of Mortain | Norman-led | Count and William’s half-brother; led or supported a major contingent | Survived |
| Alan the Red | Breton within William’s coalition | Breton lord traditionally associated with William’s army | Survived |
Arms and armour
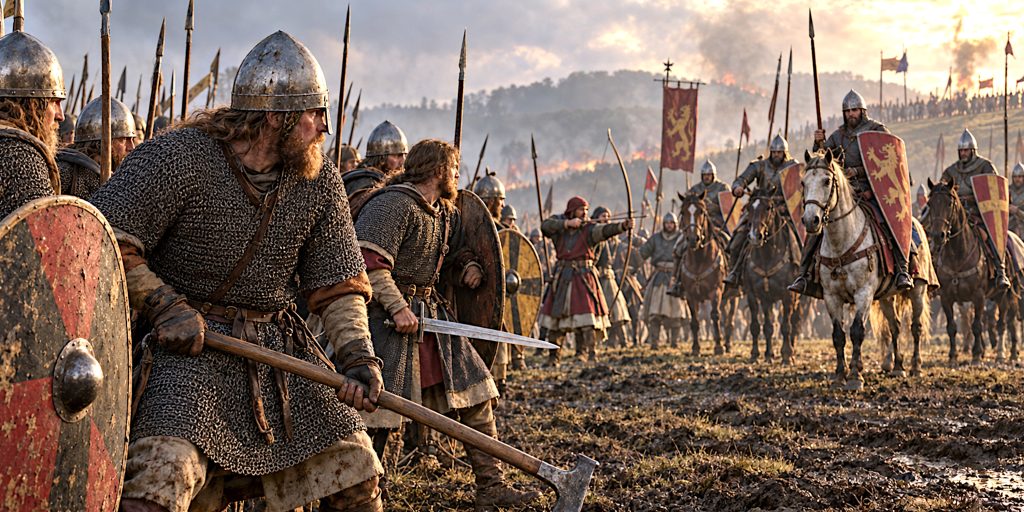
Hastings was not a contest between advanced Norman equipment and obsolete English kit. The two armies shared much of the same military culture. The important difference lay in how troop types were combined and used.
| Weapon or armour | English use | Norman-led use | What the evidence suggests |
|---|---|---|---|
| Spear | Very common among fyrd and professional warriors | Common among infantry and cavalry | Probably the most widespread hand weapon on both sides |
| Two-handed Danish axe | Strongly associated with English housecarls | Not a defining Norman weapon | Powerful cutting weapon requiring space and skill |
| Sword | Carried by wealthier warriors and elites | Carried by mounted and high-status warriors | Expensive sidearm and status object, not the weapon of every soldier |
| Bow | Present, probably in limited numbers | Used in substantial numbers | Norman missile troops played an important supporting role |
| Crossbow | No secure evidence for meaningful English use at Hastings | Norman sources and images suggest some use | Less dominant than later medieval crossbows |
| Javelin | Used by English light troops and fyrd | Used by infantry and mounted troops | Suitable for throwing before close combat |
| Mail hauberk | Worn by housecarls and richer English warriors | Worn by many elite infantry and mounted warriors | Flexible protection formed from interlinked iron rings |
| Helmet | Conical helmets, sometimes with nasal protection | Similar conical nasal helmets | Surviving art shows broadly comparable designs |
| Shield | Round shields and some kite-shaped forms | Kite shields strongly represented, with other forms possible | Shields were essential protection, particularly in the English defensive line |
What swords were used at Hastings?
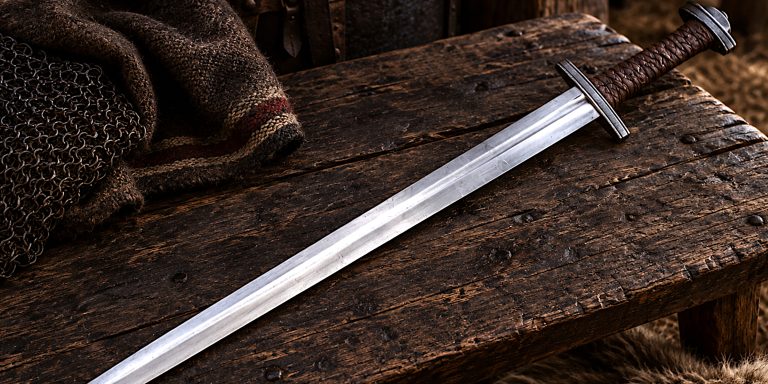
Most swords were straight, double-edged cutting weapons with a broad blade, short crossguard and one-handed grip. Modern collectors and archaeologists often classify them through Jan Petersen’s Viking sword typology or R. E. M. Wheeler and Ewart Oakeshott’s typologies.
Specific forms likely to have been present include:
- Late Viking Age swords with Petersen Type X and related hilts
- Oakeshott Type X blades, broad and suited primarily to cutting
- Transitional forms now grouped around Oakeshott Types Xa and XI, although dating individual examples can be difficult
- High-status blades with pattern-welded ancestry, alongside increasingly common blades made from more uniform iron and steel construction
The convenient label “Norman sword” can mislead. English, Norman, Breton and Flemish elites used closely related sword forms. A sword could reveal wealth and status, but not reliably announce its owner’s nationality from fifty paces.
Swords were important, though spears were more numerous. The English two-handed axe and Norman cavalry spear dominate popular imagery because they make excellent silhouettes. Medieval armies, less concerned with posters, relied heavily on the cheaper and thoroughly effective spear.
How the battle unfolded
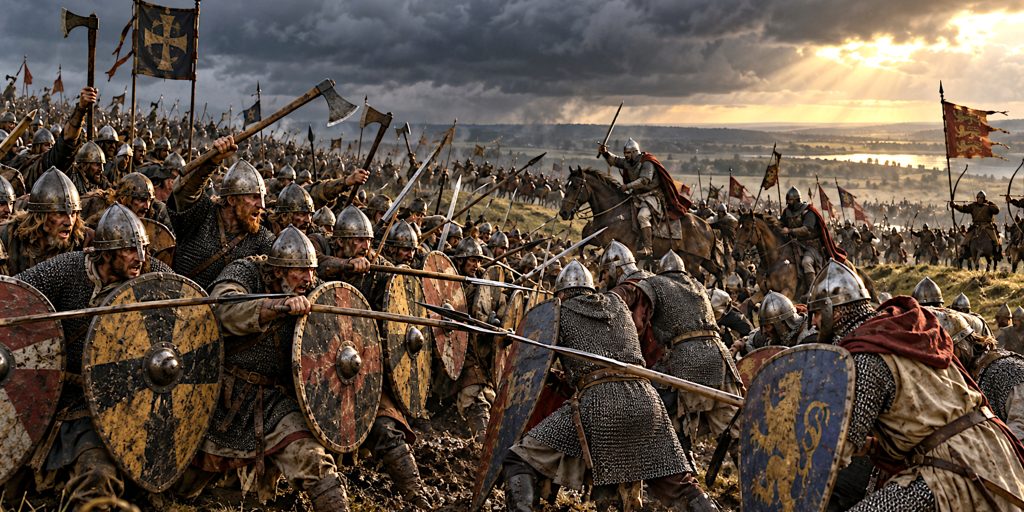
William advanced from Hastings and found Harold’s army occupying high ground across the road towards London. The English position forced the invaders to attack uphill.
Norman missile troops appear to have opened the battle, followed by infantry and cavalry attacks. The shield wall held. At some stage William’s left, including Breton troops, fell back. Some Englishmen pursued them downhill and were isolated or counter-attacked.
A rumour spread that William had been killed. According to William of Poitiers, the duke showed his face to restore confidence. The Bayeux Tapestry presents the same essential episode, with Eustace of Boulogne pointing towards William as Odo encourages the soldiers.
Later Norman attacks continued to wear down the English line. Sources describe further withdrawals or feigned flights, but historians debate how deliberately these were planned. A retreat that later becomes useful does not necessarily begin as a tactical masterclass.
By late afternoon or evening, Harold and his brothers were dead. The English defence collapsed, although some troops continued to resist and inflicted losses during the Norman pursuit. William had won the field. He had not yet won the country.
Battle timeline
| Date or approximate time | Event |
|---|---|
| 5 January 1066 | Edward the Confessor dies |
| 6 January | Harold Godwinson is crowned king |
| 25 September | Harold defeats Harald Hardrada and Tostig at Stamford Bridge |
| 28 September | William’s invasion force lands at Pevensey |
| Early October | William fortifies bases at Pevensey and Hastings; Harold marches south and gathers forces in London |
| 13 October | Harold’s army reaches the area north of Hastings and occupies the ridge near present-day Battle |
| Morning, 14 October | William advances and deploys archers, infantry and cavalry; the battle begins, traditionally around 9am |
| Late morning to afternoon | Repeated assaults fail to break the English line; part of William’s left retreats and English troops pursue |
| Afternoon | William rallies his army after a report that he has been killed; further attacks and withdrawals weaken parts of the English formation |
| Late afternoon or dusk | Harold, Gyrth and Leofwine are killed; the English army breaks |
| Night | Survivors flee; Norman pursuers encounter resistance at a feature later called the Malfosse, although its location and details are uncertain |
| 25 December | William is crowned king at Westminster Abbey |
Seven facts about the Battle of Hastings
It was not fought in Hastings
The accepted site lies by the modern town of Battle, roughly seven miles from Hastings. William later founded Battle Abbey there. The high altar was traditionally placed where Harold’s standard had stood and where the king was believed to have died.
The battle lasted most of the day
The fighting began in the morning and continued until late afternoon or dusk. For two armies engaged at close quarters, this was an exhausting and unusually prolonged contest. Its duration is one reason simple explanations are unsatisfactory. No single charge, arrow or trick decided eight or nine hours of violence.
Harold’s army fought mainly on foot
English nobles commonly rode on campaign, but at Hastings the army formed for battle as infantry. This was a tactical choice rooted in English practice, not proof that Harold had somehow forgotten horses existed.
William used a mixed army
His force combined missile troops, foot soldiers and cavalry. It also drew men from beyond Normandy, including Brittany and Flanders. “The Normans” remains useful shorthand, provided we remember that William’s host was a coalition.
Harold had already fought a major campaign
The English victory at Stamford Bridge occurred only nineteen days before Hastings. Some of Harold’s troops had fought in Yorkshire and marched south. Others joined later. Fatigue and incomplete mobilisation may have affected the English, although the scale of that effect cannot be measured.
William personally rallied his men
Both narrative and visual traditions record panic caused by a rumour of William’s death. He revealed his face and rode among the troops to show that he lived. Whatever else has been polished by Norman storytelling, William’s visible command presence was clearly central to the way victory was remembered.
Hastings did not complete the conquest
William secured submissions and was crowned at Christmas, but rebellions and regional resistance followed. Exeter resisted in 1068. Northern revolts culminated in the brutal Harrying of the North in 1069 and 1070. Hastings opened the way to conquest. It did not make England instantly Norman before supper.
Seven myths and doubtful claims
Myth: Harold was certainly killed by an arrow in the eye
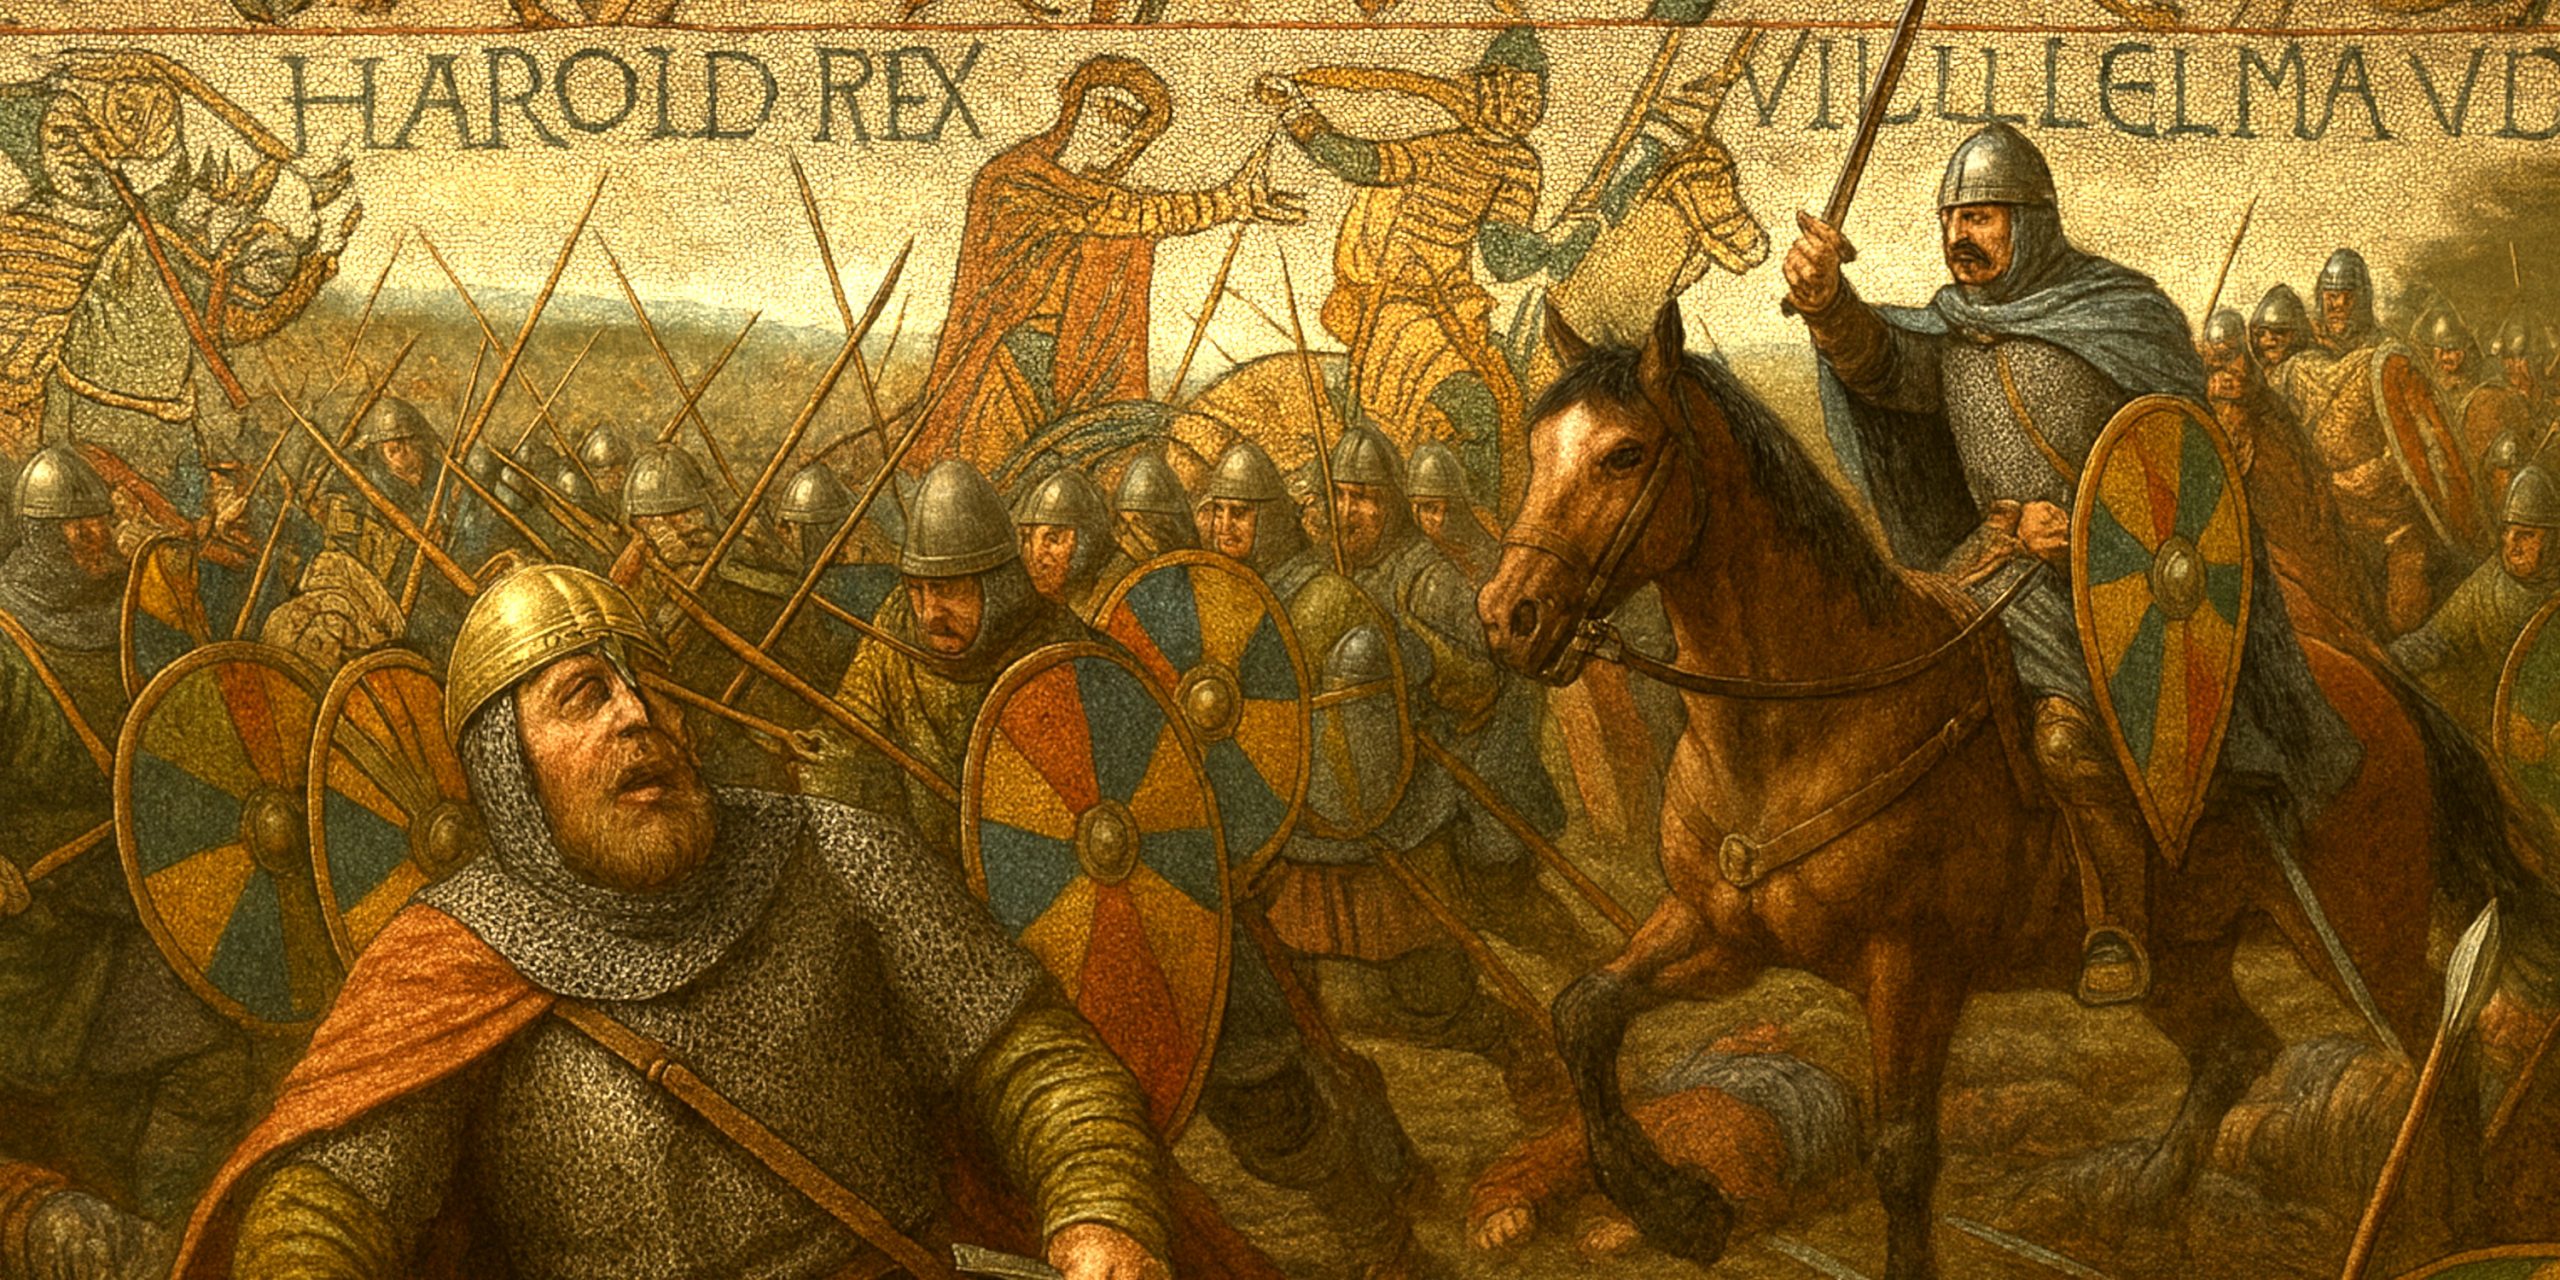
The Bayeux Tapestry’s final battle scene shows a figure apparently pulling an arrow from his face beneath or near the words identifying Harold’s death. Beside him, another warrior is cut down by a mounted attacker. It is unclear whether these are two episodes in Harold’s death, two different men, or an image altered during restoration.
The earliest written accounts do not agree. The Carmen de Hastingae Proelio describes a group of four attackers mutilating Harold. William of Poitiers merely reports his death. Later sources developed the arrow story more explicitly.
Verdict: Possible, famous and visually irresistible, but not proven.
Myth: The English were an untrained peasant army
Harold’s core included professional housecarls. The fyrd also contained men obliged to serve because they held land, many of whom possessed suitable equipment and some military experience. Standards varied, but “peasants with farm tools” badly misrepresents the force that held William’s army for most of a day.
Verdict: False.
Myth: William’s cavalry simply smashed through the shield wall
The early assaults failed. Horses are intelligent animals and generally reluctant to hurl themselves into a solid hedge of shields, spears and axes. Cavalry became most effective when parts of the English line lost cohesion or pursued retreating troops.
Verdict: Misleading. Cavalry mattered, but disruption came before decisive penetration.
Myth: Every Norman withdrawal was a planned feigned retreat
Sources say that William’s army used feigned flight after seeing the effect of an earlier retreat. That first collapse on the left may have been genuine. Later withdrawals may have been deliberately repeated, although controlling such a manoeuvre under battlefield conditions required remarkable discipline.
Verdict: Some deliberate feigned retreats are plausible. A perfectly choreographed plan from the beginning is not.
Myth: William won by ordering his archers to fire high
The story that late volleys were deliberately arced over English shields, leading directly to Harold’s eye wound, comes from later accounts rather than the strongest near-contemporary testimony. Archers certainly fought at Hastings and probably supported repeated attacks. The famous tactical order is far less secure.
Verdict: Archery was important. The decisive high-angle barrage is unproven.
Myth: Harold rushed directly from Stamford Bridge to Hastings
Harold returned through London, where he gathered men before moving into Sussex. The wider campaign was extremely demanding, but it was not one uninterrupted sprint from battlefield to battlefield.
Verdict: An exaggeration built around a genuine feat of rapid campaigning.
Myth: The Bayeux Tapestry is a neutral eyewitness account
The embroidery was created within a generation of the conquest and preserves extraordinary detail. It also presents events through a narrative broadly favourable to William’s claim. Harold’s oath is emphasised; Norman preparations are purposeful; divine judgement hangs over the story.
Yet it is not crude propaganda. Harold is shown as brave and kingly, while English warriors fight with formidable resolve. Its complexity is precisely why historians keep returning to it.
Verdict: An essential source, but neither neutral nor self-explanatory.
Contemporary voices and what they tell us
The principal texts do not offer a single, clean account. Their disagreements are evidence too. They show how rapidly the battle became a contest over memory and legitimacy.
“King Harold was slain, and Earl Leofwine his brother, and Earl Gyrth his brother, and many good men.”
The Anglo-Saxon Chronicle, in modern translation, is painfully brief about the fighting. Its phrase “many good men” carries more grief than tactical detail.
“The English were helped by the advantage of the higher ground.”
William of Poitiers, Gesta Guillelmi, in modern translation. As William’s admiring biographer, he wished to celebrate the duke, but his account also acknowledges the strength of the English position.
“Here King Harold was killed.”
The Bayeux Tapestry’s Latin caption, Hic Harold rex interfectus est, supplies certainty about the king’s death but not about its exact manner. The image beneath it has been carrying rather more interpretive weight than its stitching can safely bear.
The Carmen de Hastingae Proelio, probably composed soon after the battle although its date and authorship remain debated, gives the most dramatic version. It describes William and three other warriors attacking Harold, with one piercing his breast and another striking off part of his body. This may preserve an early tradition, or it may be heroic literary construction. Medieval writers were perfectly capable of doing both at once.
Archaeology and the battlefield
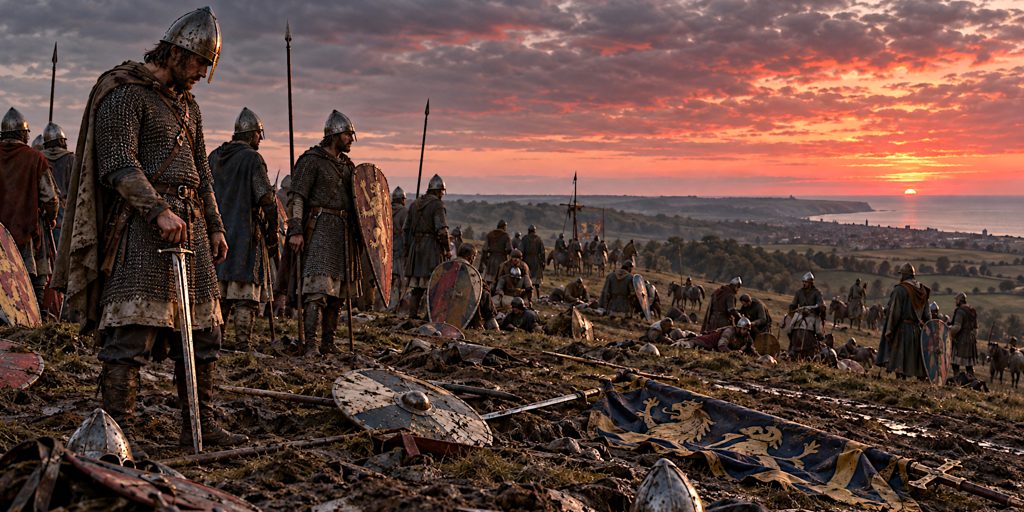
The traditional battlefield is protected and interpreted around Battle Abbey. Historical topography supports the general identification: the ridge blocks the route inland from William’s base at Hastings, and early traditions connect the abbey’s high altar with Harold’s last position.
The awkward fact is that no securely identified battlefield assemblage from 1066 has been recovered at the abbey site. There are no confirmed mass graves and no collection of weapons that can be confidently linked to the fighting. English Heritage openly acknowledges this absence in its discussion of the site.
That lack of material does not disprove the traditional location. Several factors work against survival and discovery:
- Valuable weapons, armour and metal fittings would have been stripped from the dead
- Iron corrodes, especially in disturbed or acidic soil
- The abbey and later town substantially altered the landscape
- Early burials may have been moved, dispersed or placed beyond explored areas
- Modern archaeological access is limited across built, landscaped and protected ground
Archaeological investigation has revealed the medieval abbey and its later development far more clearly than the battle itself. Excavations between 1978 and 1980 examined monastic buildings, while landscape study has helped historians reconstruct the ridge, approaches and possible areas of action.
Alternative battlefield locations have been proposed, including Caldbec Hill and sites nearer Sedlescombe. None has produced a body of evidence strong enough to displace Battle Abbey as the accepted location. The honest conclusion is slightly frustrating: the documentary and commemorative case is substantial, the physical battlefield evidence is meagre, and certainty should be rationed accordingly.
For current site research, see English Heritage’s discussion of the battlefield location and its research guide to Battle Abbey.
What decided the battle?
Hastings was won through endurance, flexible command and the gradual breakdown of the English position.
William could combine archers, infantry and cavalry in repeated attacks. He survived the crisis created by rumours of his death and restored cohesion. His forces also exploited English troops who left the protection of the ridge, whether those pursuits were spontaneous or encouraged by deliberate retreats.
Harold’s defensive plan worked for hours. Its weakness was that it depended upon cohesion. Losses among senior leaders, constant pressure and local pursuits gradually reduced that cohesion. Once gaps opened and the king fell, the army no longer had a secure command structure or a viable reason to remain in place.
This does not make the result inevitable. William crossed the Channel, landed safely, drew Harold into battle and won a long contest on unfavourable ground. Harold came close to stopping him. History often looks tidy after the survivor has hired the chroniclers.
Aftermath and legacy
William remained near Hastings for a time, then advanced towards London by a circuitous route. English leaders initially backed Edgar Ætheling, but effective resistance around the capital collapsed. William was crowned at Westminster Abbey on Christmas Day 1066.
The conquest transformed the English ruling class. Norman landholders replaced much of the Anglo-Saxon elite. Castles spread across the landscape. The Church was reorganised under new leadership. French-speaking aristocratic culture reshaped government, law, architecture and language, although older English institutions did not simply vanish.
Hastings also altered the history of the sword in England less dramatically than popular culture suggests. Norman elites did not arrive with a wholly alien weapon. Their straight, double-edged swords belonged to a shared northern European tradition. Military change came through organisation, aristocratic networks, castle-building and mounted service as much as through equipment.
The battle endures because the evidence is rich enough to tell a powerful story but incomplete enough to keep us arguing. Harold’s final moments remain uncertain. The battlefield has withheld its iron. The Tapestry offers images that appear clear until one looks closely. For a historian, this is maddening in the most enjoyable possible way.
Frequently asked questions
Who won the Battle of Hastings?
William, Duke of Normandy, defeated King Harold II’s English army. William was crowned king of England on 25 December 1066.
Where was the Battle of Hastings fought?
The accepted site is at Battle in East Sussex, around seven miles north-west of Hastings. Battle Abbey was founded on the traditional battlefield.
How many men fought at Hastings?
No reliable total survives. Many modern historians estimate roughly 7,000 to 8,000 men on each side, but wider estimates exist.
Was Harold killed by an arrow in the eye?
Possibly, but the evidence is ambiguous. The Bayeux Tapestry may show an arrow wound, while written sources provide different accounts of Harold’s death.
Did the English use cavalry?
English nobles travelled on horseback, but Harold’s army fought at Hastings as infantry. William’s mounted troops gave the Norman-led army greater tactical variety.
What swords were used at the Battle of Hastings?
Elite warriors carried straight, double-edged one-handed swords typical of the late Viking and early medieval periods. Many can broadly be associated with Oakeshott Type X and related forms. Spears and axes were more common across the armies.
Did the Norman Conquest end at Hastings?
No. Hastings removed Harold and opened the route to the crown, but William faced resistance and rebellion for several years.
Sources and further reading
- English Heritage: History of Battle Abbey and Battlefield
- English Heritage: The Weaponry of 1066
- Historic England: Hastings 1066 Battlefield Report
- Bayeux Museum: The Battle of Hastings
- David Bates, William the Conqueror
- Stephen Morillo, The Battle of Hastings: Sources and Interpretations
- M. K. Lawson, The Battle of Hastings 1066
- R. Allen Brown, The Battle of Hastings