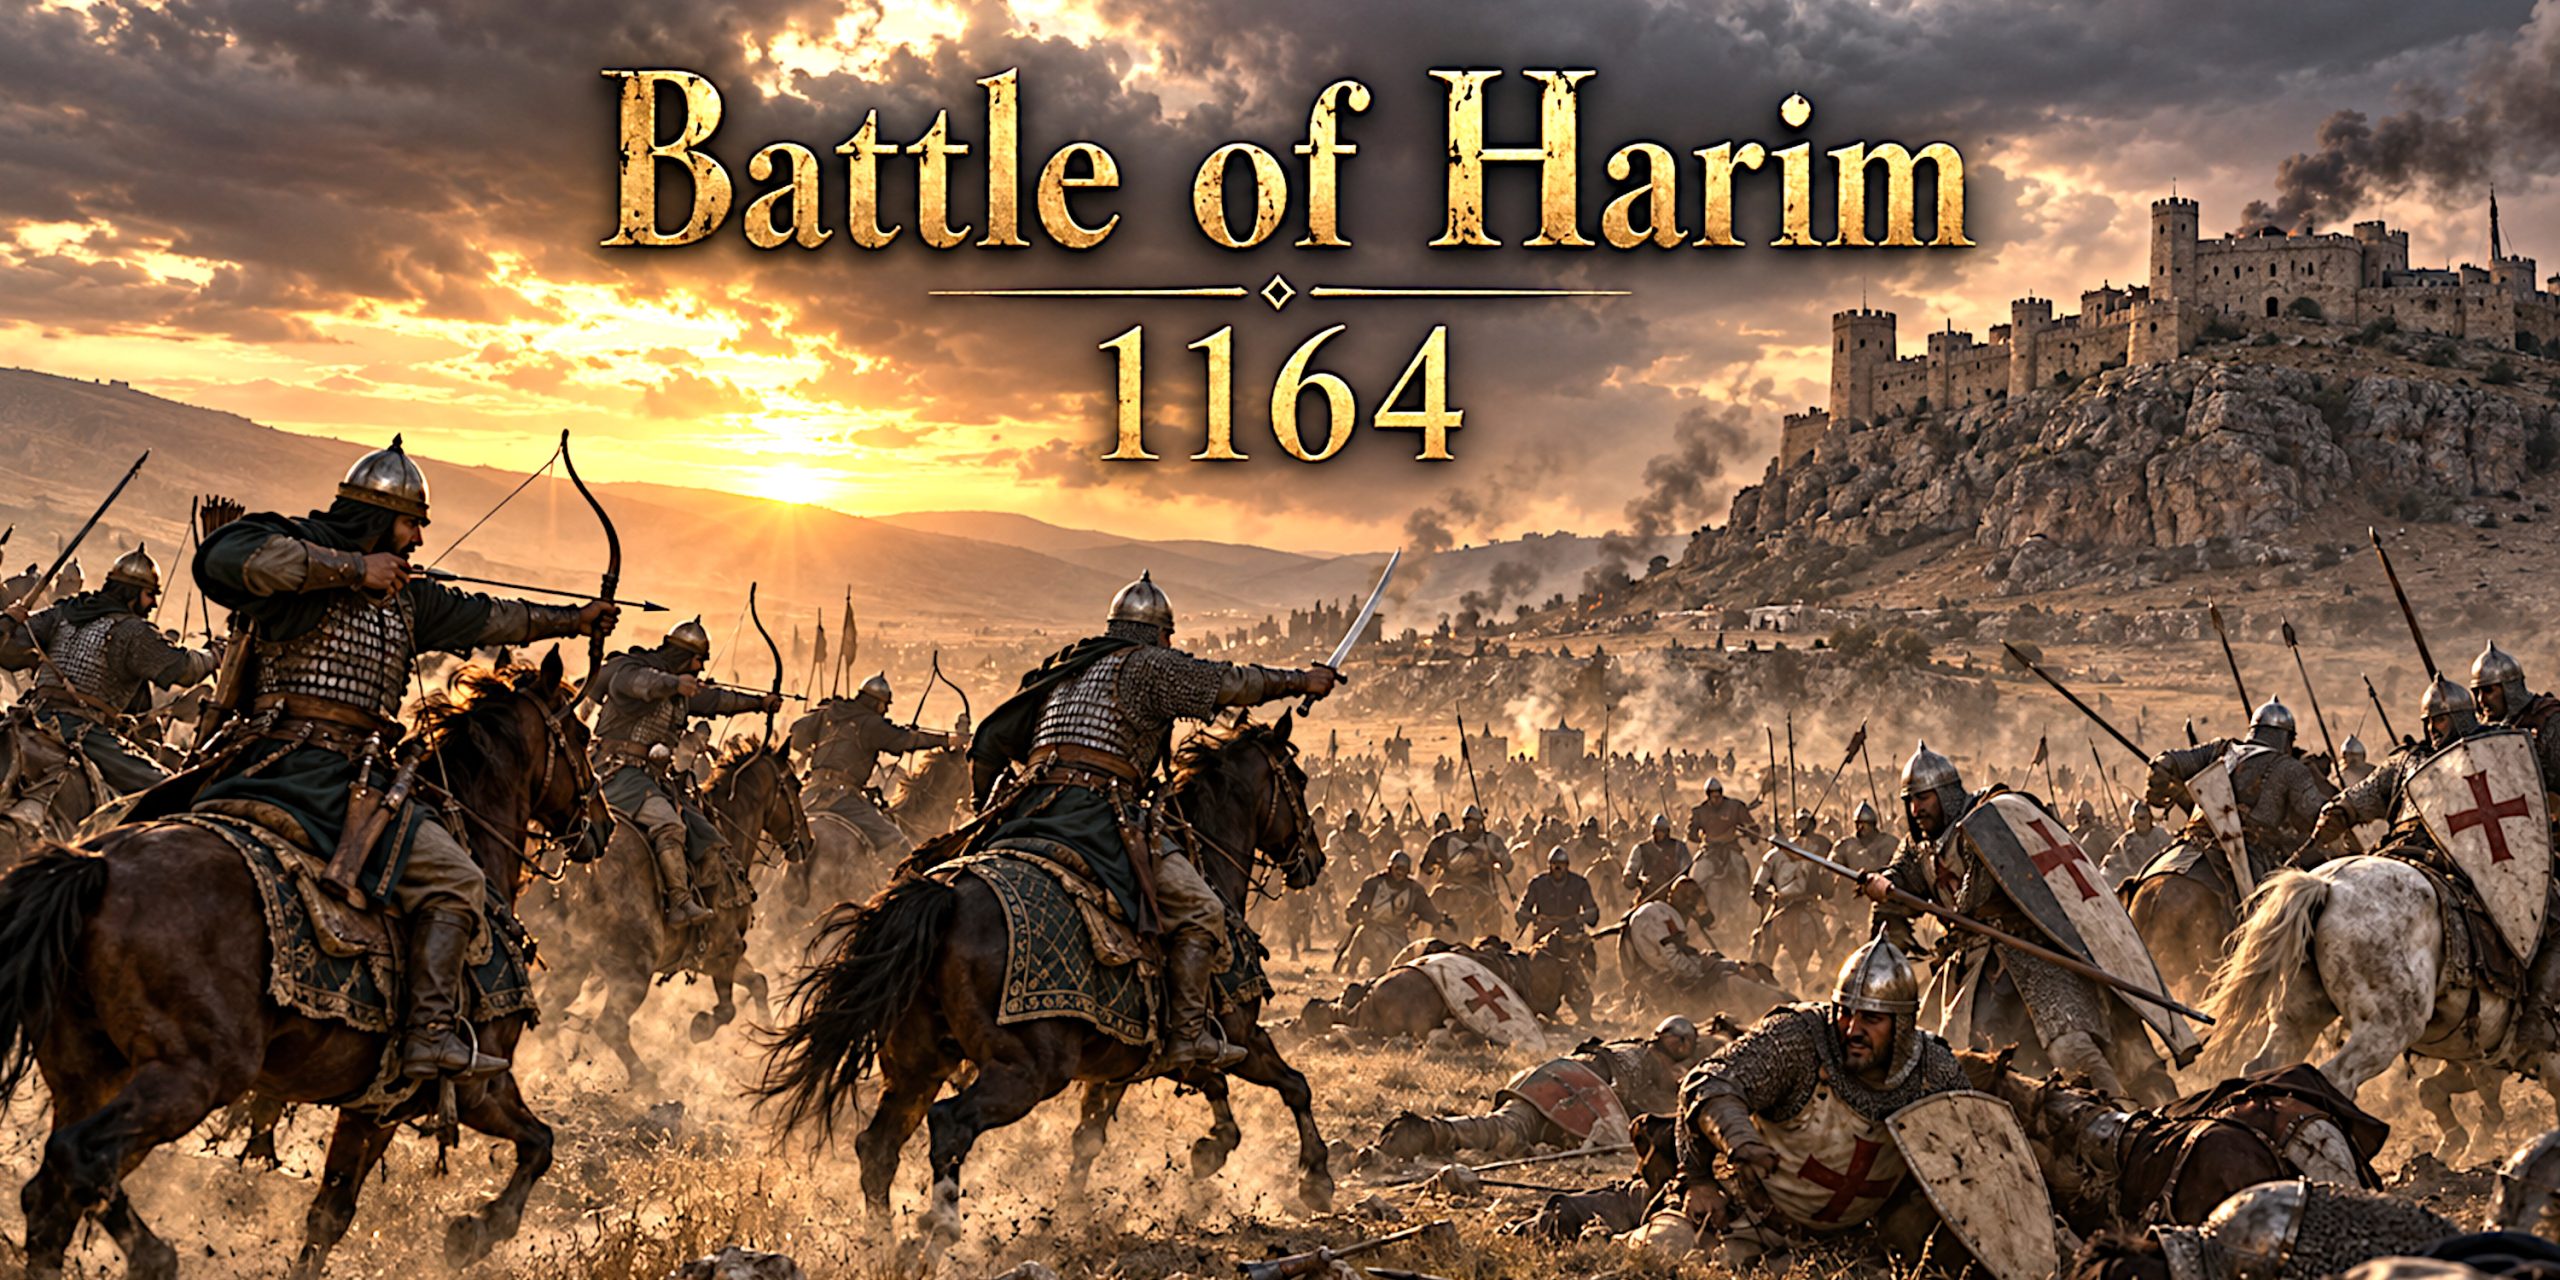
On 12 August 1164, a coalition of Frankish, Byzantine and Armenian forces confronted the army of Nur al-Din near the fortress of Harim in northern Syria. What began as a successful relief operation ended in one of the most damaging Christian defeats of the twelfth-century Crusades.
Nur al-Din’s troops broke the coalition army, killed or captured much of its infantry and carried several of its most important commanders to Aleppo in chains. Bohemond III of Antioch, Raymond III of Tripoli, the Byzantine governor Konstantinos Kalamanos, Hugh VIII of Lusignan and Joscelin III of Edessa were among the prisoners.
The battle is frequently reduced to a simple tale of heavy knights charging into a feigned retreat. There is truth in that account, but the fuller picture is more interesting. Harim was won through timing, coalition warfare, disciplined manoeuvre and the deliberate separation of cavalry from infantry. The Christian commanders had already achieved their immediate objective when Nur al-Din lifted the siege. They then pursued him and converted success into catastrophe, which is a particularly medieval way of demonstrating that victory should never be trusted until everyone has stopped charging.
Battle of Harim at a Glance
| Detail | Information |
|---|---|
| Date | 12 August 1164 |
| Location | Near Harim, in modern north-western Syria |
| Wider conflict | The Crusades and the struggle for northern Syria |
| Christian commanders | Bohemond III, Raymond III, Konstantinos Kalamanos, Thoros II, Hugh VIII of Lusignan and Joscelin III |
| Muslim commander | Nur al-Din Mahmud |
| Result | Decisive Zengid victory |
| Immediate consequence | Harim captured and leading Christian nobles imprisoned |
| Strategic effect | Principality of Antioch severely weakened |
| Notable tactic | Controlled withdrawal or feigned flight followed by an attack on the separated infantry |
Why Harim Mattered
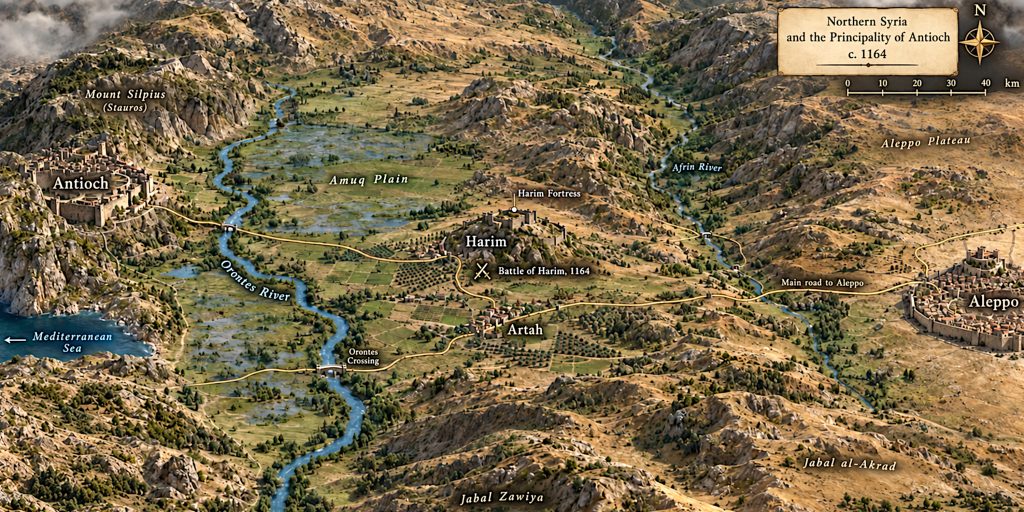
Harim, known to the Franks as Harenc, stood east of Antioch near the approaches to Aleppo. Its fortress overlooked roads connecting the plain of Antioch with the inland cities of northern Syria.
This was frontier country in the most unforgiving sense. Possession of Harim gave its holder:
- A fortified base close to Antioch
- Control over local routes and agricultural land
- A position from which to raid enemy territory
- Protection for movements between Antioch and Aleppo
- A valuable observation point over the surrounding plain
The castle changed hands repeatedly during the twelfth century. Nur al-Din had captured it after the great Frankish defeat at Inab in 1149, but the Christians later recovered it. By 1164 it was again held by the Principality of Antioch.
Harim was therefore more than a castle. It was a statement about where the frontier lay, and neither side was inclined to leave that statement uncorrected.
Background to the Battle
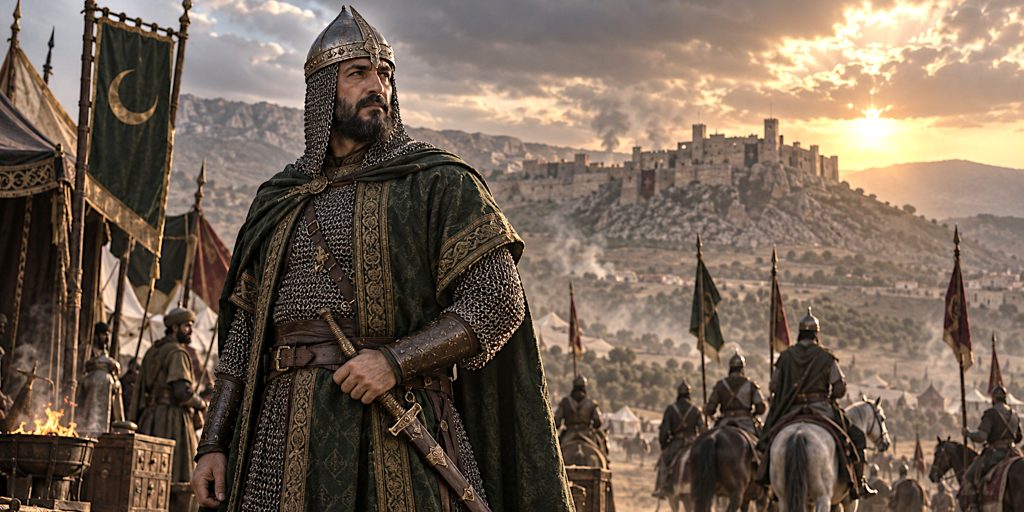
Nur al-Din, ruler of Aleppo and Damascus, had spent much of his reign strengthening Muslim power in Syria. He was more patient than his father, Zengi, and generally more adept at presenting expansion as a mixture of religious duty, political necessity and excellent personal judgement.
The political situation in 1164 offered him an opportunity. King Amalric I of Jerusalem had taken the main royal army into Egypt, where he was campaigning against Shirkuh, Nur al-Din’s commander and Saladin’s uncle. With Jerusalem’s field army occupied in the south, Nur al-Din applied pressure in northern Syria.
He gathered reinforcements from allied and dependent rulers, then placed Harim under siege. William of Tyre records that siege engines were positioned around the fortress and that the attacks gave the defenders little rest.
The threat drew together an unusually broad Christian coalition. The force included troops from Antioch and Tripoli, Byzantine soldiers from Cilicia, Armenian forces and western pilgrims or crusaders already present in the region.
This was an impressive concentration of manpower. It was also a coalition containing commanders with different interests, military traditions and ideas about what should happen next. Large alliances look splendid during the assembly. Their difficulties usually become visible when someone suggests restraint.
Forces
Exact numbers cannot be established. Medieval chroniclers regularly used troop totals to emphasise divine favour, the scale of victory or the wickedness of a defeat. Modern figures repeated online, such as precisely 9,000 Muslims against 600 knights and 12,000 infantry, should not be treated as audited returns from an admirably efficient twelfth-century personnel department.
The Christian army was nevertheless substantial. It contained several regional contingents and enough mounted strength to persuade Nur al-Din to abandon his initial siege positions.
Leaders
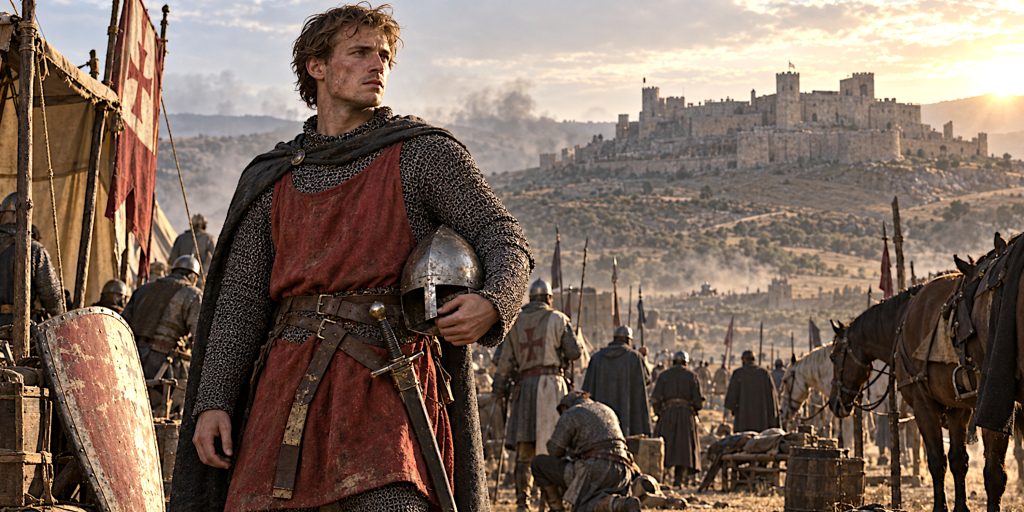
| Coalition | Commander | Role at Harim |
|---|---|---|
| Principality of Antioch | Bohemond III | Prince of Antioch and one of the principal coalition commanders |
| County of Tripoli | Raymond III | Count of Tripoli; captured in the battle |
| Byzantine Empire | Konstantinos Kalamanos | Imperial governor in Cilicia; called Colman or Calamanus in Latin sources |
| Armenian Cilicia | Thoros II | Armenian prince who opposed the pursuit and escaped the defeat |
| Frankish contingent | Hugh VIII of Lusignan | Noble pilgrim and experienced lord; captured |
| Former County of Edessa | Joscelin III | Titular count of Edessa; captured |
| Zengid state | Nur al-Din Mahmud | Overall Muslim commander |
| Mosul contingent | Zayn al-Din Ali Küçük | Led troops which attacked the exposed Christian infantry |
| Regional allies | Artuqid and Mosuli commanders | Supplied cavalry and other troops to Nur al-Din’s coalition |
Thierry of Alsace, Count of Flanders, is sometimes placed in the Christian army at Harim. William of Tyre, however, describes him arriving after the disaster. He should not be listed as a commander in the battle.
Probable Troop Composition
| Force | Principal troops | Battlefield role |
|---|---|---|
| Antiochene and Tripolitan knights | Armoured cavalry with lances, shields and swords | Shock action and pursuit |
| Mounted sergeants | Less wealthy armoured cavalry | Support for knights, scouting and pursuit |
| Frankish infantry | Spearmen, shield bearers, archers and crossbowmen | Defensive body and support for cavalry |
| Turcopoles | Locally recruited light cavalry | Reconnaissance, skirmishing and mounted archery |
| Byzantine troops | Cavalry, horse archers and infantry | Flexible support under Kalamanos |
| Armenian troops | Cavalry and infantry | Regional contingent commanded by Thoros II |
| Zengid mounted archers | Mobile cavalry using composite bows | Harassment, withdrawal and encirclement |
| Ghulams and heavier cavalry | Armoured professional horsemen | Counterattack and close combat |
| Muslim infantry | Archers, spearmen and supporting foot soldiers | Holding ground, attacking isolated infantry and guarding the camp |
What We Can Say About Numbers
- The Christian coalition probably included several hundred knights and a much larger infantry body.
- Nur al-Din commanded troops from Aleppo together with reinforcements associated with Mosul and allied rulers.
- Ibn al-Athir claimed that 10,000 Christians were killed. This almost certainly belongs to the rhetorical tradition of medieval victory accounts.
- The high number of captured nobles is much better evidence for the completeness of the defeat than any surviving numerical total.
- Muslim losses are not recorded reliably.
The honest answer is that both armies were large by the standards of warfare in northern Syria, but their precise strength is unknown.
Arms and Armour
No securely identified group of weapons from the battlefield allows us to reconstruct the equipment at Harim object by object. The following assessment is based on surviving twelfth-century arms, manuscript images and descriptions of comparable forces in Syria.
Frankish and Other Christian Equipment
| Troop type | Armour | Main weapons |
|---|---|---|
| Knight | Mail hauberk, padded under-armour, nasal or early enclosed helmet, mail chausses in wealthier cases | Lance, double-edged arming sword, mace |
| Mounted sergeant | Mail shirt or padded armour, conical helmet, shield | Lance, spear and sword |
| Infantry spearman | Gambeson or limited mail, shield and helmet | Spear, sword or large knife |
| Crossbowman | Padded coat, helmet and sometimes a shield carried by an assistant | Crossbow, bolts and sidearm |
| Armenian or Byzantine cavalry | Mail, scale or lamellar elements, round or kite-shaped shield | Lance, bow, sword and mace |
| Turcopole | Light armour, helmet and small shield | Composite bow, spear or javelin, sword |
The typical Frankish sword was the one-handed arming sword. Blades broadly comparable with Oakeshott Types X, Xa, XI and XII were in circulation during the period. These were straight, double-edged weapons designed for cutting and thrusting, although individual proportions varied.
Falchions existed in the medieval Mediterranean world, but there is no direct evidence that they were prominent at Harim. Listing them as a standard weapon of the infantry would be more confident than the evidence permits.
Zengid Equipment
| Troop type | Armour | Main weapons |
|---|---|---|
| Mounted archer | Quilted, mail or lamellar protection, conical helmet, small round shield | Composite bow, sword, mace or spear |
| Ghulam cavalryman | Mail or lamellar armour, helmet, shield and sometimes protection for the horse | Lance, bow, sword and mace |
| Light cavalry | Light body protection or no metal armour | Bow, javelin, spear and sword |
| Infantry archer | Padded clothing or light armour | Self bow or composite bow and sidearm |
| Spearman | Shield, helmet and limited body armour | Spear, sword or mace |
| Siege crew | Variable protection | Stone-throwing engines, bows, tools and incendiary materials |
Both straight swords and curved sabres were used in the Islamic Middle East. Curved blades associated with Turkic military traditions were increasingly familiar, but the neat image of every Muslim rider carrying a deeply curved sabre belongs to a later visual shorthand. Straight, double-edged and single-edged swords remained part of the region’s armoury.
At Harim, bows, lances and disciplined movement probably mattered more than sword design. Swords became most useful once formations had broken and the battle had turned into close pursuit, capture and killing.
The Siege of Harim
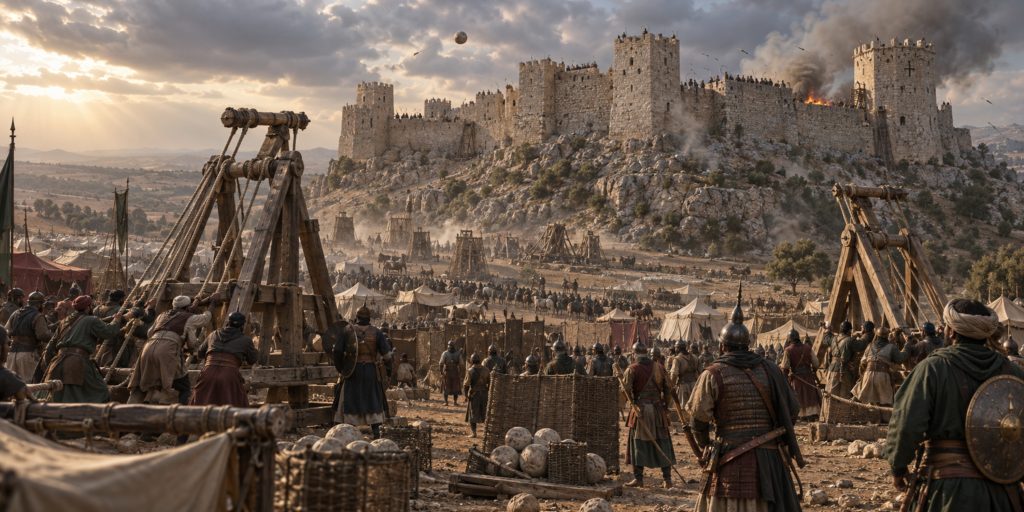
Nur al-Din surrounded Harim and deployed siege engines against it. William of Tyre portrays the attack as vigorous, with the defenders given little opportunity to rest.
News of the siege brought the coalition army towards the fortress in battle order. Faced with this relief force, Nur al-Din lifted the siege and began to withdraw.
At this point, the Christian commanders had achieved their immediate aim. Harim remained in friendly hands, and the besieging army was leaving. Thoros II reportedly advised against pursuit.
His advice was ignored.
The coalition cavalry advanced after Nur al-Din’s force, either because it believed the Muslims were genuinely retreating or because the commanders saw an opportunity to turn relief into a decisive victory. The distinction may not have been obvious in the moment. That is precisely why feigned retreats worked.
How the Battle Unfolded
Ibn al-Athir provides the clearest tactical account, although he wrote decades after the battle and should be read with the usual caution.
According to his version, the Christian cavalry charged the Muslim right wing, which included troops from Aleppo and Hisn Kayfa. That wing withdrew. The Frankish horsemen pursued it and became separated from their supporting infantry.
The Mosul contingent, commanded by Zayn al-Din Ali Küçük, then attacked the exposed foot soldiers. Without the protection of their cavalry, the infantry formation was overwhelmed. When the Christian horsemen abandoned their pursuit and returned, they found their infantry killed, scattered or captured.
The previously retreating Muslim cavalry now turned back. The Christian mounted force was attacked from several directions without a secure infantry formation behind which it could regroup.
William of Tyre tells the story rather differently. He describes a general Muslim withdrawal followed by an undisciplined Christian pursuit into confined, marshy ground. Nur al-Din’s men rallied and counterattacked after their opponents had lost cohesion.
The accounts are not impossible to reconcile. Both describe the same essential failure:
- Nur al-Din withdrew from Harim.
- The Christian army pursued.
- Its formations became separated or disordered.
- Muslim units turned against the isolated infantry.
- The cavalry returned too late to restore the position.
- The Christian force was surrounded and defeated.
Whether every movement formed part of a detailed plan cannot be proved. Feigned flight was a familiar tactic, but medieval chroniclers also had a habit of turning battlefield confusion into wonderfully tidy schemes once the winner was known.
Battle Timeline
| Date or stage | Event |
|---|---|
| Late 1163 or early 1164 | Nur al-Din recovers from an earlier defeat near al-Buqaia and rebuilds his military strength |
| Spring and summer 1164 | King Amalric I campaigns in Egypt, reducing the forces available elsewhere |
| Summer 1164 | Nur al-Din gathers troops and places Christian-held Harim under siege |
| Before 12 August | A coalition from Antioch, Tripoli, Byzantine Cilicia and Armenian Cilicia advances to relieve the fortress |
| Opening phase | Nur al-Din lifts the siege and withdraws |
| Pursuit | Christian cavalry follows, despite warnings against extending the action |
| Main engagement | Muslim troops attack and destroy or capture much of the separated infantry |
| Counterattack | Retreating cavalry turns back as the Christian horsemen attempt to return |
| 12 August 1164 | The coalition army collapses; several senior commanders surrender |
| Following days | Nur al-Din resumes the siege and captures Harim |
| Later in 1164 | Antioch remains vulnerable while Amalric returns from Egypt and helps stabilise the principality |
The Capture of the Christian Commanders
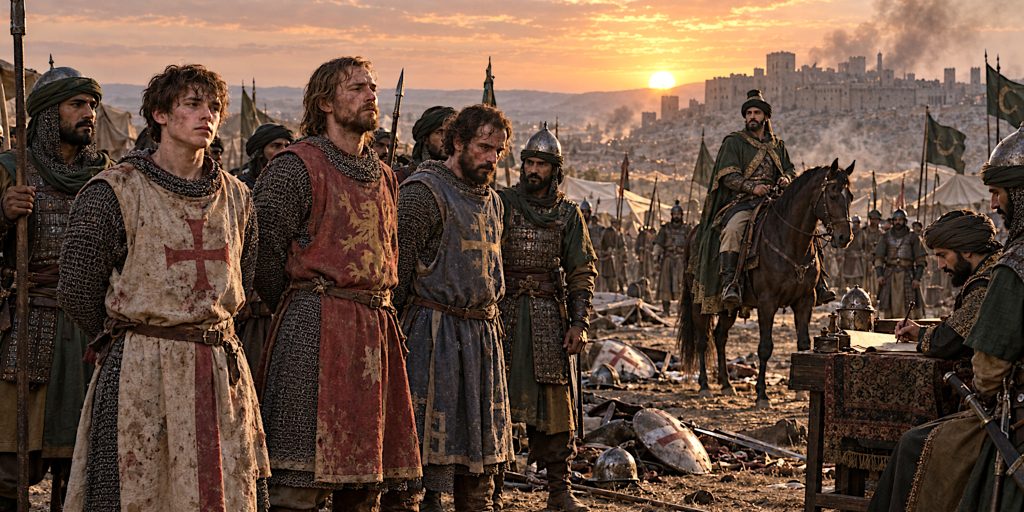
The number and status of the prisoners made Harim particularly damaging. Those captured included:
- Bohemond III, Prince of Antioch
- Raymond III, Count of Tripoli
- Konstantinos Kalamanos, Byzantine governor of Cilicia
- Hugh VIII of Lusignan
- Joscelin III, titular Count of Edessa
- Numerous lesser knights and nobles
Thoros II escaped. William of Tyre states that he had opposed the pursuit from the beginning and withdrew once he saw that the battle was lost.
Bohemond was eventually released for a large ransom, assisted by the Byzantine emperor Manuel I Komnenos. Raymond III remained in captivity for several years. Joscelin III was also held for an extended period.
Capturing a prince could be more valuable than killing him. A noble prisoner offered ransom money, political leverage and bargaining power. Chivalry had its ideals, certainly, but it also possessed an attentive accountant.
Contemporary Accounts and Quotations
The principal narratives come from writers with different loyalties and access to information. William of Tyre wrote from the Latin Christian world. Ibn al-Athir wrote later within the Islamic historical tradition and drew upon earlier materials.
William condemned the disorderly Christian pursuit, writing that the troops acted:
“Regardless of the rules of military discipline.”
He described the Christians breaking formation after becoming trapped in confined and marshy ground. His language is openly moralising, but his criticism of the pursuit is clear.
Ibn al-Athir attributed the withdrawal of the Muslim right wing to a planned manoeuvre intended to detach the Frankish cavalry from its infantry:
“It came about as they had planned.”
His account describes the Mosul troops falling upon the abandoned foot soldiers before the Muslim cavalry returned to surround the Christian horsemen.
These are not neutral battlefield reports. William wished to explain a humiliating Christian defeat, while Ibn al-Athir presented a celebrated Muslim victory with the benefit of hindsight. Read together, however, they strongly support the conclusion that broken cohesion decided the battle.
The quotations previously attributed online to these chroniclers about the Franks being broken “as a pot” and “the flower of our nobility” should not be used without a traceable edition. They do not appear to be reliable verbatim translations of the relevant passages.
Casualties
Ibn al-Athir gives a figure of 10,000 Christian dead. Such a total is possible only if the coalition army was exceptionally large, and most modern historians treat it cautiously.
What can be stated with greater confidence is that:
- The Christian infantry suffered very heavily.
- Many cavalrymen were killed or captured when they returned from the pursuit.
- Several of the coalition’s senior commanders became prisoners.
- The surviving Armenian contingent escaped with Thoros II.
- Nur al-Din retained enough strength to renew the siege immediately.
The tactical and political evidence points to a crushing defeat even if the chroniclers’ casualty figures are discarded.
Archaeology and the Battlefield
Harim remains an important fortified site, but there has been no comprehensive modern archaeological investigation capable of identifying the precise battlefield or separating material from the events of 1164.
The surviving fortress occupies elevated ground above the modern town of Harem in Syria’s Idlib Governorate. Its visible remains reflect several periods of construction, destruction and rebuilding. Byzantine, Frankish, Zengid, Ayyubid and later occupation all affected the site.
This creates serious problems for battlefield archaeology:
- Harim endured repeated sieges across several centuries.
- Weapons and fittings cannot automatically be associated with the battle of 1164.
- The exact location of the main engagement remains uncertain.
- Agricultural activity and modern construction have altered the surrounding landscape.
- Recent warfare in north-western Syria has restricted systematic survey and threatened surviving remains.
- No recognised mass grave or securely dated concentration of weapons has confirmed the location of the fighting.
William of Tyre’s reference to confined and marshy ground may preserve a genuine topographical detail. The wider plain includes watercourses and low-lying ground, but matching the text to a precise location would require field survey, environmental reconstruction and securely dated finds.
For now, the written evidence tells us far more about the battle than the archaeology. That may change, but optimism is not a substitute for an excavation report.
Why the Christian Coalition Lost
The defeat cannot be explained simply as heavy western cavalry proving inferior to mobile Muslim horsemen. Frankish armies had defeated similar forces on other occasions and understood the danger of mounted archery and feigned retreat.
Several factors appear to have combined at Harim:
Loss of Formation
The coalition’s cavalry moved away from its infantry. Once the two arms were separated, neither could properly support the other.
An Unnecessary Pursuit
The relief of Harim had already succeeded. Continuing the pursuit introduced risk without a clear strategic need.
Effective Zengid Command
Nur al-Din’s forces recovered from their withdrawal and coordinated attacks against different parts of the coalition army.
Vulnerable Infantry
Once isolated, the foot soldiers lacked the mobility to escape and the cavalry protection needed to withstand attack from several directions.
Coalition Command
The army contained Antiochene, Tripolitan, Byzantine, Armenian and other contingents. Differing command structures may have made it harder to halt the pursuit or coordinate a withdrawal.
Terrain
According to William of Tyre, the Christians entered restricted and marshy ground. Such terrain would have hampered cavalry movement and made the restoration of an orderly formation extremely difficult.
The defeat was therefore not proof of an absolute tactical superiority. It was an example of one army preserving or recovering its cohesion while the other lost it.
Aftermath
After the victory, Nur al-Din returned to Harim and captured the fortress within days. Antioch was left without its prince and deprived of many of its leading fighting men.
Nur al-Din did not immediately attempt to seize Antioch itself. Later explanations suggest that he feared intervention by Emperor Manuel I and preferred a weakened Bohemond to direct Byzantine control of the principality. This was sensible politics. Conquering a vulnerable neighbour was tempting, but inviting the Byzantine emperor to become one’s new neighbour was another matter.
King Amalric returned from Egypt and travelled north to help organise Antioch’s defence. Byzantine support also contributed to Bohemond’s eventual release.
The defeat affected the wider balance of power:
- Antioch lost men, commanders and an important frontier fortress.
- Raymond III’s long captivity weakened Tripoli.
- Nur al-Din’s prestige recovered after his earlier reverse at al-Buqaia.
- Muslim control around Aleppo became more secure.
- The battle demonstrated that the northern Christian states could not always rely upon Jerusalem, particularly while the kingdom pursued campaigns in Egypt.
- Nur al-Din gained greater freedom to apply pressure elsewhere in Syria.
Was Harim a Turning Point?
Harim was one of the most serious Christian defeats between the Second Crusade and the Battle of Hattin, but calling it a permanent turning point requires care.
The victory did not destroy the Principality of Antioch. Bohemond returned, the principality survived, and Byzantine power still discouraged Nur al-Din from attempting outright annexation. The political map did not change overnight.
Its importance lies elsewhere. Harim removed much of the senior leadership of the northern Frankish states in a single afternoon and exposed the fragility of their military resources. The loss also showed how events in Egypt and Syria were becoming connected. Amalric’s southern campaigns created opportunities for Nur al-Din in the north, while Nur al-Din’s attacks limited how freely Jerusalem could operate in Egypt.
Within a few years, Shirkuh and Saladin would establish themselves in Cairo. Harim did not make Saladin’s later rise inevitable, but it belonged to the wider process through which the Zengid political and military system tightened its hold on Syria and extended its influence towards Egypt.
Historical Assessment
The Battle of Harim deserves to be remembered as more than another cautionary story about impetuous knights.
Nur al-Din successfully assembled a regional coalition, threatened a strategically important fortress and responded to the arrival of a relief army without allowing his force to disintegrate. His commanders exploited the separation between Christian cavalry and infantry with considerable skill.
The Christian leadership made the decisive mistake. Having relieved Harim, it pursued an opponent whose army remained capable of organised resistance. Thoros II apparently recognised the danger, but good advice has a rather poor survival rate when a retreating enemy is visible.
Harim was a victory of battlefield control over momentum. The Christian charge was powerful enough to drive part of Nur al-Din’s army away, yet power without cohesion proved ruinous. Once the infantry disappeared beneath the Zengid counterattack, the returning cavalry had nowhere secure to rally.
The fortress fell, the commanders went to prison and northern Syria moved further into Nur al-Din’s sphere. The political consequences lasted far longer than the fighting.
Frequently Asked Questions
Who won the Battle of Harim?
Nur al-Din and his Zengid-led coalition won a decisive victory over the combined forces of Antioch, Tripoli, Byzantine Cilicia and Armenian Cilicia.
When was the Battle of Harim fought?
The generally accepted date is 12 August 1164. William of Tyre’s surviving text contains an erroneous reference to 1165, probably caused by a copying or chronological mistake.
Who was captured at Harim?
The prisoners included Bohemond III of Antioch, Raymond III of Tripoli, Konstantinos Kalamanos, Hugh VIII of Lusignan and Joscelin III of Edessa.
Was Saladin at the Battle of Harim?
There is no firm evidence that Saladin personally fought at Harim. He was still associated with the campaigns of his uncle Shirkuh and was involved in the developing struggle for Egypt.
Did Nur al-Din use a feigned retreat?
Ibn al-Athir describes the withdrawal of the Muslim right wing as a planned manoeuvre intended to separate the Christian cavalry from its infantry. William of Tyre also records a retreat and disastrous pursuit, although he presents the Muslim recovery less explicitly as a pre-arranged trap.
How many soldiers died?
Ibn al-Athir claimed 10,000 Christian deaths, but this figure cannot be independently verified. The casualties were clearly severe, particularly among the infantry, but an exact total is impossible to establish.
Does Harim Castle still survive?
Ruined fortifications remain at Harem in north-western Syria. The site has undergone many periods of rebuilding and has not produced a securely identified archaeological assemblage from the battle of 1164.
Sources and Further Reading
- William of Tyre, A History of Deeds Done Beyond the Sea, translated by Emily Atwater Babcock and A. C. Krey
- Ibn al-Athir, The Chronicle of Ibn al-Athir for the Crusading Period, translated by D. S. Richards
- Malcolm C. Lyons and D. E. P. Jackson, Saladin: The Politics of the Holy War
- Christopher Tyerman, God’s War: A New History of the Crusades
- John France, Western Warfare in the Age of the Crusades, 1000–1300
- Steve Tibble, The Crusader Armies, 1099–1187
- Carole Hillenbrand, The Crusades: Islamic Perspectives