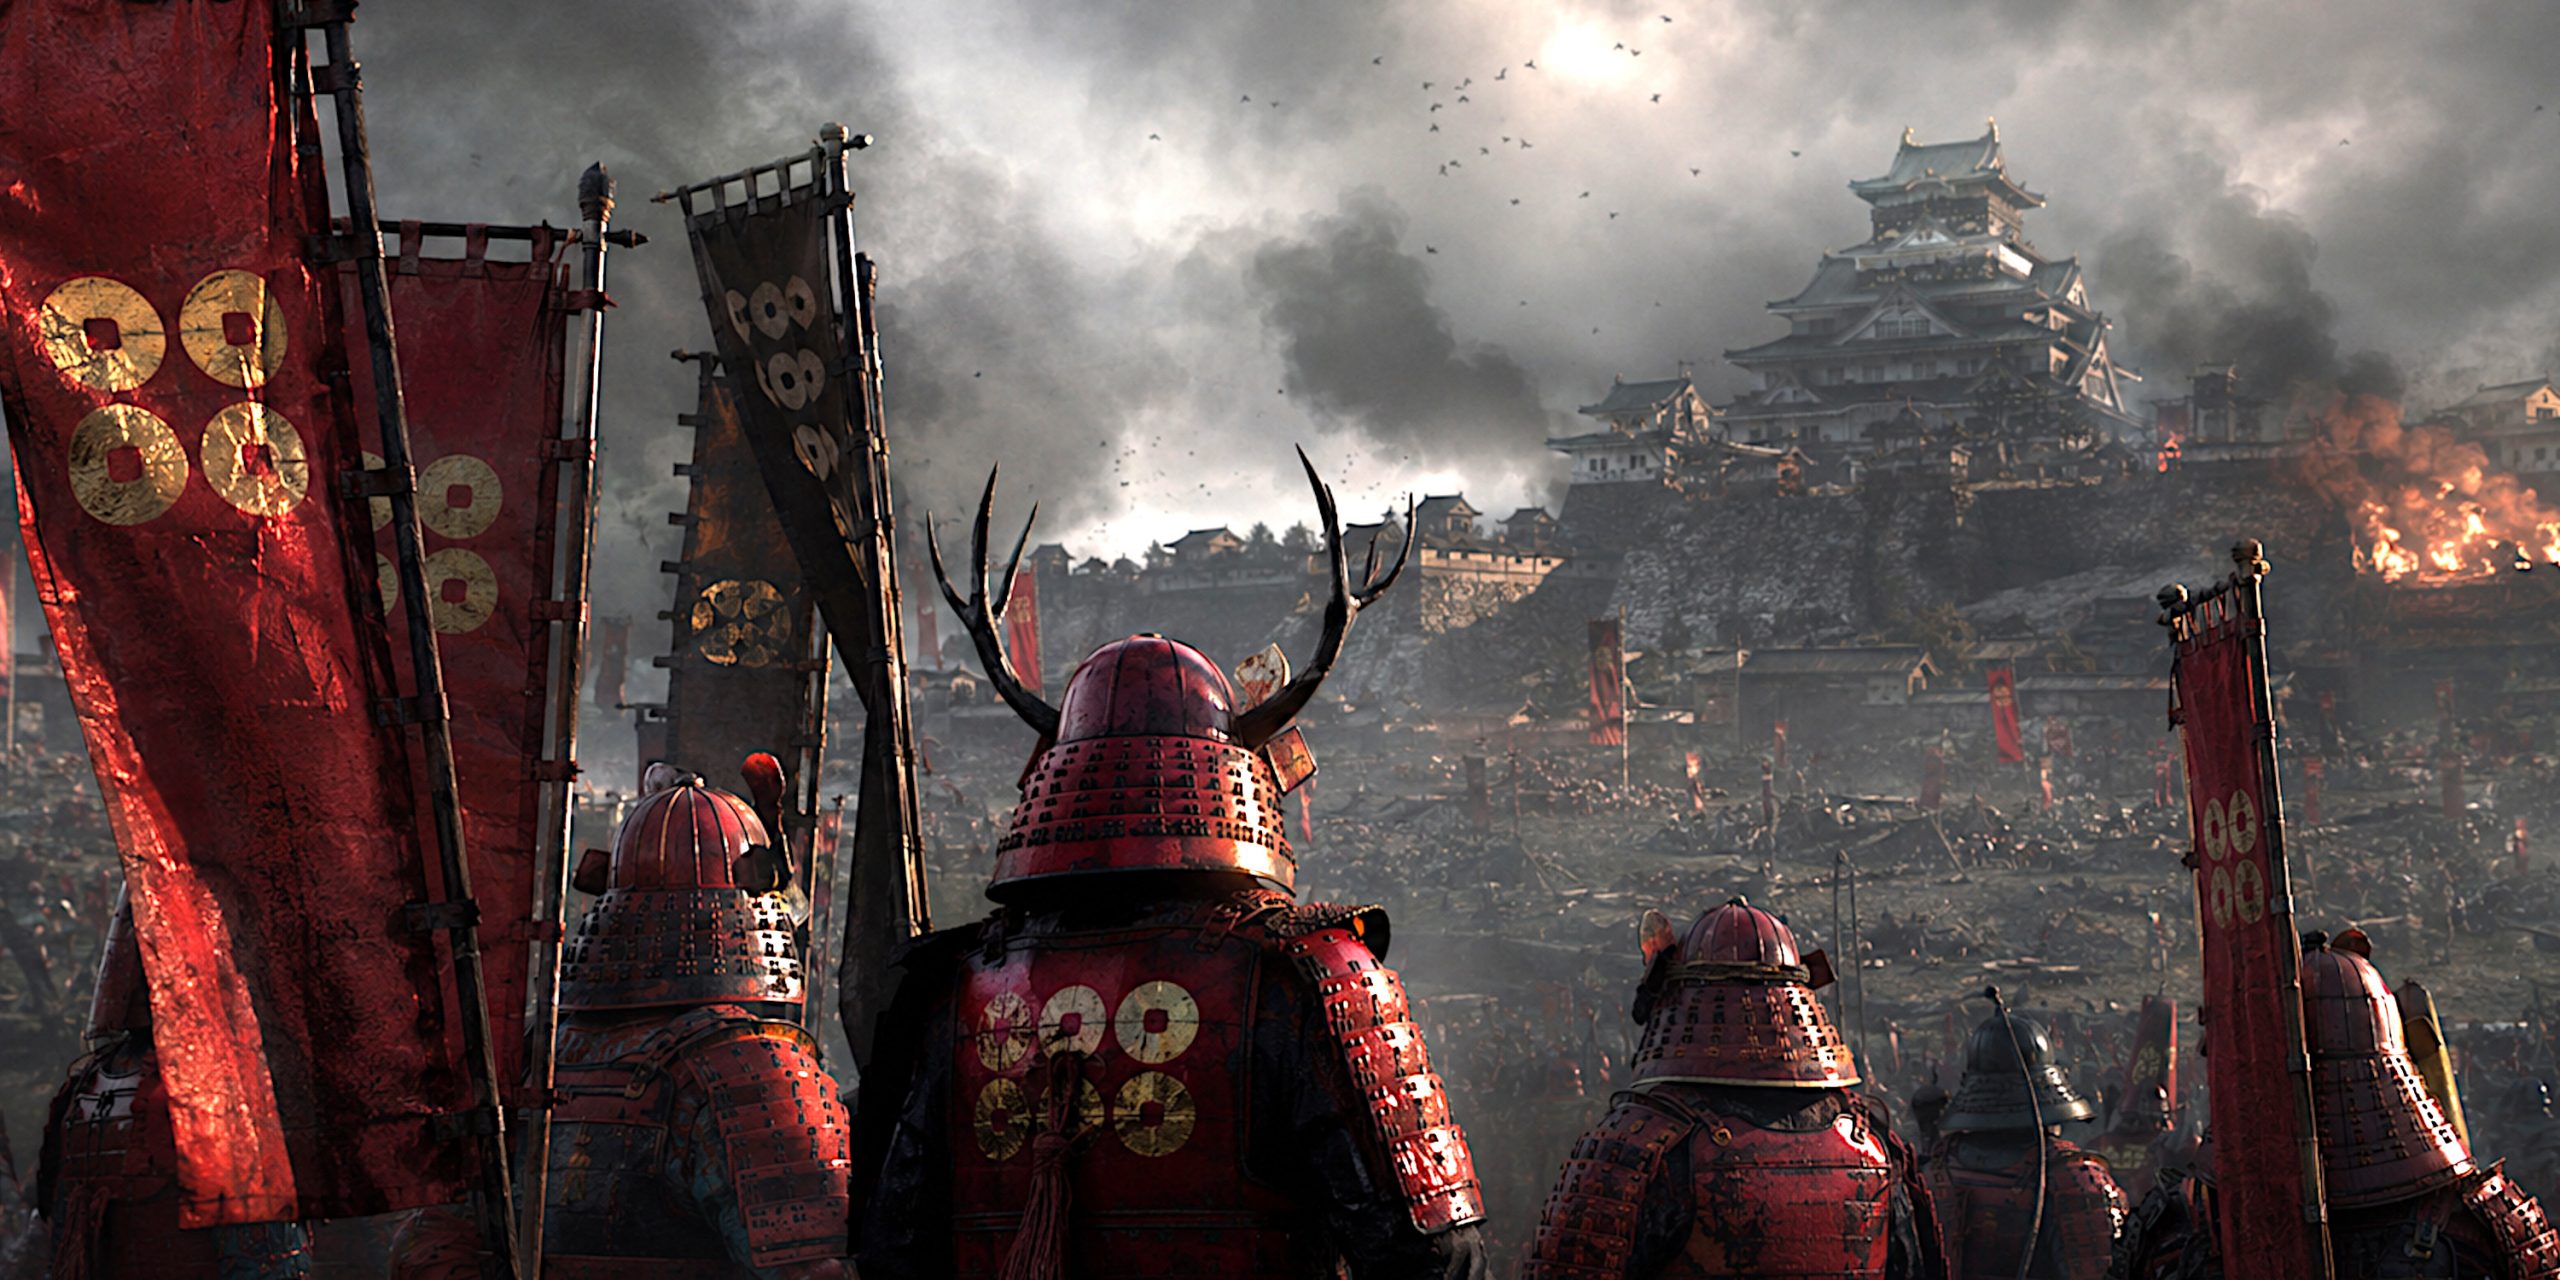
The Siege of Osaka, fought across the winter of 1614 and the summer of 1615, was the violent final act of Japan’s long age of civil war. Tokugawa Ieyasu had already won the great political contest at Sekigahara in 1600, established the Tokugawa shogunate and transferred the title of shogun to his son Hidetada. Yet one formidable problem remained.
The Toyotomi family was still alive.
Toyotomi Hideyori, son of the great unifier Toyotomi Hideyoshi, occupied Osaka Castle, surrounded by wealth, prestige and thousands of warriors who had good reasons to dislike the emerging Tokugawa order. Many were rōnin, masterless samurai produced by the political upheavals that followed Sekigahara.
For Ieyasu, this was an intolerable concentration of potential opposition. For the Toyotomi loyalists, Osaka was perhaps the last place in Japan where the political settlement imposed by the Tokugawa could still be challenged.
What followed was not a single siege but two campaigns. The first demonstrated just how difficult Osaka Castle was to capture. The second demonstrated what happened once its defences had been dismantled.
I find Osaka fascinating because it sits awkwardly between historical periods. This was still recognisably samurai warfare, with armoured retainers, spear formations and spectacular personal acts of courage. Yet it was also a battlefield dominated by mass infantry, matchlock firearms, artillery, sophisticated fortifications and enormous armies.
The popular image of the samurai duel was already rather less important than several thousand men with guns and a sensible field fortification.
Siege of Osaka at a Glance
| Detail | Information |
|---|---|
| Conflict | Siege of Osaka / Osaka Campaigns |
| Japanese name | Ōsaka no Jin |
| Date | 1614–1615 |
| Location | Osaka and surrounding areas, Japan |
| Belligerents | Tokugawa shogunate vs Toyotomi loyalists |
| Principal Tokugawa commanders | Tokugawa Ieyasu, Tokugawa Hidetada |
| Toyotomi leader | Toyotomi Hideyori |
| Leading Toyotomi commanders | Sanada Nobushige, Gotō Mototsugu, Kimura Shigenari, Chōsokabe Morichika, Mōri Katsunaga |
| Winter Campaign | November 1614 to January 1615 |
| Summer Campaign | April to June 1615 |
| Result | Decisive Tokugawa victory |
| Strategic consequence | Destruction of the Toyotomi as a rival political power |
| Famous action | Defence of the Sanada-maru and Battle of Tennōji |
| Weapons | Yari, tanegashima, bows, artillery, katana, wakizashi and tachi |
Why Did the Siege of Osaka Happen?
Toyotomi Hideyoshi died in 1598, leaving his young son Hideyori as heir to an enormous political inheritance.
Hideyoshi had unified Japan after generations of warfare, but the system he created depended heavily upon his own authority. Once he was gone, competition among the great lords quickly resurfaced.
Tokugawa Ieyasu emerged victorious at the Battle of Sekigahara in 1600. In 1603 he received the title of shogun, establishing the Tokugawa shogunate.
Yet Hideyori survived.
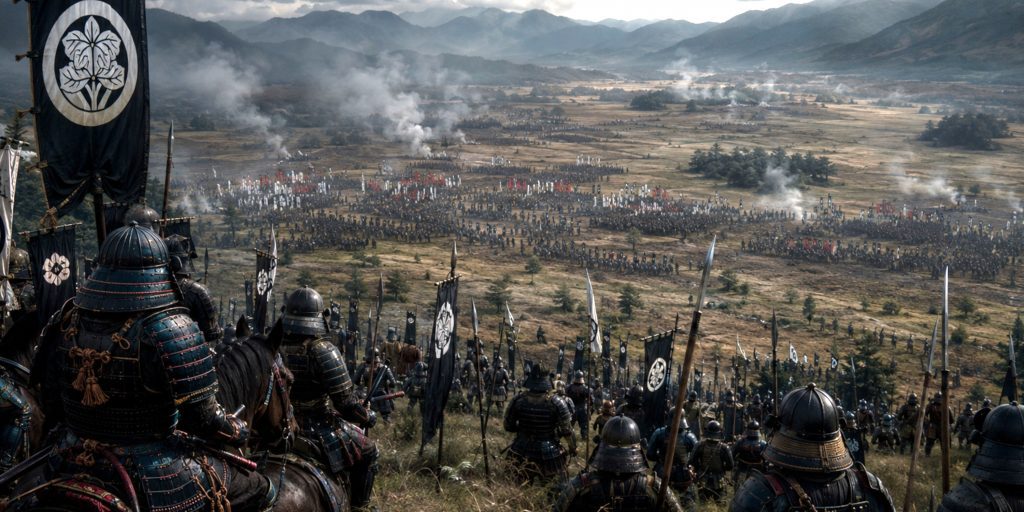
He remained at Osaka Castle with considerable wealth and symbolic importance. Former Toyotomi retainers, dispossessed samurai and men dissatisfied with Tokugawa rule could all look towards Osaka.
This did not necessarily mean Hideyori was preparing to overthrow the shogunate. That distinction matters. Tokugawa propaganda had every reason to portray Osaka as an active threat.
The deeper problem was that Hideyori could become one.
In the politics of early seventeenth-century Japan, potential could be quite enough.
The Hōkō-ji Bell Incident
The immediate diplomatic crisis concerned a great bell commissioned as part of the reconstruction of Hōkō-ji temple in Kyoto.
Its inscription contained characters which Tokugawa advisers interpreted as dividing Ieyasu’s name and therefore cursing him, while simultaneously praising the Toyotomi.
Whether this was genuinely intended as an insult is doubtful.
It was, however, extremely useful.
Ieyasu demanded explanations and placed increasing pressure on the Toyotomi household. Negotiations deteriorated, while warriors began gathering at Osaka.
By late 1614, diplomacy had effectively failed.
Or, depending on how cynical one wishes to be, succeeded perfectly.
Forces
Exact numbers for early modern Japanese armies should always be treated cautiously. Chronicles frequently exaggerated troop strengths, and large feudal armies included attendants and logistical personnel as well as front-line combatants.
Nevertheless, Osaka involved mobilisation on an extraordinary scale.
| Force | Winter Campaign | Summer Campaign | Character |
| Tokugawa coalition | roughly 150,000–200,000 | perhaps 150,000 or more | Armies supplied by Tokugawa-aligned daimyō |
| Toyotomi forces | roughly 90,000–100,000 | perhaps 50,000–60,000 effective troops | Toyotomi retainers, rōnin and allied warriors |
The numbers vary considerably between sources, so neat-looking totals should not be mistaken for census data.
Tokugawa forces included
- Samurai retainers from numerous domains
- Ashigaru infantry
- Massed arquebusiers
- Yari-armed infantry
- Archers
- Cavalry contingents
- Artillery crews
- Engineers
- Labourers and logistical personnel
Toyotomi forces included
- Former Toyotomi retainers
- Experienced rōnin
- Samurai displaced after Sekigahara
- Arquebusiers
- Yari infantry
- Archers
- Local retainers and castle troops
- Independent contingents commanded by veteran warlords
The Toyotomi army contained a considerable amount of military experience. What it lacked was the political and logistical network available to Ieyasu.
Leaders and Troop Composition
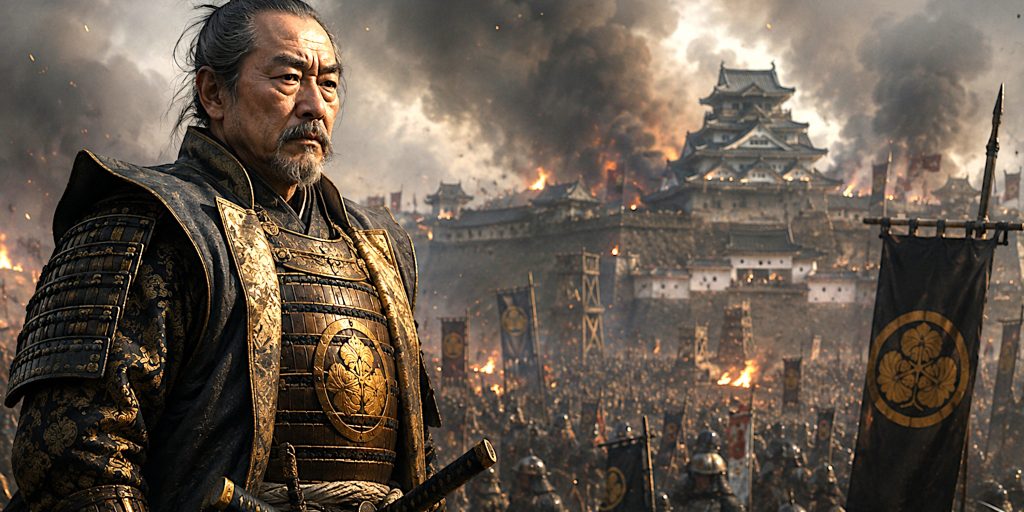
Tokugawa Command
| Commander | Position | Role |
| Tokugawa Ieyasu | Retired shogun | Strategic architect of the campaign |
| Tokugawa Hidetada | Shogun | Principal Tokugawa dynastic commander |
| Ii Naotaka | Tokugawa general | Led important formations in the Osaka campaigns |
| Date Masamune | Daimyō of Sendai | Commanded a substantial allied contingent |
| Maeda Toshitsune | Daimyō of Kaga | Supplied one of the larger coalition forces |
| Matsudaira Tadanao | Tokugawa-aligned daimyō | Prominent during the final fighting |
Ieyasu’s great advantage was institutional. He could call upon the military resources of an increasingly stable coalition of daimyō.
That mattered more than heroic swordsmanship.
Toyotomi Command

| Commander | Role | Reputation |
| Toyotomi Hideyori | Political head of the Toyotomi | Symbolic centre of resistance |
| Sanada Nobushige | Senior field commander | Architect of the Sanada-maru defence |
| Gotō Mototsugu | Field commander | Veteran warrior killed at Dōmyōji |
| Kimura Shigenari | Commander | Young Toyotomi loyalist killed during the Summer Campaign |
| Chōsokabe Morichika | Commander | Former daimyō fighting for the Toyotomi |
| Mōri Katsunaga | Field commander | Important participant at Tennōji |
Sanada Nobushige is much better known today by the name Sanada Yukimura, although Nobushige is the name supported by contemporary documentation.
His later reputation has grown to almost mythological proportions, but there was a very capable soldier beneath the legend.
Osaka Castle: One of Japan’s Great Fortresses
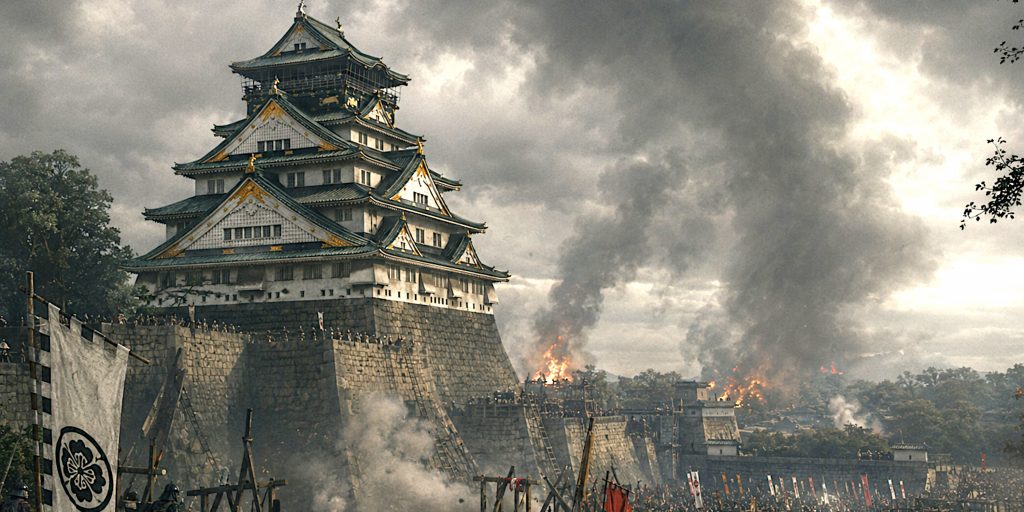
Toyotomi Hideyoshi began constructing Osaka Castle in 1583.
It became the architectural centrepiece of Toyotomi power, combining massive stone walls with multiple baileys, gates, towers, moats and extensive outer defences.
The wider castle complex extended far beyond the modern reconstructed keep.
Its principal defensive advantages included:
- Huge stone-faced ramparts
- Wet and dry moats
- Multiple defensive compounds
- Elevated firing positions
- Strong gate complexes
- Large internal spaces capable of accommodating thousands of defenders
- Extensive outer fortifications
The scale of the Toyotomi complex is supported by archaeological research. The original castle was subsequently buried beneath the Tokugawa reconstruction, leaving substantial Toyotomi-period structures below the modern site.
The Winter Campaign of 1614
Tokugawa armies converged on Osaka during late 1614.
Ieyasu possessed overwhelming numbers, but numbers alone could not conveniently walk through stone walls.
The Toyotomi therefore adopted a predominantly defensive strategy.
One weakness attracted particular attention: ground south of the castle.
Sanada Nobushige constructed an advanced fortification there which became known as the Sanada-maru.
The Sanada-maru
The Sanada-maru was an earthwork defensive position projecting beyond the main southern defences.
It allowed Nobushige’s troops to contest the approaches to Osaka rather than simply waiting behind the principal walls.
The position incorporated:
- Earthworks
- Ditches
- Palisades
- Firing positions for matchlock troops
- Carefully controlled approaches
- Interlocking fields of fire
When Tokugawa troops attacked in December 1614, the defenders subjected them to concentrated arquebus fire.
The assault failed with substantial losses.
This episode did much to create Sanada’s later reputation.
It also demonstrated an important point about Japanese warfare by 1614. Defensive engineering and firearms could stop even extremely aggressive samurai formations.
Courage remained useful. Earthworks were rather less romantic and considerably harder to stab.
Artillery and the Bombardment of Osaka
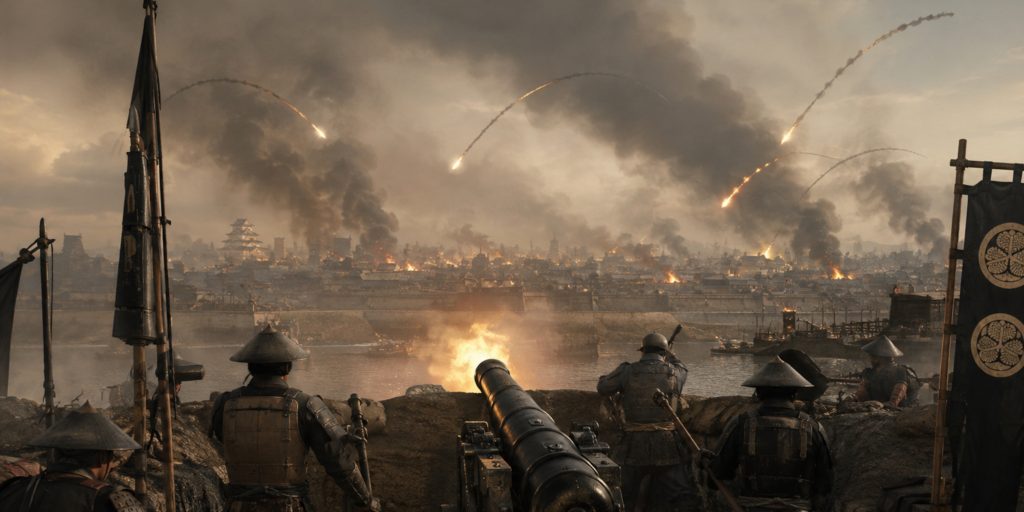
Unable to storm the fortress easily, Ieyasu increased the bombardment.
The Tokugawa deployed cannon against Osaka Castle, including European-style artillery obtained through Japan’s expanding contacts with foreign merchants.
Artillery in Japan had not yet acquired the systematic fortress-destroying capability seen in some contemporary European wars. Osaka’s massive defensive works remained formidable.
Its psychological effect was another matter.
Shots reached the inner castle area, increasing pressure on the Toyotomi leadership and particularly on Yodo-dono, Hideyori’s influential mother.
Ieyasu combined bombardment with negotiation.
That combination proved more successful than simply throwing troops at the walls.
The Winter Truce
Peace negotiations produced an agreement at the end of the Winter Campaign.
The Toyotomi were permitted to remain at Osaka.
In return, defensive works were dismantled or neutralised.
The outer moat was filled.
Then Tokugawa troops went considerably further in dismantling Osaka’s defensive system.
Whatever the precise interpretation of the peace terms, the military consequence was obvious.
The fortress that had frustrated Ieyasu in 1614 was no longer the same fortress.
This was arguably the decisive moment of the entire conflict.
The Toyotomi survived the Winter Campaign but surrendered much of what had allowed them to survive it.
Why Fighting Began Again
Relations deteriorated almost immediately.
The Toyotomi attempted to restore defensive preparations and retained large numbers of warriors.
From the Tokugawa perspective, this demonstrated continued rebellion.
From the Toyotomi perspective, disarming while surrounded by hostile armies was understandably unattractive.
By spring 1615, war resumed.
This time the Toyotomi could not rely upon Osaka Castle’s original defensive system.
They had to fight outside it.
That was exactly where Ieyasu wanted them.
The Summer Campaign of 1615
The Summer Campaign consisted of a series of field battles around Osaka.
Toyotomi commanders attempted to defeat Tokugawa formations separately before the entire coalition could concentrate.
It was a reasonable solution to an appalling strategic problem.
Several fierce engagements followed.
Battle of Dōmyōji
Gotō Mototsugu advanced with Toyotomi troops towards Dōmyōji.
Coordination between the Toyotomi columns broke down, allowing Tokugawa forces to engage Gotō before expected reinforcements arrived.
Gotō was wounded and killed.
The loss deprived the Toyotomi of one of their most experienced commanders.
Sanada Nobushige subsequently arrived and fought delaying actions before withdrawing.
The Toyotomi were running out of both territory and commanders.
Battle of Yao and Wakae
Elsewhere, Chōsokabe Morichika and Kimura Shigenari encountered Tokugawa formations around Yao and Wakae.
Kimura was killed.
Chōsokabe’s troops fought effectively but were ultimately forced from the field.
By the end of these preliminary battles, the Toyotomi position was becoming desperate.
The final confrontation came near Tennōji.
Battle of Tennōji
On 3 June 1615, according to the Gregorian calendar commonly used in modern histories, the remaining Toyotomi forces confronted Ieyasu’s army south of Osaka.
The Toyotomi plan required coordinated attacks against the Tokugawa formations.
Mōri Katsunaga’s troops attacked aggressively and initially drove back parts of the opposing army.
Then Sanada Nobushige committed his forces.
His men penetrated deeply into the Tokugawa position and threatened Ieyasu’s headquarters.
Accounts of exactly how close Sanada came to killing Ieyasu became embellished in later tradition, but the attack clearly created serious disorder.
For a brief period the supposedly inevitable Tokugawa victory looked considerably less inevitable.
But the Toyotomi lacked sufficient reserves to exploit the breakthrough.
Tokugawa numbers recovered.
Sanada’s exhausted force was overwhelmed.
Nobushige was killed.
The Death of Sanada Nobushige
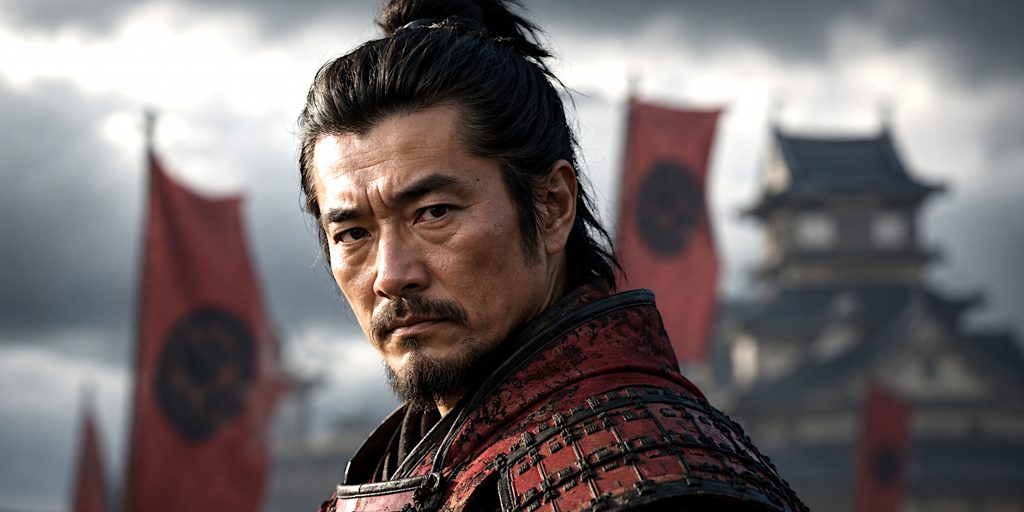
Later tradition transformed Sanada into the perfect doomed samurai hero.
He supposedly fought until exhaustion, sat beneath a tree and invited an enemy warrior to take his head.
Separating contemporary evidence from Edo-period romanticisation is difficult.
What can safely be said is that Sanada died during the final fighting after participating in an extraordinarily aggressive attack against the Tokugawa position.
His death immediately became part of the mythology surrounding Osaka.
He lost the battle and won the better afterlife in popular culture.
History does occasionally hand out peculiar consolation prizes.
Fall of Osaka Castle

After the Toyotomi army collapsed at Tennōji, Tokugawa troops entered Osaka.
The castle burned.
Toyotomi Hideyori and Yodo-dono withdrew into the remaining complex and died as resistance collapsed, traditionally understood to have been by suicide.
Hideyori was only twenty-one.
His young son Toyotomi Kunimatsu was subsequently captured and executed.
The direct male Toyotomi line that could plausibly challenge Tokugawa authority had been extinguished.
The political purpose of the campaign was complete.
Arms and Armour
The Siege of Osaka belongs to a period in which Japanese warfare combined traditional weapons with increasingly sophisticated firearms and field fortifications.
Yari
The yari, or spear, was one of the most important battlefield weapons.
It could be used individually by samurai or collectively by ashigaru formations.
Long yari provided reach and worked particularly well in organised infantry combat.
For most ordinary battlefield encounters, the spear was considerably more important than the sword.
Tanegashima Matchlock
Matchlock firearms had been used in Japan since the sixteenth century and were fully integrated into Japanese warfare by Osaka.
Arquebusiers could fire from:
- Earthworks
- Castle walls
- Barricades
- Prepared firing positions
- Infantry formations
The fighting around the Sanada-maru particularly demonstrated their defensive effectiveness.
Japanese Bows
The yumi remained in military service despite the proliferation of firearms.
Experienced archers could maintain a useful rate of fire and did not depend upon gunpowder supplies.
Bows and guns therefore coexisted rather than one instantly replacing the other.
Artillery
The Tokugawa employed cannon during the Winter Campaign.
Artillery was used for both physical and psychological pressure against the fortress.
Its presence is another reason the popular image of Osaka as simply the last great sword fight of the samurai age needs qualification.
What Swords Were Used at Osaka?
Swords remained essential personal weapons and potent indicators of status, although they were rarely the primary battlefield weapon.
Katana
The katana was increasingly established as the characteristic sidearm of the samurai.
It was suited to cutting and thrusting at relatively close range and could become important once formations broke apart.
Wakizashi
The shorter wakizashi served as a secondary weapon.
Its compact dimensions made it particularly useful in confined environments such as buildings, gates and castle interiors.
Tachi
Older tachi remained in circulation, particularly as prestigious heirloom weapons.
By the early seventeenth century, however, the katana worn edge-up through the belt was increasingly characteristic of samurai sword culture.
Tantō
The tantō dagger remained another possible close-range weapon and personal sidearm.
The important qualification is that samurai at Osaka were not generally charging enormous armies with katana as their principal weapon.
A well-equipped warrior might carry swords while actually fighting primarily with a yari, bow or firearm.
The sword mattered enormously to samurai identity. On a battlefield containing thousands of matchlocks, however, identity and practicality were not always the same thing.
Armour at Osaka
The campaigns took place during the mature development of tōsei gusoku, the so-called modern armour that had evolved during the warfare of the sixteenth century.
Typical components could include:
| Armour component | Purpose |
| Kabuto | Helmet |
| Menpō / face protection | Protection for face and jaw |
| Dō | Cuirass protecting torso |
| Kote | Armoured sleeves |
| Haidate | Thigh protection |
| Suneate | Shin guards |
| Sode | Shoulder protection |
Plate construction increasingly reflected the threat posed by firearms.
Some cuirasses were deliberately tested against gunfire, leaving visible proof marks.
Contrary to romantic depictions, ō-yoroi was not the normal battlefield armour of Osaka. It belonged principally to an earlier era of mounted aristocratic warfare.
The armies of 1614 and 1615 looked distinctly early modern.
The Famous Red Armour of the Sanada
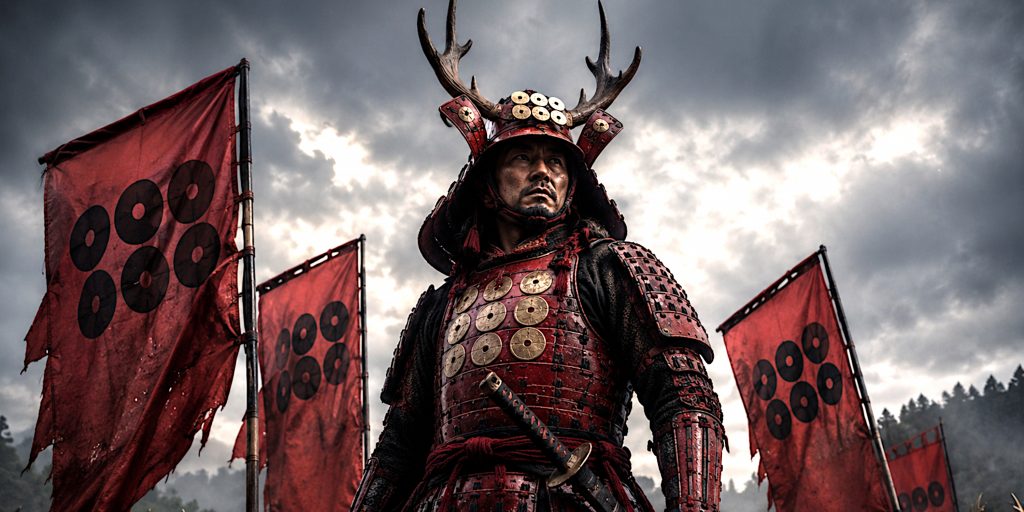
Sanada forces became associated with red armour and banners.
The Sanada rokumonsen, or six-coin crest, became particularly famous.
The six coins have traditionally been associated with payment for crossing the Sanzu River into the afterlife, giving the emblem an appropriately fatalistic reputation.
Later depictions have heavily romanticised Sanada’s appearance, so individual armour sets attributed to him should be approached carefully.
The visual identity of his troops nevertheless became inseparable from the memory of Osaka.
Battle Timeline
| Date | Event |
| 1598 | Toyotomi Hideyoshi dies |
| 1600 | Tokugawa Ieyasu’s coalition wins at Sekigahara |
| 1603 | Ieyasu becomes shogun |
| 1614 | Hōkō-ji bell dispute intensifies Tokugawa-Toyotomi tensions |
| November 1614 | Tokugawa armies converge on Osaka |
| December 1614 | Major fighting around Osaka Castle |
| December 1614 | Tokugawa attack on the Sanada-maru fails |
| December 1614 | Artillery bombardment increases |
| January 1615 | Winter Campaign ends in negotiated settlement |
| Early 1615 | Osaka’s defensive works are dismantled and moats filled |
| Spring 1615 | Relations collapse and both sides prepare for renewed war |
| May 1615 | Fighting at Kashii |
| 2 June 1615 | Battles around Dōmyōji, Yao and Wakae |
| 3 June 1615 | Battle of Tennōji and death of Sanada Nobushige |
| 4 June 1615 | Osaka Castle falls and Hideyori dies |
| After the siege | Toyotomi Kunimatsu captured and executed |
Dates vary between sources because contemporary Japanese calendars do not correspond directly with modern Gregorian dating.
Archaeology of the Siege of Osaka
Osaka presents historians with an unusual archaeological problem.
The Toyotomi castle was not simply repaired after 1615.
The Tokugawa rebuilt the site on a huge scale, effectively burying important elements of Hideyoshi’s castle beneath their own fortress.
Consequently, much of what visitors see today belongs to later phases of Osaka’s history.
Archaeological excavations have revealed buried Toyotomi-period stone walls, confirming that substantial parts of the earlier castle survive beneath the Tokugawa complex.
A particularly important discovery was made in 1984, when buried Toyotomi stonework was identified below the present castle grounds. Subsequent investigations have examined the structure and extent of these remains.
Excavations associated with the project to display the Toyotomi walls resumed in the 2010s.
The surviving archaeology helps establish something that written descriptions can make difficult to appreciate: Hideyoshi’s Osaka was enormous.
Its central compounds were surrounded by a wider fortified and urban landscape extending roughly two kilometres across.
The Toyotomi stone walls are particularly revealing because they were deliberately covered when the Tokugawa reconstructed Osaka. The new regime quite literally built its castle over that of its defeated predecessor.
Subtle symbolism was apparently not a priority.
In 2025, the Osaka Castle Toyotomi Ishigaki Museum opened to provide public access to original Toyotomi-period stonework buried beneath the later castle.
For anyone interested in the siege, this is arguably one of the most important recent developments at the site.
Contemporary Evidence and Quotes
The Osaka campaigns survive through Japanese chronicles, correspondence, visual material and accounts connected with foreign observers in Japan.
One problem is that many famous quotations associated with Osaka are later inventions or cannot be traced securely to contemporary documentation.
They should not be repeated simply because they sound suitably heroic.
A particularly valuable surviving object is the Osaka Winter Campaign folding screen, which depicts the enormous military landscape around the castle. Although such screens have their own artistic conventions, they provide remarkable evidence for how contemporaries and near-contemporaries visualised the campaign.
The Jesuit annual reports and correspondence of Europeans living in Japan also provide an outside perspective on the political crisis and warfare surrounding Osaka.
Sanada Nobushige’s reputation likewise appears in early accounts of the campaign, but many of the dramatic speeches now attributed to him belong to later storytelling traditions.
The distinction matters. The real siege was dramatic enough without supplying everyone with suspiciously perfect final words.
Why Did the Toyotomi Lose?
The defeat was not simply a matter of inferior courage or military skill.
Several structural factors worked against them.
Tokugawa superiority in resources
Ieyasu controlled the dominant political coalition in Japan.
He could mobilise enormous armies and replace losses on a scale the Toyotomi could not match.
Loss of Osaka’s fortifications
The Winter Campaign proved that the intact fortress was extraordinarily difficult to capture.
The peace settlement removed that advantage.
When war resumed, the Toyotomi were forced into field battles against a numerically superior enemy.
Fragmented command
The Toyotomi possessed talented commanders but lacked a unified command structure comparable with the Tokugawa coalition.
Independent contingents did not always coordinate effectively.
Hideyori’s limited battlefield role
Hideyori remained primarily inside Osaka rather than personally leading the decisive field operations.
Whether his appearance on the battlefield could actually have changed the outcome is impossible to know, although later accounts made much of his absence.
No strategic escape route
Even a tactical victory would have left the Toyotomi surrounded by a political order dominated by Tokugawa-aligned daimyō.
Winning a battle and winning Japan had become two very different propositions.
Was Sanada Yukimura Really Japan’s Greatest Warrior?
Sanada Nobushige’s posthumous reputation became immense.
He is frequently described in later tradition as a warrior without equal.
There is enough evidence from Osaka to regard him as an excellent commander. The Sanada-maru was an effective defensive position, and his attack at Tennōji caused serious problems for the Tokugawa.
But the near-superhuman Yukimura of novels, television dramas and games belongs partly to later culture.
That does not diminish the historical man.
If anything, stripping away the mythology leaves someone more interesting: an experienced commander who understood fortification, firearms, timing and aggressive manoeuvre, rather than a superhero with a spear.
The Siege and the End of the Sengoku Period
Historians can debate precisely when the Sengoku period ended.
Sekigahara in 1600 is an obvious candidate.
The establishment of the Tokugawa shogunate in 1603 is another.
Yet Osaka in 1615 has perhaps the strongest emotional claim.
The Toyotomi were the last political force capable of serving as a national focus for opposition to Tokugawa rule.
After their destruction, no comparable rival remained.
Ieyasu died the following year.
The system he created survived him for more than two and a half centuries.
Legacy
The Siege of Osaka reshaped Japanese political history.
Its consequences included:
- Destruction of the Toyotomi as a rival dynasty
- Consolidation of Tokugawa authority
- Removal of a major rallying point for disaffected rōnin
- Strengthening of shogunal control over the daimyō
- Further transition from prolonged civil warfare towards Tokugawa peace
- Creation of the Sanada Nobushige legend
- Destruction and eventual replacement of the Toyotomi castle
For the samurai, Osaka also represented something of a closing door.
The seventeenth century did not end the warrior class. Far from it. Samurai remained at the centre of Japanese government and society.
What disappeared was the political environment in which ambitious warriors could realistically assemble private armies, switch allegiances and compete for national supremacy.
The Tokugawa transformed warriors into administrators remarkably successfully.
One suspects some of them found paperwork a disappointing substitute for Sekigahara.
Osaka Castle After the Siege
The Tokugawa did not preserve Hideyoshi’s fortress as a memorial to their defeated enemies.
Beginning in the 1620s, they reconstructed Osaka Castle.
The Toyotomi remains were buried beneath new earthworks and masonry. Much of the impressive stonework visible around Osaka Castle today therefore dates from the Tokugawa reconstruction rather than Hideyoshi’s original fortress.
The current main tower is later still.
It was reconstructed in reinforced concrete in 1931 and survived the Second World War, although the wider castle area suffered wartime damage.
Visitors therefore encounter several different Osakas occupying the same ground:
- Hideyoshi’s Toyotomi fortress beneath the surface
- The monumental Tokugawa reconstruction
- The twentieth-century reconstructed keep
- A modern historical museum and archaeological site
Few castles demonstrate quite so physically how successive governments rewrite the landscape.
Where to See Evidence of the Siege Today
Osaka Castle
The obvious starting point is Osaka Castle Park.
Although the modern keep is a reconstruction and most visible fortifications are Tokugawa rather than Toyotomi, the landscape remains essential for understanding the enormous scale of the site.
Toyotomi Stone Walls
Original Toyotomi-period masonry survives beneath the later castle.
The opening of dedicated facilities displaying these remains has made the archaeology of Hideyoshi’s fortress considerably more accessible.
Sanada-maru Area
The Sanada-maru itself no longer survives as an intact fortification, but its approximate location can be explored south of Osaka Castle around modern Sanadayama.
Yasui Shrine
Yasui Shrine is traditionally associated with the place where Sanada Nobushige died.
As with many locations connected with famous warrior deaths, tradition and precise archaeological certainty should not be confused.
It remains an important part of Osaka’s Sanada memory.
Final Assessment
The Siege of Osaka deserves to be understood as more than the heroic last stand of Sanada Yukimura.
It was the final confrontation between two political orders.
The Toyotomi represented the surviving legacy of Hideyoshi’s unification. The Tokugawa represented a new system in which military power was increasingly concentrated and regulated by the shogunate.
The Winter Campaign demonstrated that the Toyotomi could still fight extraordinarily well. The Sanada-maru frustrated one of the largest armies assembled in early modern Japan.
But the truce fundamentally changed the strategic situation.
Without Osaka’s complete defensive system, the Toyotomi had to gamble everything on field operations during the summer of 1615. Their commanders fought hard and, at Tennōji, briefly threatened Ieyasu himself.
It was not enough.
Osaka burned, Hideyori died and the political possibility represented by the Toyotomi disappeared with him.
For me, that is what makes the campaign so compelling. The samurai age did not end at Osaka, despite the convenient phrase. Something subtler happened. The age in which a sufficiently ambitious samurai lord might seize Japan by force was closing.
After generations of men fighting to determine who would rule the country, the Tokugawa finally supplied the answer.
And made it remarkably difficult for anyone to ask the question again.