How Real Medieval Swords Were Made
The making of a medieval sword was a process grounded in practical skill, material science, and battlefield experience. These weapons were never just showpieces. They were designed with intent, forged with precision, and shaped to meet the demands of war. Below, the process is broken down into its core stages.
1. Material Selection

In early medieval Europe, smiths mainly worked with wrought iron, which was soft and filled with slag. To make it suitable for combat, they needed to increase its carbon content through carburisation, heating the iron in a charcoal-rich environment to produce steel. The best swords required a careful balance. Too little carbon and the blade would bend or dent. Too much and it became brittle. Over time, steel production improved thanks to better smelting techniques and trade with regions like India and the Middle East. By the twelfth century, places like Toledo and Solingen had become known for high-quality steel.
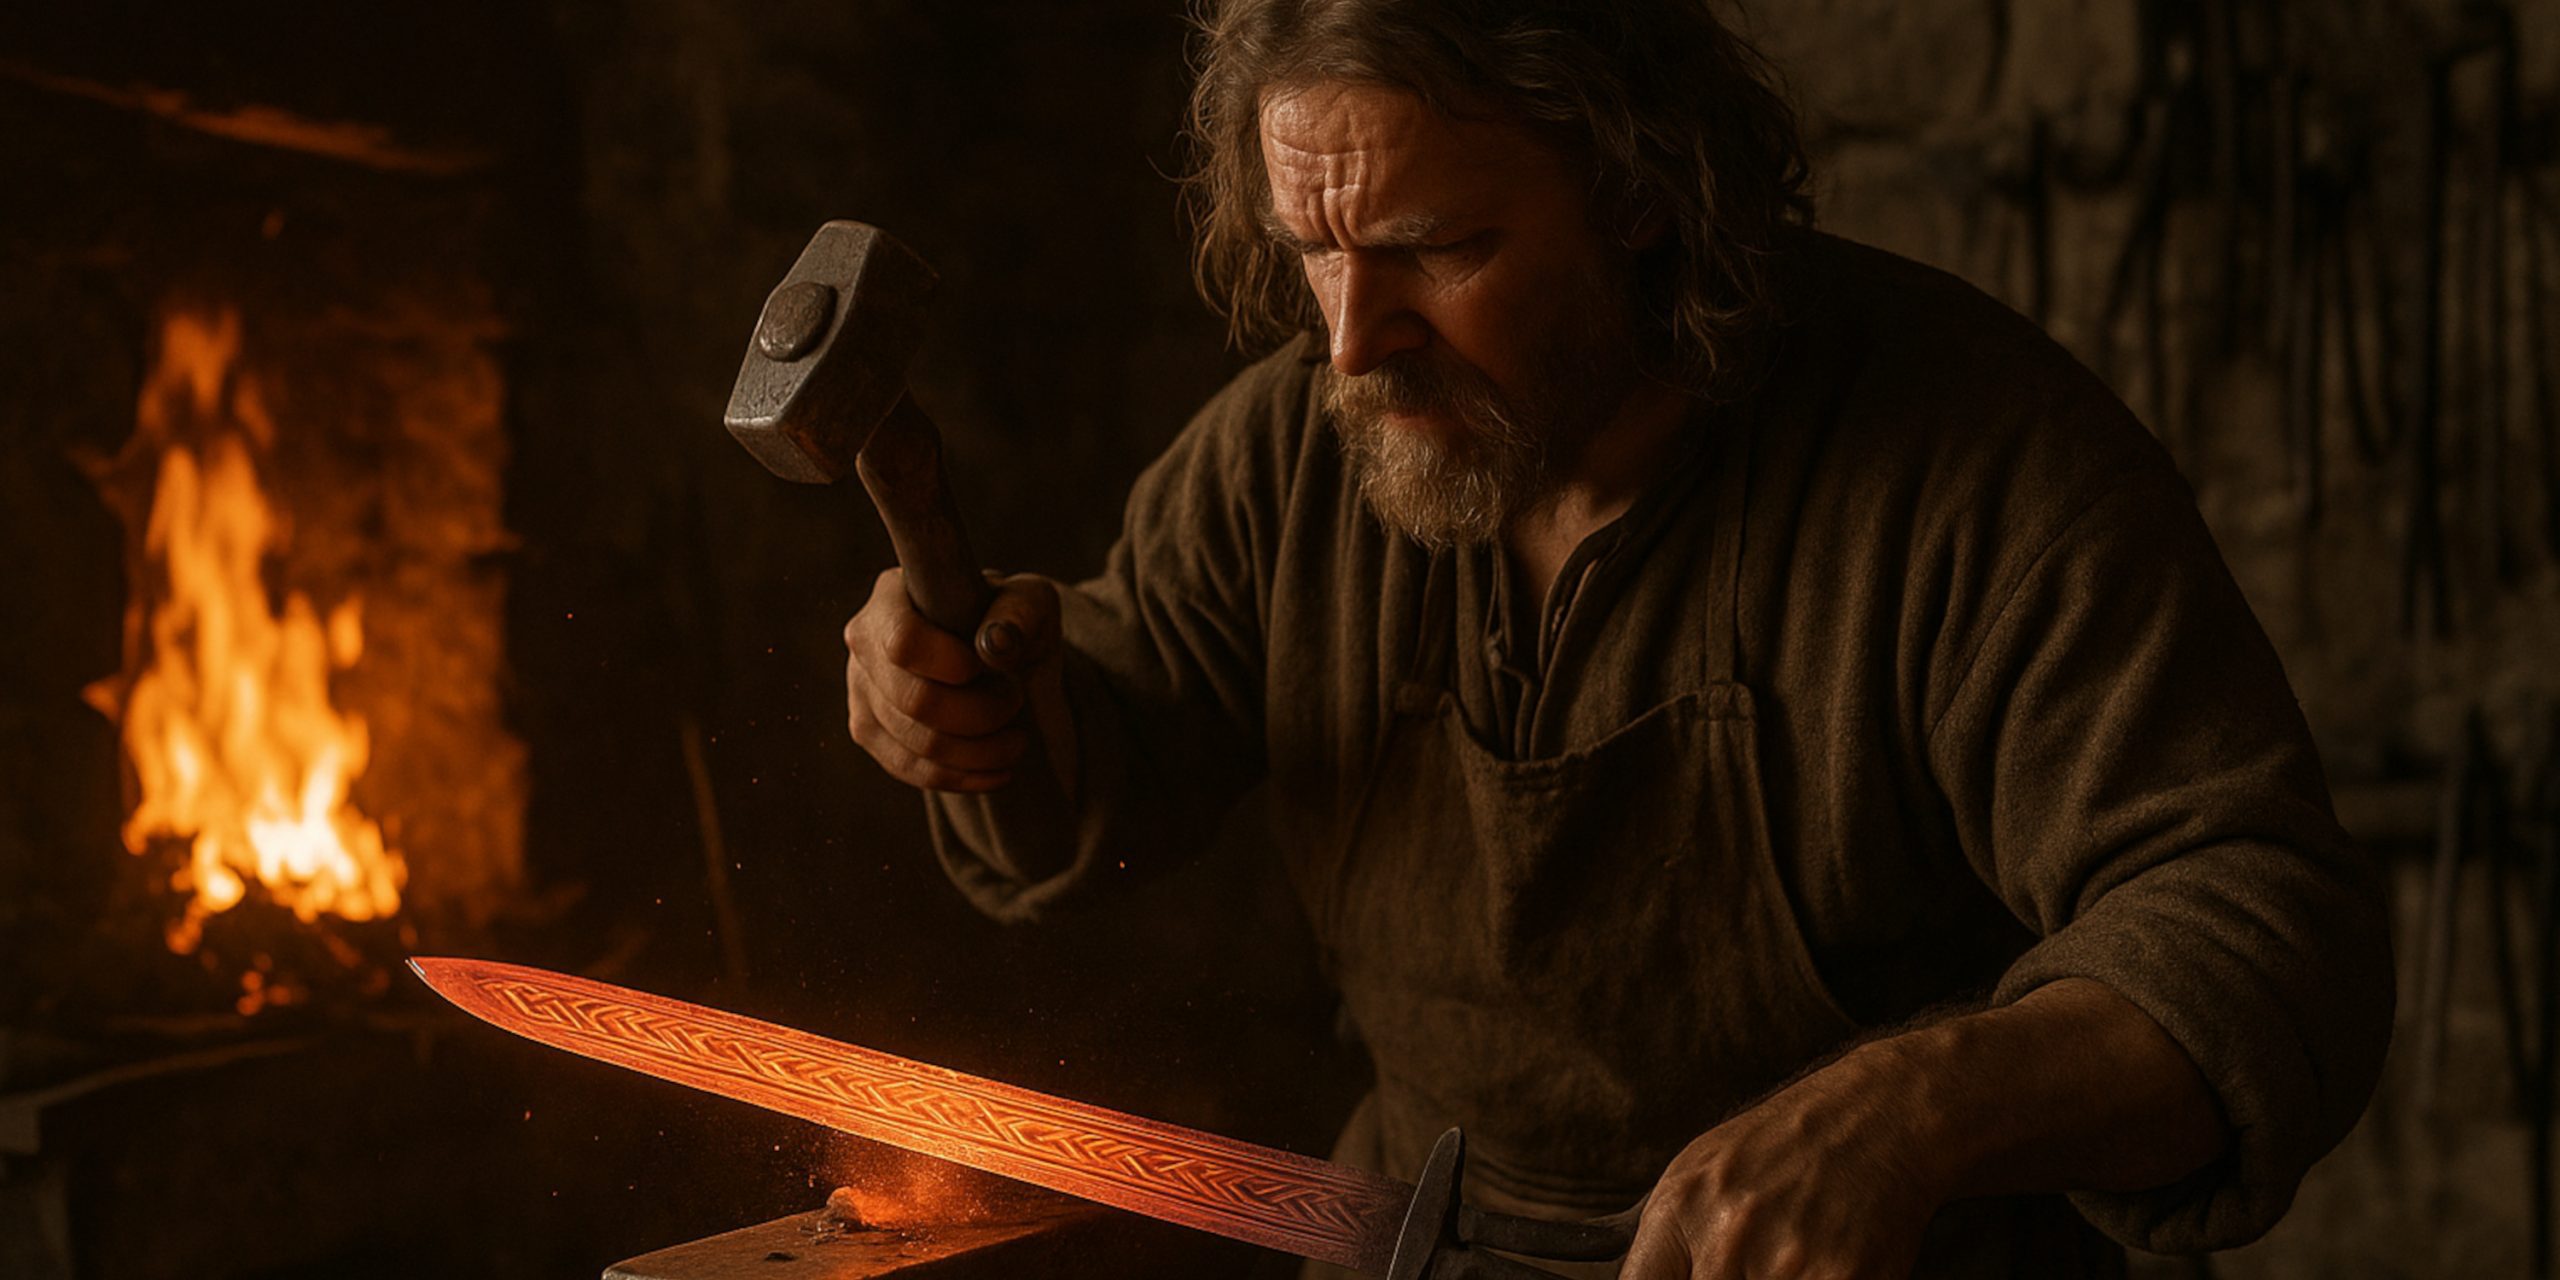
2. Forging the Blade

The steel was heated until yellow-hot, then hammered into the rough shape of a blade. Folding and forge-welding layers of iron and steel together was common in earlier centuries to overcome impurities. Some swords, especially during the early medieval period, used pattern welding, twisting and combining rods of metal to create distinctive wave-like patterns and reinforce strength.
The smith shaped the tang, which formed the blade’s core extension into the hilt, and forged the fuller, a central groove running along the blade. The fuller was not decorative; it reduced weight and helped improve balance without weakening the structure.
3. Heat Treatment
Forging created the shape, but it was heat treatment that made a sword functional. First came hardening. The blade was heated again and quenched in water or oil. This rapid cooling hardened the metal, but also made it brittle. To correct this, the smith tempered the blade, reheating it to a moderate temperature and then letting it cool slowly. This relieved internal stress and restored flexibility, allowing the sword to flex under strain without breaking.
4. Grinding and Polishing

Once hardened and tempered, the blade was ground to its final shape. The smith used coarse stones or grinding wheels to refine the edges, remove imperfections, and define the sword’s taper and profile. Precision mattered. An unbalanced blade was not just ineffective, it was dangerous to the user. Polishing followed, both for aesthetics and for highlighting the structure and craftsmanship of the steel.
Medieval swords were not heavy, cumbersome weapons. Most weighed between 1.1 and 1.6 kilograms and were balanced for fluid, one-handed or two-handed use.
5. Assembling the Hilt
The hilt components were then fitted. The guard, usually a straight crosspiece, protected the hand. The grip, often wood covered in leather or wire, gave the wielder secure control. The pommel, added last, served as a counterweight and helped with handling. It was usually attached by peening, hammering the end of the tang flat over the top of the pommel, locking everything tightly in place.
While some hilts were decorative, their construction was primarily practical. The design evolved depending on local combat styles, armour use, and cultural influences.
6. Final Testing and Inspection

Before a sword was considered finished, it was often tested for flexibility, sharpness, and durability. This could involve striking against hard objects or slicing through bundled straw or animal carcasses. A good blade needed to cut cleanly, remain straight under pressure, and return to true after impact.
Making a medieval sword was not guesswork or artistic improvisation. It was a refined, methodical craft shaped by centuries of warfare and technological adaptation. Every stage, from material choice to heat treatment and final fitting was vital. The end result was not just a weapon, but a tool of survival and status, designed with intelligence and forged with care.
Watch the documentary: