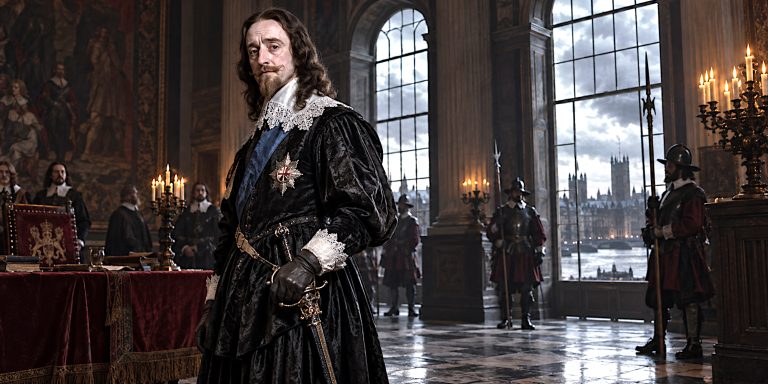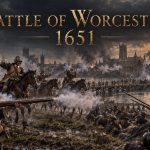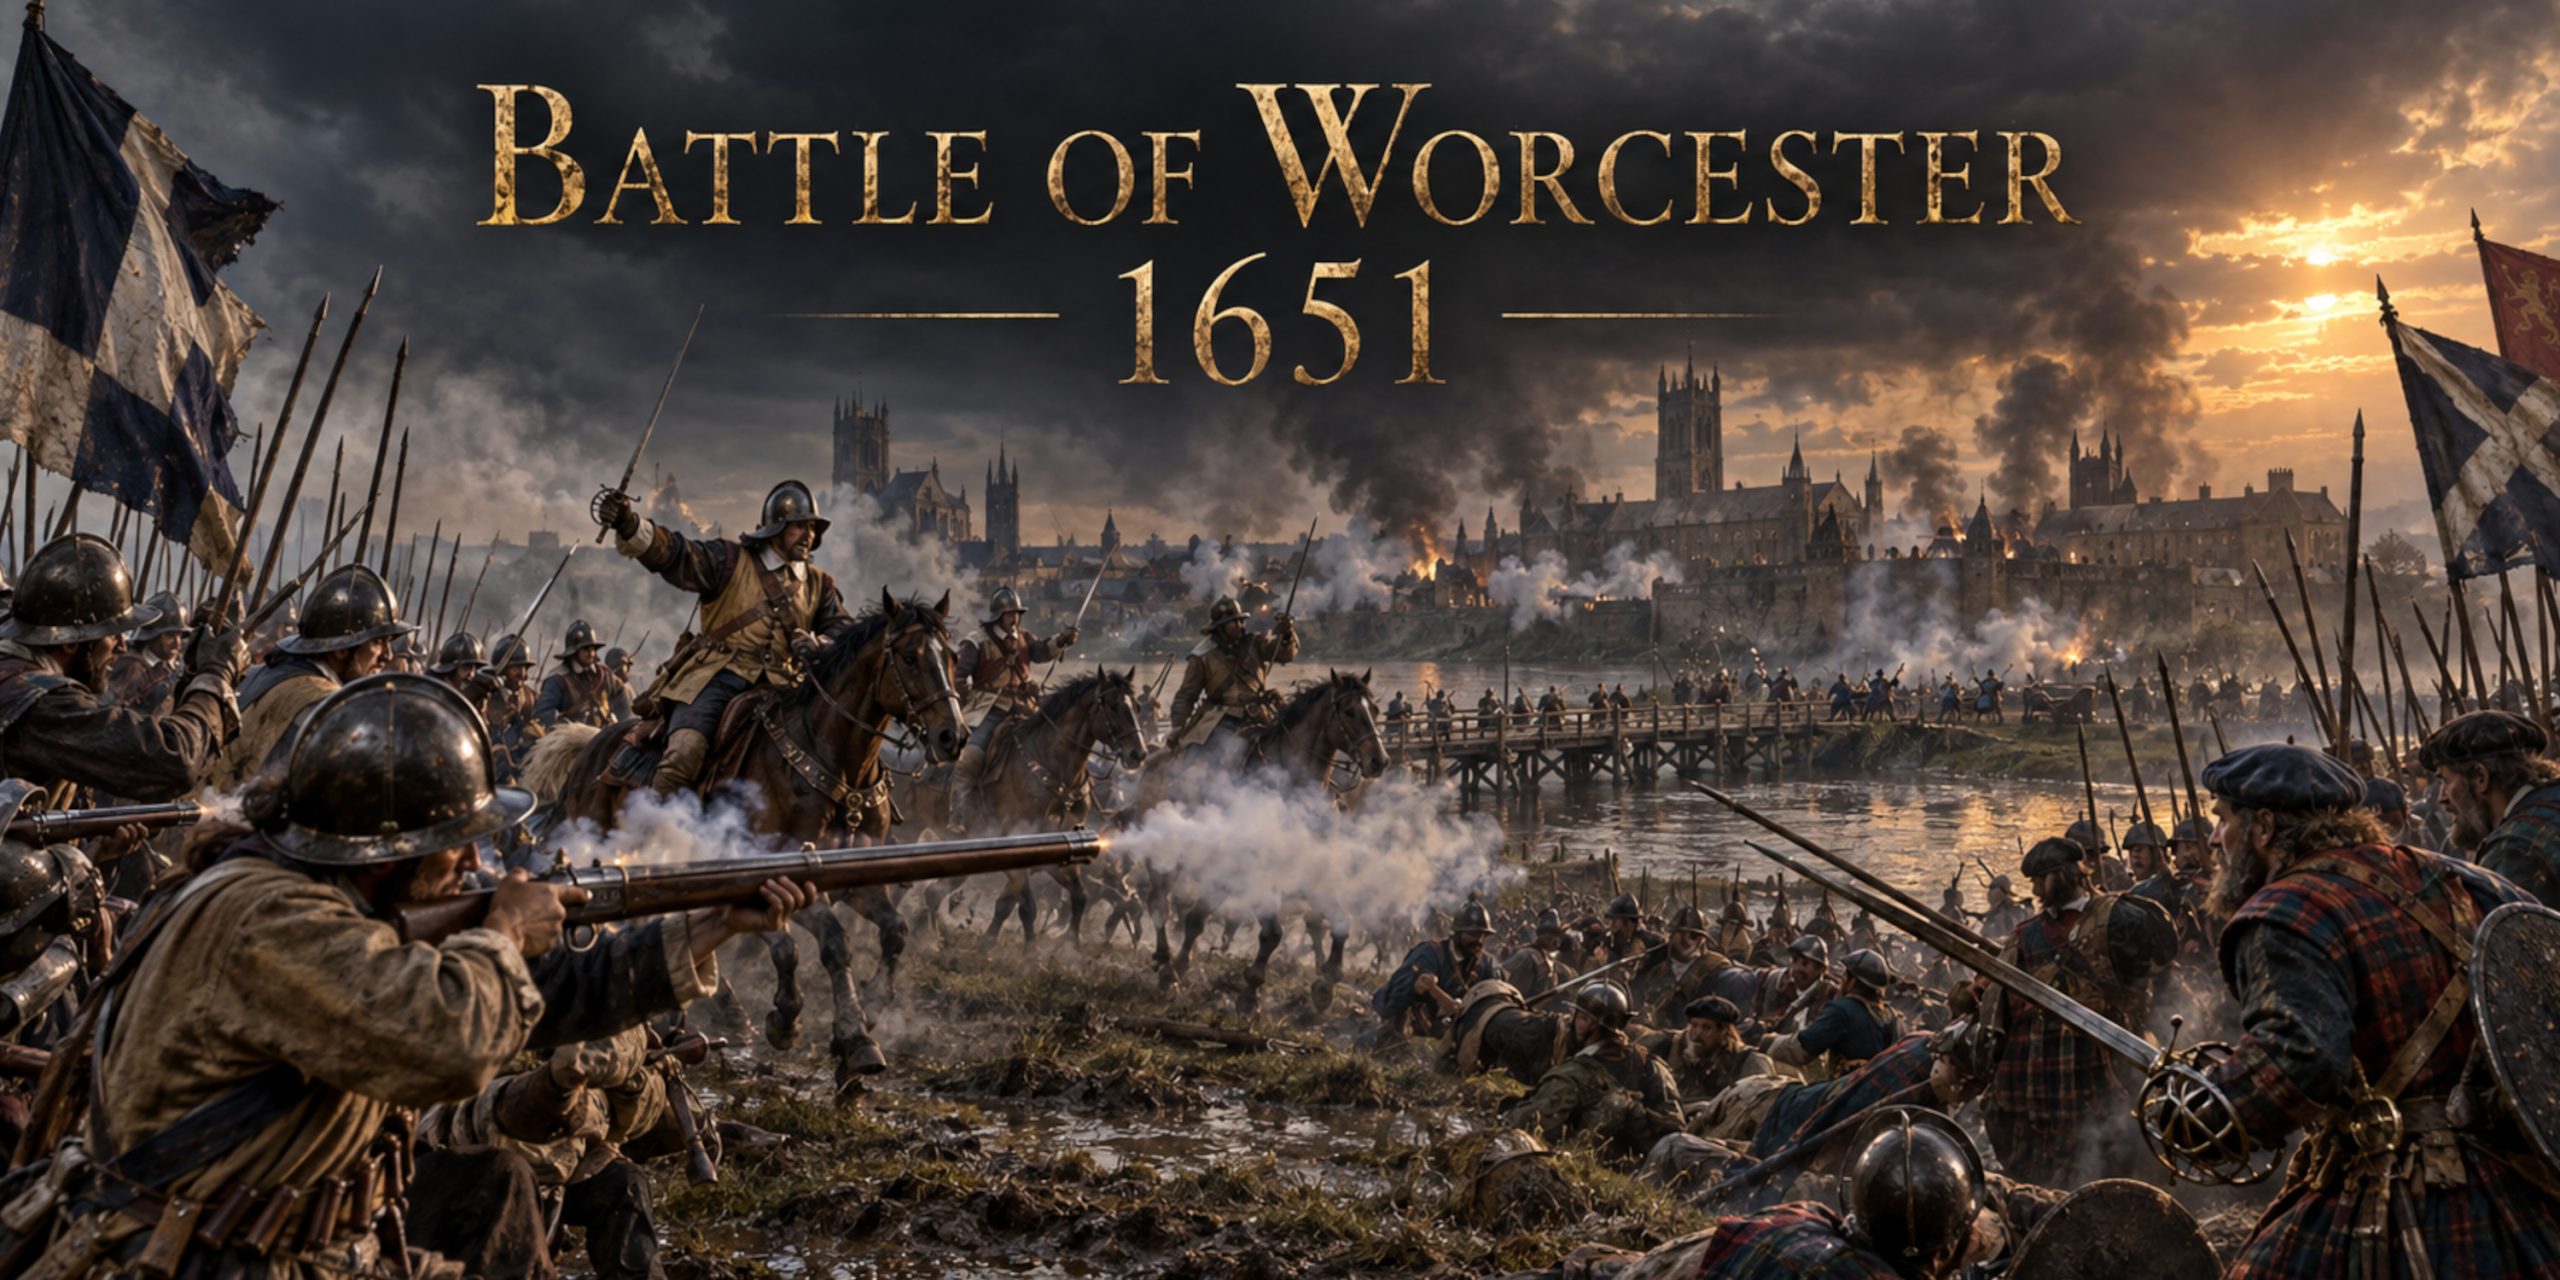
On 3 September 1651, the fields, bridges and narrow streets around Worcester became the setting for the last major battle of the English Civil Wars. Charles II, not yet the comfortably restored monarch of later portraits, led a predominantly Scottish army into England in a desperate attempt to recover his father’s thrones. Waiting for him was Oliver Cromwell with a larger, better supplied and thoroughly battle-hardened Parliamentarian force.
The result was not merely a Royalist defeat. Charles’s army was broken apart, thousands of its soldiers were killed or captured, and organised Royalist resistance on the British mainland effectively collapsed.
Cromwell described the victory as a “crowning mercy”. For the defeated Scots taken prisoner, many of whom faced disease, forced labour or transportation, mercy was not the word that would have immediately suggested itself.
Battle of Worcester at a Glance
| Detail | Information |
|---|---|
| Date | 3 September 1651 |
| Location | Worcester and the surrounding countryside |
| Wider conflict | Third English Civil War and Wars of the Three Kingdoms |
| Parliamentarian commander | Oliver Cromwell |
| Royalist commander | Charles II |
| Parliamentarian strength | Around 28,000 |
| Royalist strength | Around 14,000 to 16,000 |
| Result | Decisive Parliamentarian victory |
| Royalist losses | Around 3,000 killed and as many as 10,000 captured |
| Parliamentarian losses | Probably several hundred |
| Historical importance | Last major battle of the British Civil Wars |
Why Was the Battle of Worcester Fought?
The road to Worcester began with the execution of Charles I in January 1649. England became a republic, but the death of one king did not persuade his supporters that monarchy had become unfashionable.
Charles II was proclaimed king in Scotland and entered into an uneasy alliance with the Scottish Covenanters. In return for military support, he accepted the Solemn League and Covenant and agreed to uphold Presbyterian religious government. It was hardly an alliance founded on mutual affection. Many Covenanters distrusted Charles, while Charles regarded religious concessions as the price of acquiring an army.
Oliver Cromwell invaded Scotland in 1650 and defeated a larger Scottish force at Dunbar. By the summer of 1651, Charles and the senior Scottish commanders faced a difficult choice. Remaining in Scotland meant risking another confrontation on Cromwell’s terms. Marching into England offered the possibility of recruiting English Royalists and Presbyterians.
Charles chose England.
The Royalist army crossed the border in August and advanced through Lancashire and the Midlands. Yet the expected uprising never materialised. English recruits joined in disappointing numbers, Parliamentarian forces harassed the march, and Cromwell followed rapidly from the north.
Charles entered Worcester on 23 August. It offered bridges, walls, defensible approaches and a broadly Royalist population. It also left his army dangerously isolated, with Parliamentarian troops closing the roads around it.
The Opposing Forces
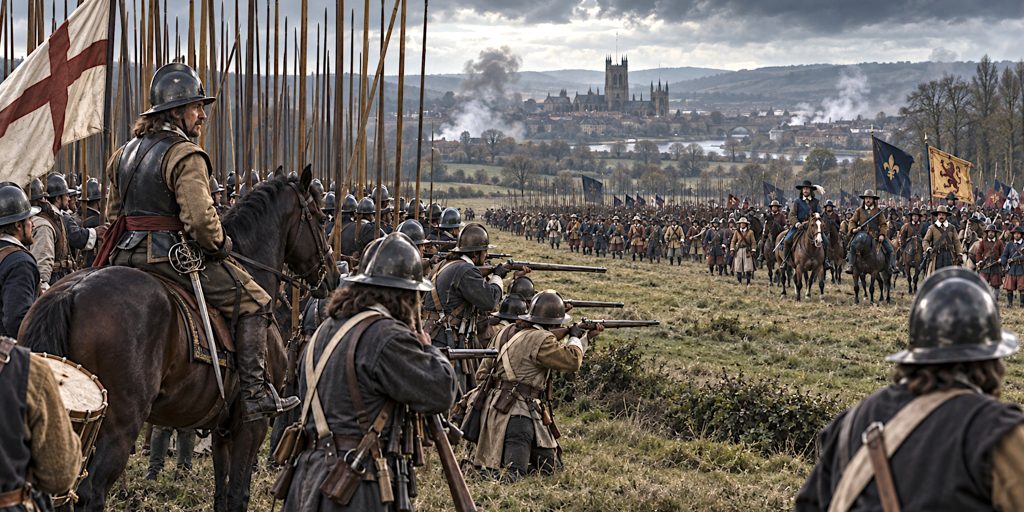
Exact figures vary between contemporary accounts and modern studies. Armies lost men through desertion, disease, detachments and simple administrative confusion. Seventeenth-century record keeping could be admirably detailed until someone needed an exact total.
| Army | Estimated strength | General character |
|---|---|---|
| Parliamentarian | About 28,000 | New Model Army veterans, cavalry, dragoons and English militia |
| Royalist | About 14,000 to 16,000 | Predominantly Scottish infantry and cavalry with a smaller English contingent |
Parliamentarian Forces
Cromwell’s army combined experienced New Model Army units with substantial militia contingents. The professional troops had campaigned in England, Ireland and Scotland, while many of the militia were less experienced but performed effectively during the battle.
The Parliamentarian army included:
- New Model Army infantry regiments
- English county militia
- Regiments of horse
- Mounted and dismounted dragoons
- Artillery batteries
- Engineers and pontoon teams
- Local forces guarding roads and river crossings
Royalist Forces
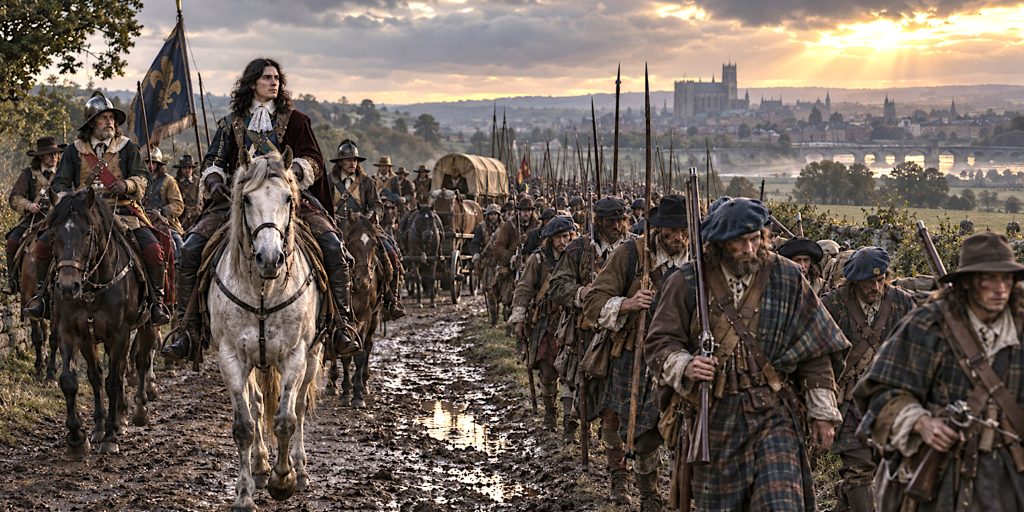
The Royalist army was chiefly Scottish. It had endured a long march, suffered from illness and desertion, and failed to attract the level of English support Charles had anticipated.
Its components included:
- Scottish infantry regiments
- Scottish cavalry
- A limited body of English Royalist horse
- Highland troops
- Small numbers of English recruits
- A modest artillery train
- Local Worcester volunteers
The Scots were neither an undisciplined rabble nor a helpless remnant. Many were experienced soldiers who fought hard around Powick and the river crossings. Their greater problem was strategic. They were outnumbered, contained and short of reliable support.
Leaders and Command Structure
Parliamentarian Leaders
| Commander | Role |
|---|---|
| Oliver Cromwell | Overall Parliamentarian commander |
| Charles Fleetwood | Directed operations west of the Severn and across the Teme |
| John Lambert | Commanded troops confronting Worcester from the east |
| Richard Deane | Led forces around Powick Bridge and the western approaches |
| Robert Lilburne | Helped block the Royalist route of retreat |
| Thomas Harrison | Operated against Royalist communications during the campaign |
Thomas Fairfax was no longer commander of the New Model Army and did not command at Worcester. He had resigned in 1650 after opposing the invasion of Scotland. Cromwell was now captain-general and commander-in-chief.
Royalist Leaders
| Commander | Role |
|---|---|
| Charles II | King and nominal commander-in-chief |
| David Leslie | Senior Scottish cavalry commander |
| William Hamilton | Led Royalist infantry during the eastern counterattack |
| Thomas Middleton | Senior Scottish officer |
| James Livingston | Commanded elements of the Scottish horse |
| George Keith | Defended the Powick area |
| Edward Massey | English Royalist commander |
| Earl of Cleveland | Helped lead the final cavalry action in Worcester |
Charles was only twenty-one, but he was no passive ornament. During the battle he attempted to rally troops and supported the counterattack from Worcester. His personal courage was rather better than his strategic position.
David Leslie remains one of the battle’s more controversial figures. Much of the Scottish cavalry remained around Pitchcroft to the north of Worcester and did not intervene decisively. Whether Leslie failed through poor judgement, confusion, exhaustion or distrust of Charles remains disputed.
The Battlefield and Defences
Worcester stood on the eastern bank of the River Severn. The River Teme approached from the west and joined the Severn south of the city, creating a difficult landscape of waterways, meadows, bridges and restricted approaches.
Important locations included:
- Powick Bridge: a vital crossing over the Teme southwest of Worcester
- Teme Meadows: ground over which Parliamentarian troops advanced after crossing the river
- St John’s: the suburb west of the Severn
- Perry Wood: high ground used for Parliamentarian artillery
- Red Hill: part of the eastern approach to Worcester
- Fort Royal: a Royalist earthwork protecting the southeastern side of the city
- Sidbury Gate: one of the principal routes into Worcester
- Pitchcroft: open ground north of the city where Royalist cavalry was stationed
- The Commandery: Charles II’s headquarters during the occupation
Cromwell’s plan required coordinated operations on both sides of the Severn. Parliamentarian engineers built bridges of boats across the Teme and Severn, allowing troops to attack through ground the Royalists hoped the rivers would protect.
This was a bold arrangement. It also divided Cromwell’s force and made communications dependent upon temporary bridges. For a period during the Royalist counterattack, that decision came close to becoming very awkward indeed.
Arms and Armour
The Battle of Worcester was fought during the transition from pike-and-shot warfare towards armies increasingly dominated by firearms. Swords remained important, particularly among cavalrymen and officers, but muskets, pikes, pistols and artillery caused much of the killing.
Infantry Weapons
- Matchlock musket: the principal firearm of many infantrymen. It was powerful but slow to reload and required a burning match.
- Flintlock or firelock musket: more reliable around sentries, cavalry and stored powder, though less common than matchlocks.
- Pike: normally around 4.5 to 5.5 metres long and used to protect musketeers against cavalry.
- Musket rest: still used with some heavier firearms, although becoming less common.
- Hanger: a short, single-edged sword carried by some infantrymen.
- Tuck or estoc-like thrusting sword: occasionally carried by officers, although no longer a primary battlefield weapon.
Plug bayonets existed by the middle of the seventeenth century, but there is no firm reason to present them as standard equipment at Worcester. Widespread military adoption came later.
Cavalry Weapons
- Backsword: a single-edged sword with a strong blade suited to cutting from horseback.
- Mortuary-hilted sword: a characteristically British basket or half-basket-hilted sword associated with Civil War cavalry and officers.
- Basket-hilted broadsword: particularly common among Scottish officers and cavalrymen, usually fitted with a straight double-edged blade.
- Cavalry broadsword: a robust straight sword used for cutting and thrusting.
- Wheel-lock and flintlock pistols: carried in saddle holsters and fired at close range.
- Carbine: a shorter firearm suitable for mounted troops.
- Targe: a small Scottish shield, more strongly associated with Highland fighting than with the main bodies of regular cavalry.
The term “sabre” should be used cautiously here. Curved cavalry blades were known, but the straight backsword and broadsword were more characteristic of armies fighting in Britain during this period.
Armour and Protection
Full armour had largely disappeared from the battlefield, but protective equipment remained useful.
Common pieces included:
- Iron breastplates and backplates
- Lobster-tailed pot helmets
- Buff leather coats
- Gauntlets
- Thick riding boots
- Gorgets worn by officers
- Simple iron helmets for pikemen
Many musketeers fought without metal armour because it added weight while offering limited protection against close-range gunfire. Cavalrymen were more likely to wear cuirasses or heavy buff coats.
Cromwell Encircles Worcester
By late August, Parliamentarian forces were closing around the city. Artillery positioned on Perry Wood bombarded the Royalist defences, while detachments secured roads and crossings.
Charles attempted to encourage local support, but little arrived. The Earl of Derby had already been defeated at Wigan Lane while trying to raise forces in Lancashire. Parliamentarian troops controlled much of the surrounding country, leaving the Royalists with dwindling supplies and few safe escape routes.
On 29 August, a Royalist attempt to attack the Parliamentarian artillery position failed after the plan was betrayed. From that point, Charles had little realistic prospect of breaking the encirclement without a major battle.
Cromwell chose 3 September for the assault. It was the anniversary of his victory at Dunbar, a coincidence he and his supporters were unlikely to regard as merely a diary curiosity.
The Battle Begins at the River Crossings
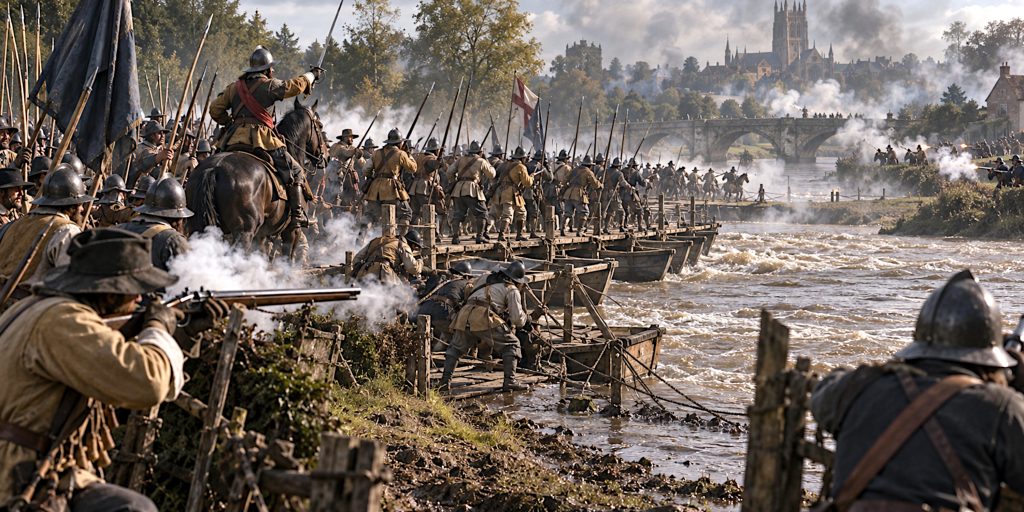
The principal Parliamentarian movement began south of Worcester. Fleetwood’s troops crossed the Teme using pontoon bridges near its confluence with the Severn, while Richard Deane attempted to force Powick Bridge.
The Royalists resisted strongly. Colonel George Keith’s troops held the bridge and nearby ground, while Scottish soldiers fought among the hedges, lanes and buildings around Powick.
The Parliamentarian advance was not a clean, effortless sweep. Fighting around the bridge was confused and close, with musketeers firing from cover and cavalry struggling in enclosed terrain.
Fleetwood’s successful crossing threatened to outflank the defenders. Under increasing pressure, the Royalists were forced back towards St John’s and Worcester.
Charles II Launches a Counterattack
With Cromwell occupied on the western side of the Severn, Charles recognised an opportunity. Royalist troops attacked the Parliamentarian positions east and southeast of the city.
One force advanced towards Red Hill, while another pressed against Perry Wood. Charles reportedly rode among the troops, urging them forward. William Hamilton led infantry in a determined assault that temporarily drove Parliamentarian soldiers back.
For perhaps an hour, the outcome was less certain than later Parliamentarian accounts liked to imply. Cromwell had divided his army across two rivers, and the eastern wing was under serious pressure.
Cromwell reacted quickly. He brought several brigades back across the pontoon bridge over the Severn and reinforced Lambert. The arrival of veteran troops halted the Royalist advance.
This was the decisive moment. Charles had committed much of his available infantry, but the cavalry massed around Pitchcroft did not deliver the supporting attack he needed. Once Cromwell stabilised the eastern front, Parliament’s numerical superiority began to tell.
The Fall of Fort Royal
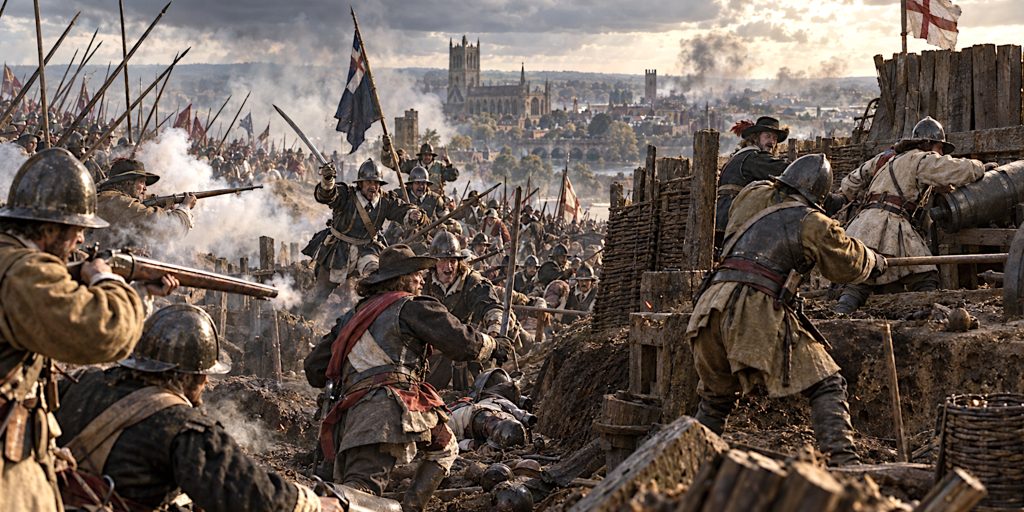
The reinforced Parliamentarian troops counterattacked and drove the Royalists towards Worcester.
Militia from Essex played an important role in storming Fort Royal, the earthwork overlooking Sidbury Gate. After capturing the position, Parliamentarian soldiers turned its guns towards the city.
The loss of Fort Royal exposed Worcester’s southeastern approaches. Royalist troops retreated through Sidbury Gate, pursued closely by their opponents. Order began to collapse as soldiers, horses and civilians crowded the streets.
Charles tried to rally his army, reportedly calling upon men to make another stand. Exhausted and increasingly surrounded, they could not be reformed into an effective force.
Parliamentarian troops entered Worcester from several directions as evening approached. Fighting continued in the streets, but the battle had become a rout.
Charles II Escapes
Charles removed distinctive pieces of armour and exchanged his horse, reducing the chance that Parliamentarian soldiers would recognise him.
A Royalist cavalry charge through Sidbury Street and along the High Street helped create the confusion needed for his escape. Charles left Worcester through St Martin’s Gate with a small group of companions.
His subsequent flight became one of the most celebrated episodes in Royalist memory. He travelled through the Midlands, hid at several houses and famously concealed himself in an oak at Boscobel while Parliamentarian soldiers searched nearby.
After more than six weeks as a fugitive, Charles escaped from the Sussex coast and reached France. His throne would have to wait until the Restoration of 1660.
Battle Timeline
| Time | Development |
|---|---|
| Before 3 September | Parliamentarian artillery bombards Worcester while Cromwell completes the encirclement |
| Late morning | Parliamentarian troops prepare crossings south and southwest of Worcester |
| Early afternoon | Fleetwood crosses the Teme using bridges of boats |
| Early afternoon | Deane attacks the Royalist position around Powick Bridge |
| Mid-afternoon | Royalist defenders fall back towards St John’s |
| Mid-afternoon | Charles orders attacks from Worcester towards Red Hill and Perry Wood |
| Later afternoon | Royalist infantry temporarily pushes back Parliamentarian troops east of the city |
| Later afternoon | Cromwell transfers reinforcements back across the Severn |
| Early evening | Parliamentarians counterattack and capture Fort Royal |
| Evening | Royalist troops are driven through Sidbury Gate |
| After sunset | Fighting spreads into Worcester and organised resistance collapses |
| Night | Charles escapes while thousands of Royalist soldiers surrender or flee |
Casualties and Prisoners
The exact number of casualties remains uncertain. Frequently repeated estimates suggest:
- Around 3,000 Royalist soldiers killed
- Up to 10,000 captured during the battle and subsequent pursuit
- Several hundred Parliamentarian soldiers killed or wounded
- Large numbers of prisoners taken on roads north and east of Worcester
Not every prisoner was captured inside the city. Parliamentarian detachments, militia and local inhabitants intercepted fugitives across a wide area.
The fate of Scottish prisoners was especially grim. Many were marched to temporary camps where disease, hunger and exposure caused further deaths. Others were sent to work on drainage projects or transported to New England, Bermuda and the Caribbean as indentured labourers.
This aftermath deserves more attention than it usually receives. The neat phrase “decisive victory” can conceal a great deal of human misery.
Contemporary Accounts and Quotes
Cromwell reported the victory to William Lenthall, Speaker of the House of Commons:
“The dimensions of this mercy are above my thoughts.”
He then supplied the phrase by which the battle became known:
“It is, for aught I know, a crowning mercy.”
Cromwell also praised the newly raised militia:
“Your new raised forces did perform singular good service.”
Charles II later dictated an account of his escape to Samuel Pepys. Recalling his concealment at Boscobel, he described watching soldiers searching the surrounding woodland while he remained hidden in an oak tree.
The accounts serve very different purposes. Cromwell presented victory as evidence of divine favour, while Charles shaped his escape into a tale of danger, endurance and providential survival. Seventeenth-century leaders rarely allowed a useful story to go to waste.
Archaeology of the Battle of Worcester
Much of the battlefield has been altered by roads, housing and the expansion of Worcester. Important areas survive, particularly around Powick Bridge and the open ground south of the city.
The physical evidence is spread across a broad landscape rather than concentrated in one convenient field. Archaeological investigation has identified material including:
- Musket balls
- Carbine and pistol balls
- Powder-charge caps
- Horseshoes
- Harness fittings
- Buckles
- Coins
- Fragments of military equipment
Investigations connected with road improvements near Powick recovered more than 35 lead projectiles and associated objects. Their distribution helped identify areas of fighting around the river crossing and supplied the first secure archaeological evidence for parts of the 1651 battlefield.
Buildings also preserve traces of the conflict. Powick Church bears evidence associated with gunfire, while the Commandery, Worcester Cathedral and Powick Bridge remain important surviving landmarks.
Fort Royal survives as a public park rather than an intact seventeenth-century fortification. Its elevated position still makes the tactical importance of the site immediately understandable. One hardly needs a general’s education to appreciate why guns placed there could make Sidbury Gate profoundly uncomfortable.
What the Archaeology Can Tell Us
Battlefield archaeology helps historians:
- Trace the distribution of musket and pistol fire
- Identify concentrations of close fighting
- Reconstruct movement around bridges and roads
- Distinguish cavalry activity from infantry action
- Test written accounts against physical evidence
- Locate battlefield areas obscured by later development
It should be treated carefully. A musket ball establishes activity, but it does not identify the soldier who fired it or explain precisely why. Archaeology is wonderfully honest evidence, though often rather taciturn.
Why Did the Royalists Lose?
Parliamentarian Numerical Superiority
Cromwell possessed nearly twice as many soldiers as Charles. This allowed him to attack on several fronts while using detachments to block escape routes.
New Model Army Experience
The Parliamentarian veterans were accustomed to coordinated infantry, cavalry and artillery operations. When the eastern line faltered, Cromwell was able to transfer troops and restore the position.
Failure to Raise England
Charles’s strategy depended upon substantial English recruitment. That support did not appear in sufficient numbers. Most of his army remained Scottish, fighting deep inside a country that had not risen to join it.
Control of Roads and Crossings
Parliamentarian forces controlled key routes around Worcester. Even soldiers who escaped the city encountered militia, cavalry patrols and roadblocks.
Limited Royalist Cavalry Intervention
The Royalist cavalry stationed around Pitchcroft did not make a decisive contribution during the crucial counterattack. A coordinated mounted assault might not have won the battle, but it could have placed Cromwell under greater pressure.
Cromwell’s Response to the Crisis
Cromwell recognised the danger on the eastern side and rapidly shifted experienced brigades back across the Severn. His plan had created the vulnerability, but his reaction prevented Charles from exploiting it.
Outcome and Historical Importance
The Battle of Worcester destroyed the last major Royalist field army capable of threatening the Commonwealth. It did not end every act of resistance across Britain, Ireland and the wider Atlantic world, but it ended the realistic prospect of restoring Charles II through conventional invasion.
The consequences were considerable:
- Charles II fled into continental exile
- Scottish military resistance was severely weakened
- Parliamentarian authority was extended over Scotland
- Cromwell’s political and military standing reached its height
- Thousands of prisoners faced detention, transportation or forced labour
- The monarchy remained abolished until 1660
- The New Model Army became the dominant force in British politics
Cromwell became Lord Protector in December 1653. Worcester was his final major battlefield command and the culminating victory of his military career.
For Charles, defeat produced a very different legacy. His escape became part of Royalist mythology, particularly the story of the Royal Oak. When the monarchy was restored nine years later, 29 May was celebrated as Royal Oak Day.
Was Worcester Really the Last Battle of the Civil War?
Worcester is usually described as the final battle of the English Civil War. More precisely, it was the last major pitched battle of the Third English Civil War and the decisive mainland engagement of the wider conflict.
Fighting and resistance continued elsewhere, including in Scotland, the Channel Islands and overseas possessions. The Wars of the Three Kingdoms did not end everywhere at the same convenient moment.
Even so, Worcester marked a genuine conclusion. After 3 September 1651, no Royalist army could challenge Parliament in the field on anything approaching the same scale.
Places Connected with the Battle
Visitors can still explore several important locations:
- The Commandery: Charles II’s headquarters and now home to Worcester’s Civil War displays
- Fort Royal Park: site of the captured Royalist fort
- Powick Bridge: a key location in both the 1642 and 1651 campaigns
- Powick Church: associated with fighting around the crossing
- Worcester Cathedral: used as an observation point during the occupation
- Sidbury: the route through which Royalist troops retreated
- Perry Wood: Parliamentarian artillery position
- Boscobel House: connected with Charles II’s later escape
The best-preserved open portion of the battlefield lies south of Worcester between Powick Bridge and the confluence of the Teme and Severn.
The Seven Swords View
Worcester was not an elegant battle. It was fought across rivers, hedged fields, bridges, earthworks, suburbs and crowded streets. Cromwell’s plan was ambitious and temporarily exposed his divided army, but Parliamentarian experience and weight of numbers allowed him to recover when Charles counterattacked.
The Royalists were not swept aside at the first contact. Scottish troops resisted fiercely at Powick, and the attack from Worcester created a genuine crisis. Yet bravery could not repair the basic weaknesses of Charles’s campaign. England had not risen, Parliament controlled the roads, and Cromwell had reserves available when they mattered.
The description “crowning mercy” tells us how Cromwell interpreted the victory. It should not determine how we remember the battle. For the soldiers killed beside the Teme, hunted through Worcester or transported after capture, the end of the Civil Wars arrived with remarkably little mercy attached.