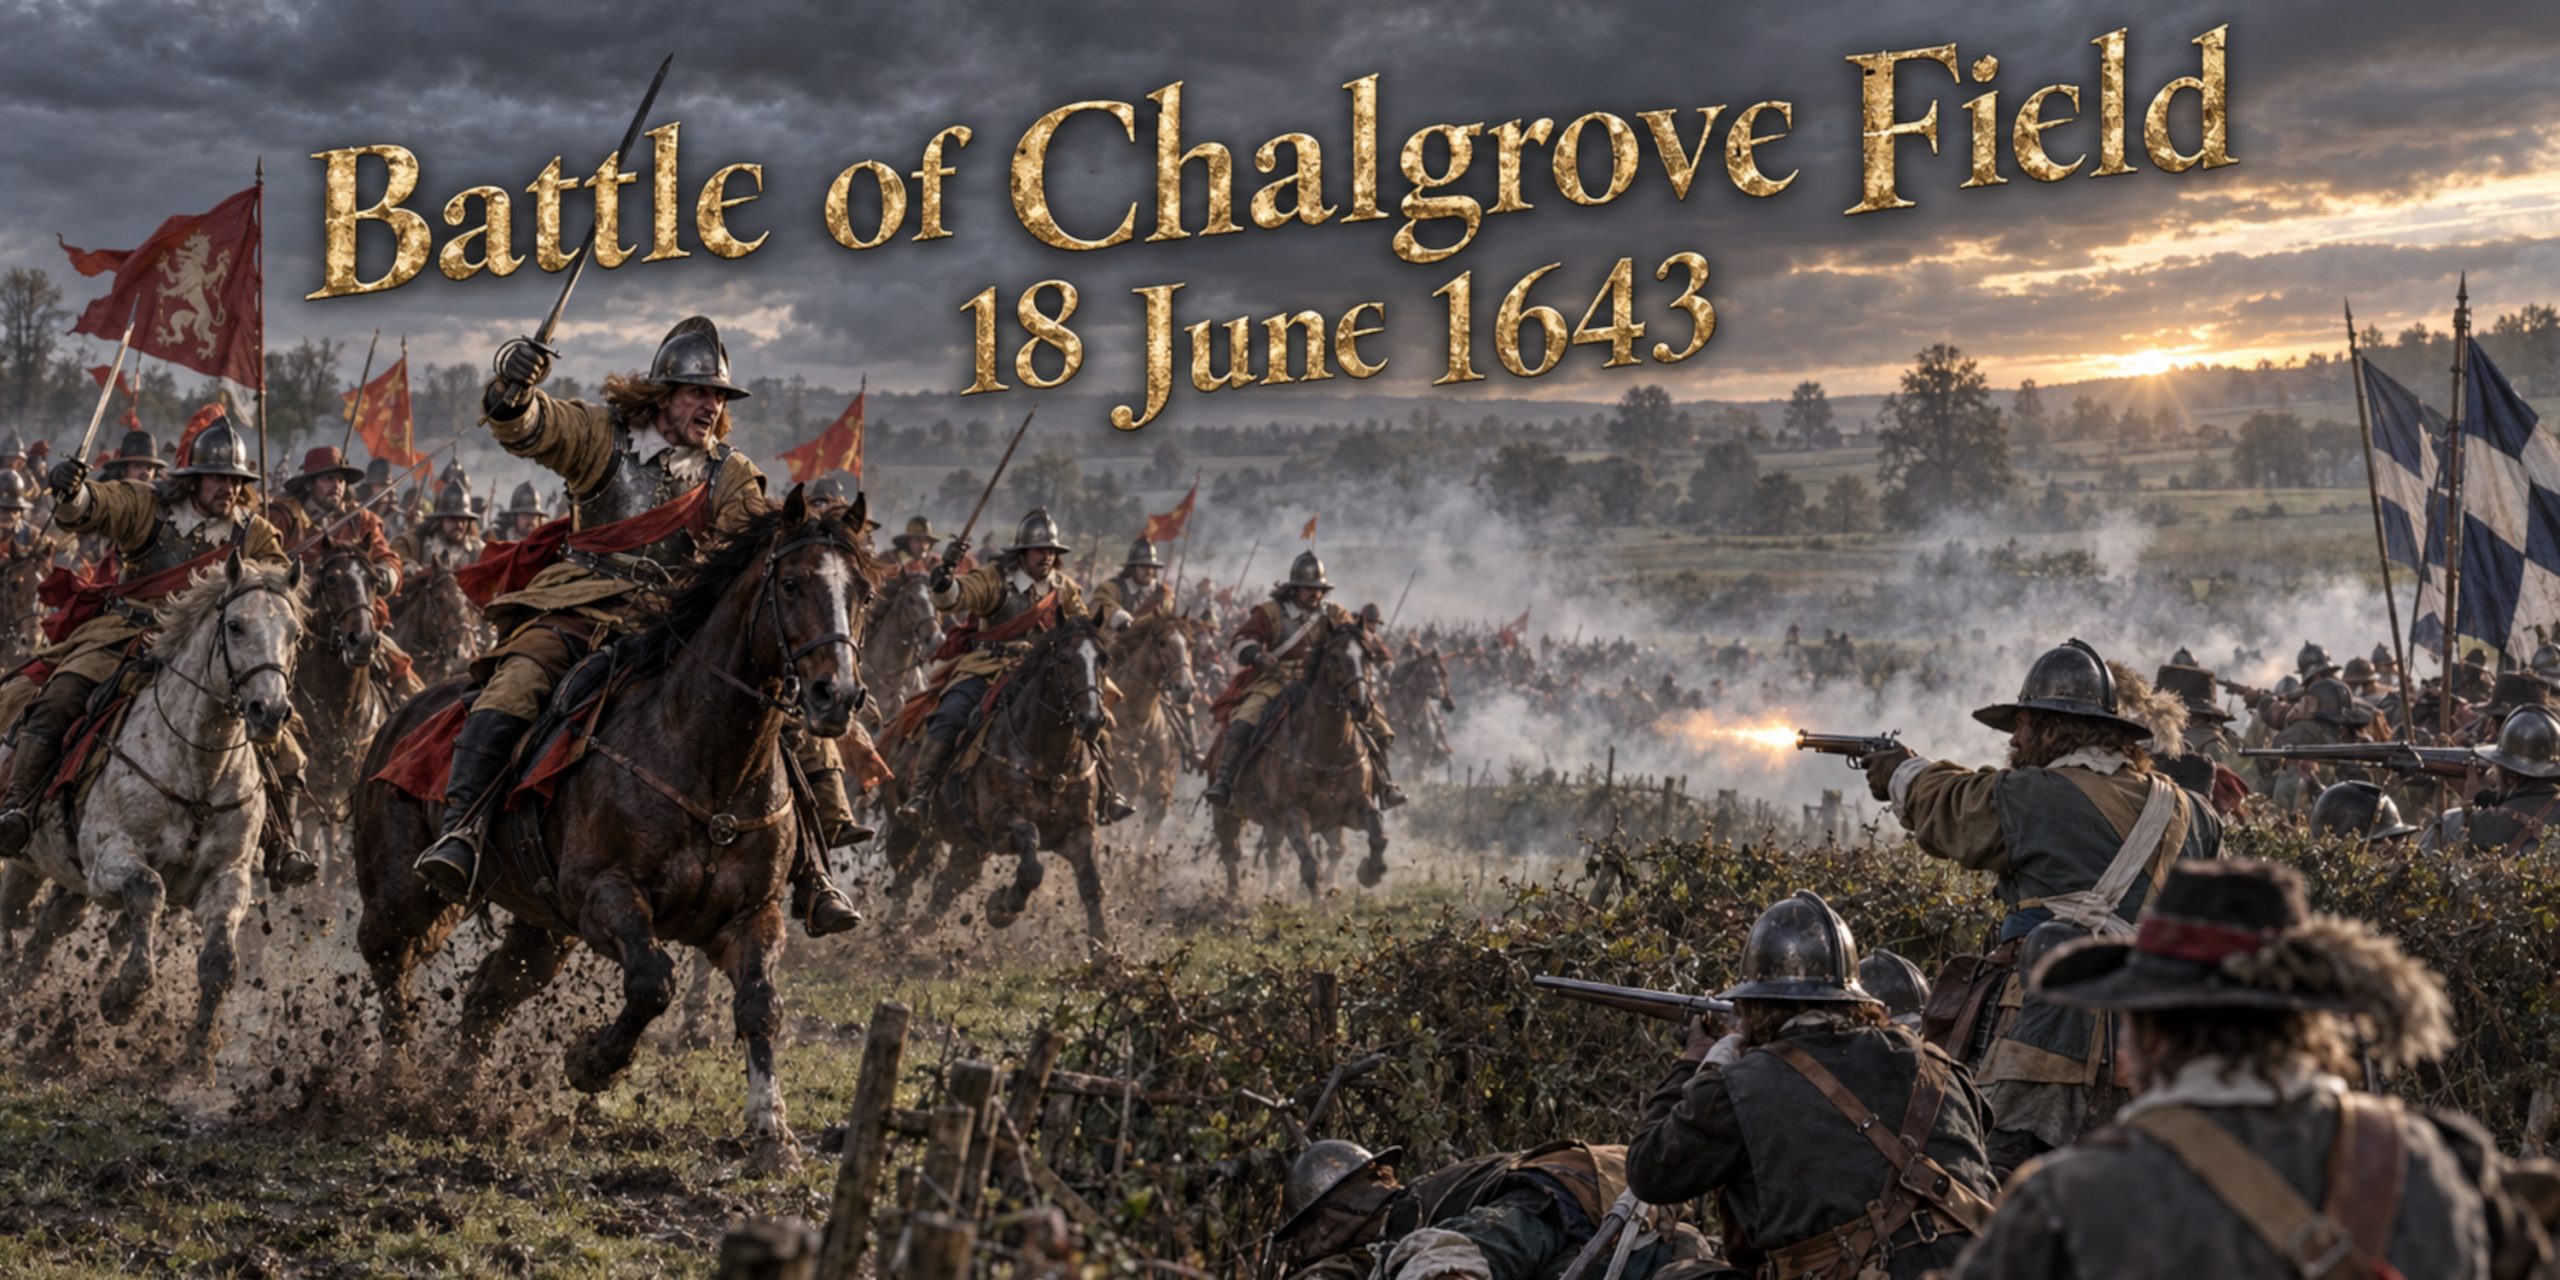
On the morning of 18 June 1643, Prince Rupert turned a difficult withdrawal into one of the sharpest Royalist cavalry victories of the First English Civil War. Near Chalgrove in Oxfordshire, his tired horsemen broke a pursuing Parliamentarian force before its main body could arrive.
Measured by numbers, Chalgrove Field was a modest action. It involved hundreds rather than tens of thousands and may have lasted less than an hour. Its consequences were considerably larger. The Parliamentarians lost Major John Gunter and, more significantly, John Hampden, one of the most respected political figures in England.
Chalgrove also demonstrated why Rupert was such a dangerous battlefield commander. He recognised that his pursuers were scattered, chose his ground and attacked before they could concentrate. It was bold, controlled and unusually tidy by Rupert’s standards. His cavalry even stopped when required, which must have felt like a small miracle to anyone who had watched them disappear over the horizon at Edgehill.
Battle of Chalgrove Field at a Glance
| Detail | Information |
|---|---|
| Date | 18 June 1643 |
| Location | Between Chalgrove and Warpsgrove, Oxfordshire |
| Conflict | First English Civil War |
| Result | Royalist victory |
| Royalist commander | Prince Rupert of the Rhine |
| Parliamentarian commanders | Sir Philip Stapleton, John Hampden, Major John Gunter and Colonel Dalbier |
| Royalist strength | Around 1,040 to 1,280 cavalry available at Chalgrove |
| Parliamentarian strength | Possibly 300 to 600 men present, with fewer initially engaged |
| Royalist losses | Approximately 10 to 12 killed according to Royalist claims, possibly higher |
| Parliamentarian losses | Around 45 killed according to Royalist claims, plus prisoners |
| Most important casualty | John Hampden, mortally wounded |
| Battlefield status | Registered battlefield |
The figures remain disputed. Contemporary reports were written to defend reputations and influence opinion, not to make life easy for historians four centuries later.
Why Was the Battle Fought?
By the summer of 1643, Oxford had become the Royalist capital. Parliament’s principal field army, commanded by Robert Devereux, 3rd Earl of Essex, threatened the city from the east.
Essex had captured Reading in April, apparently opening the way towards Oxford. Yet his army was suffering from sickness, desertion and uncertain leadership. The Parliamentarian advance slowed while Royalist commanders looked for opportunities to disrupt it.
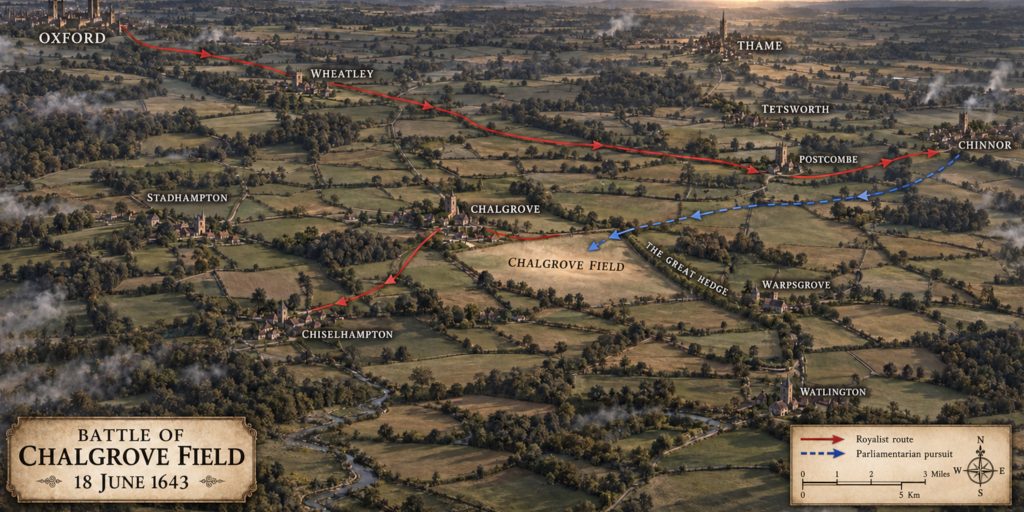
Prince Rupert learned that a convoy carrying approximately £21,000 in parliamentary funds might be moving through the region. He also knew that Essex’s forces were spread across several villages south-east of Oxford.
Rupert left Oxford during the afternoon of 17 June with a mobile raiding column. His objectives were probably flexible:
- Intercept the money convoy if possible
- Attack isolated Parliamentarian quarters
- Capture horses, weapons and supplies
- Gather intelligence
- Damage Parliamentarian confidence
- Return to Oxford before Essex could concentrate against him
The money escaped, but the raid itself was far from wasted.
The Raid on Postcombe and Chinnor
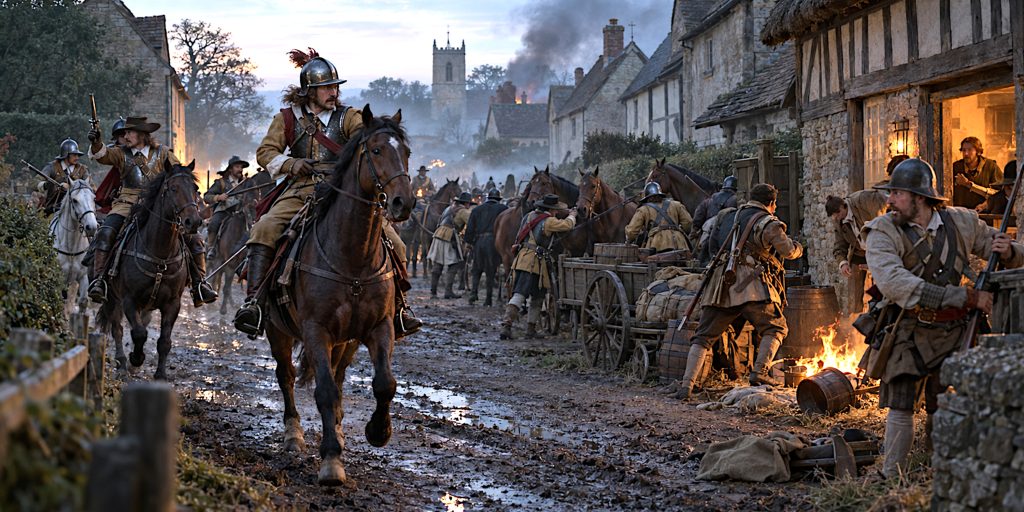
Rupert’s force moved through the night towards Postcombe and Chinnor. The Parliamentarian soldiers stationed there were tired after recent operations and had failed to maintain adequate guards.
At about 5am, Royalist troops attacked Chinnor. The defenders were caught by surprise. Houses were entered, soldiers were killed or captured, and horses and supplies were seized.
The Royalists may have inflicted around 50 casualties during the raid, although surviving reports do not always distinguish between losses at Chinnor and those suffered later at Chalgrove Field.
Rupert then began withdrawing towards Oxford. His column was slowed by prisoners, captured animals and plunder. Infantry moved at the head of the column while cavalry protected the rear.
This was the vulnerable stage of the operation. A raiding force burdened with prisoners and loot could quickly become a procession of tired men regretting every barrel, horse and bundle they had decided was worth stealing.
The Battlefield
The main action occurred between Chalgrove and the hamlet of Warpsgrove, approximately ten miles south-east of Oxford.
The landscape was central to Rupert’s plan. The area included open pasture, cultivated fields, lanes and substantial hedgerows. The most important feature was the so-called Great Hedge, probably a thick double hedgerow marking the boundary between Chalgrove and Warpsgrove parishes.
Rupert used this enclosed landscape to protect his position and conceal part of his force. Parliamentarian troops approaching from the east had to move through or around the hedged ground before reaching the open field.
The terrain gave Rupert several advantages:
- The Great Hedge protected part of his formation
- Open ground allowed Royalist cavalry to charge effectively
- Narrow approaches delayed the Parliamentarian pursuit
- Concealed dragoons could fire from behind hedges
- Parliamentarian units arrived in separate groups rather than together
Rupert was not simply charging at the nearest available enemy. He was constructing a trap.
Forces
Rupert had begun the raid with a sizeable combined force, but not all of it fought in the main action. His infantry and many of his dragoons were sent ahead to secure the crossing at Chiselhampton and protect the route back to Oxford.
Parliament’s forces were even less concentrated. Several small bodies joined the pursuit at different times, while Sir Philip Stapleton attempted to assemble a larger formation at Thame.
Estimated Forces at Chalgrove Field
| Royalist Army | Parliamentarian Army |
|---|---|
| Around 1,040 to 1,280 cavalry available | Approximately 300 to 600 cavalry and dragoons near the field |
| Additional dragoons deployed along the route | Only part of the force initially engaged |
| Infantry sent towards Chiselhampton | Larger reinforcements approaching under Stapleton |
| Better concentrated for the decisive charge | Arrived in separate and improvised formations |
Earlier accounts sometimes give Rupert’s entire raiding column as approximately 2,000 men, including around 1,150 cavalry, 350 dragoons and 500 infantry. Those figures should not be mistaken for the exact number taking part in the cavalry clash.
Leaders and Troop Composition
Royalist Command
| Leader | Role at Chalgrove |
|---|---|
| Prince Rupert of the Rhine | Overall commander and leader of the cavalry counter-attack |
| Thomas Wentworth, Lord Wentworth | Commanded Royalist horse and dragoons |
| William Legge | Senior Royalist officer involved in the expedition |
| Sir Henry Lunsford | Commanded infantry sent ahead towards Chiselhampton |
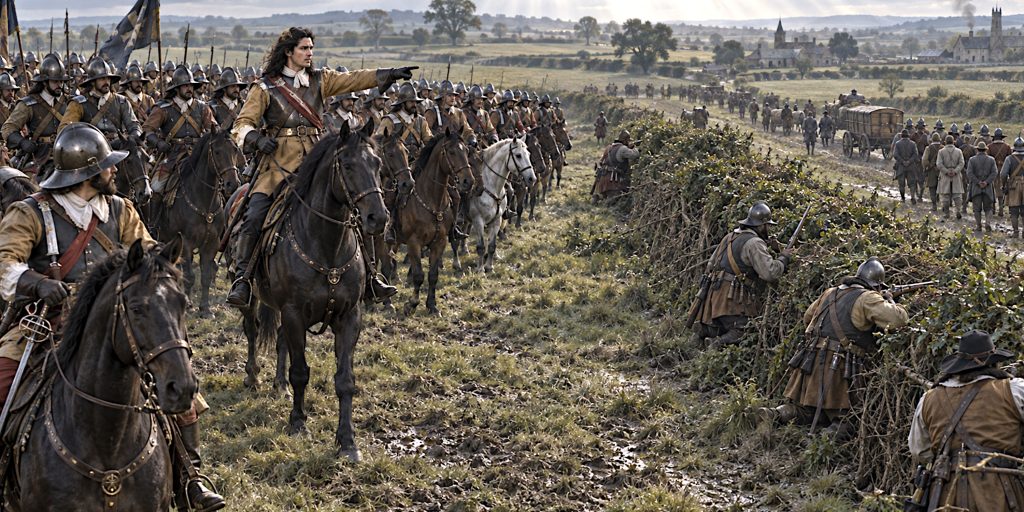
Prince Rupert was only 23 years old, but already possessed a fearsome military reputation. He favoured aggressive cavalry tactics built around speed, cohesion and physical shock.
Lunsford’s infantry did not play the principal role in the final clash. Their task was to keep the withdrawal route secure. It was less glamorous than charging across a field, but much more useful if the charging went badly.
Parliamentarian Command
| Leader | Role at Chalgrove |
|---|---|
| Sir Philip Stapleton | Senior cavalry commander assembling the main pursuit |
| John Hampden | Joined the pursuing cavalry and fought in the action |
| Major John Gunter | Led three troops in the initial pursuit |
| Colonel Dalbier | Experienced soldier who helped organise the dragoons and cavalry |
| Captain Dundas | Commanded Parliamentarian dragoons |
| Sir Samuel Luke | Parliamentarian officer active in the area before the engagement |
Hampden was better known as a politician than a cavalry commander. His presence nevertheless mattered. He understood the local country and possessed immense personal authority among Parliament’s supporters.
Troop Composition
The Royalist expedition included:
- Cavalry trained to attack with the sword
- Mounted dragoons who normally dismounted to fight
- Musketeers and other infantry
- Officers and messengers maintaining contact along the extended column
The Parliamentarian force included:
- Several troops of horse
- Dragoons equipped with firearms
- Small bodies gathered from different quarters
- Senior officers who joined the pursuit independently
The Parliamentarian response was energetic but poorly coordinated. Courage was not in short supply. Time and concentration were.
Arms and Armour
Chalgrove was primarily a cavalry and dragoon action. Firearms opened the fighting, but swords decided the close encounter.
Cavalry Weapons
| Weapon | Users | Battlefield role |
|---|---|---|
| Flintlock or wheellock pistol | Cavalry officers and troopers | Fired before contact or at extremely close range |
| Carbine | Some cavalry and mounted troops | Short firearm used from horseback |
| Basket-hilted broadsword | Cavalry on both sides | Heavy cutting weapon for close combat |
| Basket-hilted backsword | Cavalry and officers | Single-edged sword offering good hand protection |
| Early mortuary sword | English cavalry officers and troopers | Cut-and-thrust weapon associated with the Civil War period |
| Sword hanger | Infantry and dragoons | Shorter secondary sword carried beside a firearm |
The exact sword carried by each named participant cannot be established. Surviving English cavalry swords from the period show considerable variation, even within forces serving the same cause.
The early mortuary sword is particularly associated with the English Civil War. It normally had a straight, double-edged blade and a protective iron guard composed of bars or plates. The name was applied by later collectors and should not be treated as the weapon’s contemporary battlefield designation.
Basket-hilted backswords and broadswords were also common. Their substantial guards protected the hand during mounted combat, while their blades were effective against an opponent’s head, arms and upper body.
Firearms
Parliamentarian cavalry appear to have fired carbines and pistols as Rupert’s men advanced. A Royalist account reported that they:
“gave us their first Vollie of Carbins and Pistolls at a distance”
The Parliamentarians supposedly had time to discharge a second pistol before the Royalists reached them. This tells us something important about the distance covered and the discipline of Rupert’s charge.
Royalist cavalry doctrine placed greater emphasis on maintaining formation and closing with the sword. Parliamentarian cavalry at this stage of the war were more inclined to use firearms before contact. In practice, neither side followed a perfectly uniform system.
Armour and Clothing
Cavalry equipment could include:
- Iron helmets, including lobster-tailed pot helmets
- Buff leather coats
- Breastplates and backplates
- Leather gauntlets
- Riding boots
- Cross-belts carrying pistols and ammunition
- Scarves or field signs used for identification
Dragoons were generally more lightly protected. Their principal weapons were muskets or carbines, supported by swords. They rode to reach a position but usually fought on foot.
By 1643, complete cavalry armour was increasingly uncommon. A helmet, breastplate and thick buff coat offered a more practical compromise between protection and movement.
The Parliamentarian Pursuit
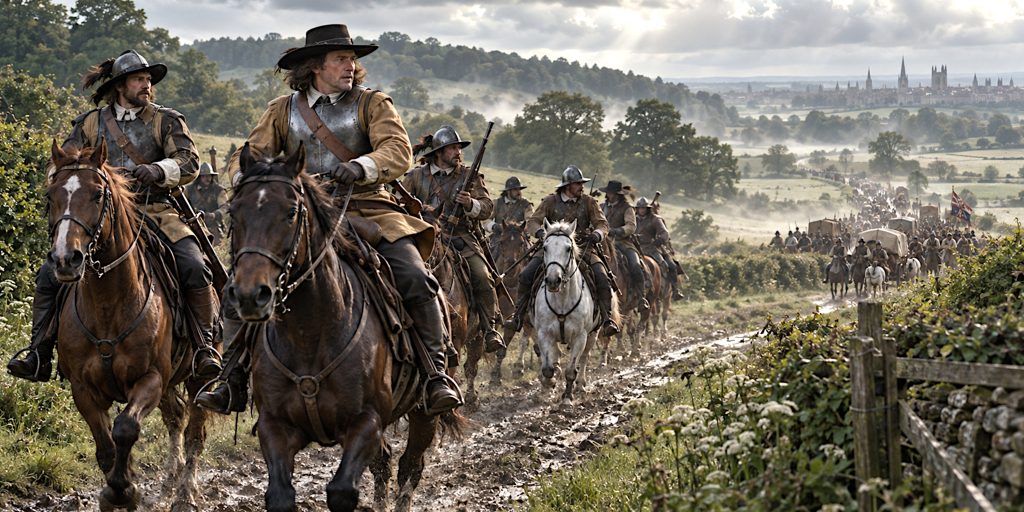
News of the attack spread quickly. Major John Gunter rode out with three troops of cavalry and began pursuing Rupert’s retreating force. John Hampden, who was already in the area with Sir Samuel Luke, joined the pursuit.
Colonel Dalbier and several groups of dragoons also came up. More cavalry followed, while Stapleton attempted to organise reinforcements from Thame.
According to Essex’s subsequent report, the Parliamentarians remained on the Royalist rear for almost five miles. Their determination forced Rupert to respond.
Continuing towards Oxford would have left the Royalist rearguard exposed to repeated attacks. Turning the whole column around risked disorder. Rupert instead sent the slowest elements onwards and selected Chalgrove Field for a concentrated counter-attack.
Rupert Prepares His Counter-Attack
Rupert ordered Sir Henry Lunsford to continue towards Chiselhampton with the infantry, prisoners and captured goods. Securing the bridge there protected the final approach to Oxford.
Royalist dragoons took positions near the Great Hedge and along the route of withdrawal. Rupert then formed his cavalry in the open field beyond the hedge.
The Parliamentarians approached in separate bodies. Some remained near Warpsgrove House, while others moved towards the Royalist position. Colonel Dalbier’s dragoons used the hedge as cover and fired upon Rupert’s men.
Rupert had achieved precisely what he needed. His opponents were in front of him, their reinforcements were still arriving, and his own cavalry was concentrated.
The Battle of Chalgrove Field
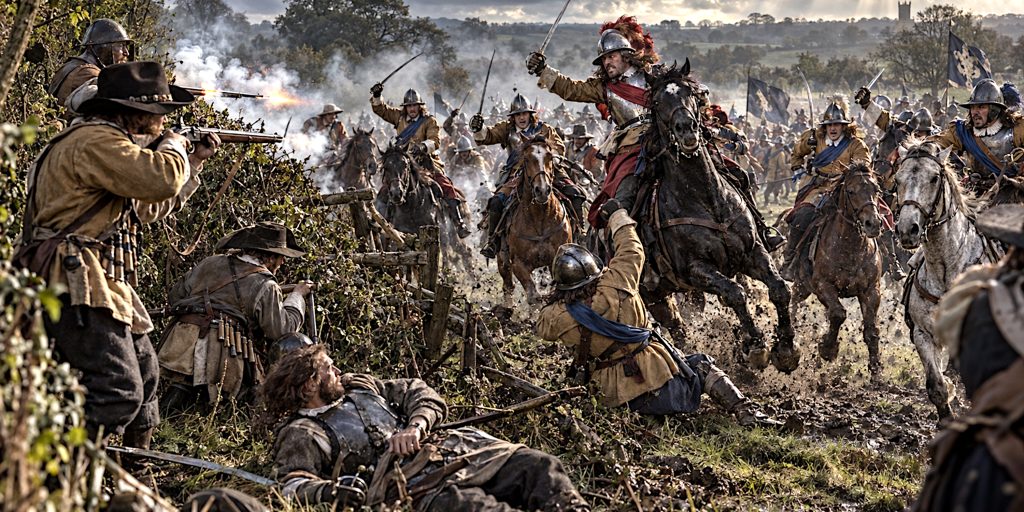
The Parliamentarian horse opened fire as the Royalists advanced. Carbines and pistols discharged across the field, but the volleys failed to stop Rupert’s formation.
Traditional accounts state that Rupert leapt the hedge on horseback. Other troopers probably passed through openings or rode around it. Whether every flourish of this story is accurate hardly matters. Rupert was visibly leading from the front, which was one reason his men followed him so readily.
The Royalist cavalry crossed the intervening ground and struck the Parliamentarian line. Hampden, Gunter and Dalbier’s men resisted, but they were outnumbered and lacked support from Stapleton’s approaching force.
Close combat would have involved:
- Sword cuts aimed at the head, face and arms
- Pistols fired at almost touching distance
- Horses colliding or forcing gaps in formations
- Troopers attempting to maintain ranks amid hedges and broken ground
- Dragoons withdrawing once cavalry reached their position
The Parliamentarian formation broke. Major Gunter was killed close to the hedge, while Hampden suffered serious wounds to his shoulder.
Rupert’s men pursued only briefly. Their horses had marched and fought through the night, and the Royalist commander still needed to bring his raiding force safely home.
By the time Stapleton’s main body reached the area, the decisive fighting was probably over.
Battle Timeline
| Approximate time | Event |
|---|---|
| Afternoon, 17 June | Rupert leaves Oxford with cavalry, dragoons and infantry |
| Night of 17 to 18 June | Royalist column moves towards Postcombe and Chinnor |
| Around 5am | Royalists surprise Parliamentarian troops at Chinnor |
| Early morning | Prisoners, horses and supplies are captured |
| Around 6:30am | Rupert begins withdrawing towards Oxford |
| Morning | Gunter, Hampden, Dalbier and other officers organise a pursuit |
| Around 8:30am | Parliamentarian troops press the Royalist rearguard |
| Shortly before 9am | Rupert sends his infantry towards Chiselhampton and deploys his cavalry |
| Around 9am | Parliamentarian firearms open the engagement |
| Shortly afterwards | Royalist cavalry charges and breaks the Parliamentarian line |
| Late morning | Rupert withdraws towards Chiselhampton |
| 24 June | John Hampden dies from his wounds |
The times are approximate and depend upon reconstructions of conflicting accounts.
John Hampden’s Mortal Wound
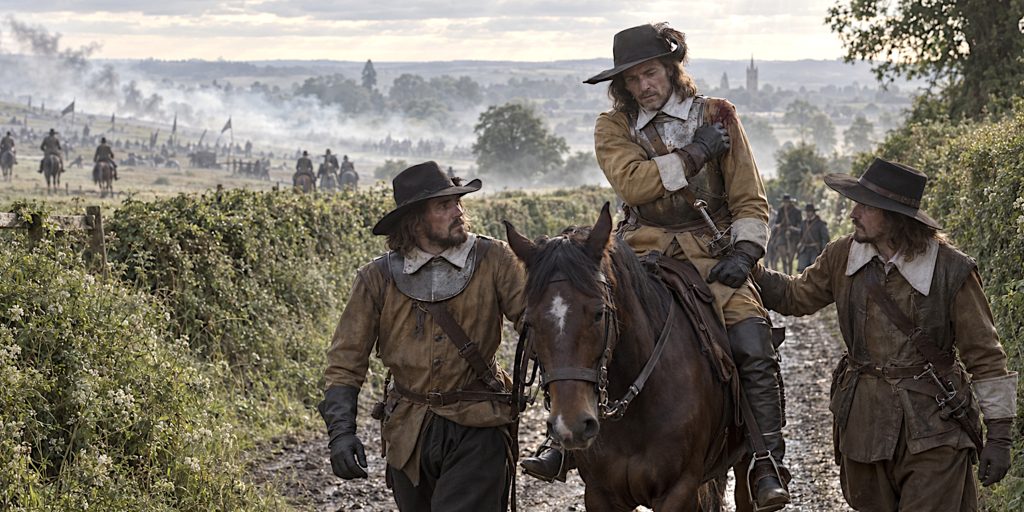
John Hampden was wounded during the collapse of the Parliamentarian position. Contemporary and later descriptions vary, but the strongest evidence indicates that he was struck by one or more pistol balls in the shoulder.
He managed to leave the field and reached Thame, where he died on 24 June, six days after the battle.
A later story claimed that one of Hampden’s own pistols exploded and injured him. The theory became popular partly because it added a grim twist to the story, but it is not supported by convincing contemporary evidence.
Hampden’s death transformed the historical importance of Chalgrove. He had opposed Charles I over ship money and was one of the Five Members whom the king attempted to arrest in January 1642. Within Parliament, he was valued as a calm organiser who could work across political divisions.
His friend Anthony Nicholl wrote:
“Never Kingdom received a greater loss in one subject.”
That grief was political as well as personal. Parliament had lost one of the few men capable of holding together its increasingly argumentative leadership.
Casualties
The casualty figures are uncertain because reports mixed together the raid on Chinnor, the pursuit and the battle itself.
| Account | Reported losses |
|---|---|
| Royalist report | Around 45 Parliamentarians killed and 10 to 12 Royalists |
| Earl of Essex’s version | Approximately 45 killed across both sides, with many said to be Royalists |
| Later estimates | Parliamentarian losses generally placed below 50, excluding prisoners |
Notable casualties included:
- Major John Gunter, killed
- John Hampden, mortally wounded
- An unknown number of Parliamentarian officers and troopers
- Royalist cavalrymen killed or wounded during the approach and close fighting
Claims that Parliament lost an unusually large number of senior officers should be treated cautiously. They partly derive from Royalist narratives written to magnify the victory.
Why Did the Royalists Win?
Better Concentration
Rupert assembled his available cavalry before the Parliamentarians could unite. His opponents entered the area in separate groups and were defeated before Stapleton’s larger force arrived.
Effective Use of Terrain
The Great Hedge protected Rupert’s deployment and concealed parts of his force. The open pasture beyond it gave his cavalry room to charge.
Aggressive Cavalry Doctrine
Rupert’s cavalry absorbed pistol fire and continued forward. Once they reached close quarters, their cohesion and numbers overwhelmed the Parliamentarian line.
Clear Command
Rupert divided the problem into manageable parts. Infantry protected the bridge, dragoons secured the route and cavalry confronted the pursuers.
Parliamentarian Impatience
Gunter, Hampden and Dalbier were right to maintain contact with the Royalists, but attacking before Stapleton arrived exposed them to a stronger formation. Waiting might have allowed Rupert to escape. Advancing allowed him to turn on them. It was an unpleasant choice, which is usually the sort offered by a capable opponent.
Archaeology of Chalgrove Field
The registered battlefield covers approximately 96 hectares between Chalgrove and Warpsgrove. Much of the land remains under cultivation, although modern development has altered sections of the landscape.
Important changes include:
- Construction of Chalgrove Airfield during the Second World War
- Diversion of the old B480
- Removal of part of the historic hedge system
- Agricultural development
- Creation of an industrial estate and business park
The probable line of the Great Hedge can still be reconstructed from historic maps and surviving landscape boundaries. It ran roughly north-west to south-east and probably followed the former parish boundary.
Archaeological investigation has so far been limited. Historic England records no confirmed battle-related finds or features in the Oxfordshire Historic Environment Record. A geophysical survey near the former site of Warpsgrove House in 2014 produced inconclusive results, although it may have detected traces connected with the lost house or church.
Potential battlefield finds could include:
- Lead pistol and carbine balls
- Iron horseshoes and nails
- Buckles and harness fittings
- Buttons and dress fittings
- Fragments of firearms
- Broken sword furniture
- Coins or personal possessions
The absence of recorded finds does not mean that the battlefield lacks archaeological potential. It means that it has not received the kind of systematic survey undertaken at some larger Civil War sites.
The ground remains historically valuable because its topography helps explain the action. The relationship between the Great Hedge, Warpsgrove, the open field and the route to Chiselhampton is effectively the battle plan written into the landscape.
Contemporary Accounts
Several pamphlets and official letters described the raid and battle. These include:
- A True Relation of a Gret Fight Between the Kings Forces and the Parliaments
- Two letters published by the Earl of Essex on 23 June 1643
- His Highnesse Prince Ruperts Late Beating up the Rebels Quarters
- Edward Hyde’s account, later incorporated into his history of the Civil War
Essex reported that the Parliamentarian troops charged despite the “inequality of the numbers”. The Royalist account naturally presented the result as a splendid victory won through courage and discipline.
Neither side offered a neutral description. Parliament wanted to minimise an embarrassing reverse. The Royalists wanted to present Rupert as irresistible. Seventeenth-century news pamphlets were perfectly capable of reporting facts, but they rarely allowed modesty to spoil a good headline.
Aftermath
Rupert brought his force, prisoners and captured supplies back towards Oxford. The success strengthened Royalist morale and deepened criticism of Essex’s handling of the campaign.
The battle contributed to several developments:
- Parliament’s pressure on Oxford weakened
- Rupert’s reputation as a cavalry commander grew
- Royalist control of the immediate region improved
- The arrival of Queen Henrietta Maria’s arms convoy became easier
- Parliament lost John Hampden at a politically dangerous moment
Chalgrove was followed by further Royalist successes during the summer of 1643. Queen Henrietta Maria reached Oxford with weapons and reinforcements, while Rupert later took part in the campaign that captured Bristol.
The battle alone did not force Essex to abandon his advance. Disease, desertion, shortages and wider strategic problems were also responsible. Chalgrove nevertheless confirmed that the Royalists could strike beyond Oxford and punish dispersed Parliamentarian troops.
Was Chalgrove a Battle or a Skirmish?
By the standards of Marston Moor, Naseby or Edgehill, Chalgrove was a small engagement. Historic assessments suggest that approximately 600 Parliamentarians and a little over 1,000 Royalist cavalry may have been present around the decisive action.
Calling it a skirmish is defensible. Calling it unimportant is not.
Chalgrove deserves recognition because it combined:
- A large and carefully organised raid
- A tactically significant cavalry action
- The mortal wounding of John Hampden
- A measurable effect on Parliamentarian morale
- An unusually clear example of Rupert’s battlefield methods
Historic England added Chalgrove to the Register of Historic Battlefields in 1995. Its importance rests less upon its scale than upon the political weight of one casualty and the tactical clarity of Rupert’s victory.
The Hampden Monument
A monument to John Hampden was erected near the battlefield in 1843, two centuries after the action. It was funded by George Nugent-Grenville, a politician and admirer of Hampden.
The monument stands near a crossroads south-east of the probable centre of the fighting. It should not be mistaken for the exact location where Hampden was wounded.
Its construction reflected the nineteenth-century image of Hampden as a constitutional hero. By then, Chalgrove had become a place of political memory as much as military history.
Legacy of the Battle
Chalgrove Field captures the English Civil War at its most intimate. There were no enormous infantry lines or prolonged artillery bombardments. Instead, it was a confused morning of raids, hurried pursuit, hedgerow gunfire and a brief cavalry charge.
Rupert’s conduct deserves serious credit. He protected his retreat, separated his forces according to function and attacked at the moment when his opponents were most exposed. His decision was aggressive, but it was not reckless.
The Parliamentarian officers also showed considerable courage. Hampden and Gunter pursued a stronger enemy because allowing the Royalists to raid without opposition would have been damaging in its own right. Their mistake was engaging before sufficient support arrived.
The enduring tragedy is Hampden’s death. Chalgrove removed a politician whose patience and personal authority were badly needed by Parliament. A small battle therefore produced consequences far beyond its casualty list.
That is why Chalgrove matters. It was a short engagement in an Oxfordshire field, but for Parliament it was the morning on which a tactical defeat became a national loss.
Frequently Asked Questions
Who won the Battle of Chalgrove Field?
The Royalists won. Prince Rupert’s cavalry broke the Parliamentarian force and completed its withdrawal towards Oxford.
When was the battle fought?
The main engagement took place on the morning of 18 June 1643.
Was John Hampden killed during the battle?
Hampden was seriously wounded at Chalgrove and died at Thame six days later, on 24 June 1643.
How large was the battle?
The exact numbers are disputed. Rupert may have had more than 1,000 cavalry available, while the Parliamentarian force present probably numbered between 300 and 600 men.
What was the Great Hedge?
It was a substantial hedgerow, probably marking a parish boundary. It shaped the deployment of both armies and provided cover for troops during the battle.
Can the battlefield be visited?
The registered battlefield lies in agricultural land near Chalgrove and Warpsgrove. The Hampden Monument is the most visible commemorative feature, although it does not mark the precise centre of the fighting.
Sources
- Historic England battlefield listing
- Historic England battlefield report
- Oxoniensia, The Raid on Chinnor and the Fight at Chalgrove Field
- Victoria County History, Chalgrove