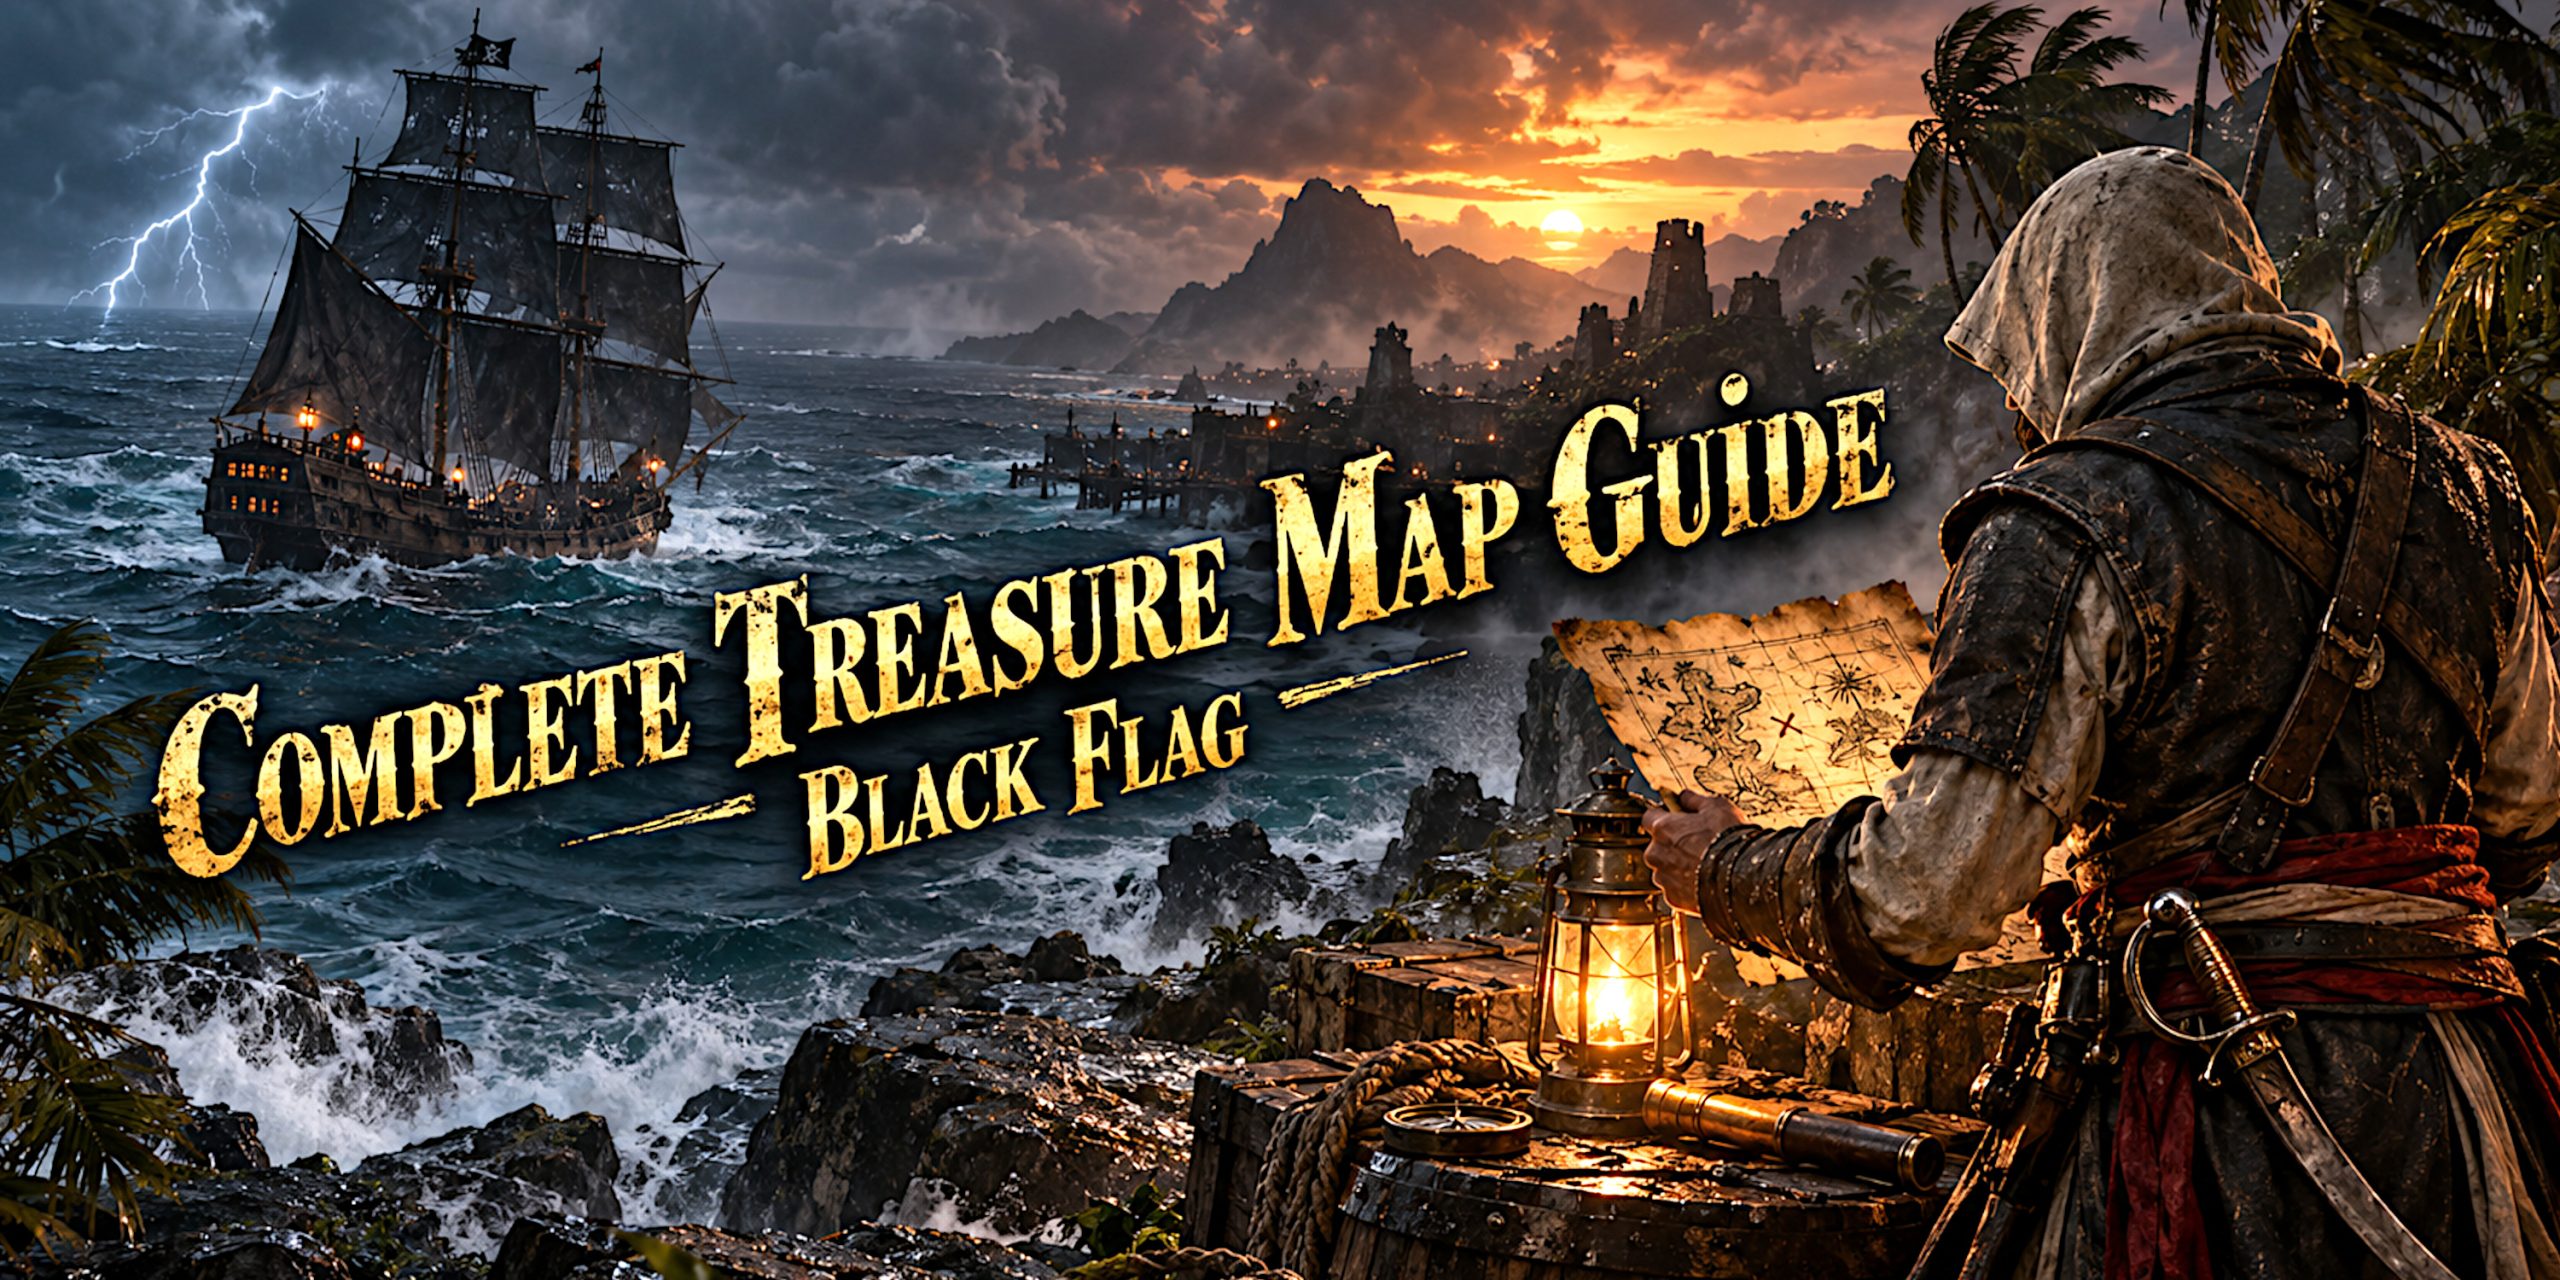
Treasure maps in Assassin’s Creed IV: Black Flag Resynced are more than a pleasant excuse to abandon the main story and stare at suspicious palm trees. Their rewards include Reales, rare outfits, legendary weapons, ship cosmetics, art and six Ultimate Plans for the Jackdaw.
There are 30 treasure objectives in the full game. This includes 24 conventional maps, the Map of Shipwreck, Blackbeard’s Treasure Map and five restored maps assembled by the Treasure Dealer at Great Inagua.
This guide lists where every map is obtained, where its treasure is buried and what Edward receives for finding it. The coordinates apply to the 2026 Resynced edition, not the original 2013 release. The islands have moved, presumably because even geography fancied a remaster.
How Treasure Maps Work
Most maps are taken from skeletons, looted from warehouses or earned through a specific activity. Once collected, a map appears in Edward’s inventory with a sketch and coordinates pointing towards a second location.
You must own the relevant map before the dig prompt appears. Sailing straight to the correct beach with a guide open will not let you excavate the chest early. The game insists Edward has seen the drawing first, which feels needlessly bureaucratic for piracy but is at least consistent.
To make the process easier:
- Synchronise viewpoints before searching an island.
- Unlock fast travel across each region before beginning a long treasure run.
- Select the map in the inventory so its clue remains easy to check.
- Use the coordinates to reach the right area, then match the drawn landmarks.
- Clear nearby enemies if the dig prompt refuses to appear.
- Remember that Princípe, Isla Providencia and Long Bay are locked behind story progress.
Nothing is missable. Every map and reward can still be collected after completing the story.
All Standard Treasure Maps and Rewards
The table below covers the 24 conventional treasure routes. The map coordinate is where the clue is acquired. The treasure coordinate is where Edward must dig or open the associated cache.
| Map found at | Map coordinates | Treasure location | Treasure coordinates | Reward |
|---|---|---|---|---|
| Havana | 217, 571 | Havana | 213, 564 | Queen Anne’s Figurehead plan and 3,000 Reales |
| Havana warehouse | 205, 600 | Anotto Bay | 590, 245 | Crimson Cloak and 2,000 Reales |
| Cape Bonavista | 161, 585 | Cape Bonavista | 146, 587 | 1,500 Reales |
| Nassau warehouse | 593, 750 | Isla Providencia | 487, 11 | Governor’s Outfit and 2,000 Reales |
| Andreas Island | 543, 693 | Abaco Island | 586, 811 | Earth Monster Relief and 2,500 Reales |
| Abaco Island | 581, 804 | Salt Lagoon | 719, 607 | Serpent Figurehead plan and 3,000 Reales |
| Mariguana Island | 847, 514 | Andreas Island | 544, 693 | Harpoon Strength Ultimate Plan and 3,000 Reales |
| Great Inagua | 813, 448 | Nassau | 586, 755 | Elite Sails plan and 3,000 Reales |
| Great Inagua, after displaying 11 portraits | No fixed pickup coordinate | Great Inagua | 820, 430 | The Fortune legendary cutlass |
| Salt Lagoon | 723, 608 | New Bone | 407, 94 | Maize Deity and 2,500 Reales |
| Tortuga | 851, 352 | Matanzas | 312, 617 | Mortar Storage Ultimate Plan and 3,000 Reales |
| Petite Caverne | 862, 237 | Tulum | 40, 372 | Fire Barrel Storage Ultimate Plan and 3,000 Reales |
| Cumberland Bay | 648, 345 | Pinos Isle | 304, 455 | Ivory Wheel plan and 3,000 Reales |
| Cayman Sound | 298, 311 | Petite Caverne | 863, 235 | Heavy Shot Storage Ultimate Plan and 3,000 Reales |
| Pinos Isle | 308, 456 | Cayman Sound | 304, 310 | 4,000 Reales |
| Santanillas | 191, 218 | San Juan | 455, 462 | Fire Barrel Strength Ultimate Plan and 3,000 Reales |
| Ambergris Key | 28, 160 | Misteriosa | 271, 178 | Heavy Shot Strength Ultimate Plan and 3,000 Reales |
| Corozal | 11, 242 | Ambergris Key | 30, 157 | Pirate Captain Outfit and 2,000 Reales |
| Misteriosa | 272, 175 | Kingston | 631, 152 | Gilded Hull plan and 3,000 Reales |
| Isla Providencia | 483, 19 | Long Bay | 503, 230 | Scottish Broadswords |
| Port Royal | 605, 132 | Princípe | 113, 11 | Standard Bearer art and 2,500 Reales |
| Île à Vache | 812, 114 | Jiguey | 534, 510 | Baroque Guitar art and 2,500 Reales |
| Kingston warehouse | 605, 156 | Cumberland Bay | 645, 355 | 4,000 Reales |
| Havana local event, Smelly Sailors | 225, 573 | Unmarked Dry Tortuga island | 356, 701 | Guardian Beast Trinket and 1,000 Reales |
The final entry is the Map of Shipwreck. It does not lead to a normal dig site. At the unmarked island, dive into the centre and open the two underwater chests. The map remains in the inventory afterwards, so do not spend an hour searching for a missing mound of earth. There is none.
The Best Treasure Maps to Collect First
If you care about upgrading the Jackdaw, prioritise the six maps that award Ultimate Plans:
- Harpoon Strength: map at Mariguana Island, treasure at Andreas Island.
- Mortar Storage: map at Tortuga, treasure at Matanzas.
- Fire Barrel Storage: map at Petite Caverne, treasure at Tulum.
- Heavy Shot Storage: map at Cayman Sound, treasure at Petite Caverne.
- Fire Barrel Strength: map at Santanillas, treasure at San Juan.
- Heavy Shot Strength: map at Ambergris Key, treasure at Misteriosa.
Heavy Shot Strength is my personal priority. Fully upgraded heavy shot turns close naval fights into brief, expensive arguments. Mortar Storage is also valuable when attacking forts or softening up Man O’ Wars from a distance.
Collectors working towards the art-related objective should focus on Abaco Island, New Bone, Princípe and Jiguey. These chests contain the Earth Monster Relief, Maize Deity, Standard Bearer and Baroque Guitar respectively.
Story-Gated Treasure Locations
Several coordinates can be seen before their islands are properly accessible. This is not a bug, although it has the emotional texture of one.
Isla Providencia
The Nassau warehouse map points to Isla Providencia at 487, 11. The island becomes accessible during Sequence 8, Mission 3, Marooned. From the southern viewpoint, follow the beach south to three palm trees near the wreckage. Dig in the sand between them.
Princípe
The Port Royal map leads to Princípe at 113, 11. Access opens during or after Sequence 9, Mission 2, Trust Is Earned. Search the south-eastern shoreline for a palm tree leaning over the water.
Long Bay
Long Bay opens during Sequence 10, Mission 3, The Observatory. The chest lies at 503, 230, slightly south of the three raised huts near the viewpoint.
The Trickiest Standard Treasure Locations
Anotto Bay
The warehouse map from Havana sends you to 590, 245. Look for the ruined diving bell near the shore, dive beneath it and follow the underwater tunnel into the pirate cave. The buried chest is in the chamber with enemies and explosive barrels, close to the exit leading outside.
San Juan
Enter the cove through the underwater passage, swimming past the jellyfish. Once Edward surfaces, deal with the first pirate and look near the shovels before climbing the wooden structure. The chest at 455, 462 is easy to walk past because the larger camp pulls your attention forward.
Petite Caverne
The treasure is at 863, 235, beyond the locked chest in the smuggler’s cave. Move towards the Hutia hunting area and check behind the rocks beside the waterfall and campsite.
Ambergris Key
Dive through the underwater entrance and follow the jellyfish into the ruins. As soon as Edward emerges, search the recess on the left before climbing the broad staircase. The chest sits at 30, 157.
Misteriosa
Fast travel to the northern viewpoint, but do not immediately leap from it with Edward’s usual enthusiasm. Turn towards the Mayan fountain and pond. The dig point at 271, 178 is concealed in tall grass and white flowers to the left.
Jiguey
Travel through the cave until reaching the beach occupied by pirates, including a brute. The treasure at 534, 510 is on the right-hand side between a palm tree, an overturned boat and a tent.
How to Complete Blackbeard’s Treasure Map
Blackbeard’s Treasure Map is awarded automatically after Sequence 8, Mission 1, Do Not Go Gently. It starts a dedicated quest at Anotto Bay rather than a normal dig-and-leave excursion.
Enter Anotto Bay through the underwater tunnel beneath the damaged diving bell at 590, 245. In the first pirate chamber, pick up one of the small explosive barrels, place it beside the breakable eastern wall and shoot it from a sensible distance. Edward is robust, but standing beside his own bomb remains poor tactical thinking.
Continue until reaching another enemy chamber. Carry a second explosive barrel up the slope behind the waterfall and destroy the next weak wall. The treasure lies beyond it.
Return to Great Inagua after completing the cave section and interact with the newly marked chest. The reward is Blackbeard’s Portrait, which is required for The Memory of My Enemy achievement or trophy.
How Restored Treasure Maps Work
The five restored maps belong to the expanded Treasure Dealer system in Black Flag Resynced. Rebuild the dealer’s stall at the Great Inagua docks, collect the required fragments and bring the additional trade goods needed for restoration.
These maps demand more work than the standard clues, but their rewards are considerably better. They include legendary weapons, an outfit, sails, a ship’s wheel, a crew appearance and a shanty. One of them also demands patience with Kenway’s Fleet, which is less romantic than buried gold but very faithful to the administrative side of running a pirate empire.
| Restored map | Fragments and goods | Treasure location | Reward |
|---|---|---|---|
| Weathered | 6 pieces and 350 Tobacco | Mystery Island, 914, 124 | Persian Scimitars and Gargoyle’s Breath |
| Yellowed | 10 pieces and 100 Aloe | Black Island, 915, 617 | Obsidian Sails, The Wellerman shanty and Helm of the Night Owl |
| Digested | 2 pieces and 200 Rum | Santanillas, 188, 215 | Hunter Outfit and Hunter’s Amulet |
| Tattered | 3 pieces and 200 Sugar | Florida, 381, 803 | Elite Wheel, Gilt Lined Sails and Sleek Crew Attire |
| Preserved | 4 pieces and 150 Tobacco | Sacrifice Island, 14, 554 | Shade and Shadow Robes and Wooden Eyeball |
Restored Weathered Map
Five Weathered pieces come from locked chests in the smuggler caves at Jiguey, San Juan, Anotto Bay, Petite Caverne and Ambergris Key. Kill the pirate leader in each cave, take the key and open the chest. Buy the sixth fragment from the Treasure Dealer.
Once restored, sail to Mystery Island and search the eastern half. The treasure at 914, 124 is inside a circular rock formation beside a haystack.
Restored Yellowed Map
Yellowed pieces are random rewards from Schooner trade missions in Kenway’s Fleet. Check the listed mission rewards for a map symbol before dispatching a vessel. Ten fragments are needed, making this the most luck-dependent restoration.
The completed map points to 915, 617 on Black Island. Search the north-eastern beach beside the shipwreck.
Restored Digested Map
Both fragments are dropped by the White Jaguar on Great Inagua. The animal must be hunted more than once because it drops only one fragment at a time and takes a while to respawn.
The restored map leads to a cave beneath the southern Mayan temple at Santanillas. Enter through the opening near the beach or the well above it, then dig at 188, 215.
Restored Tattered Map
Raise Edward’s wanted level until Frigate and Man O’ War Pirate Hunters appear. Board them and choose the Captain’s Lockbox reward. Brigs encountered at the lower wanted levels do not carry these fragments.
At Florida, head to the northern tip of the island. The treasure at 381, 803 lies beneath three palm trees near the shipwreck.
Restored Preserved Map
Preserved pieces are earned by raiding warehouses for a second time after they restock. The first successful raid at each warehouse awards its normal unique loot. Later raids can supply the fragments. Kenway’s Fleet scouting missions can help warehouses become available again sooner.
The finished map leads to Sacrifice Island. Search the south-western beach beneath the natural rock arch at 14, 554.
Watch the video guide:
Which Treasure Maps Count Towards Completion?
All treasure activities contribute to clearing the world, but the achievement and collection priorities are narrower:
- The six Jackdaw Ultimate Plans are needed for the ship upgrade objective.
- The Earth Monster Relief, Maize Deity, Standard Bearer and Baroque Guitar support the Great Inagua art collection.
- Blackbeard’s Portrait is tied to its own quest and trophy or achievement.
- Restored maps unlock some of the strongest and most distinctive equipment in the game.
For a clean completion route, collect maps as you naturally unlock each region, but postpone the restored Yellowed Map until Kenway’s Fleet is well established. Grinding ten random fragments early is a fine way to make the Caribbean feel like an office job with cannons.
Common Treasure Map Problems
The dig prompt does not appear
Confirm that the matching map is in Edward’s inventory. Being at the correct coordinates is not enough. Move slowly around the landmark and clear any hostile enemies nearby.
The coordinates look correct, but the island is inaccessible
The likely culprit is story progress. Isla Providencia, Princípe and Long Bay unlock during later sequences.
A restored map fragment will not drop
Check that you are using the correct activity. Yellowed fragments come from Schooner trade missions, Tattered fragments from high-level Pirate Hunter lockboxes, Digested fragments from the White Jaguar, and Preserved fragments from repeat warehouse raids.
The Shipwreck Map will not disappear
That map remains in the inventory after its underwater chests are opened. It is unusual, but normal.
Old guide coordinates lead to the wrong place
Guides written for the 2013 original use a different map layout. Black Flag Resynced retains many familiar locations but changes their world coordinates. Check the edition before blaming Edward, your controller or cartography as a profession.
Final Advice
Treasure hunting works best when folded into ordinary exploration. Pick up every map as soon as its icon appears, unlock viewpoints and resist the urge to cross the entire Caribbean for 1,500 Reales while the Jackdaw is still made of optimism and damp timber.
The practical prizes are the Ultimate Plans, but the restored maps offer the most satisfying rewards. Persian Scimitars, Gargoyle’s Breath and the Shade and Shadow Robes feel worthy of a genuine hunt. The piles of Reales are useful too, although Edward can burn through 3,000 of them with the fiscal restraint of, well, a pirate.