The Border Reiver era was not one long, untidy battle between England and Scotland. It was more complicated than that, and considerably more interesting.
From the late Middle Ages to the Union of the Crowns in 1603, the Anglo-Scottish frontier experienced royal invasions, aristocratic private wars, retaliatory raids, cattle theft, siege warfare and sudden violence at meetings supposedly arranged to keep the peace. The same Armstrong, Scott, Kerr, Graham, Maxwell, Johnstone or Fenwick might appear as a soldier in one document, a local official in another and a wanted thief in the next. The records rarely pause to explain the career change.
Some engagements, such as Flodden, were national battles fought by royal armies. Others, including Redeswire and Dryfe Sands, belonged more directly to the world of the Border Reivers, where surname, feud and local authority mattered as much as allegiance to a crown. Otterburn and Ancrum Moor sit somewhere between the two. They began within wider wars, yet their conduct was shaped by raiding, local knowledge and the military culture of the Marches.
That distinction matters. Calling every clash a Reiver battle turns a difficult frontier society into fancy dress. The real history is rougher, politically sharper and far less obliging.
What Counts as a Border Reiver Battle?
There was no official Reiver army. The word describes raiders and riding families rather than a recognised military branch. A man could join a royal host, serve a March warden, ride with his surname, pursue a feud or cross the Border for livestock. Several of those activities could occur in the same month.
The major conflicts of the era fall into four broad types:
- Royal warfare: Large English and Scottish armies fighting over diplomacy, succession or invasion, as at Flodden and Solway Moss.
- March warfare: Campaigns led by wardens and great northern lords, often combining official orders with local interests.
- Feud battles: Armed confrontations between surname groups, such as the Maxwells and Johnstones at Dryfe Sands.
- Raids and frays: Fast-moving attacks, rescues or accidental escalations, including Redeswire and the rescue of Kinmont Willie.
The frontier itself was divided into East, Middle and West Marches on both sides. Wardens were expected to suppress crime, recover stolen property and meet their opposite numbers at Days of Truce. These offices carried royal authority, but the wardens were often drawn from the same regional power networks they were meant to police. It was rather like asking the largest players at the table to adjudicate the game, then expressing surprise when they kept the best cards.
Kinship further complicated matters. Border families crossed political and marital boundaries, while local alliances could be more useful than distant patriotism. In 1583 the English official Thomas Musgrave explained that he was compiling the names and homes of:
“the riders and ill-doers both of England and Scotland”
His wording is revealing. The problem, as he saw it, was regional and familial. The international Border ran through it, but did not fully contain it.
Major Battles and Armed Clashes at a Glance
| Engagement | Date | Main forces | Outcome | Historical character |
|---|---|---|---|---|
| Otterburn | 5 August 1388, traditionally | Douglas and Moray against Henry and Ralph Percy | Scottish victory | A major raid ending in a night battle |
| Homildon Hill | 14 September 1402 | Archibald Douglas against the Percys | English victory | A returning Scottish raiding army intercepted |
| Sark | 23 October 1448 | Henry Percy against Hugh Douglas of Ormonde | Scottish victory | Magnate warfare with limited royal control |
| Flodden | 9 September 1513 | James IV against the Earl of Surrey | English victory | A full national battle fought in the Border country |
| Solway Moss | 24 November 1542 | Scottish invasion force against Thomas Wharton | English victory | A command collapse followed by rout and capture |
| Ancrum Moor | 27 February 1545 | Arran, Angus and Buccleuch against Eure and Layton | Scottish victory | A Rough Wooing raid turned pitched battle |
| Redeswire | 7 July 1575 | The retinues of Carmichael and Forster | Scottish advantage | A Day of Truce that became an armed fray |
| Dryfe Sands | 6 December 1593 | Johnstones and allies against Maxwells and allies | Johnstone victory | A feud battle within the Scottish West March |
| Kinmont Willie rescue | 13 April 1596 | Buccleuch’s raiding party against Carlisle Castle | Armstrong freed | A prison break with international consequences |
Troop numbers should be treated as estimates rather than census returns. Medieval chroniclers inflated armies, defeated officials reduced losses and family traditions rarely hired independent auditors.
Battle of Otterburn, 1388
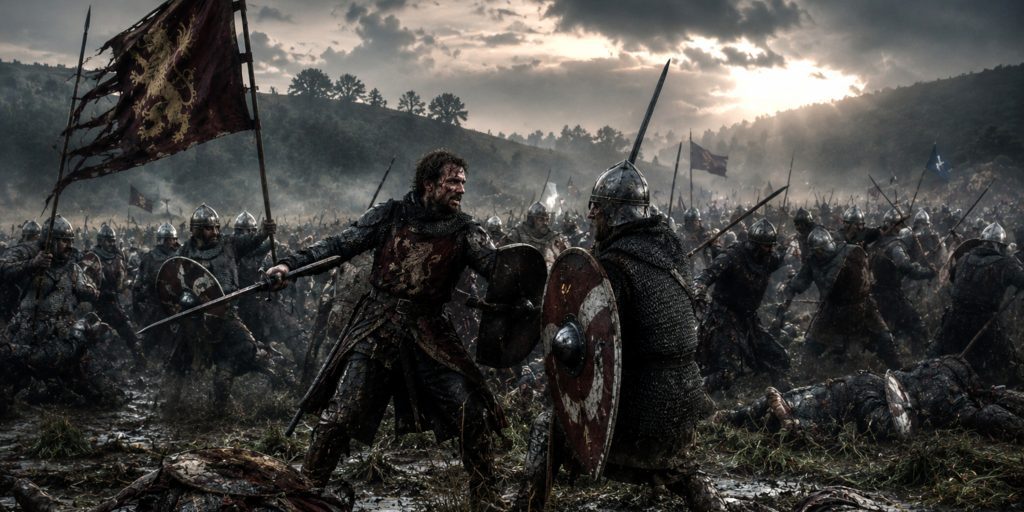
Otterburn is the clearest early example of a large raid becoming a formal battle. In the summer of 1388, Scottish forces took advantage of political division in England and crossed into the north. James Douglas, Earl of Douglas, led the eastern raiding column through Northumberland, while another Scottish force operated towards Carlisle.
Douglas’s men attacked the outskirts of Newcastle, where tradition and the chronicler Jean Froissart place a personal encounter between Douglas and Henry Percy, better known as Hotspur. The Scots then withdrew north-west and halted near Otterburn. Percy pursued rapidly and attacked in the evening, apparently hoping to catch the raiders before they could escape.
The result was a confused night battle. English troops struck the Scottish camp, but the Scots recovered and counter-attacked. Douglas was mortally wounded, yet his death was concealed long enough for his army to continue fighting. Hotspur and his brother Ralph Percy were captured, while the English force was driven off.
Froissart, who gathered testimony from men connected with the campaign, called Otterburn:
“one of the sorest and best foughten”
His account is full of chivalric language, but the battle was not an elegant tournament. It was fought in failing light, around a raiding camp, with formations struggling to identify friend and enemy. Its fame rests partly on that contradiction. Otterburn was admired as a contest between noble warriors, yet it emerged from a campaign of burning, seizure and economic destruction.
The battle also shows why speed did not guarantee success. Percy caught the Scottish column, but arrived without the care needed to co-ordinate a difficult attack. Local aggression had outrun command. Border warfare was very good at producing that particular problem.
Battle of Homildon Hill, 1402
Fourteen years after Otterburn, another Douglas-led raiding army entered northern England. This time the return journey ended very differently.
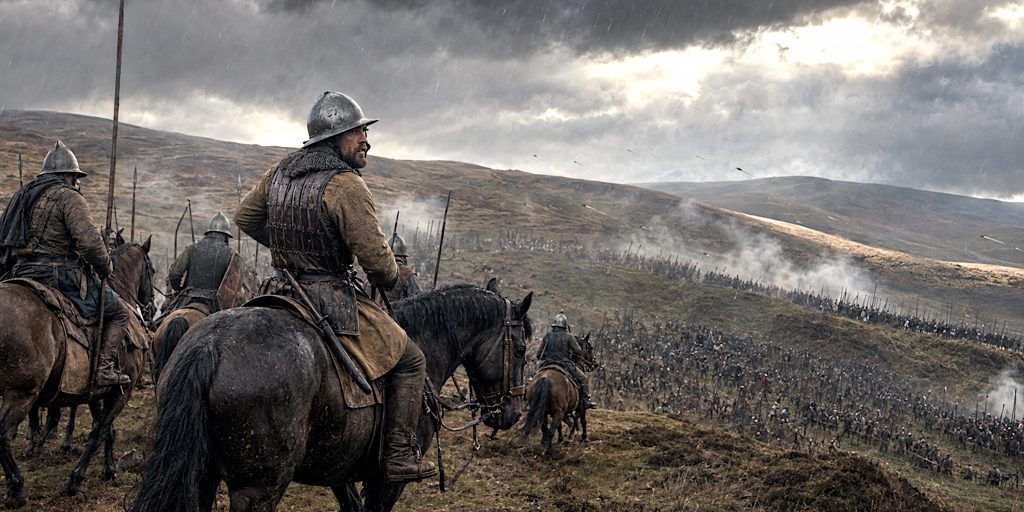
Archibald Douglas had penetrated as far as the Newcastle area and was carrying plunder north when an English force under Henry Percy, Earl of Northumberland, and Hotspur blocked the route near Wooler. Douglas took position on the slopes of Homildon Hill, now generally called Humbleton Hill.
The high ground looked defensible, but it left the Scots exposed to sustained longbow fire. English archers shot from a neighbouring position and inflicted serious losses. Douglas’s mounted men attempted to close the distance, but the attack failed under the weight of arrows. Douglas was wounded and captured, along with other leading Scots.
Homildon is often presented as a simple demonstration of the longbow’s supremacy. The weapon was certainly decisive, but command choices mattered. The Scots held an exposed slope and allowed the English to exploit range. No tactical device works in isolation, however much military history enjoys pretending otherwise.
The aftermath reached far beyond the Border. Henry IV demanded control of valuable Scottish prisoners and their ransoms. The dispute added to Percy resentment against the king and contributed to Hotspur’s rebellion in 1403. A raid for livestock and plunder had helped open a crisis within the English monarchy.
Battle of Sark, 1448
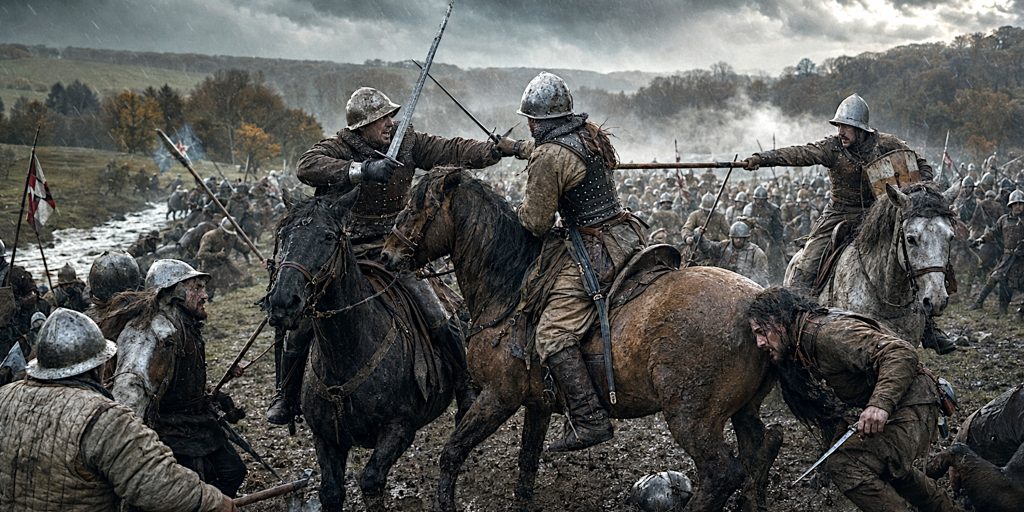
The Battle of Sark, fought near modern Gretna, is one of the most revealing and least remembered engagements of the medieval Border.
On 23 October 1448, Henry Percy, second Earl of Northumberland, crossed into Scotland with about 6,000 men and established a position near the Lochmaben Stone. Hugh Douglas, Earl of Ormonde, gathered an estimated 4,000 Scots and advanced to meet him. The English force included a substantial body of archers, while the Scottish army relied heavily on spear infantry.
At first the archers checked the Scottish advance. Ormonde then ordered a rapid attack across firm, level ground, closing the range before the English shooting could decide the battle. Northumberland had chosen a camp protected by the Esk, Sark and Kirtle Water. During the rout, those same watercourses obstructed escape. Men were driven towards the rivers and many were reported drowned.
Sark matters because it was not simply England against Scotland. Both kingdoms were ruled by weak or constrained monarchies, while the Percys and Black Douglases pursued their own power on the frontier. Historic Environment Scotland describes the campaign as a series of targeted, personal blows between magnate interests, even though Northumberland’s invasion probably had royal approval.
This is very close to the political world from which later Reiver society developed. Great houses defended the realm, defended themselves and sometimes found the distinction unnecessary.
Battle of Flodden, 1513
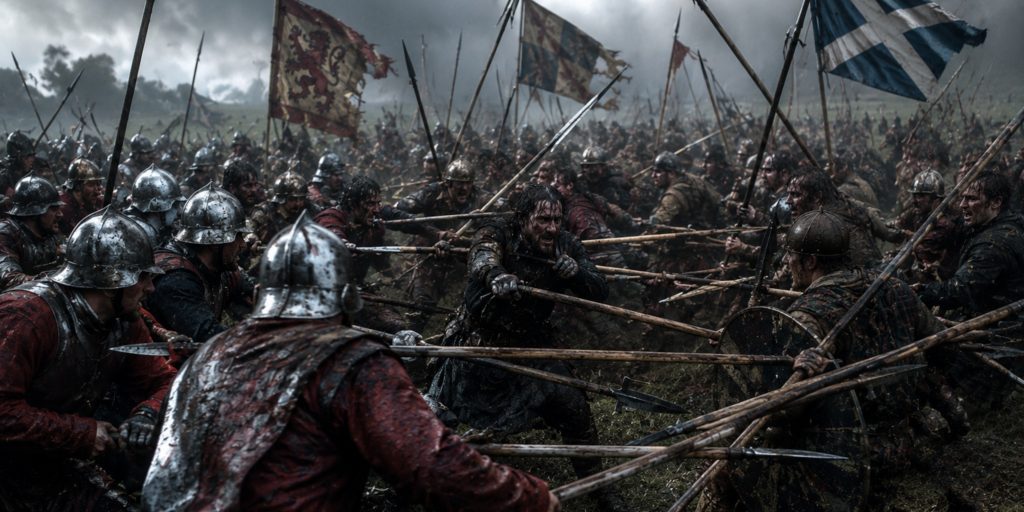
Flodden was fought in the Border country, but it was not a Reiver skirmish. It was a national battle involving royal strategy, artillery, massed infantry and armies numbering in the tens of thousands.
James IV invaded England in support of Scotland’s alliance with France while Henry VIII campaigned across the Channel. Thomas Howard, Earl of Surrey, assembled the English response. The armies met near Branxton on 9 September 1513.
James began from a formidable position on high ground. Surrey manoeuvred around it, threatening the Scottish line of retreat and forcing a change of front. The Scottish army descended in several divisions, armed heavily with long continental-style pikes. On uneven and difficult ground, those formations lost cohesion. English bills proved more manageable at close quarters, while English archery and artillery added pressure across the field.
The Scottish king was killed, along with a remarkable portion of the country’s political elite. Modern estimates vary, but the English army may have numbered around 26,000 and the Scots between 35,000 and 40,000. Casualty totals are less secure, although the scale of Scottish loss is beyond doubt.
For the Marches, the consequences were profound. James V inherited the throne as an infant, opening another royal minority. Local magnates acquired greater room to manoeuvre, while raids and reprisals continued beneath intermittent truces. It would be too simple to say that Flodden created the Reivers. It did, however, weaken central authority at exactly the moment when the frontier required more of it.
Battle of Solway Moss, 1542
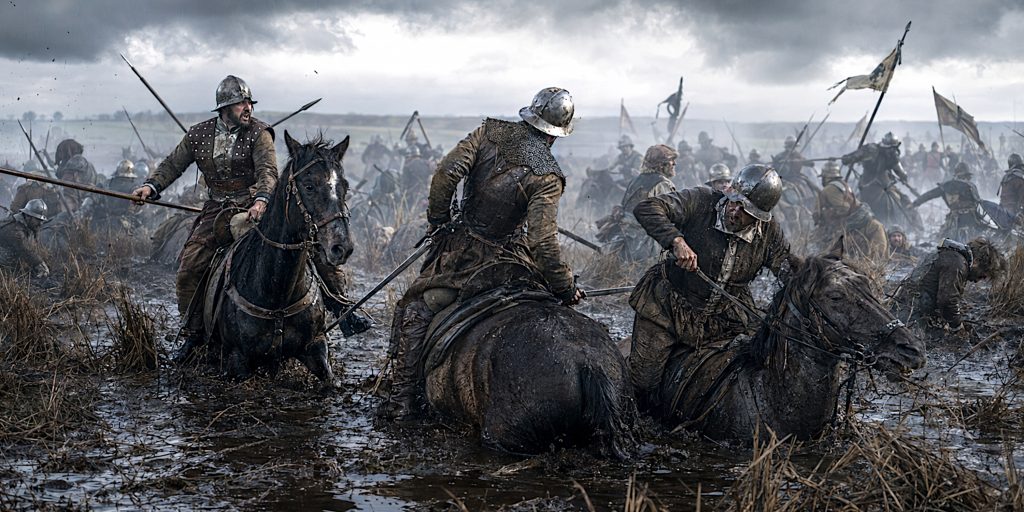
Solway Moss was one of the most humiliating Scottish defeats of the sixteenth century, although calling it a battle gives the action rather more order than it possessed.
Following an English invasion that burned Kelso and Roxburgh, James V sent a large Scottish force across the western Border. Historic England gives about 17,000 Scots against roughly 3,000 local English troops under Sir Thomas Wharton. The Scottish army lacked a settled command structure and was divided by aristocratic rivalry.
When English banners appeared on higher ground, the Scots seem to have overestimated the force confronting them. Hesitation became withdrawal, and withdrawal became a rout as English horsemen harried the rear. A stand near a ford over the Esk failed. Many Scots surrendered, while others escaped into the wet ground around Solway Moss.
The English victory depended on nerve, local mobility and the failure of Scottish command rather than a great collision of battle lines. Many prominent prisoners were taken and later drawn into Henry VIII’s attempt to dominate Scottish politics. James V died less than a month later, leaving the infant Mary as queen.
I find Solway Moss especially useful because it strips away the romance of frontier warfare. Armies did not always lose with tragic grandeur. Sometimes they lost because nobody could agree who was in charge, the ground was dreadful and panic proved faster than instruction.
Battle of Ancrum Moor, 1545
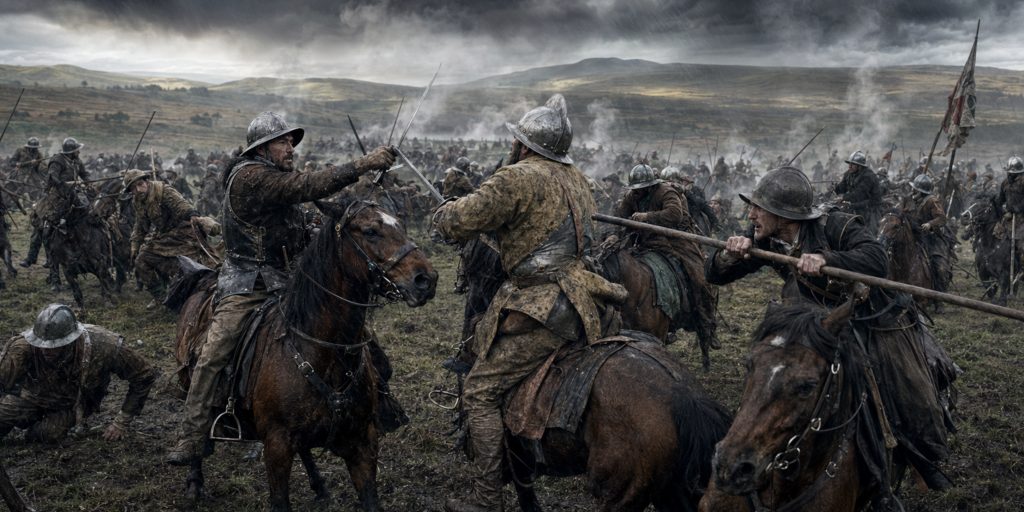
Ancrum Moor belonged to the Rough Wooing, Henry VIII’s brutal attempt to force a marriage between the infant Mary, Queen of Scots, and Prince Edward.
An English raiding army under Sir Ralph Eure and Sir Brian Layton had burned across the Borders, damaging Melrose Abbey and Douglas properties. Its force of more than 5,000 included foreign mercenaries, English Borderers and several hundred Scottish “assured men” who had accepted English allegiance or protection.
A Scottish army of no more than about 2,500 assembled under Regent Arran, the Earl of Angus and Walter Scott of Buccleuch. The Scots used the landscape skilfully. After showing a small mounted force, they withdrew from sight and encouraged the English to advance in disorder. Wind pushed arquebus smoke towards the English, while the low sun faced their line. Scottish pikes also appear to have outranged the shorter weapons opposing them.
As the English formation broke down, the assured Scots removed the red crosses that identified them as English allies and changed sides. The vanguard was driven back into the main body. Eure and Layton were killed, perhaps 500 to 800 English troops died and around 1,000 were captured.
A contemporary English report noted that:
“sundry hacquebutiers of the garrison … were slain and their hakes lost”
The wording points to Ancrum’s wider military importance. Longbows, arquebuses, artillery and long pikes appeared together in a battle shaped by recognisably Border methods: deception, mounted reconnaissance, divided loyalty and ruthless pursuit.
The Earl of Angus was later credited by Robert Lindsay of Pitscottie with threatening to answer English claims to his lands using “sharp pens and red ink”. Pitscottie wrote later in the century, so I would not treat the line as a transcript. It is still a marvellous summary of Douglas diplomacy.
The Raid of the Redeswire, 1575
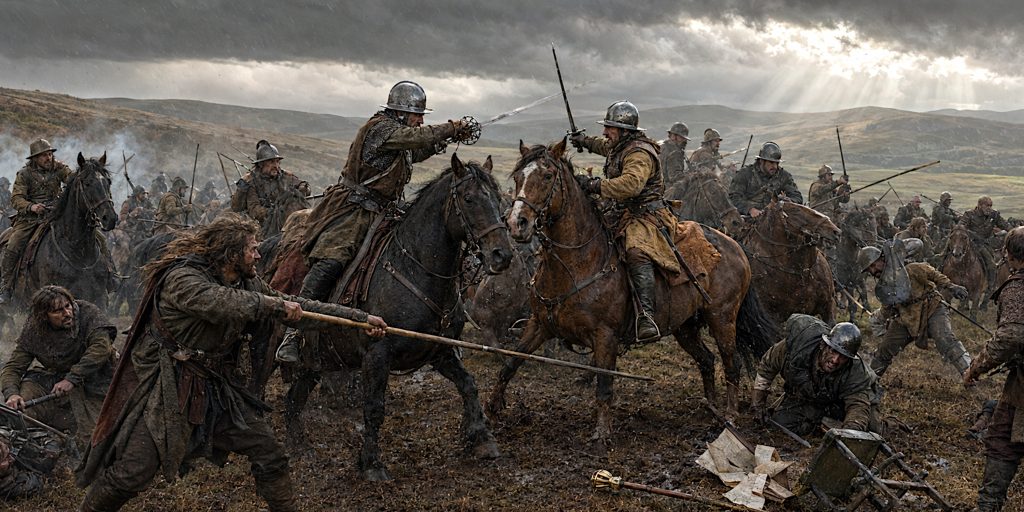
Redeswire was not really a raid. It began as a Day of Truce near Carter Bar, where Scottish and English officials met to settle cross-border complaints. Calling the resulting violence a raid was the work of memory and ballad, not accurate meeting minutes.
Sir John Carmichael represented Scottish authority, while Sir John Forster served as the English Middle March warden. A dispute over the handling of an accused English offender led to insults and then armed violence between the two retinues. The English initially gained the advantage, but men from Jedburgh arrived to support the Scots. Forster and several English gentlemen were captured.
The numbers involved are uncertain and claims that Redeswire was a substantial national battle should be resisted. It was a bloody frontier fray whose political danger came from the status of the men involved. Both governments moved to prevent an isolated clash from becoming a war.
The traditional ballad opens:
“At the Reidswire the tryst was set”
That first line preserves the essential absurdity. The participants had assembled under truce to resolve violence. They managed to produce more of it before going home.
Redeswire is sometimes called the last battle between England and Scotland. That is a neat phrase, but “last major armed confrontation between official Border retinues before 1603” is safer. History is often improved by removing the line that looks best on a commemorative mug.
Battle of Dryfe Sands, 1593
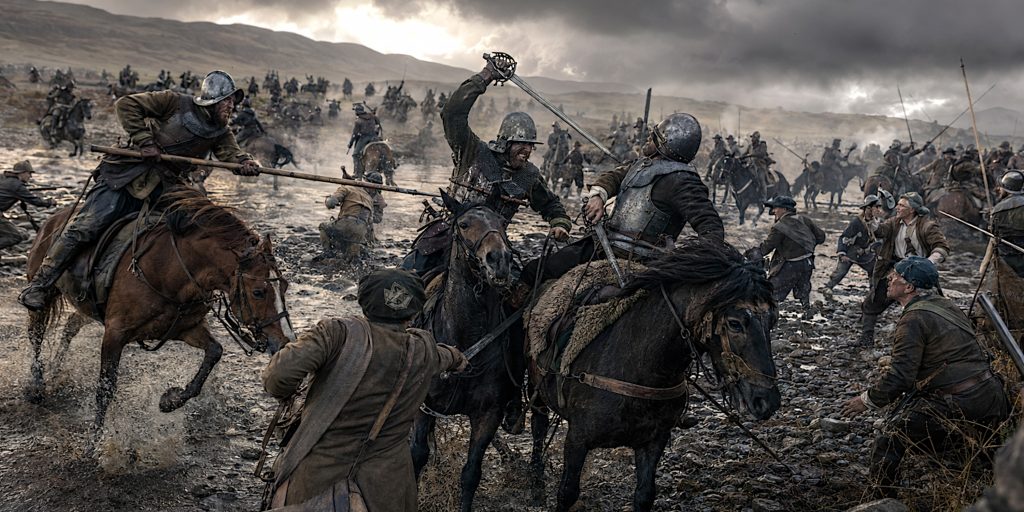
Dryfe Sands was fought near Lockerbie between two Scottish Border powers, the Maxwells and the Johnstones. It was a feud battle rather than an Anglo-Scottish engagement.
The immediate conflict grew from an older struggle for influence in the West March. Lord Maxwell entered Annandale with a large force drawn from his allies and dependants. Sir James Johnstone gathered Johnstones, Scotts, Grahams and other supporters, then used the higher ground near the Dryfe and Annan.
Traditional figures give Maxwell about 2,000 men and Johnstone between 600 and 800, but these estimates come through later narratives and clan histories. They should be read cautiously. What seems clear is that the Johnstone force lured or drew its opponents into an unfavourable advance, attacked downhill and broke the Maxwell formation. Lord Maxwell was killed during the rout.
Later tradition claimed that fleeing Maxwells received slashing sword wounds known as “Lockerbie licks”. The phrase is memorable, but its fame is not proof that every scar had the same origin. Dryfe Sands has accumulated the usual layers of family story, local memory and retrospective arithmetic.
Its importance lies in what the battle says about royal weakness. James VI’s government issued commissions and appointed wardens, yet major surname groups could still muster hundreds of armed followers and settle political rivalry through open combat. This was not lawlessness outside the system. It was violence produced by the way local authority itself was organised.
The Rescue of Kinmont Willie, 1596
The rescue of William “Kinmont Willie” Armstrong was not a battle, but no account of Reiver warfare is complete without it.
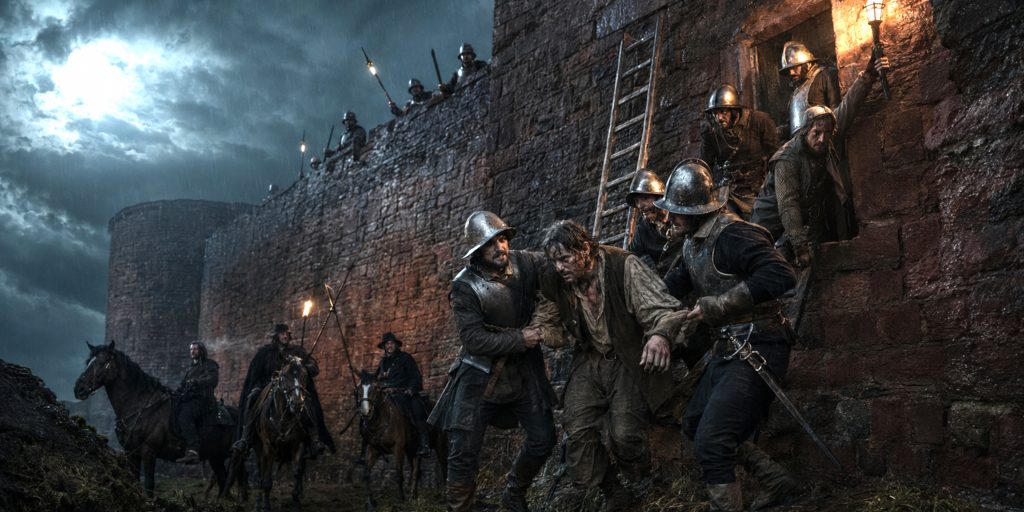
Armstrong was seized by English officers after a Day of Truce, when participants were meant to enjoy safe conduct. He was imprisoned in Carlisle Castle. Walter Scott of Buccleuch, Keeper of Liddesdale, demanded his release and, when diplomacy failed, organised an armed rescue.
Before dawn on 13 April 1596, Buccleuch’s party crossed the Eden, reached the castle and broke through near a postern. They freed Armstrong and escaped before the garrison could organise an effective response. English Heritage records the incident as one of the castle’s most famous episodes.
The raid was a small operation with a large diplomatic shadow. Carlisle was a royal fortress, not an isolated farmhouse. Elizabeth I demanded punishment, while James VI had to appear helpful without surrendering too much authority over his own Border magnates.
Kinmont Willie’s rescue shows Reiver warfare at its most capable. Intelligence, surprise, speed, local contacts and a limited objective mattered more than numbers. It also demonstrates that “outlaw” and “state officer” were not opposite categories on the frontier. Buccleuch was enforcing what he regarded as lawful truce rights by breaking into a foreign castle. The Borders could make perfect sense and complete nonsense at the same time.
Forces and Fighting Methods
Border forces were assembled through overlapping obligations. A royal army might contain noble retinues, local levies, garrison troops, foreign mercenaries and riding families. A warden could call out the inhabitants of his March, while a surname leader drew on kin, tenants, allies and men bound by bonds of maintenance.
Typical elements included:
- Men-at-arms and noble retinues: Better equipped troops who often fought dismounted in the medieval battles.
- Archers: English longbowmen were decisive at Homildon and remained present in sixteenth-century Border forces.
- Spearmen and pikemen: The backbone of many Scottish formations, although weapon length and training varied greatly.
- Mounted Borderers: Useful for scouting, raiding, pursuit and screening, rather than simple heavy cavalry charges.
- Hagbutters or arquebusiers: Increasingly important during the Rough Wooing and later sixteenth century.
- Garrison soldiers: Drawn from fortresses including Berwick, Carlisle, Norham and local towers.
Reivers are often described as light cavalry, which is broadly useful but incomplete. Many rode to the area of action and then fought on foot. Horses provided operational speed, carried plunder and made pursuit possible. They did not oblige every rider to behave like a lance from a tournament manuscript.
Terrain was central. River valleys served as routes through difficult country. Hills offered observation but could expose troops to missile fire. Marshes and watercourses protected a position until retreat began, when they became traps. Sark and Solway Moss both illustrate that unpleasant reversal.
Arms and Armour of the Reiver Era
There was no timeless Reiver uniform. The equipment of 1388 differed substantially from that of 1596, while wealth and status mattered as much as geography.
| Equipment | Period and use | Historical note |
| Bascinet, sallet and plate harness | Fourteenth and fifteenth centuries | Worn chiefly by men-at-arms and wealthier retainers |
| Mail, brigandine and padded defence | Medieval period | More flexible protection for men below the highest social rank |
| Steel bonnet | Sixteenth century | A practical open helmet that became the enduring Border image |
| Jack of plate | Fifteenth and sixteenth centuries | Small metal plates enclosed within layers of fabric, well suited to riding |
| Arming sword and longsword | Medieval battles | Status and close-combat weapons among men-at-arms |
| Backsword and early basket-hilted sword | Later sixteenth century | Increasing hand protection suited mounted and close fighting |
| Dagger, dirk and rondel dagger | Across the period | Sidearms varied by date, region and social position |
| Spear, lance and long pike | Across the period | Light spears suited raiding, while long pikes required formation discipline |
| Longbow and crossbow | Medieval into sixteenth century | Longbows remained dangerous well after firearms appeared |
| Arquebus, pistol and light artillery | Sixteenth century | Firearms became more visible in garrisons, field forces and wealthy riding equipment |
| Bill and polearm | Especially English infantry | Effective in close fighting and against disrupted pike formations |
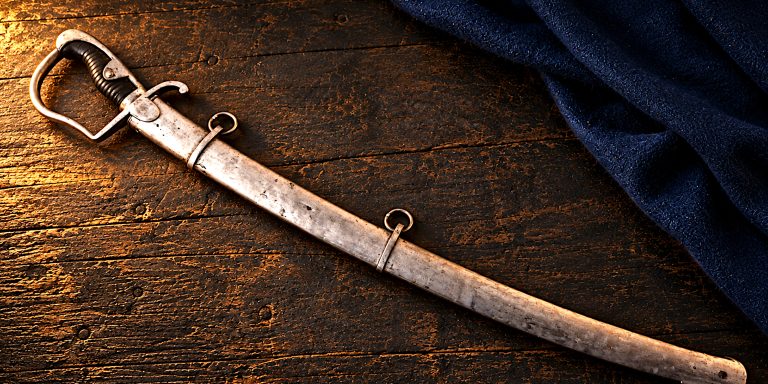
The sword deserves a little restraint. Reivers certainly carried blades, but the idea that every rider possessed a grand basket-hilted broadsword belongs more comfortably to later visual culture. A serviceable backsword or other one-handed sword was more practical. Early basket guards developed during the sixteenth century, while fully developed regional forms belong largely to later decades.
The targe should not be treated as universal Reiver equipment either. Shields and bucklers existed, but the round Highland targe is not the defining defensive item of the Anglo-Scottish March rider.
For a closer look at surviving types, see Weapons of the Border Reivers.
Contemporary Voices from the Marches
Official papers present a less romantic frontier than the later ballads. One English warden complained of the riders:
“They lie still never a night.”
Thomas Musgrave’s 1583 report tried to map the kinship networks behind the violence, listing rivers, dwellings, marriages and nicknames. His work reads less like a military survey than an intelligence file, because that is effectively what it was.
Another report, discussing disorder in Tynedale, lamented that there were not “6 able horse to follow the fray”. The problem was not simply that raiders existed. It was that the state frequently lacked enough reliable local men to catch them.
Ballads supply a different kind of evidence. They preserve names, feuds and community memory, but they were altered through oral transmission and later collection. The Battle of Otterburn, The Raid of the Reidswire and Kinmont Willie should be read as historical memory, not stenographic reporting. They tell us how the Border remembered violence, which is valuable, but not always how the violence happened.
Archaeology and the Surviving Battlefields
The archaeology of Reiver warfare is frustratingly thin. That is not surprising. Raids were fast, forces were dispersed and useful equipment was recovered after combat. Many sites were never precisely recorded, while later agriculture, drainage, road building and informal metal detecting disturbed the evidence.
The strongest surviving resource is often the landscape itself:
- Otterburn: The registered battlefield retains much of its open character, allowing the approach routes and areas of fighting to be understood.
- Homildon Hill: Rough pasture preserves a strong impression of the exposed Scottish position and the English archers’ ground.
- Sark: No battle artefacts have been securely reported. Historic Environment Scotland notes considerable potential around former river channels, where wet conditions may have preserved material from the rout.
- Flodden: The hills and slopes around Branxton still make the opposing manoeuvres legible, even though later enclosure altered field boundaries.
- Solway Moss: The heathland and wet ground were transformed by later improvement, but accessible viewpoints still reveal why retreat became disastrous.
- Ancrum Moor: The site has high research potential because arquebus shot and arrowheads may survive in related distributions. A burgonet was found in the wider area, but it cannot be securely tied to the battle. No recorded human remains confirm the speculative mass graves sometimes mentioned in popular accounts.
- Dryfe Sands: Local monuments, church associations and family tradition survive, but there is no securely published battlefield assemblage that justifies confident claims about weapons, bullets or mass graves.
Peel towers, bastle houses and fortified farmsteads provide broader archaeological evidence for a militarised society. Their thick walls, restricted entrances and defensive layouts make sense in a region where a raid might arrive before legal help had saddled a horse. They illuminate the conditions of frontier violence, though they should not be presented as finds from a particular battle without firm evidence.
This distinction may sound fussy. It is also the difference between archaeology and an attractive story someone once told beside a field.
Where to Explore the Reiver Battlefields Today
| Place | What survives | Why visit |
| Otterburn, Northumberland | Registered battlefield, Percy’s Cross and interpretation | The terrain of the night battle remains readable |
| Homildon Hill near Wooler | Open hillsides and access to the opposing positions | Excellent for understanding the effect of archery and exposed ground |
| Flodden near Branxton | Battlefield monument, paths and interpretation | The scale and topography of the 1513 battle are unusually clear |
| Solway Moss near Arthuret | Registered landscape and public viewpoints | The wet, constricted ground explains the rout better than a diagram |
| Ancrum Moor and Lilliardsedge | Preserved battlefield landscape and Lilliard’s Stone | A strong landscape for studying the 1545 manoeuvres, with a later legend attached |
| Sark near Gretna | Inventory battlefield around the Esk, Sark and Kirtle Water | The watercourses reveal how a defended camp became a trap |
| Redeswire near Carter Bar | Remote ridge and commemorative stone | A fittingly windswept site for the 1575 fray |
| Carlisle Castle | Surviving fortress and interpretation | The setting of Kinmont Willie’s imprisonment and rescue |
| Hermitage Castle, Liddesdale | Major Border stronghold in a dramatic landscape | Essential context for warden power and the military geography of Liddesdale |
Access conditions and opening times can change, particularly at remote or seasonal sites. Carlisle Castle and Hermitage Castle have official visitor information, while the open battlefields should be approached with respect for paths, livestock and private land.
How the Reiver Era Ended
The Union of the Crowns in 1603 changed the political logic of the frontier. James VI of Scotland became James I of England and described the old dividing line as the Middle Shires. A Border guarded against a foreign kingdom had become an internal problem of government.
Pacification was forceful. Officials executed offenders, demolished or occupied strongholds, transported troublesome families and restricted the military habits that had sustained raiding. Some riders entered military service abroad, notably in the Low Countries and Ireland. Others adapted to landholding, commerce or ordinary crime, according to opportunity and temperament.
The old violence did not vanish in a single proclamation. Feuds continued and former riders did not become peaceful farmers because a king had acquired a second crown. Yet the institutional world that had supported Reiver power was being dismantled. Separate March administrations, international truce law and rival royal authorities no longer operated in the same way.
The Historical Legacy of the Border Battles
The battles of the Reiver era resist a tidy national story. English Borderers fought for Scots. Scottish assured men served England and changed sides. Wardens enforced law through private followings, while men labelled thieves might be indispensable scouts or soldiers during war.
That ambiguity is the heart of the subject. The Reivers were neither folk heroes defending freedom nor a population of uniquely savage criminals. They inhabited a frontier where royal government was intermittent, violence could be economically rational and kinship offered the protection that law often failed to provide. None of this excuses murder, burning or theft. It does explain why such practices endured.
As a historian, I am most wary of the romance. Steel bonnets, moonlit rides and hard names are irresistible, but they can make suffering decorative. Raids destroyed harvests, emptied farms and kept ordinary families in a state of calculated fear. The finest Border ballads understood that cost. Modern summaries sometimes do not.
Otterburn, Homildon, Sark, Flodden, Solway Moss, Ancrum Moor, Redeswire and Dryfe Sands reveal different scales of the same frontier problem. Great kings could send armies across the line, but control on the ground still depended upon local lords, wardens and surnames. When those interests aligned, the Marches could be defended. When they did not, the cattle generally left first.
Sources and Further Reading
Historic Environment Scotland visitor guide to Hermitage Castle
Historic England battlefield record for Otterburn
Historic England battlefield record for Homildon Hill
Historic Environment Scotland battlefield record for Sark
Historic England battlefield record for Flodden
Historic England battlefield record for Solway Moss
Historic Environment Scotland battlefield record for Ancrum Moor
Jean Froissart’s account of Otterburn
The Border Papers, calendar of official correspondence
English Heritage history of Carlisle Castle