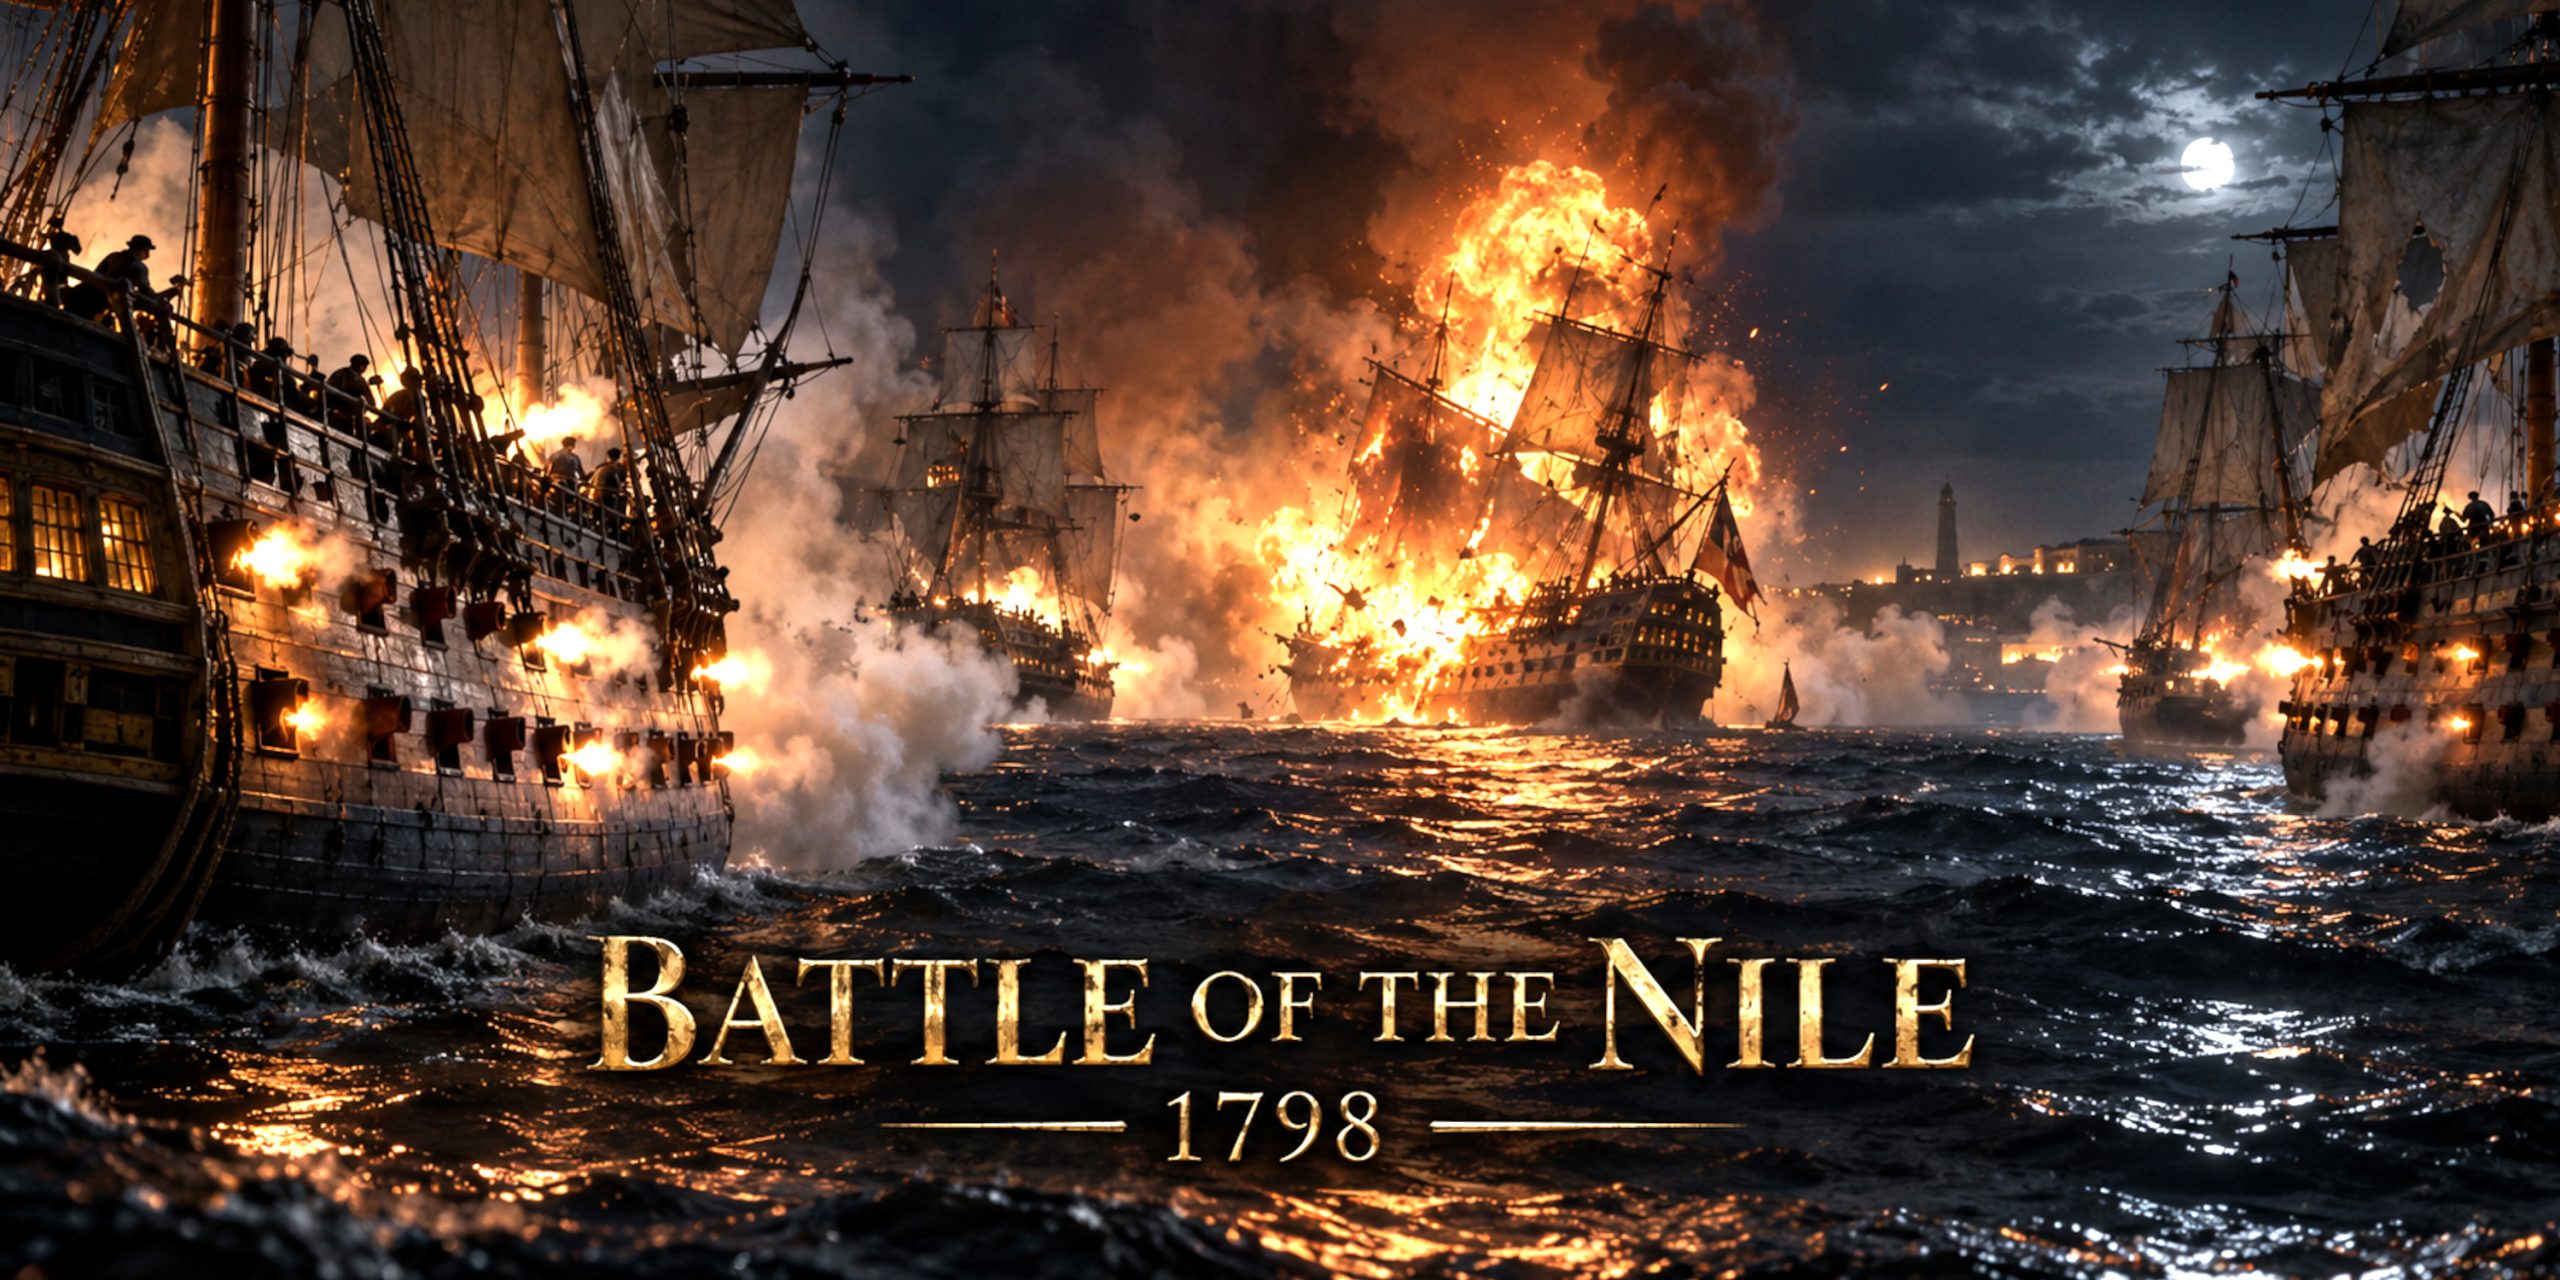
On the evening of 1 August 1798, Rear-Admiral Horatio Nelson found the French fleet anchored in Aboukir Bay, east of Alexandria. The light was already fading, the coastal waters were poorly charted and one of his ships would soon run aground. Nelson attacked anyway.
What followed was among the most decisive naval victories of the French Revolutionary Wars. British ships penetrated the supposedly protected side of the French line, trapped its leading vessels between two fields of fire and fought through the night at ranges so close that gun crews could see one another through the smoke.
The destruction of the French flagship L’Orient provided the battle with its defining image, but the explosion should not obscure the quality of Nelson’s victory. It was achieved through aggressive command, experienced captains, disciplined gunnery and the willingness to exploit an opportunity without waiting for detailed instructions.
As a historian, I find the battle impressive and deeply uncomfortable in roughly equal measure. The tactics were brilliant. The human experience below decks, where cannon shot drove clouds of wooden splinters through crowded gun crews, scarcely bears thinking about.
Battle of the Nile at a Glance
| Detail | Information |
|---|---|
| Date | 1 to 3 August 1798 |
| Main action | Evening of 1 August into the morning of 2 August |
| Location | Aboukir Bay, Ottoman Egypt |
| Wider conflict | French Revolutionary Wars and the French campaign in Egypt |
| British commander | Rear-Admiral Sir Horatio Nelson |
| French commander | Vice-Admiral François-Paul Brueys d’Aigalliers |
| British force | 13 ships of the line, the 50-gun Leander and the brig-sloop Mutine |
| French force | 13 ships of the line, four frigates and supporting vessels |
| Result | Decisive British victory |
| British losses | Approximately 218 killed and 677 wounded |
| French losses | Estimates vary from roughly 2,000 to 5,000 killed and wounded, with around 3,000 or more captured |
| Strategic effect | French naval power in the eastern Mediterranean was broken and Napoleon’s army in Egypt was isolated |
The engagement is commonly called the Battle of the Nile in Britain and the Battle of Aboukir Bay elsewhere. It was not fought on the river itself, which is one of those geographical details popular memory has decided is close enough.
Why Napoleon Invaded Egypt
By 1798 Britain remained France’s most persistent opponent. A direct invasion across the Channel was possible on paper but considerably less attractive once wind, weather and the Royal Navy were introduced to the discussion.
Napoleon Bonaparte proposed an expedition to Egypt. Control of the country could threaten British commercial routes towards India, weaken British influence in the eastern Mediterranean and provide France with a base for further expansion.
The French expedition was enormous. More than 30,000 soldiers sailed from Toulon in May 1798, accompanied by warships, transports, engineers, administrators and scholars. Malta was captured on the way before the fleet continued towards Egypt.
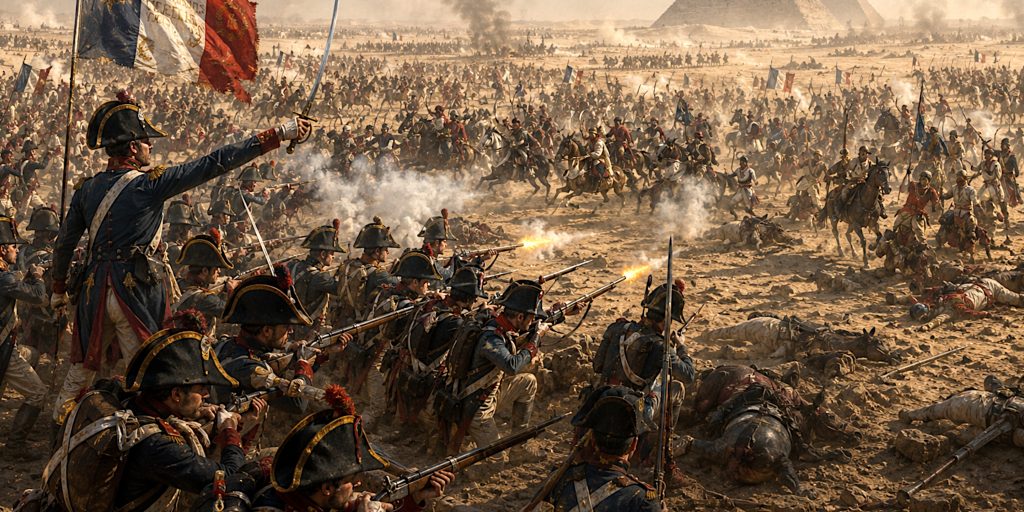
Napoleon landed near Alexandria at the beginning of July and marched inland. On 21 July his army defeated the Mamluk forces at the Battle of the Pyramids and occupied Cairo.
The French fleet, however, faced a difficult decision. Alexandria’s harbour could not safely accommodate all the largest warships, while returning immediately to France would leave the army without naval support. Brueys therefore anchored in Aboukir Bay.
It looked defensible. It was not.
Nelson’s Pursuit Across the Mediterranean
Nelson had spent weeks searching for the French. His squadron crossed and recrossed the Mediterranean, at times missing the enemy by a matter of days and occasionally by much less.
The British had no frigates available for scouting after a storm separated Nelson from his reconnaissance vessels. This severely restricted his ability to gather information. He reached Alexandria before the French but found no sign of them and sailed away, unaware that Napoleon’s fleet was approaching.
Nelson eventually returned. On the afternoon of 1 August, HMS Zealous sighted the masts of the French fleet in Aboukir Bay.
The search was over.
Nelson had previously written:
“I will bring the French fleet to action the moment I can lay my hands upon them.”
He was entirely faithful to that promise. There was no formal conference, no elaborate written battle plan and no proposal to wait politely until morning. Nelson trusted his captains to understand his intentions and act on them.
The Battlefield at Aboukir Bay
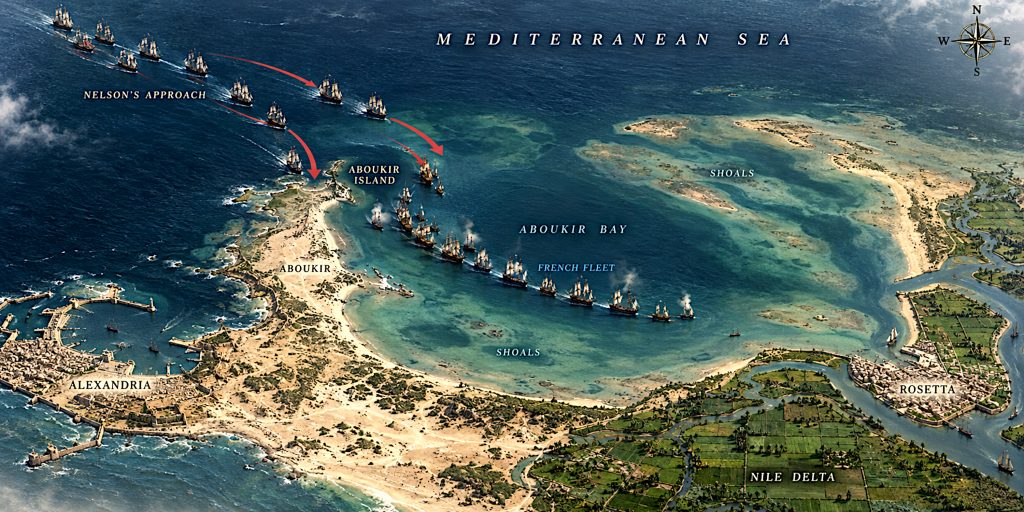
Aboukir Bay offered Brueys several natural advantages:
- Shallow water and shoals protected the coastal approaches.
- Aboukir Island covered the northern end of the anchorage.
- A battery on the island could fire on approaching ships.
- The French fleet was anchored in a line extending south-east into the bay.
- The leading French vessel, Guerrier, appeared to be close to the shoal.
- The larger and more powerful French ships occupied the centre.
Brueys expected an attack, if it came at all, to arrive from the seaward side. He believed the water between his ships and the coast was too shallow for British ships of the line.
That assumption decided the battle.
The French line also had structural weaknesses. The ships were anchored largely by the bow, leaving them with limited ability to adjust their position. Gaps had formed between vessels, and the head of the line was not anchored as close to the shoal as intended. Many French sailors were ashore gathering supplies, while some ships had incomplete or inexperienced crews.
A position can look formidable on a chart and still contain a door. Captain Thomas Foley of HMS Goliath found it.
Forces
British Fleet
Nelson’s main fighting force consisted predominantly of 74-gun third-rate ships of the line. These combined heavy firepower with better handling than the largest three-deckers.
| Ship | Guns | Captain | Role or outcome |
|---|---|---|---|
| HMS Vanguard | 74 | Edward Berry | Nelson’s flagship, heavily engaged |
| HMS Goliath | 74 | Thomas Foley | Led the movement inside the French line |
| HMS Zealous | 74 | Samuel Hood | Engaged the French van |
| HMS Orion | 74 | James Saumarez | Fought inside the French line |
| HMS Audacious | 74 | Davidge Gould | Attacked the French van |
| HMS Theseus | 74 | Ralph Miller | Joined the inshore attack |
| HMS Minotaur | 74 | Thomas Louis | Fought near the French centre |
| HMS Defence | 74 | John Peyton | Engaged the French centre |
| HMS Bellerophon | 74 | Henry D’Esterre Darby | Attacked L’Orient and suffered heavily |
| HMS Majestic | 74 | George Blagdon Westcott | Engaged Tonnant, Westcott was killed |
| HMS Swiftsure | 74 | Benjamin Hallowell | Arrived later and attacked L’Orient |
| HMS Alexander | 74 | Alexander Ball | Helped overwhelm L’Orient |
| HMS Culloden | 74 | Thomas Troubridge | Ran aground before entering the action |
| HMS Leander | 50 | Thomas Thompson | Supported the attack on the French centre |
| HMS Mutine | 16 | Thomas Hardy | Carried signals and later dispatches |
Although Culloden failed to enter the battle after grounding, Troubridge’s predicament demonstrated exactly why the coastal route was dangerous. Foley’s decision was inspired, but it was not safe.
French Fleet
| Ship | Guns | Commander | Role or outcome |
|---|---|---|---|
| Guerrier | 74 | Jean-François Trullet | First ship in the line, captured |
| Conquérant | 74 | Étienne Dalbarade | Captured |
| Spartiate | 74 | Maurice-Julien Boudin | Captured |
| Aquilon | 74 | Antoine Thévenard | Captured |
| Peuple Souverain | 74 | Pierre-Paul Raccord | Captured |
| Franklin | 80 | Maurice Gillet | Rear-Admiral Blanquet’s flagship, captured |
| L’Orient | 118 to 120 | Luc-Julien-Joseph Casabianca | Brueys’ flagship, exploded |
| Tonnant | 80 | Aristide Aubert du Petit-Thouars | Captured after fierce resistance |
| Heureux | 74 | Jean-Pierre Étienne | Captured |
| Mercure | 74 | Cambon | Captured |
| Guillaume Tell | 80 | Pierre Villeneuve | Escaped |
| Généreux | 74 | Louis-Jean-Nicolas Lejoille | Escaped |
| Timoléon | 74 | Louis-Léonce Trullet | Grounded and burned |
| Diane | 40 | Denis Décres | Escaped |
| Justice | 40 | Jean Villeneuve | Escaped |
| Sérieuse | 36 | Claude-Jean Martin | Sunk |
| Artémise | 36 | Pierre-Jean Standelet | Abandoned and burned |
Gun totals vary between accounts because official ratings did not always match the weapons actually carried. Ships also mounted swivel guns and smaller pieces that were not consistently counted.
Leaders and Command Structure
| Side | Commander | Position | Contribution |
|---|---|---|---|
| Britain | Horatio Nelson | Rear-admiral and fleet commander | Ordered an immediate attack and allowed his captains considerable freedom |
| Britain | Thomas Foley | Captain of HMS Goliath | Identified and entered the gap between the French line and the shoal |
| Britain | Samuel Hood | Captain of HMS Zealous | Helped lead the British attack on the French van |
| Britain | James Saumarez | Captain of HMS Orion | Conducted a disciplined attack inside the French line |
| Britain | Thomas Troubridge | Captain of HMS Culloden | Attempted the coastal approach but grounded |
| France | François-Paul Brueys d’Aigalliers | Vice-admiral | Chose the anchorage and commanded from L’Orient |
| France | Pierre-Charles Villeneuve | Rear-admiral | Commanded the French rear and later escaped aboard Guillaume Tell |
| France | Pierre Blanquet du Chayla | Rear-admiral | Commanded aboard Franklin and was seriously wounded |
| France | Aristide Aubert du Petit-Thouars | Captain of Tonnant | Continued directing his ship after suffering terrible wounds |
| France | Luc-Julien-Joseph Casabianca | Captain of L’Orient | Commanded the French flagship during its destruction |
Brueys has often been portrayed as passive or incompetent. That is too easy. His anchorage had genuine defensive value, and he had to contend with undermanned ships, poor supplies and instructions connected to supporting Napoleon’s army.
His principal error was failing to make the head of his line secure against an inshore attack. Once British ships entered that gap, the French van was subjected to concentrated fire from both sides.
Troop and Crew Composition
This was a naval battle, but the ships carried more than sailors.
Royal Navy personnel
British ships included:
- Commissioned naval officers
- Warrant officers and petty officers
- Experienced able seamen
- Ordinary seamen and landsmen
- Royal Marines
- Shipboard gunners and gun captains
- Surgeons and assistants
- Boys serving as powder carriers and messengers
- A detachment of Austrian troops embarked on some British ships
Royal Marines fired muskets from the decks and rigging, guarded vital positions and stood ready to repel or conduct boarding attacks.
French personnel
French crews included:
- Professional naval officers
- Experienced seamen
- Conscripts and relatively inexperienced crewmen
- Naval gunners
- French marine and army detachments
- Soldiers attached to the Egyptian expedition
- Artisans and support personnel
The French Revolution had disrupted the navy’s established officer corps. Some experienced officers had emigrated or been removed, while years of blockade had reduced opportunities for crews to train at sea. French bravery was not in question. The problem was consistency, experience and coordination.
Arms and Armour
The Battle of the Nile was decided primarily by naval artillery. Personal weapons mattered during close-range fighting, but this was not a prolonged boarding action.
Naval artillery
| Weapon | Typical use |
|---|---|
| 32-pounder long gun | Heavy battery weapon capable of smashing hulls at close range |
| 24-pounder long gun | Common heavy gun on ships of the line |
| 18-pounder long gun | Used on upper and lower gun decks, depending on ship class |
| 12-pounder gun | Lighter weapon used on upper decks and smaller vessels |
| Carronade | Short-range weapon firing a heavy ball, particularly dangerous at close quarters |
| Swivel gun | Light gun used against exposed personnel |
| Muskets | Fired by marines and soldiers from decks, fighting tops and rigging |
| Pistols | Personal weapons for officers and boarding parties |
| Grenades | Potentially used during close combat, though not central to this action |
British gun crews were trained to maintain a rapid rate of fire. At close range, double-shot loads could be used against hulls and gun decks. Bar shot and chain shot were intended to damage masts, rigging and sails, although the battle’s anchored conditions placed particular emphasis on destructive fire into hulls.
The greatest danger was often splintering. A cannonball passing through a wooden hull could throw long, jagged fragments across a gun deck. These splinters caused appalling wounds even when the shot itself struck no one directly.
Swords and close-combat weapons
| Weapon | Users | Characteristics |
|---|---|---|
| Naval cutlass | British and French sailors | Short, strongly built cutting sword suited to confined decks |
| Naval hanger | Officers, petty officers and marines | Compact sword with a curved or straight blade |
| Officer’s fighting sword | British naval officers | Privately purchased swords varied considerably before formal standardisation |
| Sabre-briquet | French soldiers and some marine personnel | Short infantry sabre with a curved blade |
| Small sword or épée | Officers | Primarily a badge of rank, though still capable of lethal use |
| Boarding axe | Sailors and boarding parties | Used to cut rope, break obstructions and fight at close quarters |
| Boarding pike | Sailors and marines | Used to defend gangways and resist boarders |
| Bayonet | Marines and soldiers | Fixed to muskets for close fighting |
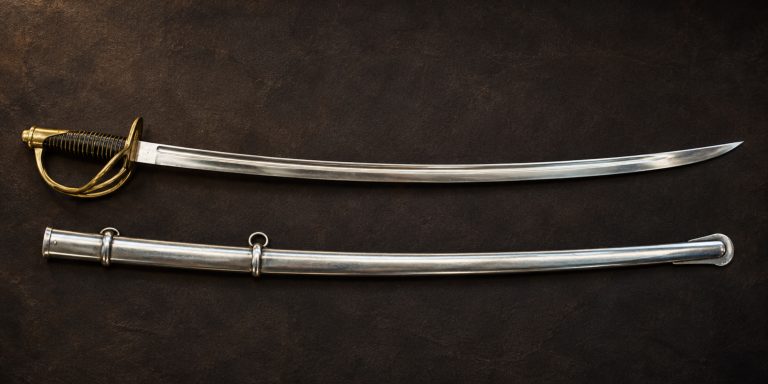
There was no universal British naval officer’s sword pattern in 1798. Officers commonly carried privately purchased hangers, sabres or straight-bladed swords. The familiar 1805 Pattern naval officer’s sword belonged to the world created partly by Nelson’s victories, not to the opening minutes of the Nile.
Armour had effectively disappeared from European naval warfare by this period. Protection came from the ship’s timber, rolled hammocks positioned as improvised cover and the optimism required to remain beside a loaded cannon while enemy shot arrived through the wall.
Nelson Orders the Attack
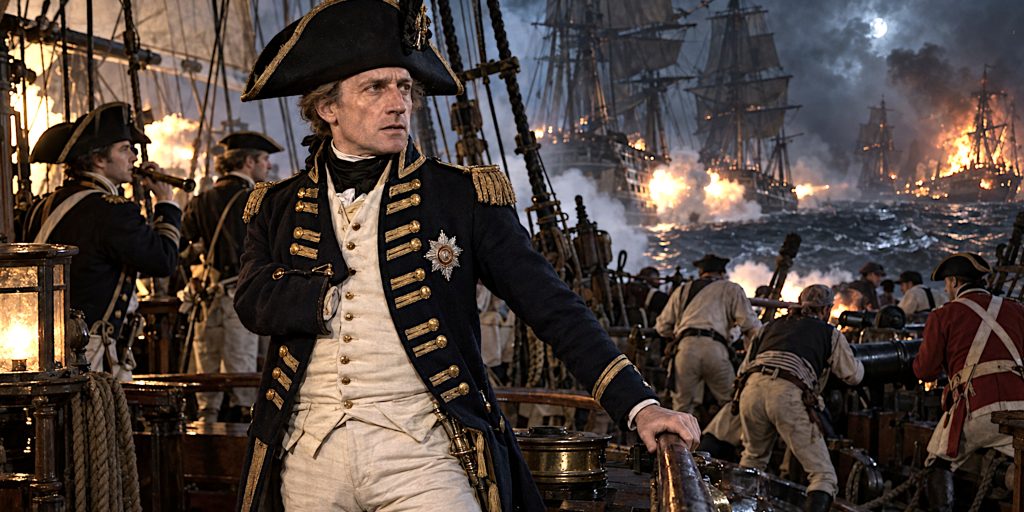
The French were sighted during the afternoon, and Nelson’s fleet reached the bay at around 5.30 pm. Sunset was approaching.
Brueys apparently expected the British to anchor outside the bay and attack the following morning. Night action in unfamiliar coastal water carried an obvious risk of collision or grounding.
Nelson believed delay would allow the French to improve their position, recall men from shore or escape. He ordered the fleet forward.
His operational thinking was simple. If some British ships engaged only part of the French fleet, local superiority could be created even when the total forces were broadly comparable.
Nelson reportedly explained the principle to his officers before the battle:
“Where there is room for an enemy’s ship to swing, there is room for one of ours to anchor.”
It was not a hydrographic survey, but it proved useful.
Foley Passes Inside the French Line
At approximately 6.30 pm, HMS Goliath approached Guerrier, the leading French ship. Captain Thomas Foley noticed that the French vessel had enough room to swing at anchor. That suggested navigable water existed between the ship and the shoal.
Foley passed across the head of the French line and entered the gap.
HMS Zealous, Orion, Audacious and Theseus followed. These ships attacked the landward side of the French van, where many guns were not prepared for immediate action.
Other British vessels attacked from the seaward side. The leading French ships were caught between opposing broadsides.
This movement is often described as Nelson’s masterstroke, although Foley made the immediate navigational decision. That distinction matters. Nelson created a command culture in which Foley felt authorised to act without waiting for a signal. Good command is sometimes best recognised by what subordinates dare to do in its absence.
The French Van Is Overwhelmed
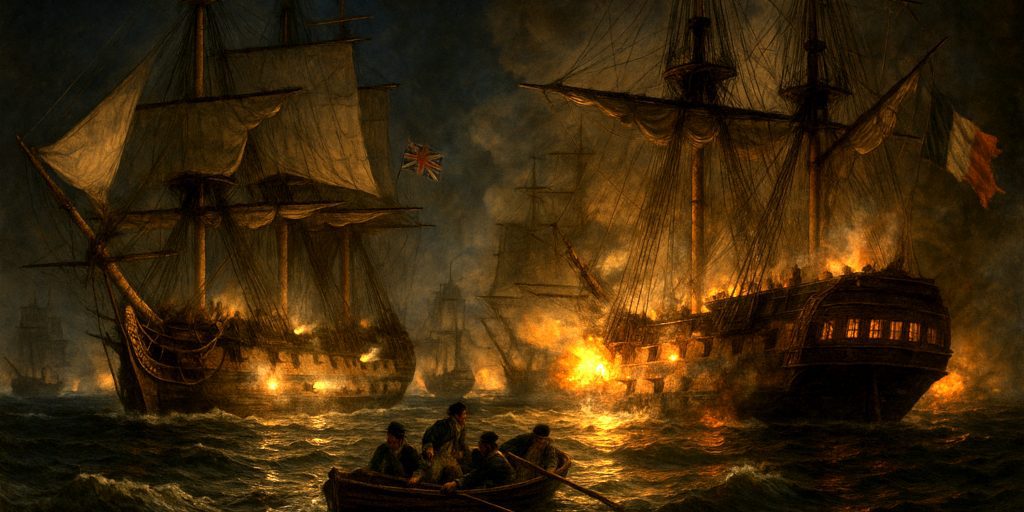
The British concentrated on the head and centre of the anchored French line. Guerrier, Conquérant, Spartiate and Aquilon suffered punishing fire.
Because the French ships were anchored in a long line, the rear vessels could not easily assist those under attack. Smoke, darkness and the fixed positions of the ships made coordinated manoeuvre extremely difficult.
The fighting became a series of close-range artillery duels. Gun flashes illuminated decks filled with smoke, splintered timber and wrecked equipment. Officers struggled to understand what was happening beyond their immediate opponents.
The French crews fought stubbornly. Several ships continued firing after suffering enormous casualties and losing masts, guns and senior officers.
Nelson Is Wounded
A piece of shot or iron struck Nelson above the forehead during the battle, tearing open his scalp. Blood covered his face, and he initially believed he had been mortally wounded.
He was taken below to the surgeon. When asked to wait his turn, the wounded admiral reportedly insisted that those ahead of him should continue receiving treatment. His wound was serious but not fatal, although it left lasting pain and a prominent scar.
Nelson returned to command. The injury later became part of his legend, joining the lost sight in one eye and the missing right arm in a remarkably crowded catalogue of damage.
The Fight Around L’Orient
The French flagship L’Orient was the largest and most powerful ship present, carrying about 120 guns. HMS Bellerophon attacked her at close range but suffered severely against the much larger vessel. Captain Henry D’Esterre Darby was wounded, and Bellerophon lost her mainmast before drifting out of the action.
Later, HMS Swiftsure and HMS Alexander took positions close to L’Orient. Their sustained fire battered the flagship.
At some point, a fire began in the after part of the French vessel. The precise cause remains uncertain. It may have resulted from British gunfire setting light to paint, canvas, timber or stores left exposed on deck.
The flames spread towards the magazines. British ships close to L’Orient attempted to move away or close their gunports as burning wreckage fell around them.
The Explosion of L’Orient
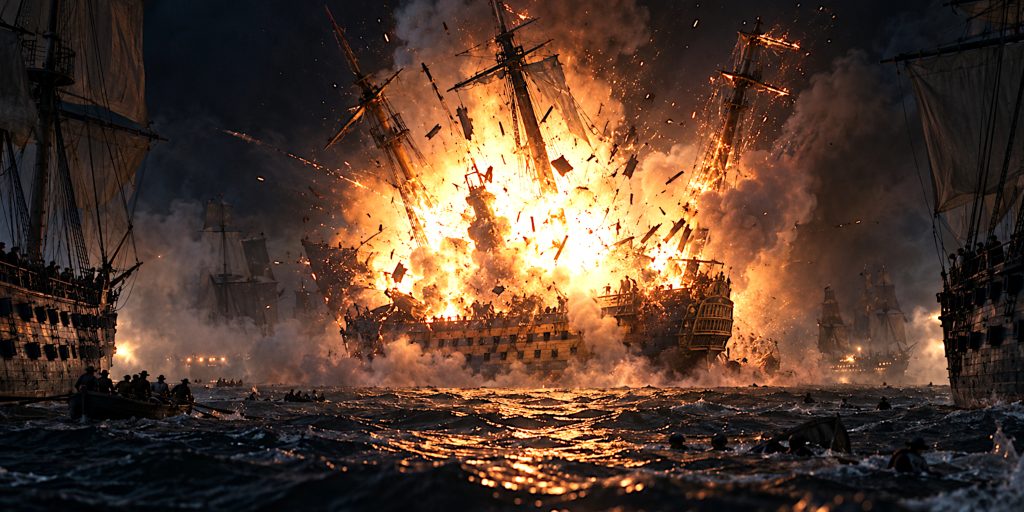
At about 10 pm, L’Orient exploded.
The blast destroyed the flagship, threw debris across the bay and briefly silenced much of the battle. Royal Museums Greenwich records that firing stopped for several minutes as sailors on both sides reacted to the scale of the catastrophe.
Brueys, already badly wounded, was killed. Captain Casabianca also died, as did most of the ship’s company. Estimates of survivors vary, but only a fraction of those aboard escaped.
The explosion has become inseparable from the battle, helped by dramatic nineteenth-century paintings. Yet it was also a human disaster. Men from both navies attempted to rescue survivors from the water, even while the battle continued around them.
A British eyewitness later described French survivors clinging to the stern of HMS Goliath, burned and almost naked. The heroic oil paintings rarely dwell on that part for long.
The Battle Continues
The destruction of L’Orient did not immediately end the fighting. Franklin, Tonnant and other French ships continued to resist.
Captain Aristide Aubert du Petit-Thouars of Tonnant lost both legs and an arm but reportedly continued issuing orders until he died. His conduct became a powerful example of French courage during an otherwise disastrous defeat.
The surviving ships in the French rear were only partially engaged. Rear-Admiral Villeneuve eventually escaped with the ships of the line Guillaume Tell and Généreux, accompanied by the frigates Diane and Justice.
The grounded Timoléon was burned by her crew. By 3 August, the remaining organised French resistance in the bay had ended.
Battle Timeline
| Date and time | Event |
|---|---|
| 19 May 1798 | Napoleon’s expedition leaves Toulon |
| 9 to 12 June | French forces capture Malta |
| 1 July | French expedition arrives off Egypt |
| 2 July | French troops capture Alexandria |
| 21 July | Napoleon defeats the Mamluk army at the Battle of the Pyramids |
| Afternoon, 1 August | British lookouts sight the French fleet in Aboukir Bay |
| About 5.30 pm | Nelson’s fleet approaches the anchorage |
| About 6.20 pm | French batteries open fire |
| About 6.30 pm | HMS Goliath crosses the head of the French line |
| Early evening | British ships attack the French van from both sides |
| Around 8 pm | Nelson is wounded aboard HMS Vanguard |
| Evening | HMS Bellerophon is badly damaged while fighting L’Orient |
| About 9 pm | Fire takes hold aboard L’Orient |
| About 10 pm | The French flagship explodes |
| Early hours, 2 August | Several French ships surrender as resistance collapses |
| Morning, 2 August | Villeneuve escapes with two ships of the line and two frigates |
| 3 August | Tonnant surrenders and Timoléon is burned |
| 18 August | HMS Leander, carrying dispatches, is captured by Généreux |
| 2 October | Confirmed news of the victory reaches London |
Casualties and Ships Lost
British casualty figures are relatively well documented at approximately 218 killed and 677 wounded.
French losses are harder to establish. Records were destroyed, ships exploded or burned, and large numbers of prisoners and survivors moved between vessels and the shore. Estimates range from about 2,000 to 5,000 killed and wounded, with at least 3,000 prisoners.
The material losses were devastating:
- Nine French ships of the line were captured.
- L’Orient exploded.
- Timoléon was burned after grounding.
- The frigate Sérieuse was sunk.
- The frigate Artémise was burned.
- Only two French ships of the line and two frigates escaped.
- Several captured ships were too badly damaged for long-term service.
The British lost no ships, although several were severely damaged.
Contemporary Voices
Nelson opened his official report with characteristic religious language:
“Almighty God has blessed His Majesty’s arms in the late battle, by a great victory.”
His report emphasised the strength of the French position and the conduct of his officers and crews.
Looking over the bay after the action, Nelson reportedly remarked:
“Victory is not a name strong enough for such a scene.”
The phrase captures the scale of the destruction, although it also sounds less triumphant when one imagines the wreckage and bodies surrounding the fleet.
Captain Samuel Hood of HMS Zealous described the French anchorage as protected by both human preparation and the natural features of the bay. His account nevertheless credited British determination with overcoming those defences.
The traditional final words attributed to Brueys are:
“A French admiral ought to die on his quarterdeck.”
The sentiment fits contemporary ideals of naval honour, but the exact wording should be treated cautiously. Statements delivered amid gunfire and fatal wounds have a suspicious tendency to improve in later retellings.
Why the British Won
Nelson attacked without delay
A night attack in unfamiliar water was dangerous, but delay would have benefited the French. Nelson accepted navigational risk in exchange for surprise and momentum.
Foley found the landward passage
The decision to cross the head of the French line allowed British ships to attack from an unexpected direction.
The British created local superiority
Nelson did not attempt to engage every French ship equally. He concentrated his strength against the French van and centre while much of the French rear remained unable to contribute.
British gunnery was faster and more consistent
Royal Navy crews generally possessed greater recent experience at sea. Their gun drill allowed them to sustain rapid, disciplined fire at close range.
The French line lacked flexibility
Anchored by the bow and stretched across the bay, the French ships struggled to support one another or respond to the British inshore movement.
French readiness was uneven
Some men were ashore, crews varied in quality and the landward gun batteries were not prepared for immediate action.
British captains understood Nelson’s intentions
Nelson’s captains did not need constant signalling. They knew that their task was to close with the enemy, support neighbouring ships and concentrate force where it would have the greatest effect.
Archaeology of the Battle
The physical remains in Aboukir Bay have added considerably to the written record.
An initial investigation of the French wreck sites was led by Jacques Dumas in 1983. Franck Goddio later resumed extensive survey work in cooperation with the Egyptian authorities. Electronic survey, underwater mapping and archaeological dives identified material associated with L’Orient, Sérieuse and Artémise.
Archaeological discoveries include:
- The scattered wreckage field of L’Orient
- A rudder marked with the name Dauphin Royal, the flagship’s original royal name
- Large anchors associated with ships including Guerrier, Conquérant, Spartiate and Franklin
- Cannon, cannonballs and other ordnance
- Hull timbers and structural fragments
- Gold and silver coins from several Mediterranean regions
- Personal possessions and equipment
- The remains of the frigates Sérieuse and Artémise
The distribution of L’Orient’s wreckage confirms the extraordinary force of the magazine explosion. Debris was scattered across a broad area rather than preserved as a coherent hull.
Coins recovered from the wreck have sometimes been connected with treasure seized during the French occupation of Malta. That interpretation is plausible, but individual finds do not automatically reveal who owned them or why they were aboard.
Detailed mapping of anchors and wreck sites has also helped researchers reconstruct the French order of battle. Archaeology is particularly valuable here because eyewitnesses observed the engagement through darkness, smoke and considerable personal danger. None had the benefit of a neat overhead diagram.
Burials on Aboukir Island
Human remains associated with the British presence were discovered on Aboukir Island. Coastal erosion threatened the graves, and a group of remains was reburied at Chatby Commonwealth War Graves Cemetery in Alexandria in 2005.
Study of the burials suggested a more complicated community than traditional accounts of an exclusively male naval force. Some remains may have belonged to women travelling with military personnel, although claims that they necessarily fought in the battle require caution.
The Strategic Consequences
The victory did not destroy Napoleon’s army, and it did not immediately end the French occupation of Egypt. Napoleon continued campaigning and invaded Ottoman Syria in 1799.
It did, however, transform his strategic position.
The French army was effectively isolated from reliable reinforcement and resupply by sea. British naval power could support Ottoman resistance, threaten French communications and influence operations along the eastern Mediterranean coast.
The defeat also encouraged France’s enemies. Britain’s prestige rose, the Ottoman Empire declared war on France, and the victory contributed to the formation of the Second Coalition.
Napoleon eventually left Egypt in 1799 and returned to France. The remaining French forces surrendered in 1801.
The expedition produced important scientific and archaeological work, including the discovery of the Rosetta Stone, but its military ambitions had been crippled at Aboukir Bay.
Nelson’s Reputation After the Nile
The Nile transformed Nelson from a successful admiral into an international celebrity. He was created Baron Nelson of the Nile and Burnham Thorpe, although he felt the reward inadequate compared with titles granted for other victories.
His captains became known as Nelson’s “Band of Brothers”. The phrase represented their shared experience, professional confidence and close association with his style of command.
Nelson’s reputation has sometimes made the battle appear inevitable. It was not. The British could have grounded in greater numbers, lost cohesion in the darkness or been defeated by the heavier French centre.
The victory emerged from calculated risk and institutional experience. Nelson was bold, but his boldness rested upon crews capable of turning an improvised attack into disciplined violence.
Myths and Misconceptions
Napoleon commanded the French fleet
Napoleon commanded the Egyptian expedition but was not present at the naval battle. Vice-Admiral Brueys commanded the fleet.
The battle took place on the River Nile
It was fought in Aboukir Bay on the Mediterranean coast, some distance from the main Nile channels.
L’Orient’s explosion ended the battle immediately
Fighting continued after the explosion, and the final French resistance was not resolved until 3 August.
Every French ship was destroyed or captured
Guillaume Tell, Généreux, Diane and Justice escaped.
Nelson personally planned every movement
Nelson ordered the immediate attack and established its guiding principles. Foley independently identified and used the gap on the landward side.
The battle was won through boarding
The engagement was dominated by close-range gunnery. Personal weapons were present, but boarding combat did not decide the result.
Legacy
The Battle of the Nile established British naval dominance in the eastern Mediterranean and exposed the vulnerability of Napoleon’s Egyptian project. It also demonstrated a form of command that would become central to Nelson’s reputation: clear strategic intent combined with freedom for individual captains to act.
The battle’s popular memory has been shaped by the explosion of L’Orient, paintings filled with fire and Felicia Hemans’ later poem Casabianca. These works made the scene famous but also reduced a complex engagement to one burning ship and one tragic boy.
The fuller history is more interesting. The Nile was a victory built from navigation, gun drill, initiative, command culture and a French deployment that contained one fatal weakness. It was also a night of extraordinary suffering for both fleets.
Nelson won one of the most complete naval victories in British history. Napoleon won Egypt on land, then discovered that an army can conquer remarkably far before the absence of a fleet becomes awkward.
Frequently Asked Questions
Who won the Battle of the Nile?
The British Royal Navy under Horatio Nelson won a decisive victory over the French fleet commanded by Vice-Admiral Brueys.
When was the Battle of the Nile fought?
The main battle began on the evening of 1 August 1798. Fighting and surrender operations continued until 3 August.
Where did the battle take place?
It took place in Aboukir Bay, around 15 miles east of Alexandria on Egypt’s Mediterranean coast.
Why was the battle important?
It destroyed most of the French fleet supporting Napoleon’s invasion of Egypt, isolated the French army and restored British naval influence in the Mediterranean.
What happened to L’Orient?
The French flagship caught fire during the battle. Its magazine exploded at about 10 pm, killing most of those aboard, including Admiral Brueys.
How many French ships escaped?
Two ships of the line, Guillaume Tell and Généreux, escaped with the frigates Diane and Justice.
Was Nelson wounded?
Yes. Nelson suffered a serious scalp wound aboard HMS Vanguard, but returned to command after treatment.
Sources and Further Reading
- Royal Museums Greenwich: The Battle of the Nile, 1 August 1798
- Royal Museums Greenwich: The Destruction of L’Orient
- Naval History and Heritage Command: Battle of the Nile
- Franck Goddio: Napoleon Bonaparte’s Fleet
- Archaeology Magazine: Napoleon’s Lost Fleet
- Society for Nautical Research: Great Sea Fights, the Battle of the Nile