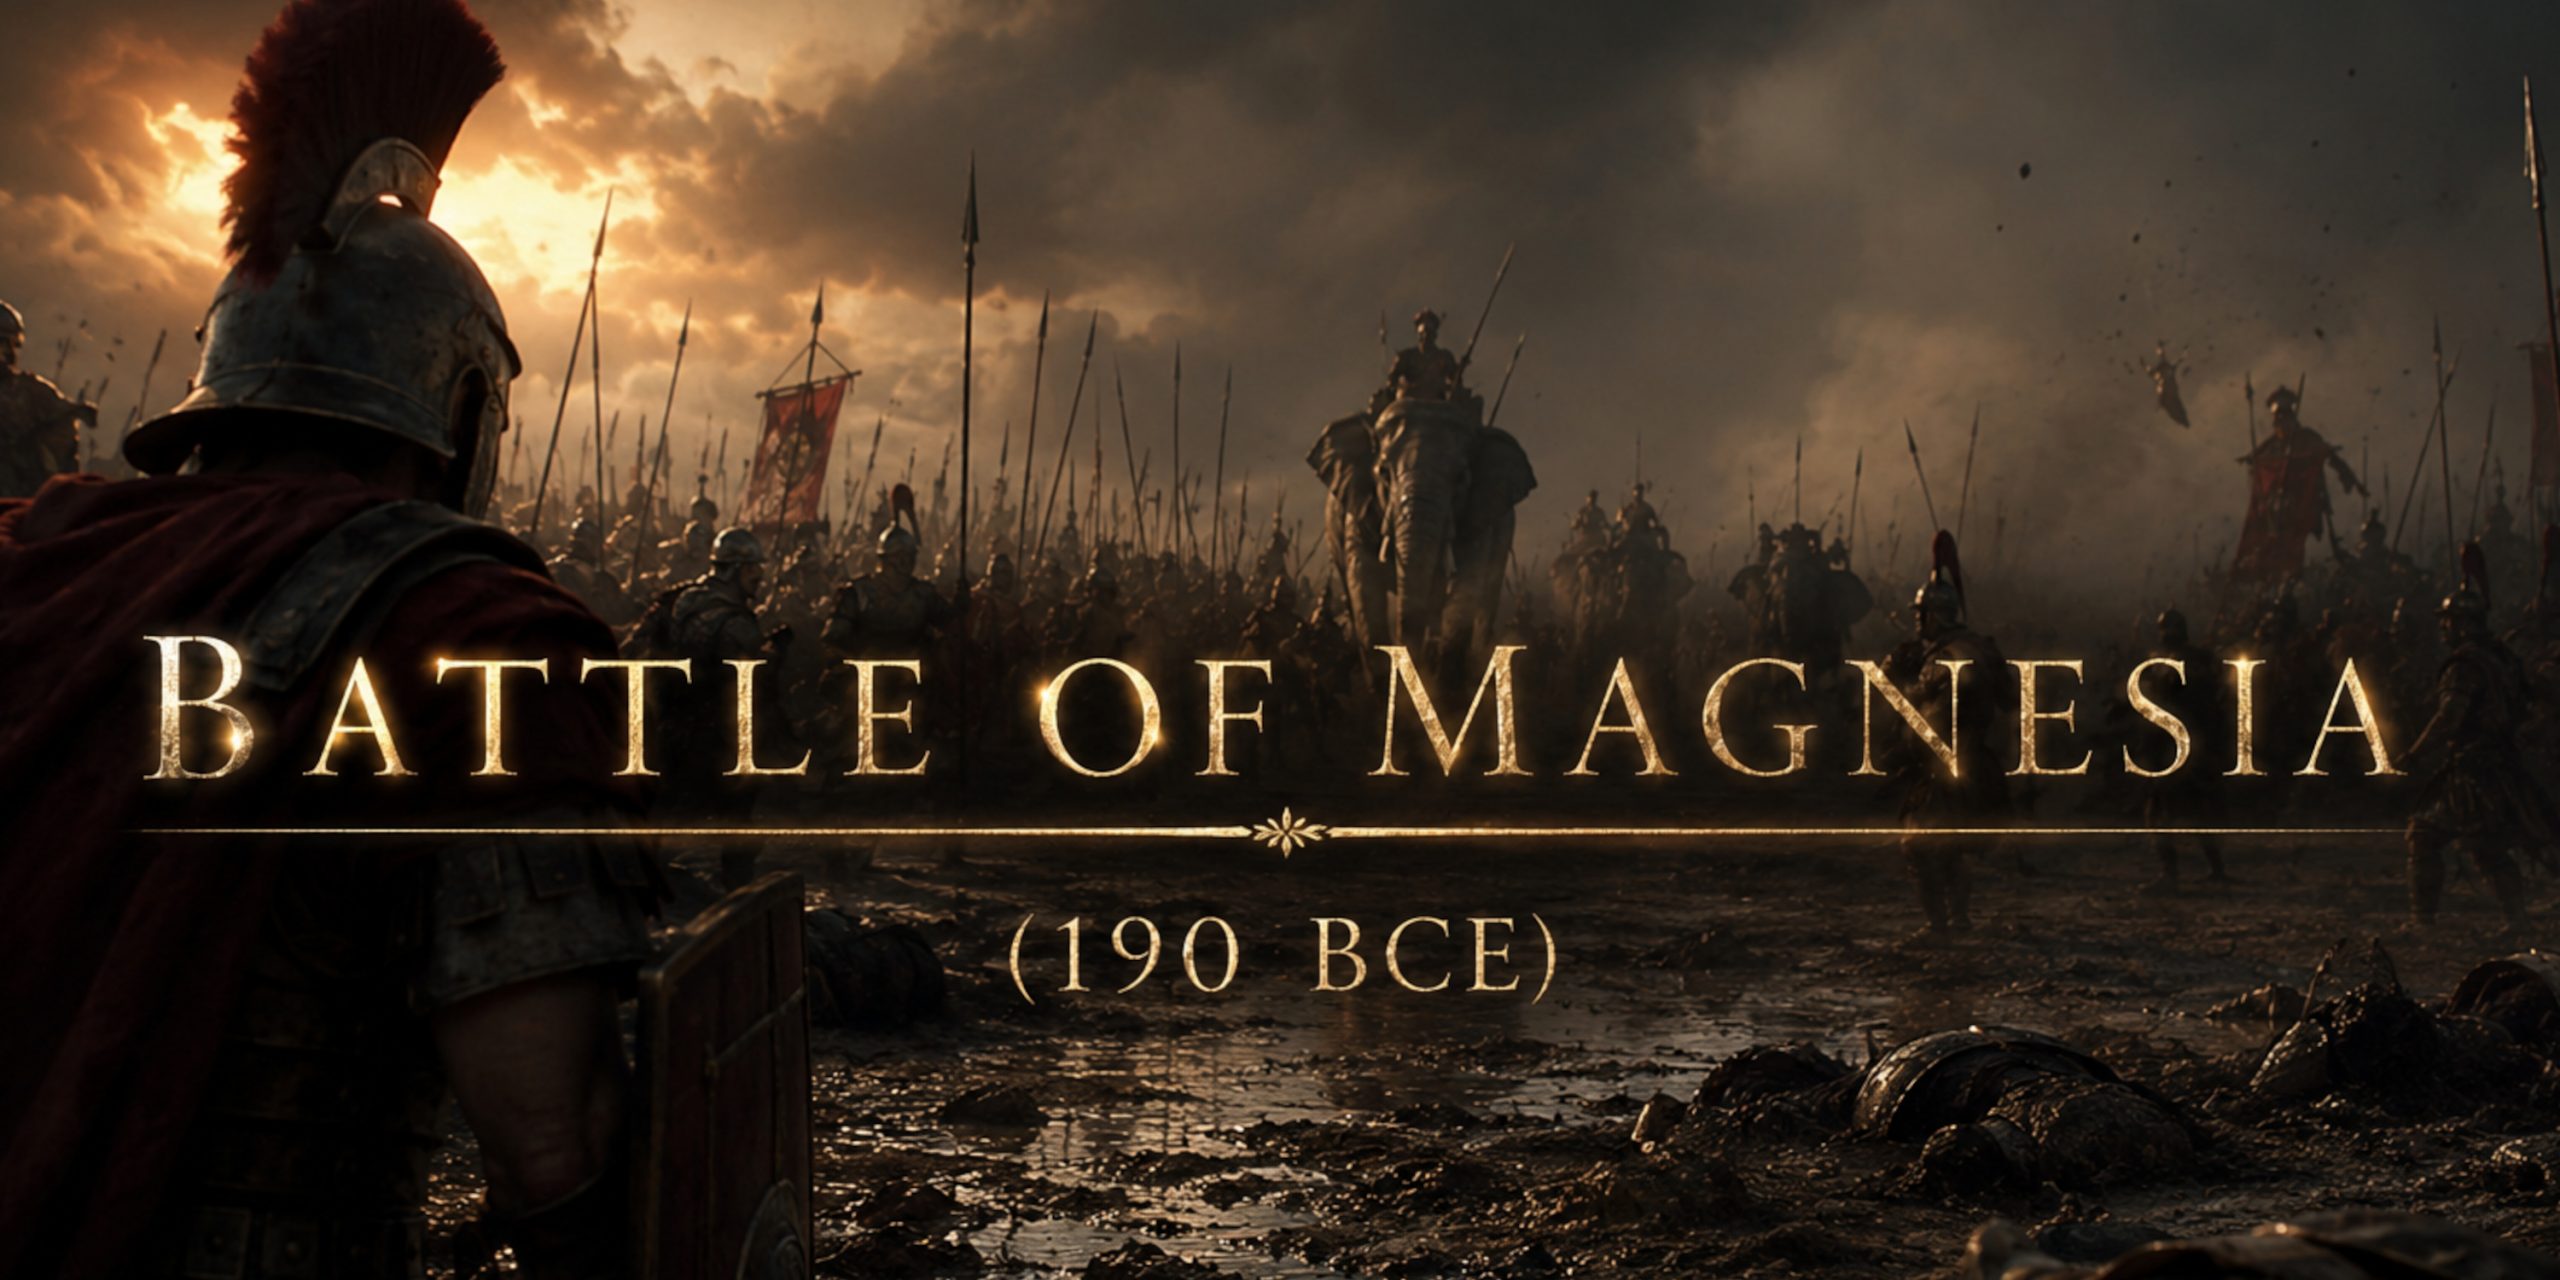
The Battle of Magnesia, fought in 190 BCE near Magnesia ad Sipylum in western Anatolia, was one of the most important clashes of the ancient Mediterranean world. It marked the moment Rome moved from being a dominant Italian power into a force capable of deciding the fate of kingdoms far beyond its borders.
On one side stood the Seleucid Empire of Antiochus III, a vast Hellenistic state stretching deep into Asia. On the other stood a Roman-led coalition that had already defeated Carthage and was now testing itself against the military heirs of Alexander the Great.
Magnesia was a collision of military systems: the flexible Roman legion against the mighty Macedonian-style phalanx. The result reshaped the eastern Mediterranean and proved that the age of Alexander’s successors was fading.
The Seleucids brought elephants, cataphracts, scythed chariots and one of the most spectacular armies of the period. Rome brought discipline, allies and a habit of ruining the plans of much larger empires.
Background: Rome and Antiochus III Collide
After the death of Alexander the Great, his empire fractured into competing Hellenistic kingdoms. The Seleucid Empire became one of the largest, ruling territories from Syria to Persia.
Antiochus III, later known as Antiochus the Great, rebuilt Seleucid power after years of decline. His campaigns restored territory in the east and encouraged him to challenge Roman influence in Greece.
The situation escalated when Antiochus offered refuge to Hannibal Barca, Rome’s most famous enemy after the Second Punic War. Hannibal advised Antiochus, although his direct role at Magnesia appears to have been limited.
Rome responded by sending forces east under Lucius Cornelius Scipio, assisted by his famous brother Scipio Africanus, the victor of Zama.
Forces at the Battle of Magnesia
Ancient sources, especially Livy and Appian, give large numbers for the armies involved. These figures should be treated carefully, as ancient writers loved impressive numbers almost as much as generals loved flattering monuments.
Modern historians generally accept that the Seleucid army was significantly larger, but exact totals remain debated.
| Army | Commander | Estimated Strength | Main Units |
|---|---|---|---|
| Roman Republic and allies | Lucius Cornelius Scipio | Around 30,000 | Roman legions, Italian infantry, Pergamene cavalry, light troops |
| Seleucid Empire | Antiochus III | Around 50,000 to 70,000 | Phalanx infantry, cavalry, elephants, chariots, mercenaries |
Leaders and Troop Composition
Roman Coalition
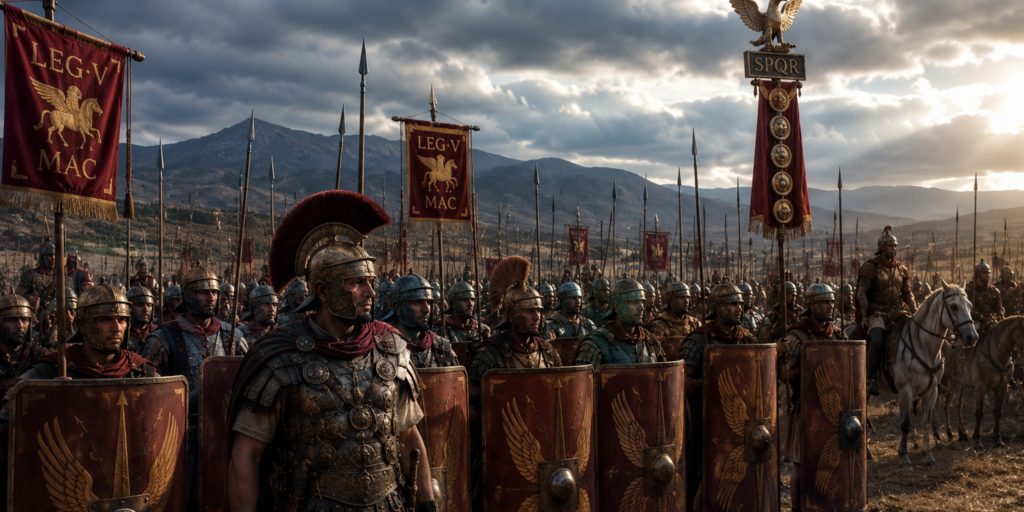
Lucius Cornelius Scipio Asiaticus
Role:
- Overall Roman commander
- Later awarded the title Asiaticus for his victory
Main forces:
- Roman legionaries
- Allied Italian infantry
- Velites and missile troops
- Pergamene cavalry under Eumenes II
Eumenes II of Pergamon
Role:
- Key Roman ally
- Provided cavalry expertise and knowledge of local warfare
His forces included:
- Heavy cavalry
- Light cavalry
- Skirmishers
The Pergamene contribution was crucial. Rome often receives the attention, but Eumenes played a major role in disrupting the Seleucid battle plan.
Seleucid Empire
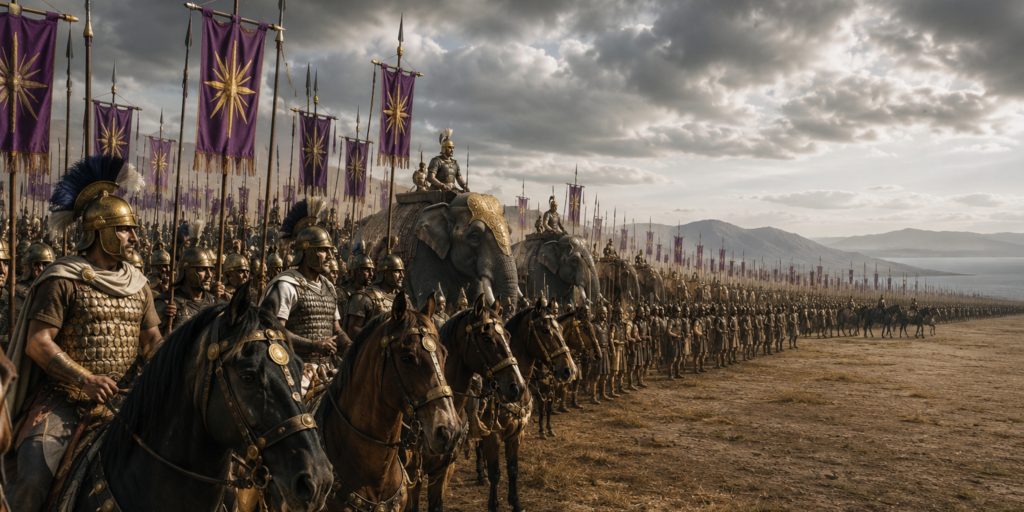
Antiochus III “The Great”
Role:
- King of the Seleucid Empire
- Commanded the cavalry wing
His army included:
- Macedonian-style phalangites
- Companion-style heavy cavalry
- Cataphracts
- Scythed chariots
- War elephants
- Galatian mercenaries
- Archers and light infantry
On paper, it was a terrifying army. Unfortunately for Antiochus, battles are fought on fields rather than recruitment lists.
Arms and Armour at Magnesia
Magnesia is especially fascinating because it shows two very different military traditions meeting.
Roman Weapons and Equipment
Gladius Hispaniensis
The main Roman sword of the period was the early gladius, influenced by Iberian designs encountered during earlier wars.
Features:
- Double-edged blade
- Around 60 to 70 cm long
- Excellent for thrusting after the enemy line was disrupted
- Deadly in close formation fighting
Pilum
The Roman heavy javelin remained one of the legion’s greatest advantages.
Advantages:
- Could penetrate shields
- Disrupted enemy formations before contact
- Forced opponents into chaotic close combat
Scutum
The large Roman shield allowed legionaries to absorb missile attacks and fight aggressively at close range.
Seleucid Weapons and Equipment
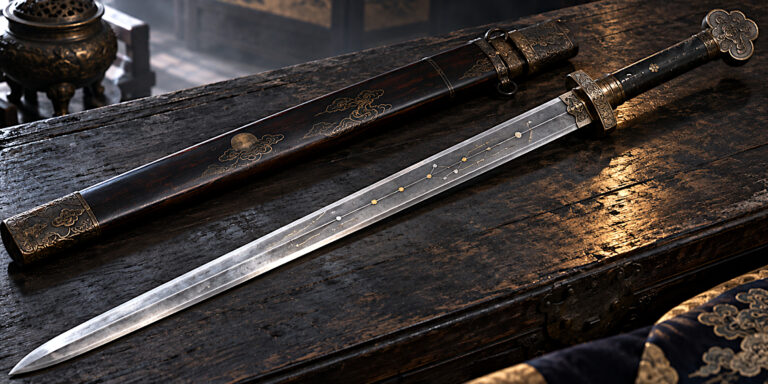
Xiphos
Many Greek-style troops carried the xiphos as a secondary weapon.
Features:
- Short double-edged sword
- Leaf-shaped blade
- Effective for stabbing and cutting after spear combat
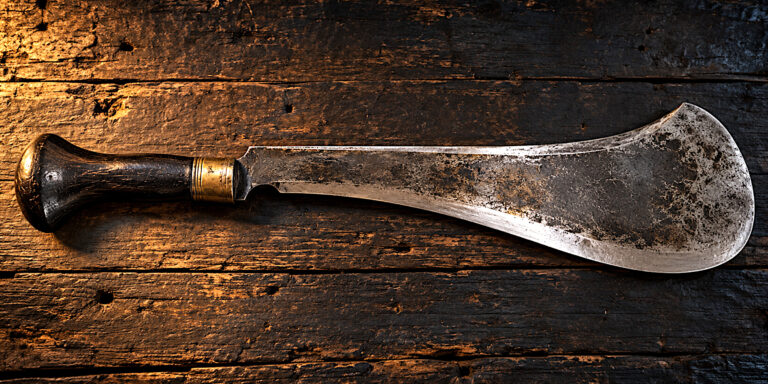
Kopis
Some cavalry and infantry favoured the kopis.
Features:
- Forward-curving blade
- Powerful chopping ability
- Particularly useful from horseback
Sarissa
The weapon that defined the Macedonian phalanx.
Features:
- Long pike around 4 to 6 metres
- Created a wall of spear points
- Almost unstoppable from the front when formation remained intact
Cataphract Equipment
Seleucid elite cavalry used:
- Long kontos lances
- Scale armour
- Armoured horses
- Swords for close combat
War Elephants
Antiochus deployed dozens of elephants.
Strengths:
- Psychological impact
- Could break inexperienced troops
Weaknesses:
- Difficult to control
- Vulnerable to missiles
- Dangerous when panicked
The elephant was the ancient world’s version of a risky investment. Spectacular when it worked, expensive and chaotic when it did not.
Battle Timeline
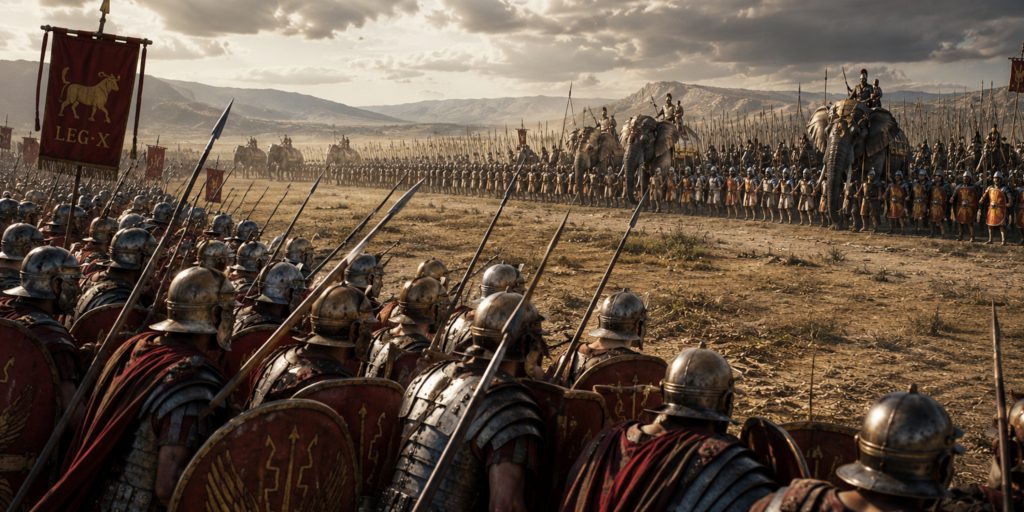
Opening Movements
The armies formed near Magnesia ad Sipylum. Antiochus placed confidence in his cavalry, elephants and phalanx.
The Seleucid formation was impressive but complex. Coordinating such different units required near-perfect timing.
Seleucid Chariots Fail
The battle began badly for Antiochus.
Eumenes and the Roman allies targeted the Seleucid scythed chariots with missile attacks. The horses panicked and fled back into friendly lines.
This caused disorder among nearby troops before the main infantry clash even began.
Antiochus Breaks the Roman Left
Antiochus personally led a successful cavalry attack and drove back part of the Roman line.
However, he pursued too far and became separated from the decisive fighting.
It was a familiar ancient battlefield problem: winning your own fight while losing the battle.
Collapse of the Seleucid Formation
The Seleucid phalanx initially held firm, but pressure increased as supporting troops collapsed.
The elephants positioned among the phalanx became frightened and disrupted their own infantry.
Once gaps appeared, Roman legionaries could exploit them.
The phalanx was devastating as a solid wall. Broken into pieces, it became vulnerable.
Roman Victory
The Seleucid army collapsed and suffered heavy losses.
Antiochus escaped, but his ambitions in Greece and western Anatolia were finished.
Archaeology of the Battle
Unlike some ancient battlefields, Magnesia has produced limited direct archaeological evidence. The exact location remains debated, partly because landscapes change and ancient descriptions are not always precise.
Archaeological study of the wider region has helped historians understand:
- Settlement patterns around Magnesia ad Sipylum
- Hellenistic military infrastructure
- Seleucid and Roman weapon types
- Regional political control after the battle
Artefacts from the wider Hellenistic period include:
- Greek-style helmets
- Spearheads
- Sword fragments
- Armour fittings
- Coins linked to Seleucid and Roman influence
Coins of Antiochus III remain especially valuable evidence for Seleucid royal imagery and propaganda.
Contemporary Sources and Quotes
Much of what we know comes from later ancient historians who used earlier material.
Livy on the scale of the Seleucid defeat:
“The power of Antiochus was broken in a single battle.”
Livy presents Magnesia as a turning point where Rome proved its superiority over eastern monarchies.
Appian on the Seleucid army:
“They trusted in their multitude and the splendour of their equipment.”
Appian emphasised the contrast between the impressive appearance of the Seleucid host and Roman battlefield effectiveness.
Ancient writers had their biases, especially Roman authors eager to present Rome as destined for greatness, but their accounts remain essential.
Outcome
The battle led directly to the Treaty of Apamea in 188 BCE.
Antiochus III was forced to:
- Abandon territories west of the Taurus Mountains
- Pay a massive indemnity to Rome
- Reduce his navy
- Surrender war elephants
- Hand over hostages, including his son, the future Antiochus IV Epiphanes
Rome did not immediately annex the east. Instead, it controlled events through alliances and influence.
Legacy of the Battle of Magnesia
Magnesia demonstrated that the traditional Macedonian phalanx was struggling against the adaptability of the Roman legion.
The battle did not make Rome an eastern empire overnight, but it changed the balance of power permanently.
The Seleucid Empire survived, but it never fully recovered its former position. Internal struggles, external enemies and rising powers gradually weakened it.
For historians, Magnesia is one of the great “what if” battles. Antiochus possessed wealth, experience and an extraordinary army. Yet Roman flexibility, allied support and Seleucid mistakes turned a grand imperial project into a very expensive lesson in battlefield management.
Few defeats have involved so many elephants and produced such a clear message: impressive does not always mean effective.
Watch the documentary: