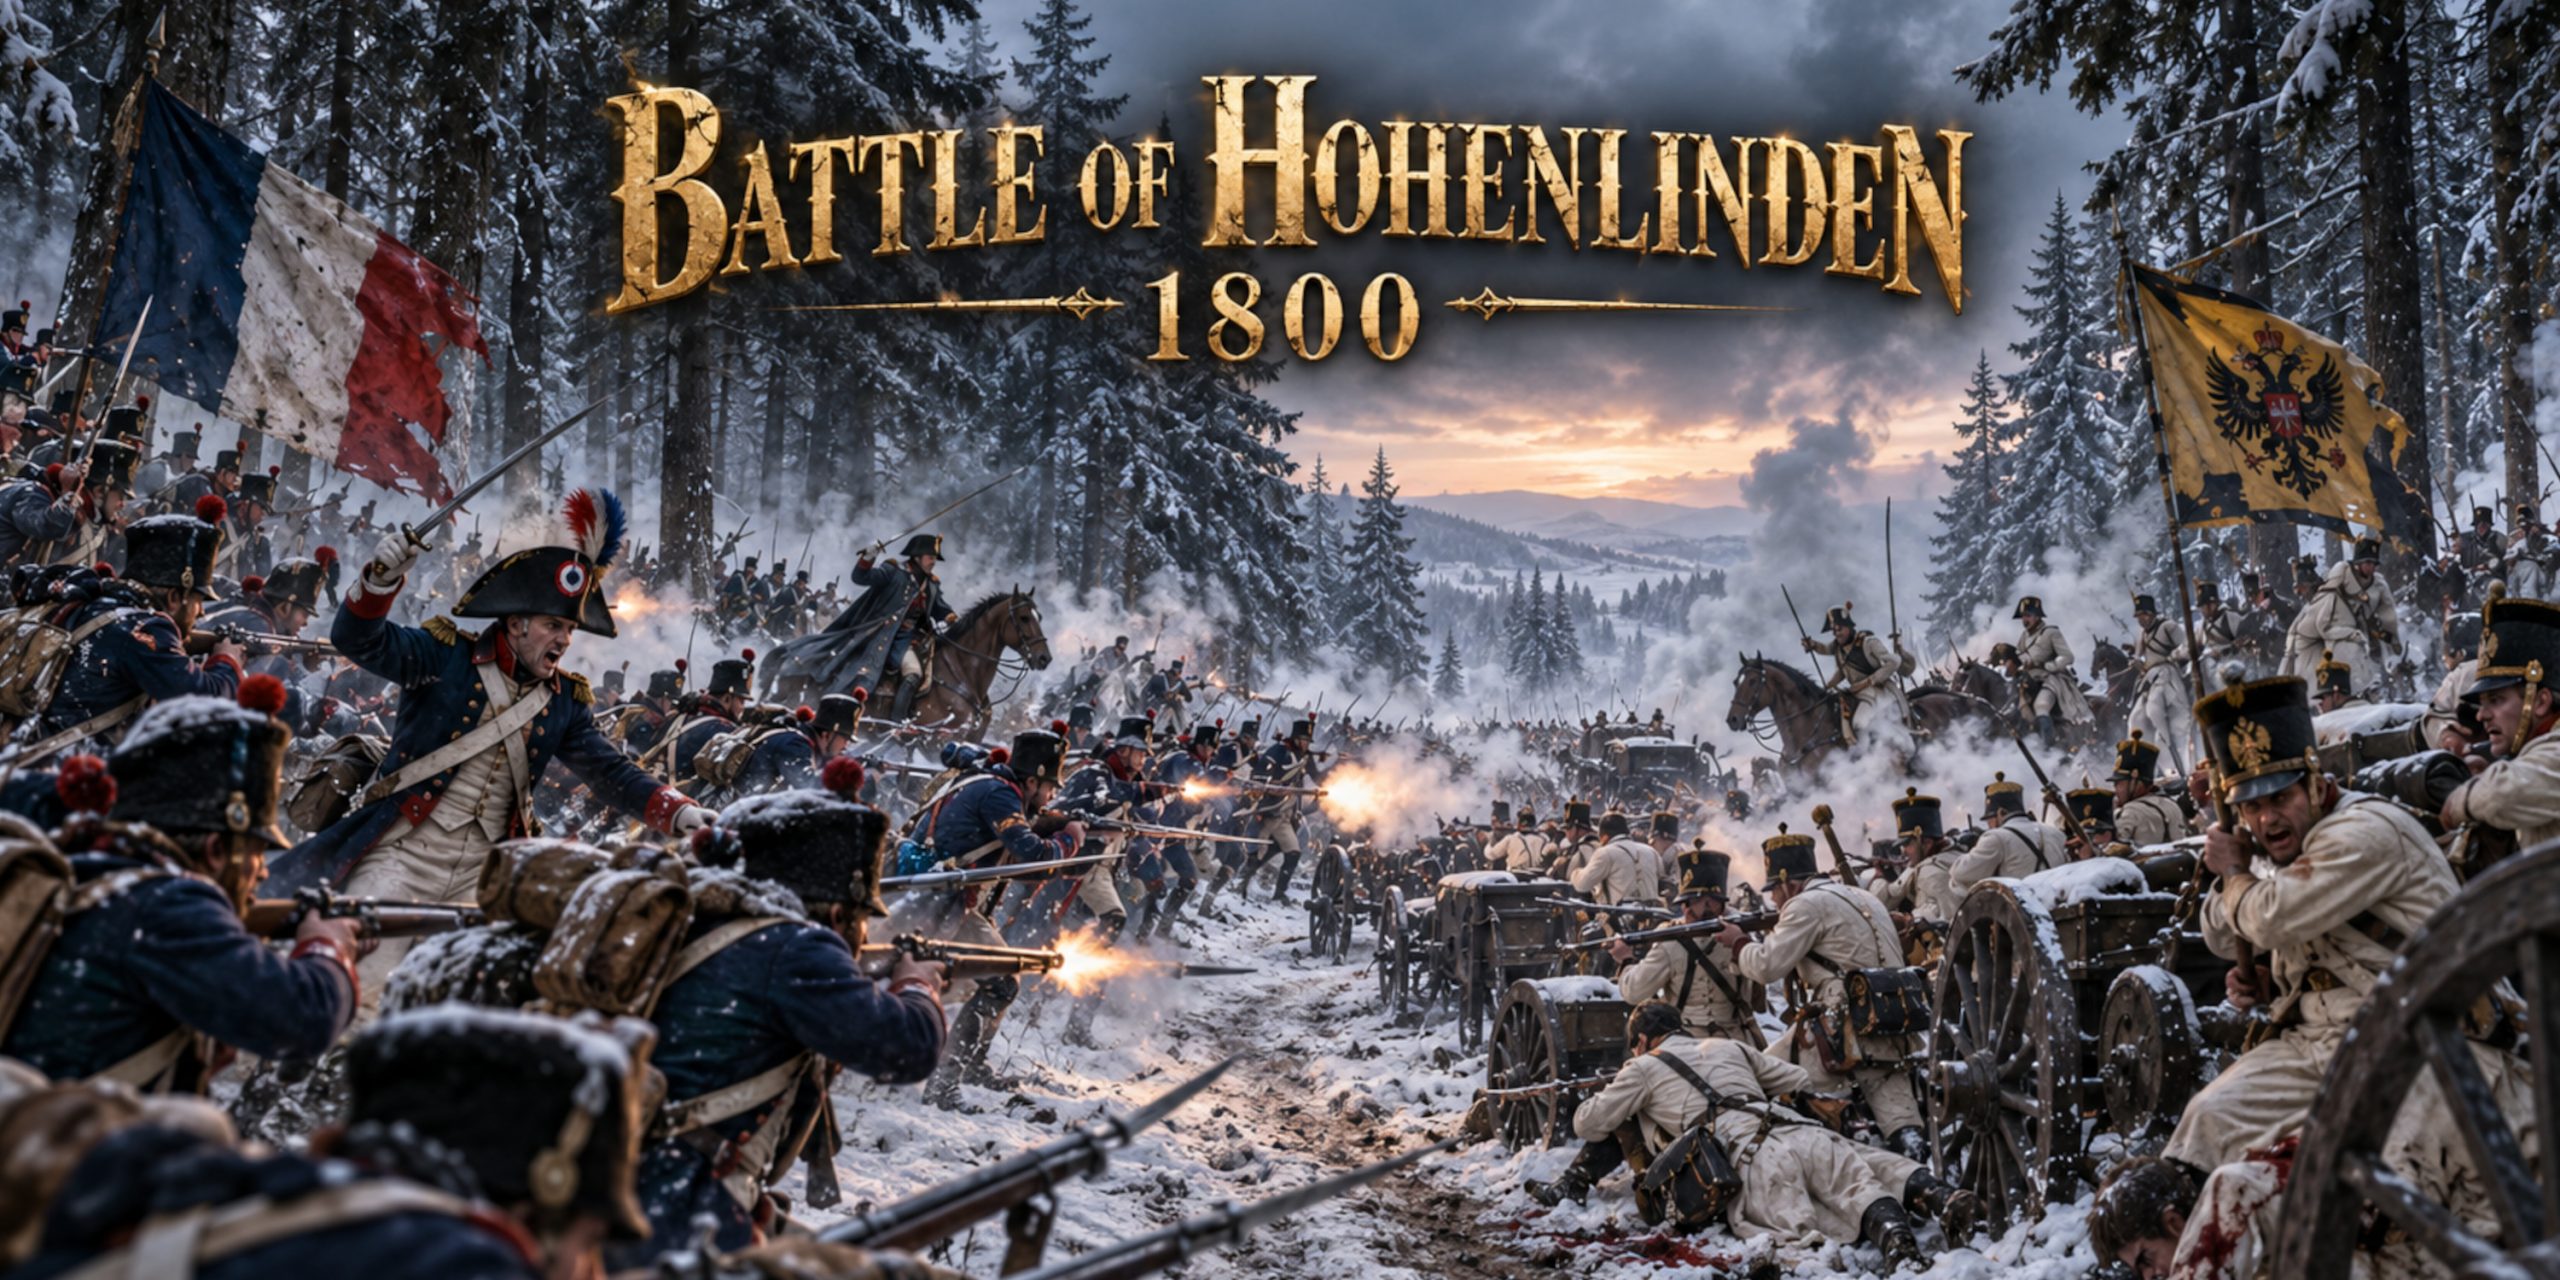
On 3 December 1800, an Austrian-led army marched into the snowbound forests east of Munich expecting to finish off a retreating enemy. Instead, it entered an elaborate trap. The French Army of the Rhine, commanded by General Jean-Victor Moreau, held the exits from the forest while General Antoine Richepanse drove into the Austrian rear.
Hohenlinden was one of the most complete French victories of the Revolutionary Wars. It shattered Austria’s principal army in Germany, opened the road towards Vienna and helped force the peace that ended the War of the Second Coalition. Napoleon Bonaparte tends to occupy every available inch of this period, rather like an ambitious house guest, but this was Moreau’s masterpiece.
The victory was not produced by a single theatrical charge. It came from Moreau’s calm reading of the ground, capable divisional commanders and an Austrian plan that required four separated columns to keep time in a forest during a snowstorm. That was asking a great deal of men, horses and eighteenth-century staff work.
Battle of Hohenlinden at a Glance
| Detail | Information |
|---|---|
| Date | 3 December 1800 |
| Location | Hohenlinden and the Ebersberg Forest, Bavaria, east of Munich |
| War | War of the Second Coalition |
| French commander | General Jean-Victor Moreau |
| Allied commander | Archduke John of Austria |
| French strength | About 53,000 to 54,000 men, although not all were equally engaged |
| Austrian and allied strength | About 60,000 men |
| Result | Decisive French victory |
| Strategic consequence | Austrian retreat, Armistice of Steyr and Treaty of Lunéville |
Figures differ between accounts because returns distinguish between troops present, available and actually engaged. Conveniently precise totals should therefore be treated as administrative estimates rather than a headcount conducted beneath the fir trees.
Why the Battle Happened
The War of the Second Coalition had turned against Austria during 1800. Bonaparte defeated an Austrian army at Marengo in northern Italy on 14 June, while Moreau’s Army of the Rhine campaigned successfully in southern Germany. An armistice paused the fighting, but negotiations failed and hostilities resumed in late November.
Austria had replaced the experienced Archduke Charles with his eighteen-year-old brother, Archduke John. John was brave and intelligent, but he had never commanded an army in battle. His headquarters was divided between the cautious Feldzeugmeister Franz von Lauer and the more aggressive chief of staff, Colonel Franz von Weyrother. The resulting command arrangement was not a recipe for crisp decisions.
On 1 December, the Austrians fought French troops under Paul Grenier at Ampfing. The French withdrew in good order, but the Austrian staff read the action as proof that Moreau was retreating towards Munich. John ordered an energetic pursuit.
Moreau was doing something more dangerous. He concentrated on the Hohenlinden plateau and prepared to meet the Austrians as they emerged from the Ebersberg Forest. His centre would hold the main road while Richepanse and Charles Decaen moved against the enemy’s southern flank and rear.
The Battlefield and the Winter Weather
Hohenlinden stood near the western edge of a broad belt of woodland. The principal chaussée ran west from Haag through Maitenbeth and the forest towards Hohenlinden and Munich. Smaller roads and tracks served the Austrian columns to the north and south.
Snow, sleet and poor visibility turned those secondary routes into serious obstacles. Units lost contact, guns and wagons congested the roads, and messages travelled slowly. Woodland also limited the deployment of cavalry and artillery. The Austrian numerical advantage mattered much less when its army was divided into columns which could neither see nor readily support one another.
Moreau’s position offered several advantages:
- French divisions could defend the exits from the forest on relatively open ground.
- The main Austrian column had to advance along a restricted road crowded with infantry, cavalry, artillery and baggage.
- French troops could move between threatened points more easily than the widely separated Austrian columns.
- Richepanse and Decaen could approach the Austrian left and rear along the southern route through St Christoph.
Hohenlinden is sometimes described as a simple ambush. That is a little too tidy. Moreau anticipated the broad shape of the Austrian advance, but the battle still demanded improvisation once Richepanse’s division was cut in two.
Forces
Leaders
| Side | Senior leaders | Role at Hohenlinden |
|---|---|---|
| French Republic | Jean-Victor Moreau | Commander-in-chief of the Army of the Rhine |
| French Republic | Paul Grenier | Commanded the French left wing |
| French Republic | Emmanuel de Grouchy | Held the central position against the main Austrian attack |
| French Republic | Michel Ney | Reinforced the centre and joined the decisive counterattack |
| French Republic | Antoine Richepanse | Led the southern advance and struck Kollowrat’s rear |
| French Republic | Charles Decaen | Followed Richepanse and contained Riesch’s column |
| Austria and allies | Archduke John | Army commander, present with the central column |
| Austria and allies | Franz von Lauer | Deputy commander and senior adviser |
| Austria and allies | Franz von Weyrother | Chief of staff and a leading influence on the offensive plan |
| Austria and allies | Johann Kollowrat | Commanded the main or left-centre column on the chaussée |
| Austria and allies | Maximilian Baillet de Latour | Commanded the right-centre column |
| Austria and allies | Michael von Kienmayer | Commanded the northern or right column |
| Austria and allies | Johann Sigismund Riesch | Commanded the southern or left column |
Troop Composition
| Army | Approximate composition | Artillery |
|---|---|---|
| French Army of the Rhine | 41,000 to 42,000 infantry and roughly 11,800 cavalry | About 99 guns |
| Austrian and allied army | About 46,000 infantry and 14,000 cavalry, including Bavarian and other German contingents | About 214 guns |
The Austrian-led army advanced in four main columns:
- Kollowrat’s main column used the chaussée through Maitenbeth. Archduke John travelled with it, making this the army’s operational centre of gravity.
- Baillet de Latour’s column moved on a parallel route north of Kollowrat but became dispersed as detachments were sent towards firing elsewhere.
- Kienmayer’s column operated on the far right around Isen, Harthofen, Forstern and Kronacker.
- Riesch’s column advanced on the southern route through Albaching towards St Christoph.
Moreau deployed Grouchy across the central approach, with Ney close enough to reinforce him. Grenier’s formations covered the French left and north. Richepanse and Decaen formed the striking force on the right. This was a flexible arrangement, although it depended heavily on commanders acting intelligently without waiting for perfect instructions. Fortunately for Moreau, several of them did.
Arms and Armour
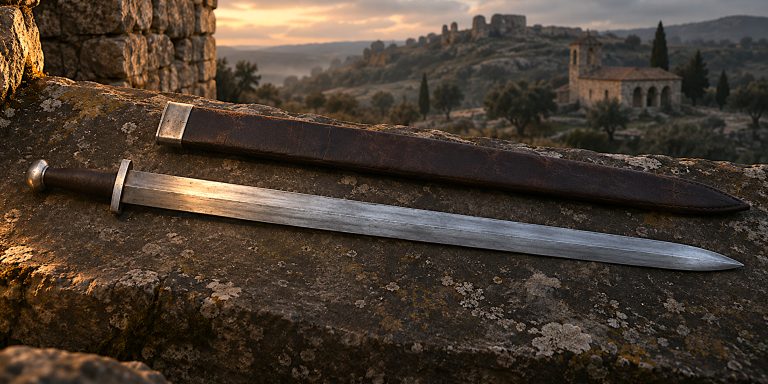
Hohenlinden belonged to the age of the flintlock musket and field gun, not the armoured knight. Soldiers wore wool uniforms, greatcoats where available and leather equipment, but no practical body armour. Firepower decided most encounters. Swords remained important as cavalry weapons, officers’ sidearms and symbols of rank.
French Weapons
- Charleville-pattern flintlock muskets: French line infantry principally used smoothbore muskets derived from the Modèle 1777 and its revolutionary modifications. A socket bayonet turned the musket into a close-quarter weapon.
- Infantry briquet: Grenadiers, some light infantry and artillerymen carried short, curved sabres. These were useful tools and last-resort weapons, though battlefield art rather likes to promote them to a more glamorous role.
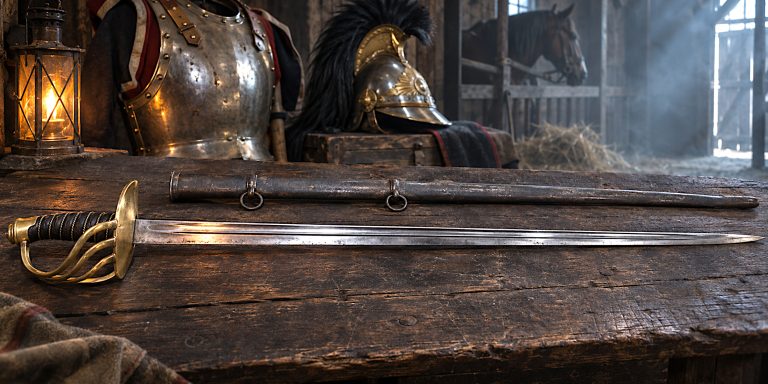
- Heavy cavalry straight swords: French cuirassiers and other heavy cavalry used long, straight blades intended for forceful thrusts and cuts. Patterns in service pre-dated the later, standardised An XI heavy cavalry sword.
- Light cavalry sabres: Hussars and chasseurs à cheval carried curved sabres suited to mounted cutting. Older 1770s and 1780s patterns remained in use while Year IX regulation weapons were only beginning to appear.
- Officer swords: Infantry officers carried straight or lightly curved regulation swords, while mounted officers favoured sabres appropriate to their arm.
- Field artillery: French batteries used a mixture of Gribeauval-system guns, particularly 4-, 8- and 12-pounders, with howitzers for explosive shell fire.
Austrian and Bavarian Weapons
- Austrian flintlock muskets: Austrian infantry carried smoothbore muskets including the Model 1798 system, fitted with socket bayonets.
- Cavalry pallasches: Austrian cuirassiers used long, straight, single-edged swords often described as pallasches. They were designed for powerful mounted combat.
- Dragoon swords: Dragoons carried substantial straight swords capable of thrusting and cutting. At Hohenlinden, Austrian cavalry included cuirassier and dragoon regiments attached to the marching columns.
- Hussar sabres: Austrian light cavalry used curved sabres for scouting, pursuit and close combat.
- Officer swords and sabres: Austrian and Bavarian officers carried weapons according to branch and regulation, with considerable variation surviving in wartime service.
- Field artillery: The Austrian army possessed a large artillery train with light battalion guns and heavier field pieces. Its paper advantage was blunted by forest roads, congestion and the difficulty of bringing batteries into action.
The sword’s role should not be exaggerated. Richepanse did not win the battle because French sabres were inherently superior. Infantry manoeuvre, musketry, artillery at useful ranges and the psychological shock of attack from two directions broke Kollowrat’s column. Cavalry then helped exploit disorder and gather prisoners.
Battle Timeline
| Approximate time | Event |
|---|---|
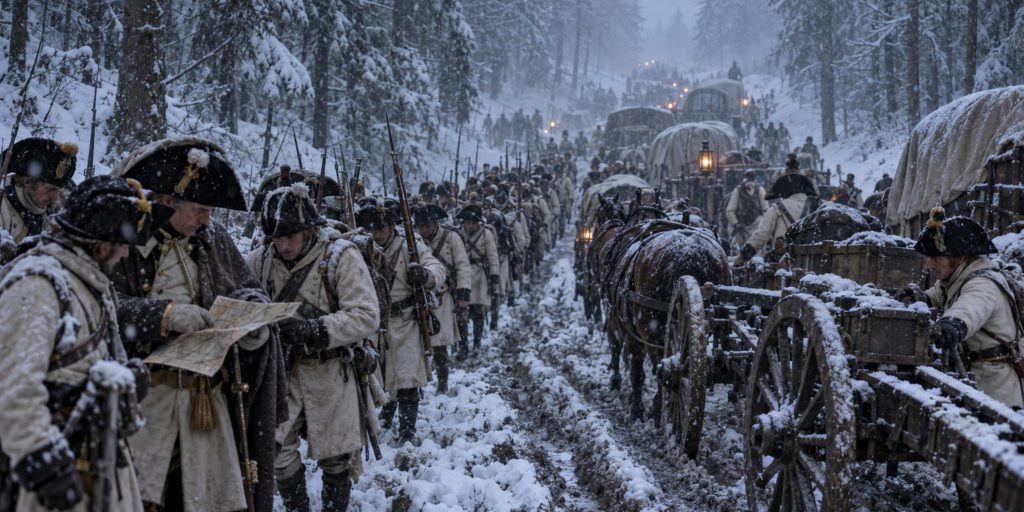
| Before dawn | Austrian columns begin moving west through snow and difficult forest roads. Their timetable starts to unravel almost immediately. |
| Around 7am | Kollowrat’s advance guard meets Grouchy’s troops east of Hohenlinden and attacks, expecting only a French rearguard. |
| Early morning | Grouchy repels repeated attacks. Kollowrat’s column crowds onto the main road as further units and guns arrive. |
| Morning | Kienmayer presses the French left around Harthofen, Forstern and Kronacker. Fighting there remains hard and inconclusive. |
| Morning | Richepanse advances through St Christoph in heavy snow. Two Austrian battalions from Kollowrat’s column strike his division and split it. |
| Late morning | Richepanse continues east with his leading brigade rather than turning back. Drouet holds with the rear portion until Decaen approaches. |
| Around midday | Richepanse reaches the main road near Maitenbeth and attacks Kollowrat’s rear. Moreau recognises the mounting confusion and orders a general counterattack. |
| Early afternoon | Grouchy and Ney press the Austrian front while Richepanse attacks from behind. The main column collapses and Archduke John narrowly escapes. |
| Afternoon | Decaen drives against Riesch’s scattered formations. News of the central disaster forces the other Austrian columns to withdraw. |
| Evening | The Austrian-led army retreats eastwards, leaving prisoners, guns and vehicles behind. French troops hold the battlefield. |
How Richepanse Broke the Austrian Centre
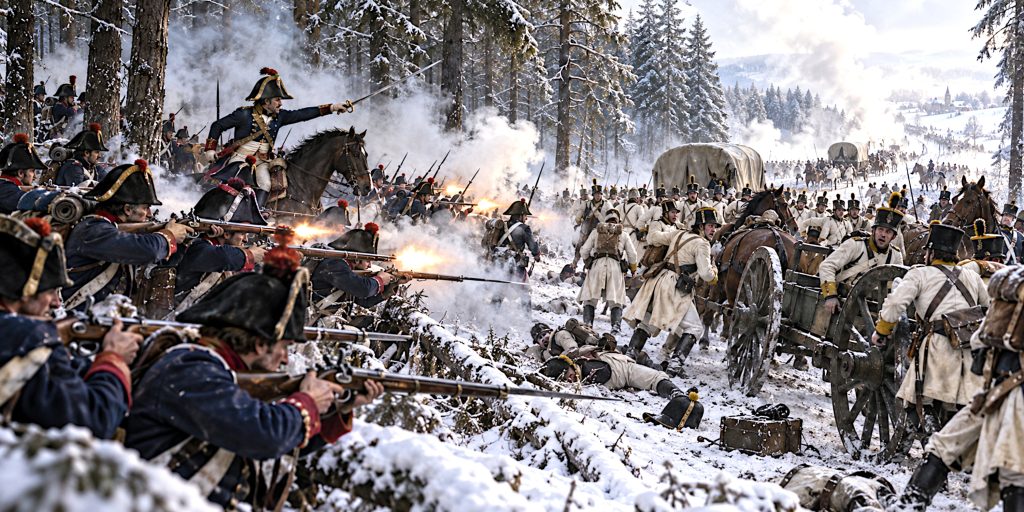
The crisis came south-east of Hohenlinden. As Richepanse’s division moved through the storm, two Austrian battalions struck its flank near Schützen and divided it. Richepanse had an unpleasant choice: turn back to reunite his formation or continue towards the chaussée with only the leading elements.
He continued.
General Jean-Baptiste Drouet organised the isolated rear portion and resisted until Decaen arrived. Richepanse meanwhile captured Marsmaier, reached the high ground overlooking the main road and realised that Kollowrat’s crowded column lay below him. He attacked to disguise his limited strength, then turned west into the Austrian rear.
Moreau could hear the fighting and saw the central attack losing momentum. He committed Ney alongside Grouchy. Kollowrat was now struck from front and rear, with little room to deploy and no reliable support from the neighbouring columns. Formations dissolved, guns were abandoned and thousands surrendered.
The episode reveals why command quality mattered so much. Richepanse accepted a calculated risk, Drouet held independently, Decaen arrived where he was needed and Moreau launched the frontal counterattack at the decisive moment. None had a complete picture. Collectively, they behaved as if they did.
Casualties and Captures
| Side | Estimated losses |
|---|---|
| French | Roughly 2,500 to 3,000 killed, wounded or missing |
| Austrian and allied army | About 4,600 to 5,500 killed or wounded and roughly 9,000 to 10,000 captured |
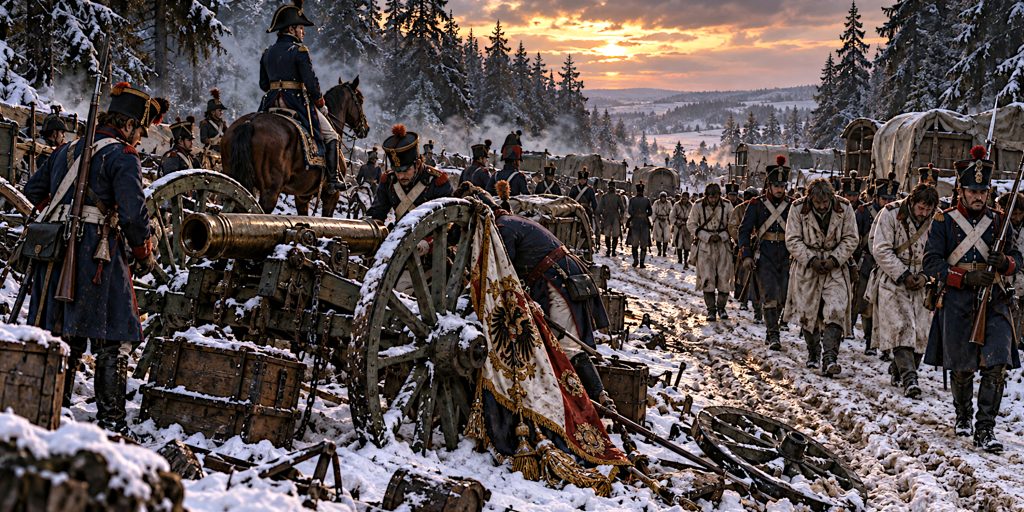
| Materiel | Approximately 76 Austrian and allied guns were lost, alongside many vehicles and standards |
Published totals vary. Some older narratives round the allied loss to 14,000 or 15,000 men, while others incorporate casualties from the pursuit. The safest conclusion is that French losses were substantial but manageable, whereas the Austrian army suffered a crippling combination of casualties, prisoners and abandoned equipment.
Contemporary Voices
The most famous contemporary response was literary rather than military. Scottish poet Thomas Campbell was travelling in Germany when news of the battle spread. His poem Hohenlinden, first published in 1802, opened:
“On Linden, when the sun was low,
All bloodless lay th’ untrodden snow.”
The image is memorable, although the battle began in the morning rather than at sunset. Campbell was creating a moral vision of war, not submitting a staff report. Later lines capture the violence more closely:
“And darker than the winter was
The blood of men on Linden’s snow.”
A recollection attributed to Moreau’s greeting of Decaen on 2 December gives a sharper sense of French confidence:
“Ah, there is Decaen; the battle will be ours tomorrow.”
That line comes through later biographical testimony and should be treated as a remembered remark, not a verbatim transcript. Such caution matters. The previous version of this article included dramatic quotations about gleaming sabres and every tree becoming a trap, but no dependable source could be found for either. They have therefore been removed. History supplies quite enough drama without asking anonymous ghosts to improve it.
Archaeology and the Battlefield Today
Hohenlinden does not possess the extensively published battlefield-archaeology record associated with Waterloo or some English Civil War sites. Claims that formal surveys have uncovered particular collections of sabre fragments, musket balls and artillery shot should not be repeated without a museum catalogue or excavation report.
The physical landscape nevertheless remains important evidence. The alignment of the old Munich to Mühldorf road, the plateau around Hohenlinden and the routes through Maitenbeth, St Christoph, Forstern and Albaching make the operational problem intelligible. Terrain explains why the Austrian columns lost contact and why control of the chaussée proved decisive.
What visitors can examine includes:
- the surviving road network and settlements around the battlefield;
- memorials and commemorative markers in and around Hohenlinden;
- historic maps and local archival material relating to the fighting;
- regional museum research, including the Museum Haag’s work on the battle and its local setting.
Future systematic fieldwalking, geophysical survey and controlled metal-detecting could refine the positions of skirmish lines and artillery. Any isolated object needs archaeological context. A musket ball proves very little if its location, depth and surrounding material were never recorded.
Researchers can also consult a 43-page early study of the battle preserved by France’s Service historique de la Défense, while the Museum Haag archive provides a useful regional point of reference.
Why the French Won
Moreau Used the Ground
Moreau made the forest part of his defensive system. The Austrians had to emerge from restrictive routes before they could deploy, while the French waited near the western exits and manoeuvred against the southern flank.
Austrian Columns Could Not Support One Another
The four-column plan looked purposeful on a map. In snow, woodland and poor roads, it created four separate battles. Baillet de Latour dispersed much of his command in an attempt to make contact elsewhere, Kienmayer became absorbed in fighting to the north and Riesch moved too cautiously to stop the French turning movement.
French Subordinate Commanders Took Initiative
Richepanse’s decision to continue after his division was divided was the pivotal act. Drouet, Decaen, Grouchy and Ney each responded effectively to local conditions. The French command system tolerated that initiative.
The Austrian Staff Misread Ampfing
The Austrians believed that they were pursuing a beaten enemy. That assumption encouraged speed over coordination and made stubborn resistance at Hohenlinden seem like a temporary rearguard action. By the time headquarters understood the scale of the French position, Kollowrat’s column was already deeply committed.
Aftermath and the Treaty of Lunéville
Moreau pursued the defeated army eastwards for roughly 300 kilometres over the following three weeks. French advances and further rearguard actions left Austria unable to restore a stable front. The Armistice of Steyr was signed on 25 December 1800.
The Treaty of Lunéville followed on 9 February 1801. Austria accepted French predominance west of the Rhine and recognised the French-backed political order in parts of Italy, Switzerland and the Netherlands. Britain remained at war for another year, but the Second Coalition had effectively collapsed.
Hohenlinden also elevated Moreau into the first rank of French commanders. That reputation later became politically awkward. He fell out with Bonaparte, went into exile and eventually joined the Allied camp in 1813, when he was mortally wounded at Dresden. His later choices remain controversial, but they do not make the manoeuvre at Hohenlinden any less accomplished.
The Historical Verdict
Hohenlinden deserves to stand beside the best-known battles of 1800. Marengo preserved Bonaparte’s political position after a battle that had come close to disaster. Hohenlinden was the cleaner operational victory and did at least as much to bring Austria to terms.
Moreau combined a strong defensive position with an offensive stroke against the enemy rear. His commanders then rescued the plan when weather, contact and chance disrupted it. Archduke John’s army was not defeated through cowardice or inferior weapons. It was committed piecemeal under a fractured command system, on ground that magnified every weakness in the plan.
The enduring lesson is simple enough: numbers on a return are not the same as strength at the decisive point. At Hohenlinden, more than 60,000 allied troops entered the battle, but the forest ensured that only portions of them could fight together. Moreau made that separation fatal.
Further Reading
- Battle of Hohenlinden overview and battlefield panorama
- Detailed narrative of the battle at FrenchEmpire.net
- Thomas Campbell’s Hohenlinden at the University of Toronto
- James R. Arnold, Marengo and Hohenlinden: Napoleon’s Rise to Power
- Digby Smith, The Napoleonic Wars Data Book