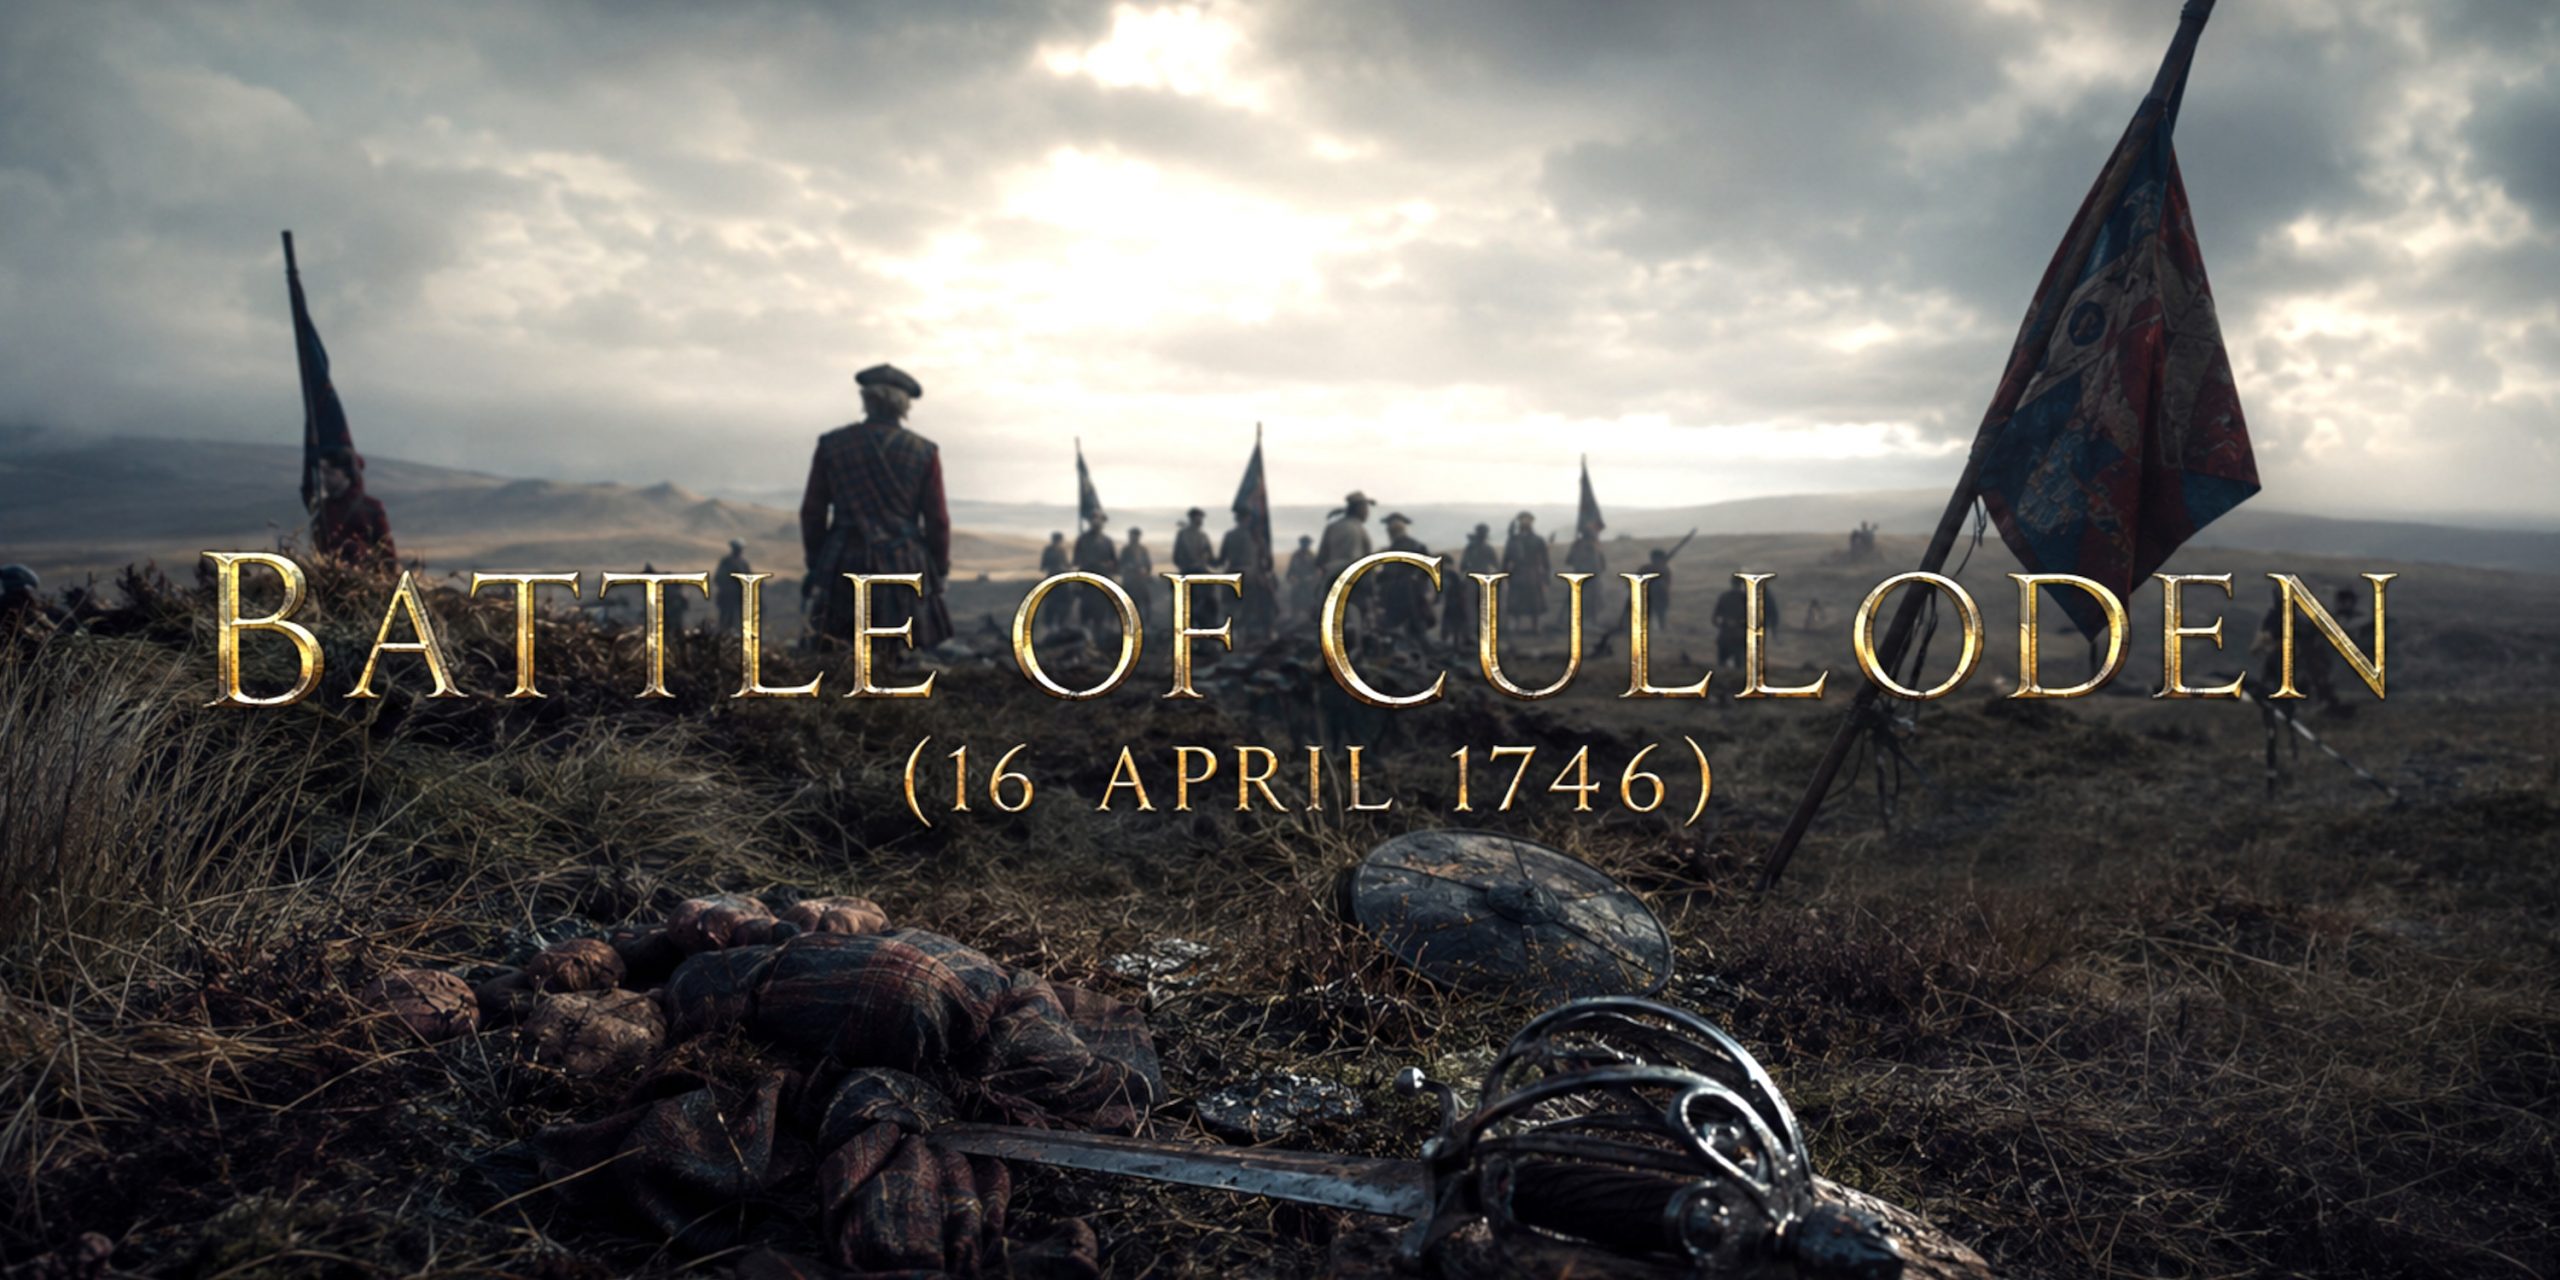
Few battlefields in Britain carry the emotional weight of Culloden. Walk across the open moor east of Inverness today and it is surprisingly quiet. The wind drifts across rough heather, curlews call overhead, and little seems to disturb the landscape. Yet on the morning of 16 April 1746, this ground became the setting for one of the shortest, bloodiest and most decisive battles in British history.
Culloden lasted barely an hour. It brought the Jacobite Rising of 1745 to a violent end, crushed the hopes of Charles Edward Stuart, and transformed Highland society forever. It was not simply a military defeat. It marked the collapse of a political cause, the decline of the traditional clan system, and the beginning of sweeping changes that would reshape Scotland.
For historians, Culloden remains endlessly fascinating because it was both medieval and modern. Highland warriors armed with broadswords charged disciplined infantry supported by artillery and drilled musket fire. Courage was abundant. Good planning was rather less so.
Battle of Culloden at a Glance
| Date | 16 April 1746 |
|---|---|
| Location | Culloden Moor, near Inverness, Scotland |
| Conflict | Jacobite Rising of 1745 |
| Jacobite Commander | Charles Edward Stuart |
| Government Commander | William Augustus, Duke of Cumberland |
| Result | Decisive Government victory |
| Duration | Approximately 40 to 50 minutes |
| Estimated Casualties | Around 1,500 to 2,000 Jacobites and roughly 300 Government troops |
Why Was the Battle Fought?
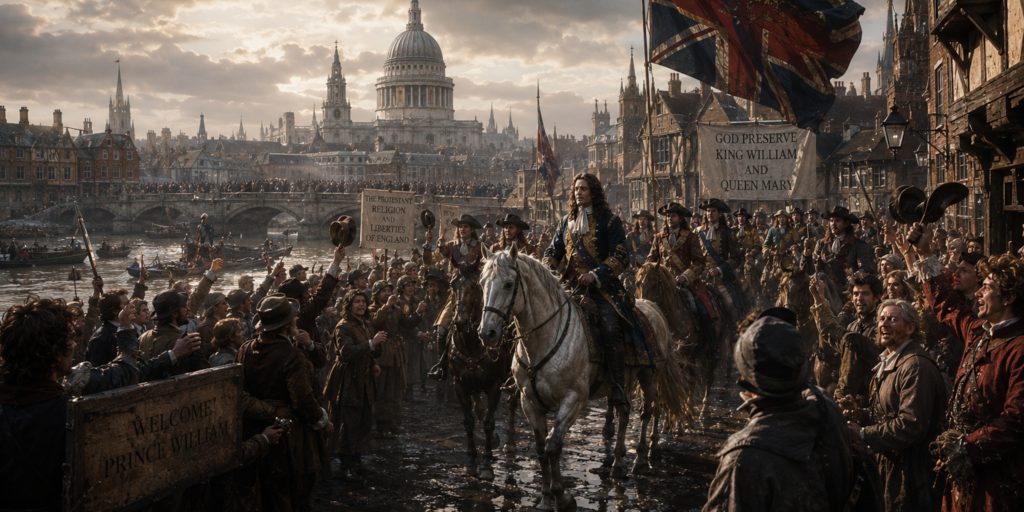
The Jacobite cause sought to restore the exiled House of Stuart to the British throne.
Following the Glorious Revolution of 1688, the Stuarts had lost the crown. Their supporters, known as Jacobites, launched several attempts to regain power.
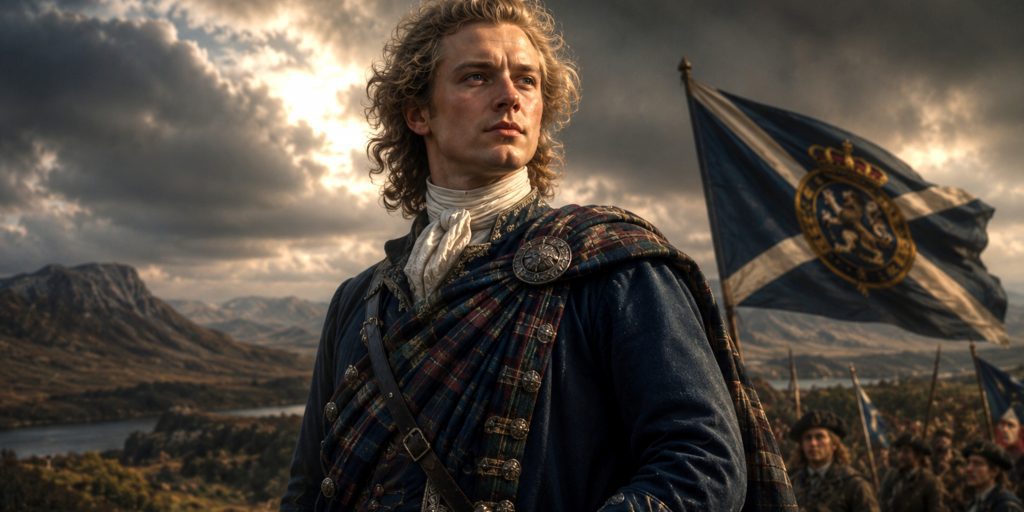
In 1745, Charles Edward Stuart, remembered as Bonnie Prince Charlie, landed in Scotland with remarkable confidence and very little military support. Against expectations, Highland clans rallied behind him.
The Jacobites:
- Captured Edinburgh
- Won the Battle of Prestonpans
- Advanced deep into England
- Reached Derby, only 125 miles from London
Despite their success, they failed to secure significant English support or French reinforcements. The army retreated north, pursued by Government forces under the Duke of Cumberland.
Culloden became the final confrontation.
Forces
| Army | Strength |
|---|---|
| Jacobites | Around 5,000 to 5,500 men |
| Government Army | Around 8,000 to 9,000 men |
Jacobite Army
The Jacobite force consisted of:
- Highland clan regiments
- Lowland Jacobites
- Irish Picquets from French service
- Small numbers of French regular troops
Many soldiers were experienced veterans, but the army suffered from:
- Poor supplies
- Hunger
- Exhaustion
- Limited ammunition
Several men had marched overnight before the battle and had eaten little or nothing.
Government Army
Cumberland’s army included:
- British regular infantry
- Scottish loyalist regiments
- English regiments
- Hessian auxiliaries
- Professional artillery
Unlike the Jacobites, Government troops were well supplied, well rested and extensively drilled.
Leaders and Troop Composition
| Commander | Side | Role |
|---|---|---|
| Charles Edward Stuart | Jacobite | Commander in Chief |
| Lord George Murray | Jacobite | Senior field commander |
| John Drummond | Jacobite | Infantry commander |
| Duke of Perth | Jacobite | Highland commander |
| Duke of Cumberland | Government | Commander in Chief |
| Henry Hawley | Government | Senior general |
| Major General Huske | Government | Infantry commander |
Jacobite Troop Composition
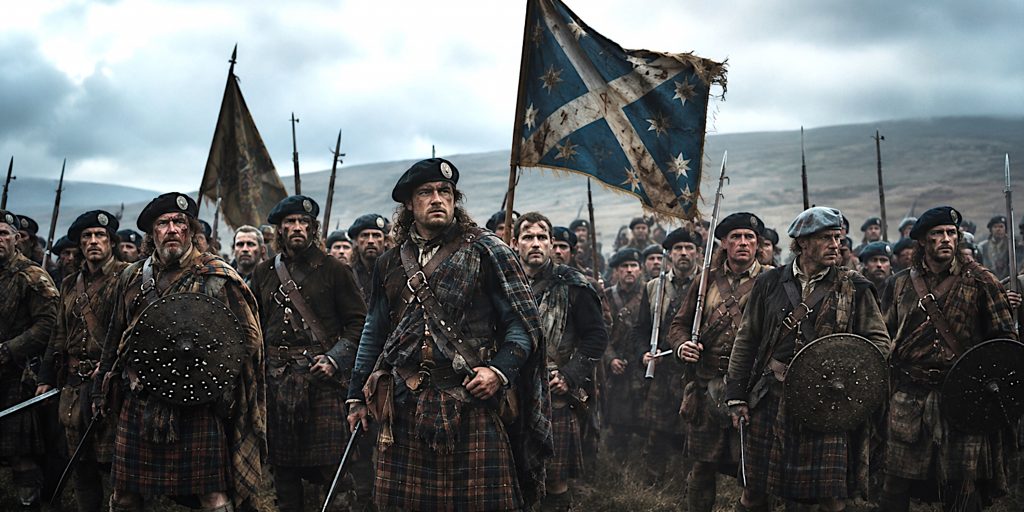
- Highland clans including Cameron, MacDonald, Fraser, Stewart, MacLean and Chattan
- Irish Brigade detachments
- French regulars
- Small cavalry contingent
- Limited artillery
Government Troop Composition
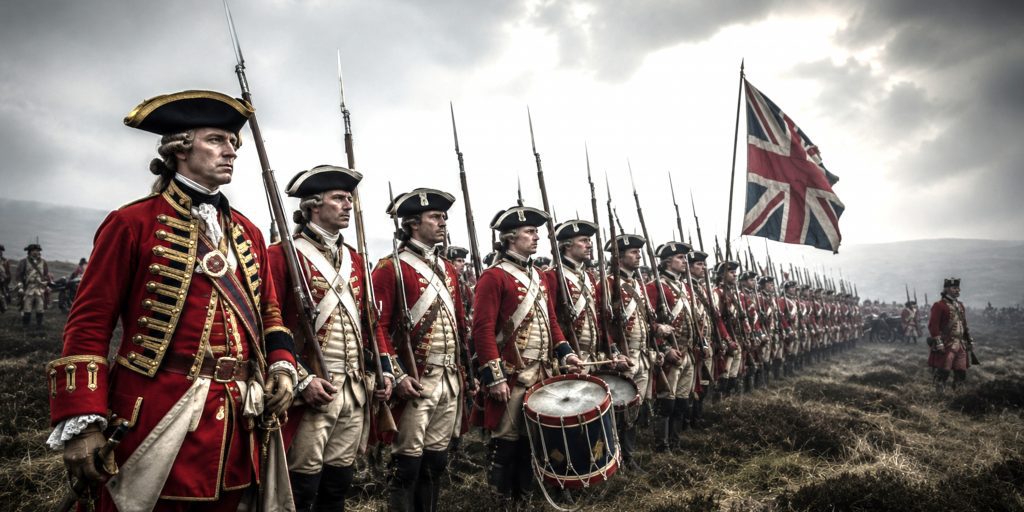
- Line infantry regiments
- Royal Artillery
- Government cavalry
- Highland companies loyal to the Crown
- Hessian troops held in reserve
Battlefield and Terrain
Culloden Moor was almost the worst battlefield the Jacobites could have chosen.
The Highland charge worked best over broken ground where speed and surprise disrupted enemy formations.
Culloden offered neither.
Instead, the battlefield consisted of:
- Open moorland
- Soft marshy patches
- Flat approaches
- Excellent fields of fire for artillery
The Government army deployed on firm ground where artillery could operate effectively.
Lord George Murray reportedly opposed fighting there, favouring rougher terrain better suited to Highland tactics.
History has tended to agree with him.
Arms and Armour
Jacobite Weapons
| Weapon | Notes |
|---|---|
| Scottish Basket Hilt Broadsword | Primary Highland weapon |
| Scottish Targe | Small round shield of wood and leather |
| Lochaber Axe | Polearm used by some clans |
| Scottish Dirk | Long fighting knife |
| Flintlock Muskets | Carried by many but often secondary |
| Pistols | Officers and clan chiefs |
The famous Highland charge combined musket fire with a rapid advance before closing with sword and targe.
Government Weapons
| Weapon | Notes |
|---|---|
| Brown Bess Musket | Standard infantry firearm |
| Socket Bayonet | Used in close combat |
| Light Artillery | Three pounder field guns |
| Dragoon Sabres | Carried by cavalry |
| Officers’ Smallswords | Common among officers |
Government training had evolved specifically to counter Highland tactics.
Rather than thrusting directly ahead, soldiers were instructed to stab diagonally towards the man attacking the soldier beside them, bypassing the protection offered by the Highland targe.
Simple. Brutal. Effective.
Armour
By 1746, traditional armour had almost disappeared from European battlefields.
Protection generally consisted of:
- Thick woollen coats
- Plaid and tartan
- Leather belts
- Occasional buff coats for officers
Steel armour had become largely ceremonial.
The Battle Timeline
| Time | Event |
|---|---|
| Night before | Failed Jacobite night march against Cumberland |
| Early morning | Jacobite army returns exhausted |
| Around 11:00 | Government army advances onto Culloden Moor |
| Shortly after | Government artillery opens fire |
| Jacobite line suffers heavy casualties | |
| Around midday | Highland charge begins |
| Government infantry withstands assault | |
| Government cavalry exploits Jacobite collapse | |
| Shortly afterwards | Jacobite army routed |
| Afternoon | Pursuit across the Highlands begins |
How the Battle Unfolded
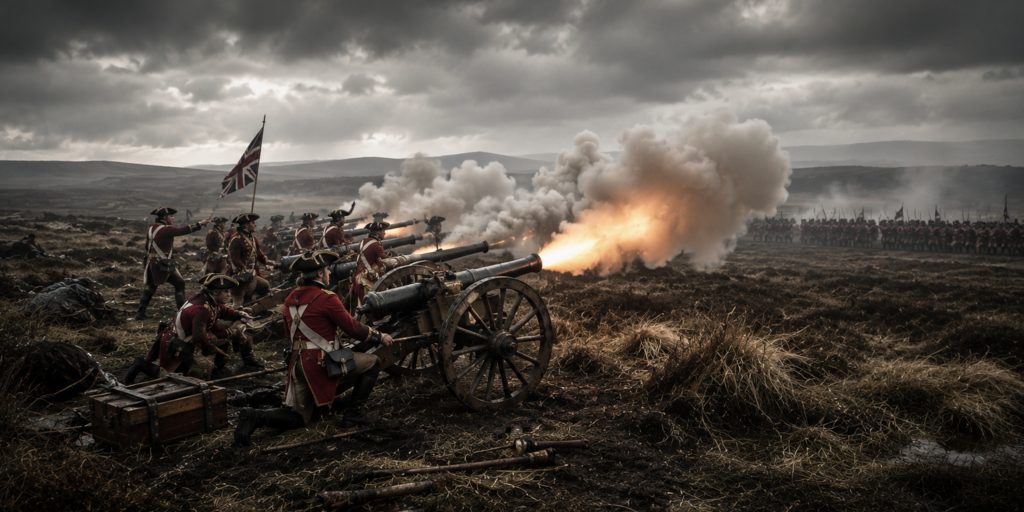
Government artillery immediately gained the initiative.
The Jacobites endured sustained bombardment while waiting for an order to attack. Men stood under cannon fire for up to thirty minutes, unable to respond effectively.
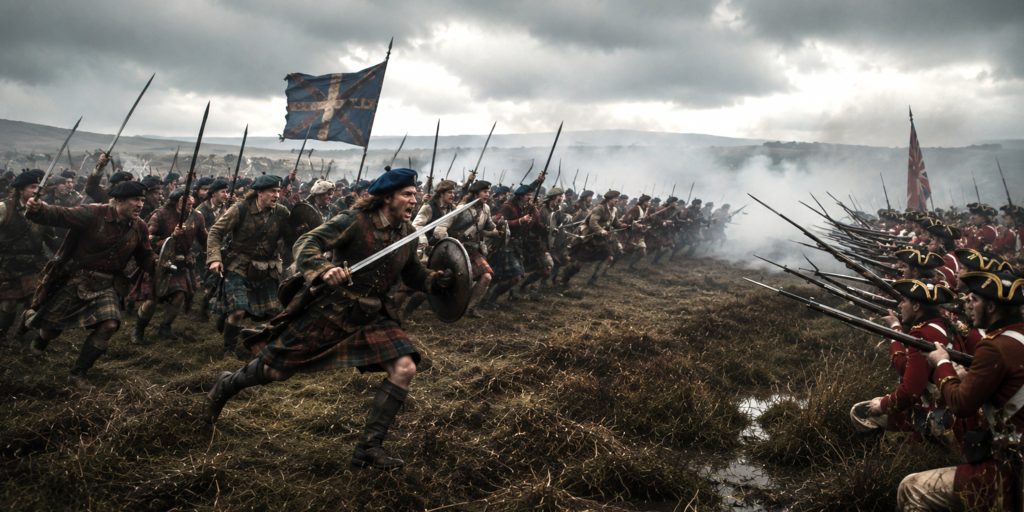
Eventually, parts of the Jacobite line charged.
The Camerons, Stewarts and Chattan Confederation reached the Government front ranks and fierce hand to hand fighting followed.
Elsewhere, confusion spread.
The MacDonalds, positioned on the Jacobite left, advanced hesitantly amid disputes over precedence and the heavy artillery fire. The line became uneven, leaving dangerous gaps.
Government infantry maintained disciplined volleys while cavalry struck the exposed Jacobite flanks.
Within less than an hour, organised resistance collapsed.
Casualties
| Side | Estimated Losses |
|---|---|
| Jacobites | 1,500 to 2,000 killed or wounded |
| Government | Around 300 killed or wounded |
The Jacobite losses fell disproportionately on the Highland clans.
Many clan leaders were killed, along with experienced officers whose loss would prove impossible to replace.
Contemporary Quotes
The Duke of Cumberland described the outcome as:
“A complete victory.”
Lord George Murray later reflected bitterly upon the chosen battlefield:
“We fought to disadvantage.”
Bishop Robert Forbes, collecting Jacobite testimonies after the Rising, preserved many accounts describing the devastation left across the battlefield and the suffering of survivors.
One Government officer remarked that the Highland charge was among the fiercest assaults he had witnessed, despite its ultimate failure.
Archaeology of Culloden
Culloden is among Britain’s most intensively studied battlefields.
Modern archaeological investigations have transformed understanding of the fighting.
Key discoveries include:
- Thousands of musket balls mapped across the battlefield
- Grapeshot and cannonball impact patterns
- Buttons, buckles and personal possessions
- Fragments of swords and firearms
- Evidence confirming the locations of the Government artillery
Metal detector surveys have helped reconstruct troop movements with remarkable precision.
Rather than relying solely on written accounts, archaeologists can now compare battlefield evidence against contemporary reports. Unsurprisingly, some eighteenth century witnesses proved rather optimistic about remembering exactly where everyone had been standing while cannonballs were arriving.
The battlefield is protected and managed with ongoing conservation work, ensuring future discoveries remain possible.
The Aftermath
Culloden ended the Jacobite military threat.
The consequences were immense.
Government measures included:
- Disarming Highland clans
- Suppression of traditional Highland dress in many circumstances through the Dress Act
- Restrictions on clan authority
- Construction of military roads and forts
- Greater Government control throughout the Highlands
Charles Edward Stuart escaped after months on the run before eventually reaching France.
His dramatic escape, aided by supporters including Flora MacDonald, became almost as famous as the battle itself.
Legacy
Culloden has never entirely left the Scottish imagination.
For some, it symbolises national tragedy.
For others, it represents the triumph of central government over rebellion.
The reality is more complicated.
Both armies included Scots. Highlanders fought on both sides. Political loyalties often mattered more than geography.
Today, Culloden stands as one of Europe’s best preserved battlefields and remains a place of remembrance rather than celebration.
It reminds visitors that courage alone rarely wins battles. Logistics, discipline, leadership and choosing the right battlefield usually have rather more to say on the matter.
Visiting Culloden Today
The battlefield is cared for by the National Trust for Scotland.
Visitors can explore:
- The preserved battlefield
- Clan memorial stones
- Visitor centre and museum
- Interactive battle displays
- Artefacts recovered through archaeological excavations
- Walking trails following troop positions
The site provides one of the finest opportunities in Britain to understand a battlefield within its original landscape.
Why Culloden Still Matters
Culloden was not Britain’s largest battle, nor its longest.
Its importance lies in its consequences.
The defeat ended serious Jacobite ambitions, transformed Highland society, accelerated political integration within Britain and became one of the defining events in Scottish history.
Nearly three centuries later, the moor remains unusually powerful. There are grander battlefields, certainly. There are bloodier ones too. Yet few leave visitors with quite the same sense of quiet reflection. Sometimes history shouts. At Culloden, it mostly whispers.