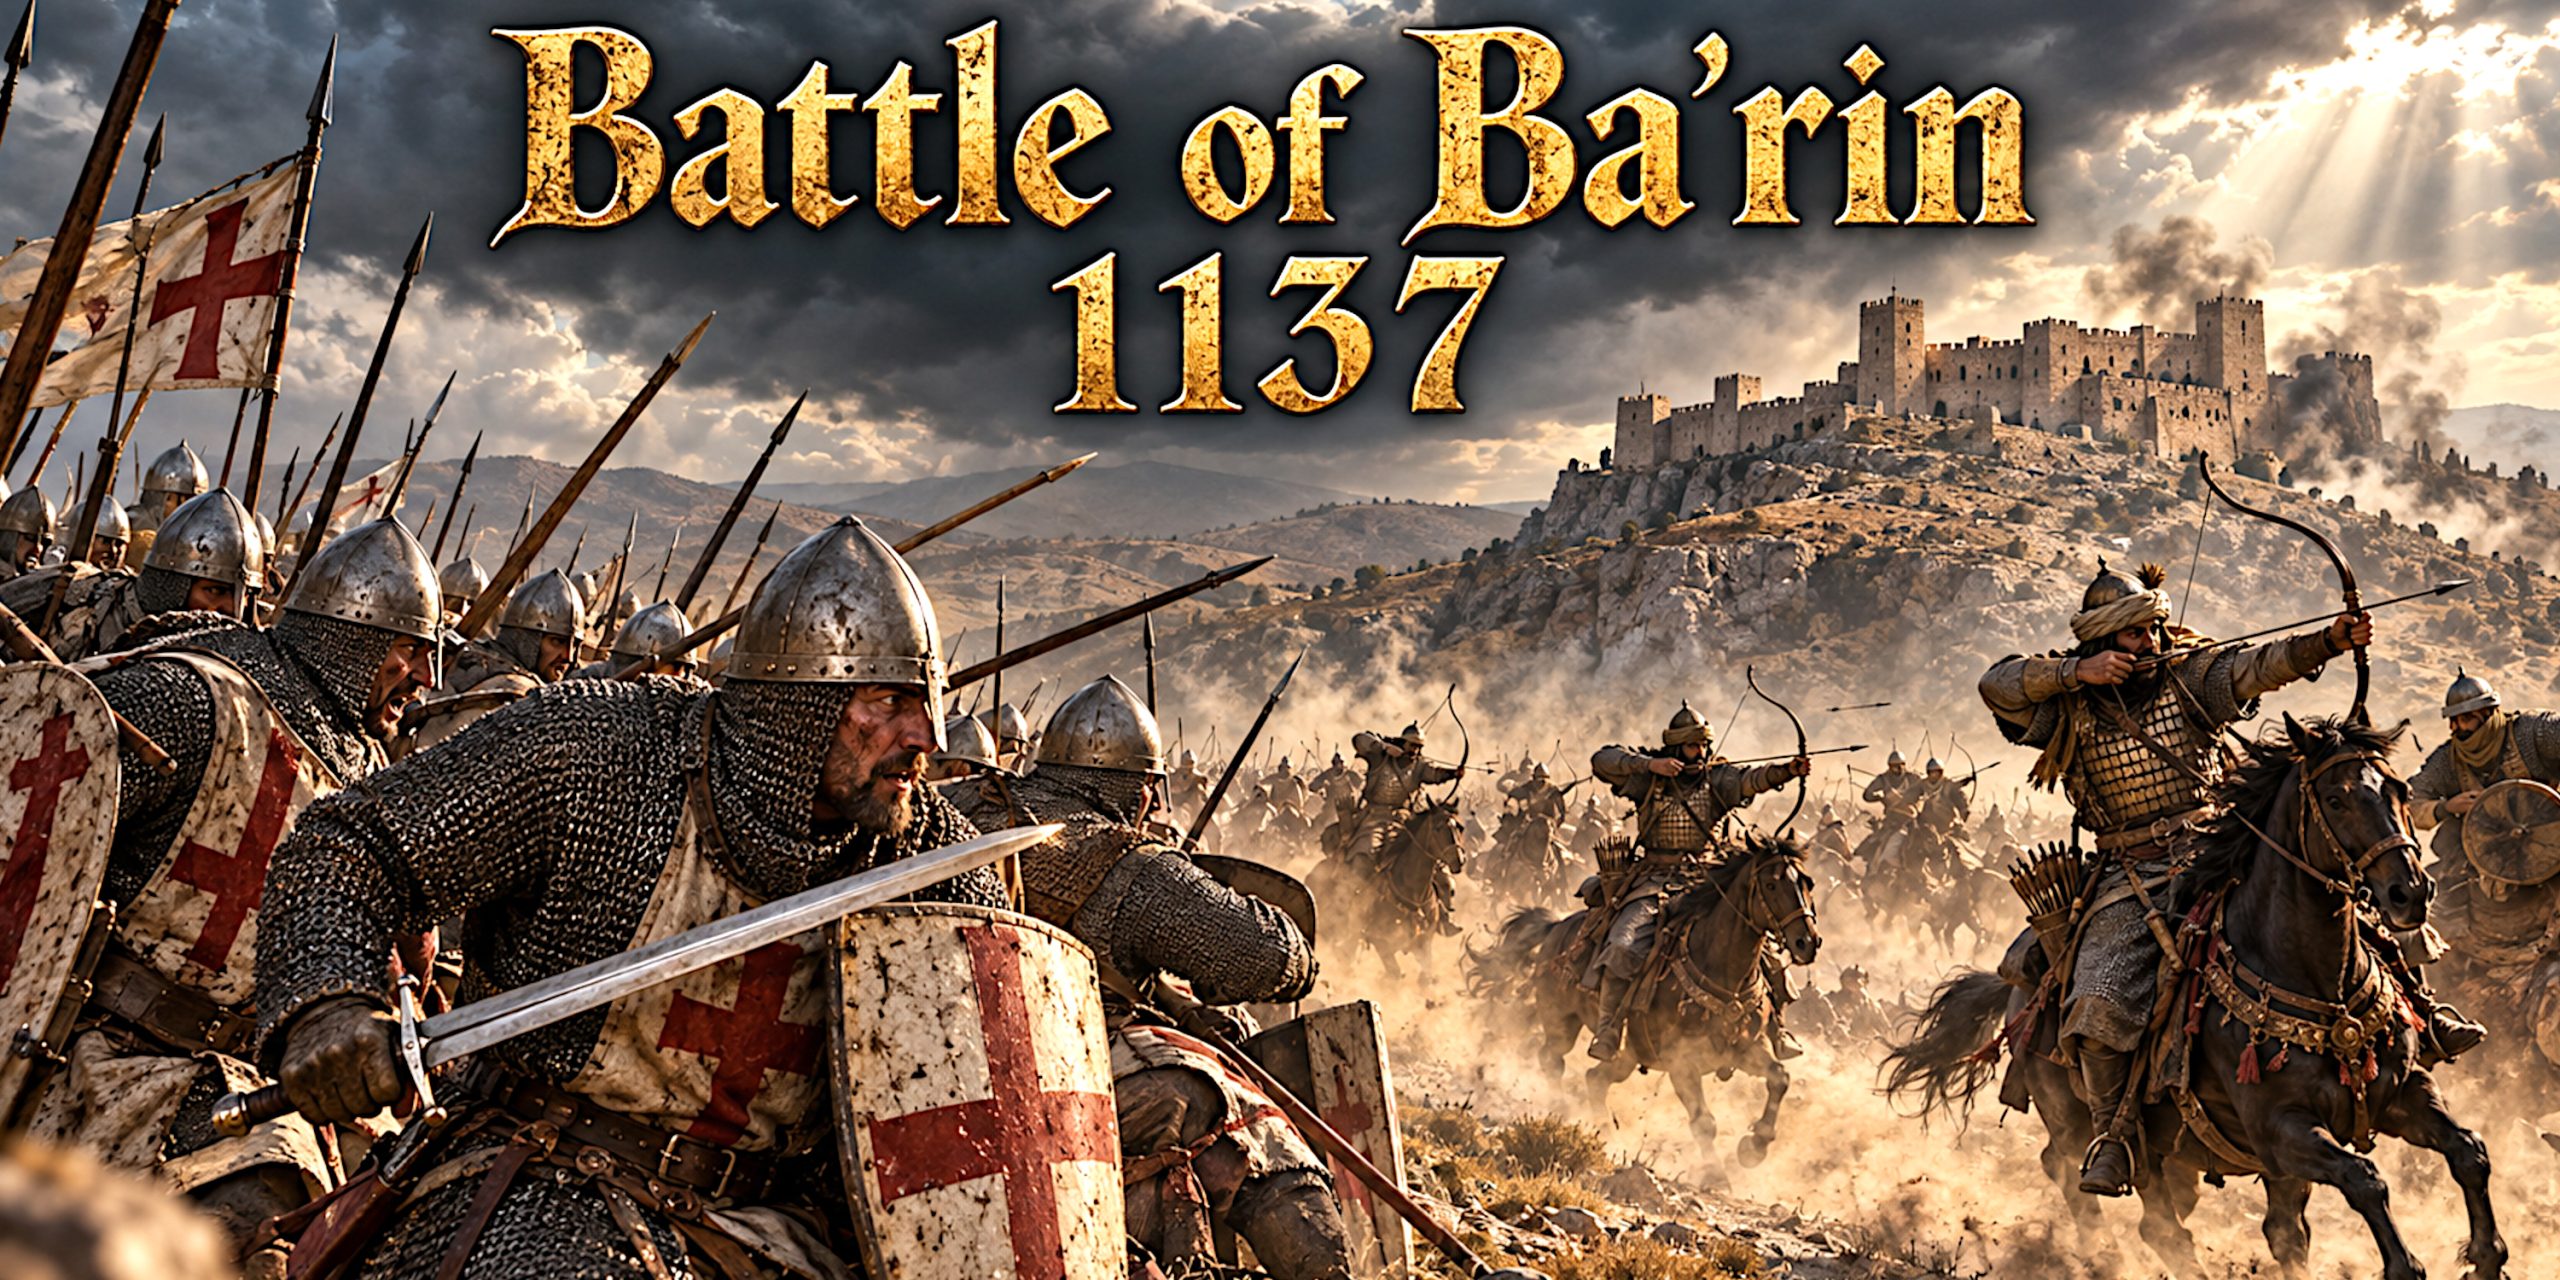
The Battle of Ba’rin in 1137 was one of the most damaging defeats suffered by the Crusader states before the fall of Edessa. A relief army led by King Fulk of Jerusalem and Raymond II, Count of Tripoli, advanced towards the besieged castle of Montferrand, only to be intercepted and broken by the forces of Imad al-Din Zengi.
Raymond was captured. Much of the Frankish infantry was killed or taken prisoner. Fulk escaped into the very fortress he had come to relieve, where hunger and isolation soon forced him to negotiate. The castle was surrendered and never recovered by the Franks.
Ba’rin deserves more attention than it usually receives. It was not a grand collision between two neatly arranged armies. It was a relief operation that went badly wrong, followed by a siege conducted under severe pressure. That makes it more revealing, not less. Medieval campaigns were often decided by roads, water, baggage and information long before anyone had the courtesy to form a battle line.
Battle of Ba’rin at a Glance
| Detail | Information |
|---|---|
| Date | Summer 1137, probably July to August |
| Location | Montferrand at Ba’rin, near Rafaniyya in western Syria |
| Wider conflict | The Crusades and Zengi’s expansion in Syria |
| Frankish commanders | Fulk, King of Jerusalem; Raymond II, Count of Tripoli |
| Zengid commander | Imad al-Din Zengi, atabeg of Mosul and Aleppo |
| Result | Decisive Zengid victory |
| Territorial consequence | Permanent Frankish loss of Montferrand |
| Notable captives | Raymond II and other Frankish nobles and knights |
Why Montferrand Mattered
Montferrand, known in Arabic sources as Ba’rin or al-Bari‘a, stood near Rafaniyya between the territories of Tripoli, Hama and Homs. The Franks had constructed the castle during their siege of Rafaniyya in 1126. It guarded movement through an exposed frontier where the County of Tripoli met the contested interior of Syria.
That geography made the fortress valuable and vulnerable. It could support Frankish raids and help protect the eastern approaches to Tripoli, but it also projected Latin power into a region where Damascus, Homs, Hama and Aleppo competed for control.
By 1137 Zengi ruled both Mosul and Aleppo. His immediate ambition was not a simple religious march against every Frankish possession in sight. He was building a territorial state and trying to dominate Muslim rivals as well as Crusader neighbours. His pressure on Homs brought him into conflict with Mu‘in al-Din Unur, who looked to the Franks for help when it suited Damascus. Alliances in twelfth-century Syria were practical, shifting and rarely improved by later attempts to make them tidy.
Zengi turned against Montferrand after his operations around Homs. Raymond II appealed to Fulk, his maternal uncle and feudal overlord, for support. The king marched north to join him.
Forces
No surviving source gives a dependable strength for either army. Figures sometimes repeated online, particularly totals of several thousand Franks against 10,000 or more Zengid soldiers, should not be presented as established fact. Medieval chroniclers were better at conveying disaster than maintaining payroll records.
The often-cited figure of 2,000 Frankish dead comes from the Aleppan chronicler Kamal al-Din Ibn al-Adim. It may preserve a genuine tradition of heavy losses, but it is not a secure starting figure for the whole army.
| Army | Likely elements | What can be stated securely |
|---|---|---|
| Kingdom of Jerusalem and County of Tripoli | Mounted knights, sergeants, spearmen, archers or crossbowmen, local auxiliaries, baggage train | Led by Fulk and Raymond II; included a substantial infantry element; suffered severe losses |
| Zengid forces | Turkish horse archers, armoured cavalry, lancers, infantry archers and siege personnel | Led by Zengi; mobile enough to intercept the relief force; maintained the siege after the field victory |
The Franks were also bringing provisions to the castle. Their baggage train was therefore essential and cumbersome. Once the column was attacked and the supplies lost, even the survivors who reached Montferrand carried the defeat inside with them.
Leaders and Troop Composition
Fulk of Jerusalem
Fulk had been Count of Anjou before becoming king of Jerusalem through his marriage to Melisende. He was an experienced ruler and campaigner, not the blundering amateur sometimes implied by summaries of Ba’rin. His failure lay in allowing the relief column to be caught before it could operate effectively as a combined force.
His troops probably included:
- Household knights and baronial contingents from Jerusalem
- Mounted sergeants equipped less lavishly than knights
- Spearmen forming the main body of the infantry
- Bowmen and crossbowmen providing missile support
- Servants, drivers and other non-combatants attached to the supply column
Raymond II of Tripoli
Raymond II had succeeded his father, Pons, earlier in 1137. Pons was not present at Ba’rin, despite appearing in some modern accounts. He had already been killed following a defeat near Mont Pèlerin.
Raymond brought the forces of Tripoli and had the most immediate interest in saving Montferrand. He was captured during the fighting and remained a prisoner until 1142.
Imad al-Din Zengi
Zengi was a hard and highly capable warlord whose authority rested upon military success, political calculation and an ability to keep rivals off balance. At Ba’rin he combined battlefield aggression with a disciplined blockade.
His army probably contained:
- Turkish mounted archers able to harass and envelop a marching column
- Armoured ghulam or mamluk cavalry serving as lancers and close-combat troops
- Arab and Kurdish mounted contingents
- Foot archers and spearmen
- Engineers and labourers needed to maintain the siege of Montferrand
The name of every subordinate commander is not securely preserved in accounts of the battle. Usama ibn Munqidh was serving Zengi in this period and may have taken part in the fighting near Rafaniyya, although the damaged opening of his memoir prevents absolute certainty.
Arms and Armour
The weapon lists below describe equipment appropriate to these armies in the 1130s. They should not be mistaken for an excavation report from the battlefield itself.
Frankish Arms and Armour
| Equipment | Likely use at Ba’rin |
|---|---|
| Arming sword | Straight, double-edged, single-handed sword used by knights and wealthier soldiers |
| Oakeshott Type X and Xa blades | Broad cutting blades with rounded or moderately pointed tips, still common in the early twelfth century |
| Oakeshott Type XI blades | Longer, narrower swords suited to mounted combat, appearing during this period |
| Cavalry lance | Principal weapon of the mounted charge, normally used with a shield |
| Spear | Main infantry weapon and useful for resisting cavalry |
| Crossbow | Powerful missile weapon used by specialist infantry |
| Bow | Used by Frankish and locally recruited archers |
| Mail hauberk | Interlinked iron rings protecting the torso, arms and often the thighs |
| Conical helmet | Usually fitted with a nasal guard; enclosed great helms belong to a later phase |
| Kite or transitional shield | Large shield offering protection to mounted and foot soldiers |
The Frankish arming sword was an important sidearm, but Ba’rin was not decided by swordsmanship. A sword becomes a rather less romantic object when its owner has lost formation, water and most of the food.
Zengid Arms and Armour
| Equipment | Likely use at Ba’rin |
|---|---|
| Composite reflex bow | Primary weapon of Turkish mounted archers, powerful despite its compact size |
| Cavalry lance | Used by armoured horsemen after missile attacks disrupted an opponent |
| Straight or gently curved saif | Single-edged or double-edged sidearms were both present in the Islamic eastern Mediterranean |
| Double-edged sword | Straight blades remained common; the idea that every Muslim warrior carried a deeply curved scimitar is several centuries out of place |
| Spear and javelin | Used by cavalry and infantry at varying ranges |
| Mail shirt | Flexible protection for elite mounted troops |
| Lamellar cuirass | Small plates laced together, worn by some Turkish and eastern cavalry |
| Kazaghand | Padded textile armour incorporating mail, known from Usama ibn Munqidh’s descriptions |
| Round shield | Common among mounted troops and easier to manage with a bow or lance than a large kite shield |
Usama’s memoir refers in this military setting to a gilded lamellar cuirass, a kazaghand and an armoured neck defence. His eye for equipment is valuable because he had actually worn such things, which is preferable to the imaginative armour catalogues produced by much later writers.
The March to Ba’rin
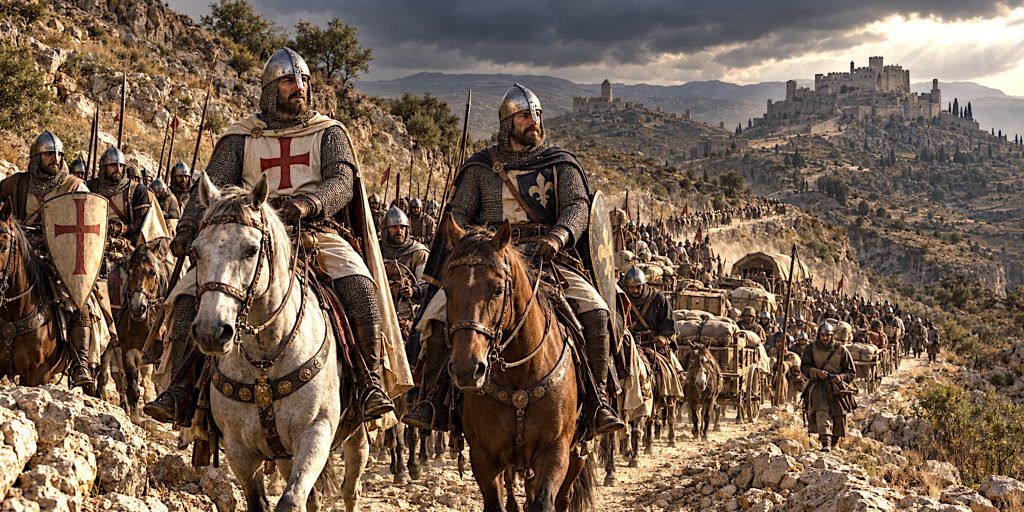
Fulk and Raymond advanced to relieve Montferrand while Zengi’s men were operating in the region. The precise route and tactical sequence are not described consistently enough to support a minute-by-minute reconstruction. What emerges clearly is that Zengi intercepted the Frankish army before it could relieve the castle.
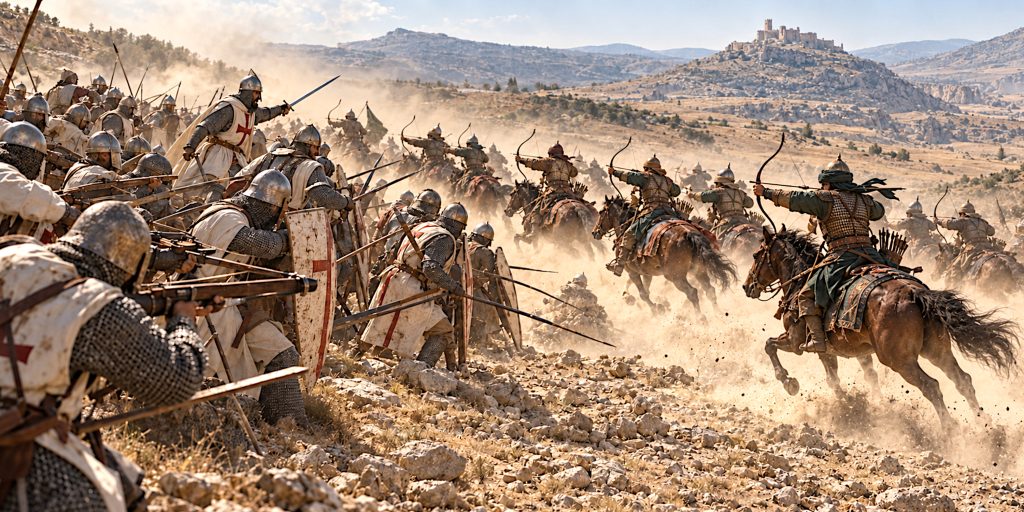
The terrain around Ba’rin favoured an army able to scout, manoeuvre and attack a column on the move. The Franks had cavalry capable of delivering a formidable concentrated charge, but their infantry and baggage had to remain coherent. Once those elements became separated or compressed on difficult ground, the army lost the combination that made it dangerous.
Zengi’s mounted troops attacked the column and shattered much of the infantry. Raymond II and numerous knights were captured. One prominent Frankish casualty was probably Walter, a brother of Joscelin I of Edessa. Fulk escaped with a surviving body of troops into Montferrand, abandoning or losing the supplies intended for its garrison.
This distinction matters: Fulk was not captured in the field. He became trapped in the castle after the field army had been defeated.
The Siege and Surrender
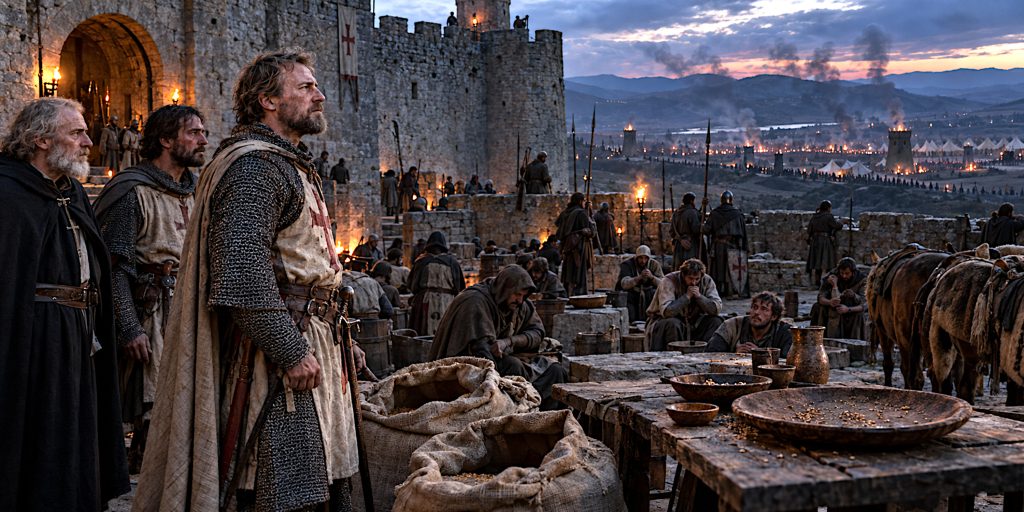
Zengi renewed the siege and isolated Montferrand. Communication with the other Crusader states became extremely difficult. The defenders were short of food and, according to the Latin tradition, eventually ate their horses.
Fulk succeeded in sending word for assistance. Forces were gathered from Jerusalem, Antioch and Edessa, while Christian pilgrims also joined the relief effort. The approaching army posed a genuine danger to Zengi, whose own position was not as effortless as the scale of his victory might suggest.
He therefore offered terms before the relief force arrived. Fulk would surrender Montferrand and pay 50,000 dinars. In exchange, Zengi would allow the king and the surviving defenders to leave and would release Frankish captives. The agreement was accepted.
Only after leaving the castle did the Franks discover how close their reinforcements had come. It was a painful lesson in the cost of broken communications. Zengi had won the field, controlled the information around the fortress and converted both advantages into permanent possession of the castle.
Battle Timeline
| Date | Event |
|---|---|
| March 1126 | Frankish forces begin constructing Montferrand during the siege of Rafaniyya |
| 31 March 1126 | Rafaniyya falls and Montferrand becomes a frontier stronghold of Tripoli |
| Spring 1137 | Zengi campaigns around Homs amid rivalry with Damascus |
| Summer 1137 | Zengi turns against Montferrand and besieges the castle |
| Probably July 1137 | Fulk and Raymond II march to relieve the fortress |
| Probably July 1137 | Zengi intercepts and defeats the Frankish army; Raymond is captured and Fulk reaches the castle |
| July to August 1137 | Montferrand is blockaded while a larger Frankish relief force assembles |
| By August 1137 | Fulk surrenders the castle, pays an agreed ransom and withdraws under safe conduct |
| 1142 | Raymond II is released from captivity; he grants claims over Montferrand and Rafaniyya to the Hospitallers in hope of reconquest |
| 1238 or 1239 | The Ayyubid ruler of Hama orders the fortress demolished |
The chronology varies slightly between modern reconstructions because the Latin and Arabic narratives do not align perfectly. Precision down to a particular day would look impressive, but it would be theatre.
Contemporary Accounts and Quotes
The fullest narratives were written from opposing perspectives. William of Tyre supplied the principal Latin account, while Ibn al-Qalanisi, Ibn al-Athir, Ibn al-Adim and other Arabic historians preserved the Zengid side. Their works agree on the essential pattern: the Frankish relief army was defeated, Raymond was captured, Fulk entered the fortress and Montferrand was surrendered.
Ibn al-Athir described the combat in balanced terms:
“On both sides great courage was shown.”
He also emphasised the effectiveness of Zengi’s blockade, writing that Zengi cut the roads so thoroughly that the besieged no longer knew what was happening in their own lands. The exact English wording varies between translations, so this is best treated as a close rendering rather than sacred punctuation.
Usama ibn Munqidh’s damaged memoir appears to preserve the recollection of a bloody encounter under Zengi near the fortress of al-Bari‘a. Modern editors commonly associate it with Ba’rin, though the missing opening folios mean the identification remains probable rather than certain.
The victory was celebrated by the Syrian poet Ibn al-Qaysarani. That literary response matters because it shows how Zengi’s success was presented to contemporaries: not merely as the acquisition of a castle, but as a public triumph over the Franks and evidence of his fitness to lead.
Archaeology and the Castle Site
Montferrand stood at modern Ba’rin in Syria’s Hama Governorate, close to the ancient and medieval settlement of Rafaniyya. The site is now ruinous and its visible remains reflect more than one period of occupation.
What the evidence supports:
- The castle was established by the Franks in 1126 as part of the campaign against Rafaniyya.
- Its position controlled movement across the frontier between the coastal County of Tripoli and the Syrian interior.
- Zengid occupation followed the surrender of 1137.
- Raymond II later transferred his claims to Montferrand and Rafaniyya to the Knights Hospitaller, but the stronghold was never recovered.
- The Ayyubid emir of Hama ordered the fortress demolished in 1238 or 1239, which helps explain its poor survival.
- Surveys of the region place the castle within a layered landscape containing Roman, Byzantine, Islamic and Frankish remains.
Claims that excavators have identified a particular Ba’rin battle layer, Frankish arrowheads or masonry securely tied to the siege need published archaeological support. The ruins illuminate the strategic landscape far better than they reconstruct the fighting itself. Archaeology is wonderfully good at correcting confident stories, but it cannot always provide a replacement story on demand.
Casualties and Captives
Frankish losses were plainly heavy, especially among the infantry. Ibn al-Adim’s figure of 2,000 dead is possible but cannot be independently verified. Zengid losses are not known.
The most consequential individual loss was Raymond II’s capture. Several knights and nobles were also taken, giving Zengi both prestige and bargaining power. Fulk survived with enough leading men to continue governing, which prevented the defeat from becoming a full political crisis for Jerusalem.
The destruction of the infantry mattered beyond any list of aristocratic prisoners. Knights dominate the chronicles because chroniclers knew their names. Spearmen, crossbowmen, grooms and drivers generally vanish into phrases such as “many were killed”. Their absence from the record should not be confused with absence from the battle.
Why Zengi Won
- Operational initiative: Zengi chose when and where to intercept the relief force.
- Mobility: His mounted troops could harass the marching column and exploit disorder.
- Pressure on the baggage: The loss of provisions made Fulk’s refuge in Montferrand temporary.
- Isolation of the fortress: Zengi prevented reliable news from reaching the defenders.
- Timely negotiation: He offered acceptable terms before the approaching relief army could reverse the situation.
The outcome was not simply proof that mounted archers always defeated Frankish knights. They did not. At Ba’rin, mobility was joined to intelligence, siege pressure and negotiation. Zengi fought the campaign as a connected problem rather than a single afternoon’s contest.
Aftermath and Legacy
Montferrand remained outside Frankish control. Its loss weakened the eastern frontier of Tripoli and demonstrated that even a king-led relief army could be defeated and contained.
For Zengi, Ba’rin was an important success but not yet the transforming victory that Edessa would become in 1144. It enhanced his reputation, expanded his influence in central Syria and showed the value of combining fast field forces with siege warfare. It also allowed him to pose as a champion against the Franks while continuing his struggle against Muslim rivals.
For the Crusader states, the lesson was severe. Their fortresses could project power only if field armies could reach and supply them. A castle without food, information or a functioning relief route was an impressive stone container for increasingly hungry men.
Ba’rin therefore belongs in the history of Zengi’s rise. The battle did not make the fall of Edessa inevitable, but it exposed the weaknesses he would continue to exploit: divided leadership, long reinforcement routes and isolated strongholds dependent upon uncertain relief.
Frequently Asked Questions
Who won the Battle of Ba’rin?
Zengi won a decisive victory over the forces of King Fulk and Raymond II. He captured Raymond, forced Fulk into Montferrand and secured the surrender of the castle.
Was King Fulk captured?
No. Fulk escaped from the defeated army into Montferrand. He later negotiated the castle’s surrender and withdrew under agreed terms.
How many soldiers fought at Ba’rin?
The total strength of both armies is unknown. Precise estimates commonly repeated online are not supported by the surviving chronicles.
What happened to Raymond II of Tripoli?
Raymond was captured during the battle and remained a prisoner until 1142.
Where was Montferrand?
The castle stood at Ba’rin in modern western Syria, northwest of Homs and close to Rafaniyya.
Did the Crusaders recover Montferrand?
No. Raymond II later granted claims over the site to the Knights Hospitaller, but it remained outside Frankish control.
Selected Sources
- William of Tyre, A History of Deeds Done Beyond the Sea
- Ibn al-Qalanisi, The Damascus Chronicle of the Crusades
- Ibn al-Athir, The Chronicle of Ibn al-Athir for the Crusading Period
- Usama ibn Munqidh, The Book of Contemplation: Islam and the Crusades
- Malcolm Barber, The Crusader States
- Kevin James Lewis, The Counts of Tripoli and Lebanon in the Twelfth Century
- R. C. Smail, Crusading Warfare, 1097–1193