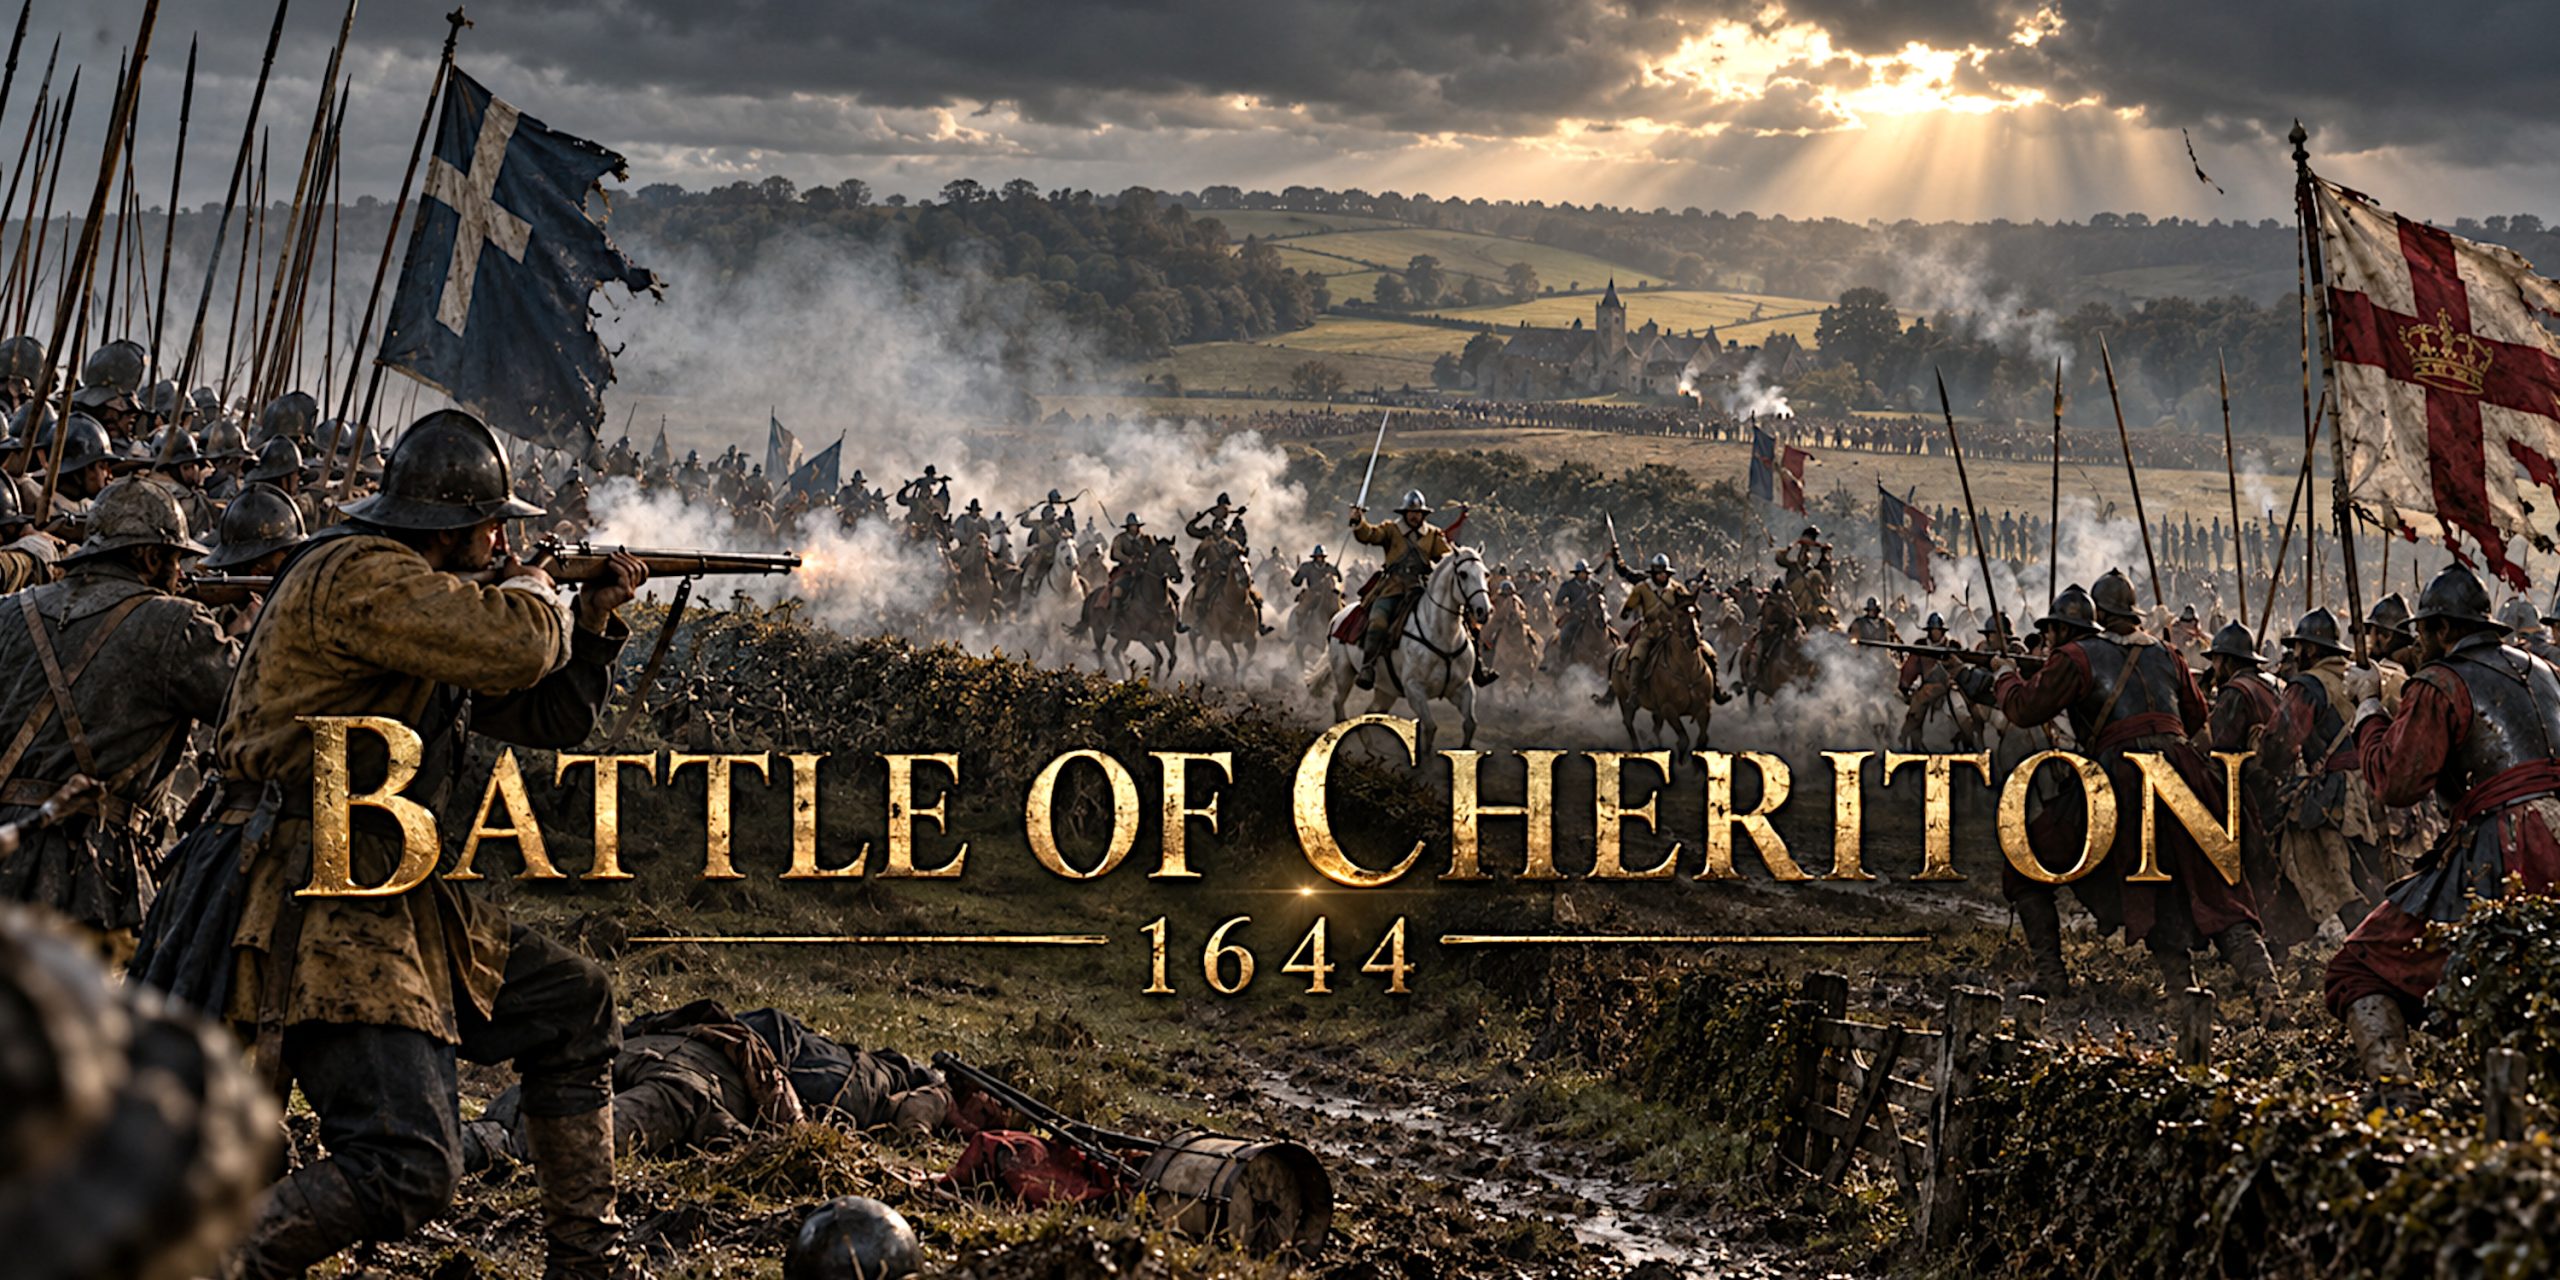
On 29 March 1644, two armies met among the woods, ridges and enclosed lanes east of Cheriton in Hampshire. The resulting battle was confused, violent and far more important than its modest place in popular history suggests.
Sir William Waller’s Parliamentarian army defeated a Royalist force commanded by Patrick Ruthven, Earl of Forth, and Sir Ralph Hopton. The victory prevented the Royalists from recovering their position in southern England and helped protect Parliament’s route to London.
Cheriton was not a masterpiece of military planning. Orders were misunderstood, units advanced without adequate support, and both armies reportedly used the same white field sign and the cry “God with us”. Civil War identification could apparently be improved by making everyone look and sound identical.
What followed was a battle decided by terrain, discipline and a disastrous Royalist advance that turned a defensible position into a retreat.
Battle of Cheriton at a Glance
| Detail | Information |
|---|---|
| Date | 29 March 1644 |
| Location | East of Cheriton, near New Alresford, Hampshire |
| Conflict | First English Civil War |
| Result | Parliamentarian victory |
| Royalist commanders | Patrick Ruthven, Earl of Forth, and Sir Ralph Hopton |
| Parliamentarian commander | Sir William Waller |
| Estimated Royalist strength | Around 6,000 men |
| Estimated Parliamentarian strength | Around 8,000 to 10,000 men |
| Royalist losses | Possibly 300 killed and wounded, with further men captured |
| Parliamentarian losses | Contemporary claims put them below 60, although the true figure is uncertain |
| Strategic consequence | The Royalist advance into southern England was halted |
Troop numbers and casualties vary between contemporary reports and later histories. Figures produced after Civil War battles were often political as well as mathematical, so apparent precision should be treated with caution.
Why the Battle of Cheriton Was Fought
The battle developed from the struggle for control of southern England during the opening months of 1644.
Royalist success in the West Country during 1643 had encouraged hopes that Sir Ralph Hopton could advance through Hampshire and Sussex. These counties were strategically valuable. They protected approaches to London, contained important ports and included iron-producing districts that supplied Parliament with weapons.
Hopton’s position had weakened by the beginning of 1644. His army suffered setbacks, shortages and increasingly difficult relations between local commanders and officers sent from Oxford. King Charles I reinforced him with troops under the Earl of Forth, who outranked Hopton and became the senior Royalist commander.
Opposing them was Sir William Waller, commanding Parliament’s Army of the Southern Association. Waller had already fought Hopton several times. The two men had been friends before the war, which lends their campaign a particularly uncomfortable quality.
Waller famously wrote to Hopton:
“That great God which is the searcher of my heart knows with what a sad sense I go upon this service, and with what a perfect hatred I detest this war without an enemy.”
It is one of the most humane surviving expressions from the Civil War. It did not prevent either man from continuing the campaign. Affection had limits, especially once several thousand armed men were involved.
In March 1644, Waller began moving towards Winchester. The Royalists advanced to intercept him and occupied New Alresford on 27 March, narrowly beating Parliamentarian cavalry to the town.
The armies were now close enough that a major engagement became difficult to avoid.
The Battlefield and Terrain
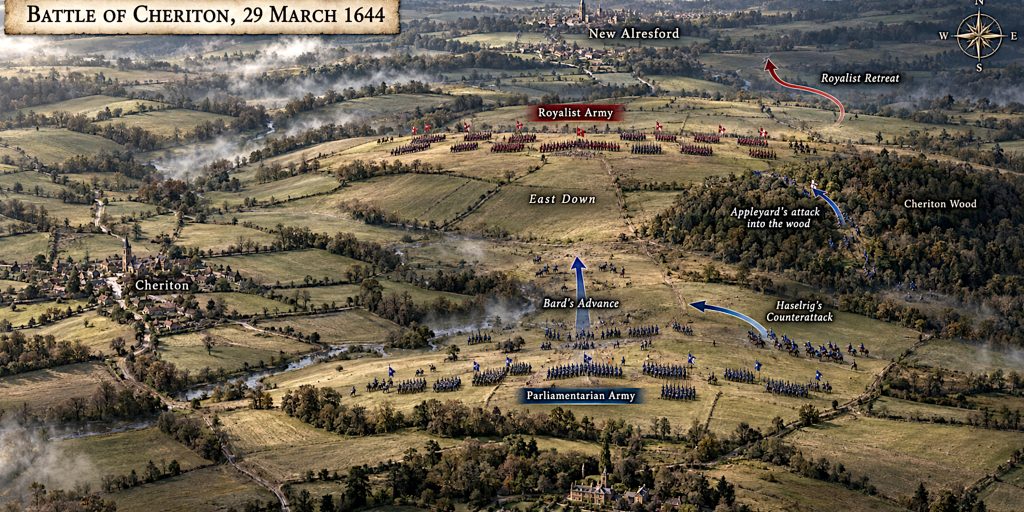
The fighting took place across undulating agricultural country between Cheriton, Hinton Ampner and New Alresford.
The most important landscape features included:
- Cheriton Wood on high ground
- A succession of ridges running across the battlefield
- Valleys and low ground between the opposing positions
- Enclosed fields around Cheriton
- Narrow lanes bordered by hedges
- Open areas suitable for cavalry, but broken by obstacles and constricted approaches
The battlefield was not a broad, uninterrupted plain. Its ridges offered good defensive positions, while woods and hedges provided cover for musketeers. Cavalry could operate effectively in the open fields, but narrow lanes made coordinated charges difficult.
This mattered enormously. Royalist horsemen who might have been dangerous on clear ground were funnelled through restricted approaches and committed in separate bodies. Parliamentarian troops could meet each attack without facing the full weight of the Royalist cavalry at once.
The precise location of every phase remains debated. Historian John Adair placed much of the action farther south than the traditional battlefield, closer to Hinton Ampner. Landscape research and distributions of recovered ammunition have since strengthened the case for substantial fighting across the traditional site, particularly around the central and northern ridges.
Forces at the Battle of Cheriton
The Parliamentarian army probably enjoyed a considerable numerical advantage, although exact totals differ between sources.
| Army | Infantry | Cavalry | Artillery | Probable total |
|---|---|---|---|---|
| Parliamentarian | Around 6,000 to 6,500 | Around 3,000 to 3,500 | Several field guns | Around 8,000 to 10,000 |
| Royalist | Around 3,500 | Around 2,500 | Several field guns | Around 6,000 |
These figures should be regarded as estimates. Regimental paper strengths rarely matched the number of soldiers physically present, equipped and willing to be shot at.
Parliamentarian troop composition
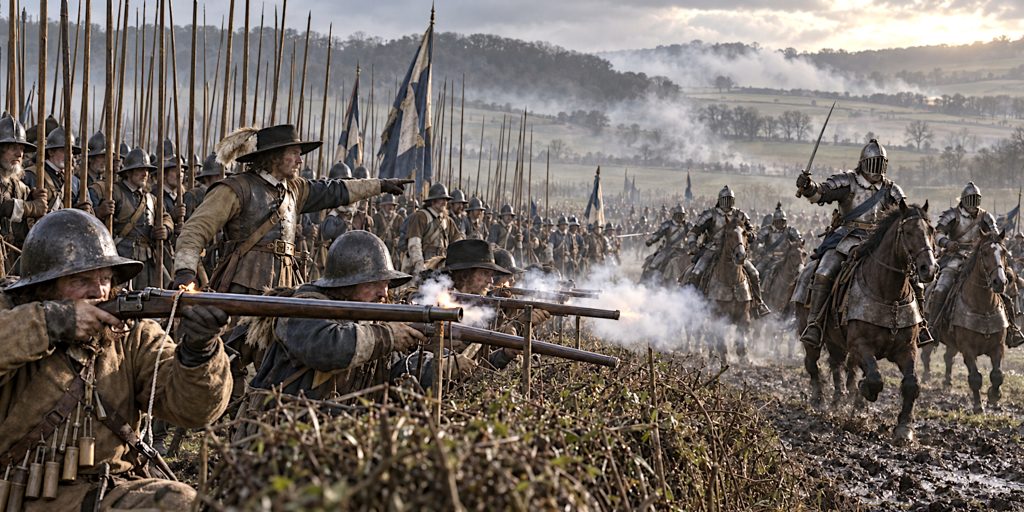
Waller’s army combined units from the Southern Association with troops from London and detachments associated with the Earl of Essex’s field army.
Its principal elements included:
- The London Brigade of infantry
- Waller’s Southern Association regiments
- Sir Arthur Haselrig’s cuirassiers, commonly known as the London Lobsters
- Cavalry under Sir William Balfour
- Musketeers detached for service in Cheriton Wood
- Field artillery positioned to support the infantry line
The London Brigade included relatively inexperienced soldiers, and some of its troops were driven from Cheriton Wood during the opening action. Waller’s army nevertheless contained experienced officers and cavalry capable of recovering the situation.
Royalist troop composition
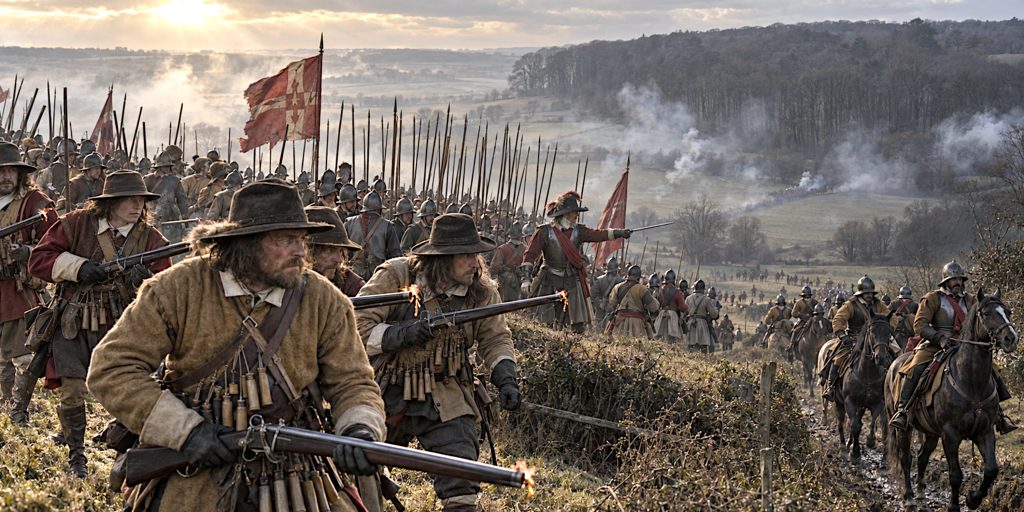
The Royalist army included Hopton’s remaining western troops and reinforcements sent from Oxford.
Its principal elements included:
- Regiments of foot under officers including Sir Henry Bard
- Around 1,000 commanded musketeers under Colonel Matthew Appleyard
- Cavalry on both wings
- Horse commanded by officers including Sir Edward Stawell
- An advanced detachment under Sir George Lisle
- Royalist artillery supporting the attack on Cheriton Wood
The army contained experienced soldiers, particularly among Hopton’s veterans. It was nevertheless outnumbered and divided between commanders with different temperaments and ideas about how the battle should be fought.
Commanders and Leaders
| Side | Commander | Role at Cheriton |
|---|---|---|
| Parliament | Sir William Waller | Overall Parliamentarian commander |
| Parliament | Sir Arthur Haselrig | Commanded heavily armoured cavalry |
| Parliament | Sir William Balfour | Senior cavalry commander |
| Parliament | Colonel John Birch | Parliamentarian infantry officer associated with the decision to remain and fight |
| Royalist | Patrick Ruthven, Earl of Forth | Senior Royalist commander and commander-in-chief |
| Royalist | Sir Ralph Hopton | Led the Royalist southern army and directed important battlefield movements |
| Royalist | Colonel Matthew Appleyard | Led the musketeers who attacked Cheriton Wood |
| Royalist | Sir George Lisle | Commanded an exposed forward position |
| Royalist | Sir Henry Bard | Led the infantry advance that helped precipitate the Royalist collapse |
| Royalist | Sir Edward Stawell | Commanded Royalist cavalry during the later fighting |
Sir William Waller
Waller was an experienced and energetic commander who understood the value of movement and surprise. His career was uneven, but Cheriton showed him at his best. He recovered from an uncertain position, retained control after losing Cheriton Wood and used his cavalry advantage effectively.
Sir Ralph Hopton
Hopton was among the more capable Royalist commanders of the early war. He favoured a flanking attack after the success in Cheriton Wood, but accepted Forth’s more cautious decision to hold the advantageous ground.
His plan was undone when part of the army advanced prematurely. Hopton’s account placed much of the blame on subordinate officers, although another Royalist witness suggested that both wings had been ordered forward.
Patrick Ruthven, Earl of Forth
Forth was an experienced professional soldier who had served in continental Europe. After Appleyard cleared the wood, he advised the army to remain on the defensive and force Waller either to attack uphill or withdraw.
It was sound advice. Unfortunately, sound advice has a habit of becoming historical trivia once somebody else starts charging.
The Eve of Battle
Skirmishing began on 28 March as the armies manoeuvred for control of the high ground.
The Royalists established an advanced position under Sir George Lisle. Hopton’s account described Lisle holding a small wood or copse with 1,000 musketeers and supported by 500 cavalry.
Waller’s commanders initially considered retreating. Parliament had recently received discouraging news from elsewhere, and the Royalist position appeared formidable. During the night, however, Parliamentarian troops occupied Cheriton Wood, threatening the Royalist flank and overlooking Lisle’s exposed detachment.
Whether this resulted from Waller’s settled plan, pressure from officers such as John Birch, or the momentum of skirmishing remains uncertain. By dawn, the armies were too closely engaged for an orderly withdrawal.
The battle had effectively begun before either high command had achieved complete control of it.
The Battle Begins at Cheriton Wood
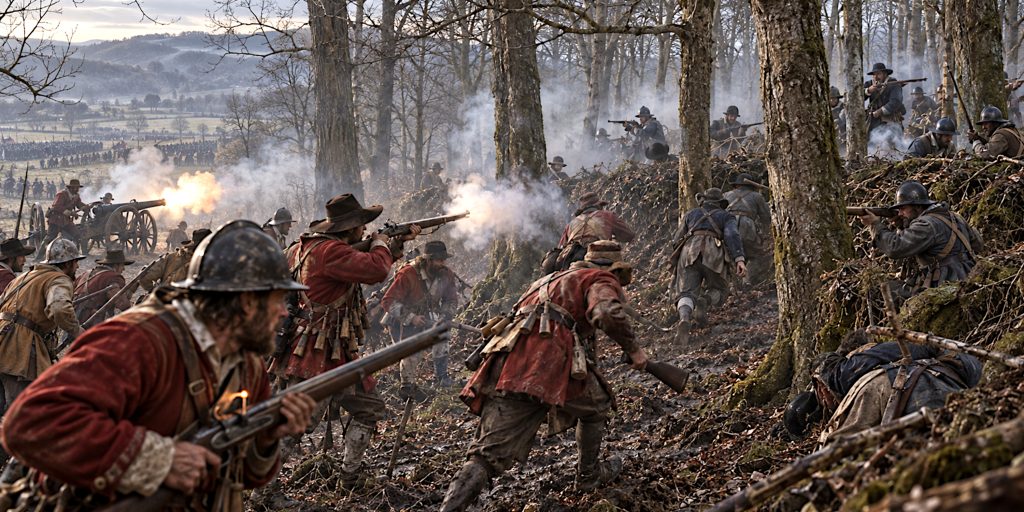
Morning mist initially concealed Parliament’s movement. As visibility improved, Hopton discovered that enemy musketeers and cannon had entered the wood on his flank.
Colonel Matthew Appleyard was ordered to clear them out.
Appleyard advanced with approximately 1,000 commanded musketeers divided into several bodies. Supported by Royalist guns, his men fought their way into the wood and drove out the Parliamentarian defenders. Some accounts describe the fighting becoming close enough for muskets to be used as clubs.
This was a genuine Royalist success. The threat to the flank had been removed, and the Royalists occupied strong ground. Forth recommended that they hold their position.
Waller would then have faced an unpleasant choice: attack uphill against prepared troops or withdraw under pressure. Either course might have handed the Royalists the initiative.
Then Sir Henry Bard advanced.
Sir Henry Bard’s Disastrous Attack
Bard led his infantry regiment down from the Royalist position towards the Parliamentarian cavalry. The extent to which this movement was authorised remains disputed.
Hopton claimed that Bard and other officers pushed forward without orders. Colonel Walter Slingsby wrote that the Royalist wings had been instructed to advance, but that Bard went farther than intended.
Slingsby described Bard acting with:
“More youthfull courage than souldierlike discretion.”
That is a polished seventeenth-century way of saying the attack was brave, dramatic and catastrophically ill-judged.
Bard’s regiment became separated from supporting Royalist units. Sir Arthur Haselrig recognised the opportunity and sent his heavily protected cavalry between Bard and the Royalist line.
Bard’s infantry was surrounded and overwhelmed. Many were killed or captured, while Bard himself was wounded and taken prisoner.
The destruction of an isolated regiment was more than a local setback. It disrupted the Royalist right, encouraged the Parliamentarians and pulled additional Royalist formations into a fight on unfavourable ground.
The Cavalry Fighting
Royalist cavalry attempted to support Bard and restore the situation, but the landscape worked against them.
Narrow lanes and hedged approaches prevented the horse from attacking as a single organised force. Units entered the fighting separately and were met by Parliamentarian cavalry with room to manoeuvre.
Haselrig’s regiment proved particularly effective. Known as the London Lobsters because of their extensive armour, these cuirassiers were expensive, heavy and rather conspicuous. At Cheriton they also happened to be useful.
Royalist cavalry on the right was driven back. An attack by horse from the Royalist left also failed to reverse the momentum. Parliamentarian cavalry then pressed against the supporting infantry.
The Royalist line began to lose cohesion.
Parliament Regains the Initiative
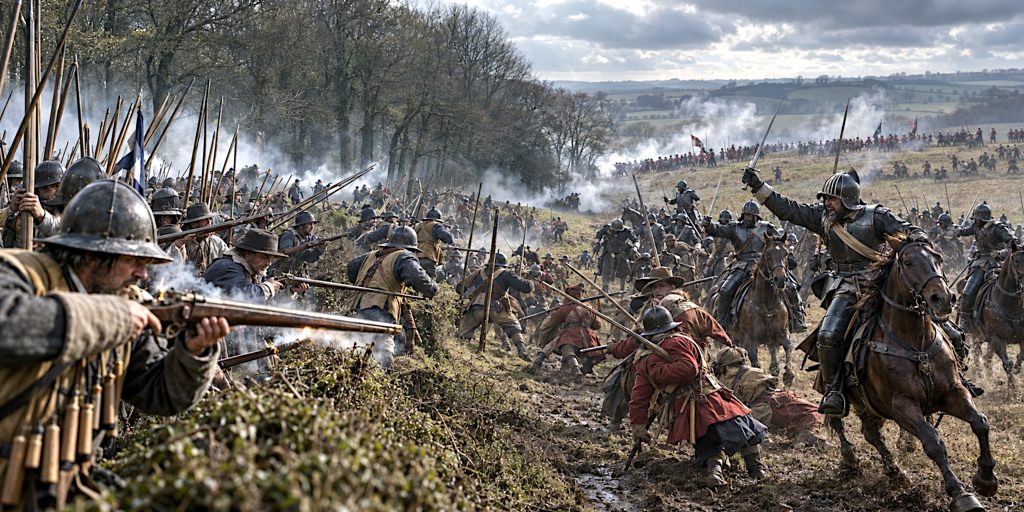
As the cavalry battle turned in Parliament’s favour, Waller’s infantry recovered from the earlier loss of Cheriton Wood.
Parliamentarian troops renewed their attack around the Royalist left and retook the woodland. The Royalists were now being pressed across several parts of the field.
The Parliamentarian numerical advantage became more important as the fighting expanded. The Royalists could no longer compensate through their defensive position because too many units had descended into the lower ground or become committed in piecemeal attacks.
By late afternoon, Forth and Hopton recognised that another major Parliamentarian assault might break the army completely. The Royalists withdrew towards New Alresford and then Basing House.
The retreat was disorderly, but it did not become the total destruction of Hopton’s army. Waller had won the field and captured men, weapons and colours, yet much of the Royalist force escaped.
Arms and Armour
Cheriton was fought during a transitional period in which firearms dominated field combat but swords, pikes and armour still had important roles.
Infantry weapons
| Weapon | Use at Cheriton |
|---|---|
| Matchlock musket | Principal infantry firearm, used in volleys and skirmishing |
| Pike | Protected musketeers from cavalry and gave infantry formations defensive strength |
| Plug bayonet | Not yet a standard battlefield weapon in 1644 |
| Sword | Sidearm for officers, cavalry and some infantry |
| Polearms | Halberds and partisan-like weapons were carried by certain officers and guards |
| Artillery | Light and medium field guns supported attacks and disrupted formations |
Musketeers usually carried matchlock firearms fired by applying a burning match cord to the priming powder. The process was slow and awkward, particularly in wooded or confined terrain. Once an enemy closed the distance, a musket could become a club, as reportedly happened during the struggle for Cheriton Wood.
Pikemen carried weapons commonly measuring around 16 to 18 feet. Their role was to protect infantry formations against cavalry and provide weight in close combat.
Swords used by infantry and officers
Specific surviving swords cannot normally be assigned to individual combatants at Cheriton, but the types present in English armies during the 1640s included:
- Basket-hilted broadswords
- Mortuary swords
- Rapier-influenced military swords
- Simple hanger swords
- Backswords with single-edged blades
- Short swords carried as practical infantry sidearms
The mortuary sword is strongly associated with the English Civil War, particularly with cavalry officers. Its basket-like guard protected the hand, while its straight blade could deliver both cuts and thrusts.
The name “mortuary sword” is later than the war itself. There is no convincing evidence that the term arose because these weapons carried portraits of Charles I. It is a pleasing story, which is usually a reason to become suspicious.
Cavalry weapons and armour
Royalist and Parliamentarian cavalry typically carried:
- Wheellock or flintlock pistols
- Carbines
- Broadswords
- Backswords
- Buff coats
- Breastplates and backplates
- Helmets, including the barred “lobster pot” helmet
Haselrig’s cuirassiers wore unusually extensive armour. Some may have used three-quarter armour protecting the torso, arms and upper legs. This gave them greater resistance to sword cuts and some firearms, although it also made both horse and rider heavier.
Most cavalrymen wore less protection, usually a buff leather coat beneath a breastplate and backplate.
Why Parliament Won
Several factors contributed to Waller’s victory.
- Parliament probably possessed the larger army.
- Parliamentarian cavalry had greater freedom to operate once the Royalists entered the lower ground.
- Haselrig exploited Bard’s isolation quickly and decisively.
- Royalist attacks were poorly coordinated.
- Hedged lanes prevented Royalist cavalry from concentrating.
- Parliamentarian troops recovered after their initial defeat in Cheriton Wood.
- The Royalists abandoned the defensive posture recommended by Forth.
- Waller maintained sufficient control to turn a confused engagement into a general counterattack.
The battle should not be reduced to Bard’s mistake alone. His advance was a critical moment, but it became disastrous because of the terrain, Parliament’s cavalry response and the failure of Royalist units to support one another effectively.
Battle Timeline
| Time | Event |
|---|---|
| 27 March 1644 | The Royalists occupy New Alresford ahead of Parliamentarian cavalry |
| 28 March, morning | The armies manoeuvre and skirmish south of Alresford |
| 28 March, evening | Sir George Lisle holds an advanced Royalist position |
| Night of 28 to 29 March | Parliamentarian troops move into Cheriton Wood |
| Early morning, 29 March | Mist conceals the full Parliamentarian deployment |
| Morning | Hopton discovers the threat to the Royalist flank |
| Morning | Appleyard’s musketeers attack and clear Cheriton Wood |
| Late morning or midday | Forth advises the Royalists to remain on the defensive |
| Midday | Bard’s regiment advances beyond effective support |
| Early afternoon | Haselrig’s cavalry cuts off and destroys Bard’s regiment |
| Afternoon | Royalist cavalry attacks are defeated in the lanes and fields |
| Late afternoon | Parliamentarian infantry retakes Cheriton Wood and presses the Royalist line |
| Evening | The Royalists withdraw towards Alresford and Basing House |
The precise timing of individual actions is uncertain. Contemporary accounts agree more readily about what happened than about exactly when, where or on whose orders.
Casualties
Reliable casualty totals are difficult to establish.
A Parliamentarian account claimed fewer than 60 losses. Royalist casualties are frequently estimated at around 300 killed and wounded, with additional prisoners taken during the destruction of Bard’s regiment.
Notable Royalist casualties included:
- Sir Henry Bard, wounded and captured
- Lord John Stewart, killed
- Sir John Smith, killed or mortally wounded
- Sir Edward Stawell, wounded and captured according to some accounts
- Henry Sandys, mortally wounded and dead by 6 April
The loss of experienced officers was more damaging than the raw numbers suggest. Civil War armies depended heavily upon personal leadership, regimental loyalty and networks of local influence. Replacing a senior officer was not as simple as finding another gentleman with a horse and sufficient confidence.
Contemporary Accounts and Quotes
Cheriton is unusually well documented for an English Civil War battlefield. Accounts survive from officers and soldiers on both sides, including Hopton, Colonel Walter Slingsby and Parliamentarian participants.
Slingsby believed the Royalists surrendered their advantage through excessive haste:
“Had wee but stood still and made signes of falling on, they had probably melted away without fighting a stroke more.”
He described how Haselrig’s cavalry cut Bard’s regiment off from the Royalist line:
“The enemy finds most of our strength drawne of the hill into a bottome, where hee had his desir’d advantage.”
A Parliamentarian biography of Colonel John Birch offered a less triumphal assessment:
“It was indeed a victory, but the worst possible of any I ever saw.”
The comment captures the battle rather well. Parliament won, but the fighting was disorderly and the outcome had appeared uncertain for much of the day.
Royalist statesman Edward Hyde, Earl of Clarendon, later treated Cheriton as a disaster with consequences far beyond Hampshire. Royalist secretary Sir Edward Walker likewise wrote that it broke existing plans and forced the King to reconsider the direction of the campaign.
Contemporary news reporting naturally presented the victory according to political allegiance. Parliamentarian accounts emphasised divine favour and Royalist flight, while Royalist writers focused on unauthorised advances and lost opportunities. Both sides were writing history while still trying to win the war.
Archaeology of the Cheriton Battlefield
Cheriton is a registered battlefield and much of its landscape remains agricultural. Cheriton Wood survives, along with parts of the network of lanes and hedges that shaped the fighting.
Archaeological work has recovered hundreds of objects, including:
- Musket balls
- Pistol and carbine shot
- Impacted or deformed lead projectiles
- Powder-measure fittings
- Buckles and personal equipment
- Horseshoes and associated cavalry material
- Weapon and armour fragments
- Coins and other small finds
The distribution of lead shot is particularly useful. Musket balls can indicate concentrations of infantry fire, while smaller pistol and carbine ammunition may help identify areas of cavalry action.
Research into finds from fields including Dark Copse, Long Barrow Field and the northern ridge has suggested that fighting extended farther north than some earlier reconstructions proposed. Concentrations of musket and pistol shot support the traditional battlefield area and indicate intense action across the ridges.
There is, however, a serious qualification. Parts of the assemblage were gathered by metal detectorists over a long period, and later research identified problems with the recording and claimed survey methods. Poor provenance reduces the certainty with which individual objects can be plotted or used to reconstruct movements.
This does not make every find worthless. It does mean that conclusions must distinguish between properly recorded survey evidence and material whose original location cannot be independently verified.
What the surviving landscape reveals
The battlefield retains enough of its topography to explain the course of the action:
- The ridges show why the Royalists initially held a strong position.
- The valleys demonstrate how advancing units could disappear from the support of their main line.
- The enclosed lanes explain the difficulty faced by Royalist cavalry.
- Cheriton Wood shows why control of the flank became an immediate priority.
- The open fields around the central and northern ridges fit the distribution of firearm evidence.
Later agricultural enclosure altered the field pattern, particularly during the nineteenth century. The modern landscape is therefore not a perfect survival from 1644, but the principal contours remain legible.
The Aftermath
The Royalists retreated first towards New Alresford and then to Basing House. Hopton’s weakened army was eventually absorbed into the main Royalist field army.
Waller did not destroy the Royalist war effort. Charles I’s forces recovered sufficiently to win at Cropredy Bridge and Lostwithiel later in 1644. Cheriton nevertheless changed the strategic position in southern England.
The victory:
- Ended the immediate Royalist attempt to regain Hampshire and Sussex
- Reduced the threat to London from the south-west
- Protected important Parliamentarian supply and manufacturing regions
- Allowed Parliament greater freedom to concentrate forces elsewhere
- Damaged Hopton’s army and reputation
- Forced the Royalist command onto the defensive in the southern campaign
The consequences were political as well as military. A Royalist victory might have strengthened the peace faction in London and placed further pressure on Parliament. Instead, Cheriton demonstrated that Royalist advances could be checked and that Waller remained a dangerous commander.
Why the Battle of Cheriton Matters
Cheriton deserves more attention than it usually receives. It lacked the scale of Marston Moor and the finality of Naseby, but it altered the direction of the war months before either battle was fought.
It is also a revealing study in battlefield command. The Royalists began with strong ground and a successful attack on the wood. They lost because their movements became disconnected and because Parliament reacted more effectively when the battle escaped its original plans.
Cheriton exposes the untidy reality of Civil War combat. Generals could issue sensible orders, only for smoke, hedges, ambition and several hundred galloping horses to revise them.
For the historian, that confusion is part of the battle’s value. The written accounts contradict one another, the precise battlefield has been debated, and archaeological evidence has both clarified and complicated the story. What remains clear is that a Royalist opportunity became a Parliamentarian victory, and the strategic initiative in southern England changed hands with it.
Visiting the Cheriton Battlefield
The battlefield lies east of Cheriton and south of New Alresford in Hampshire. It remains largely undeveloped agricultural land crossed by public paths, lanes and bridleways.
Visitors can still see:
- Cheriton Wood
- The rolling ridges across which the armies deployed
- Surviving narrow lanes
- Views towards Hinton Ampner
- The battlefield memorial erected in 1975
- Interpretation panels placed around the site
The battlefield should be explored using recognised public rights of way. Much of the surrounding land is privately owned, and unauthorised metal detecting is both damaging and likely to upset the people whose fields are being investigated.
Frequently Asked Questions
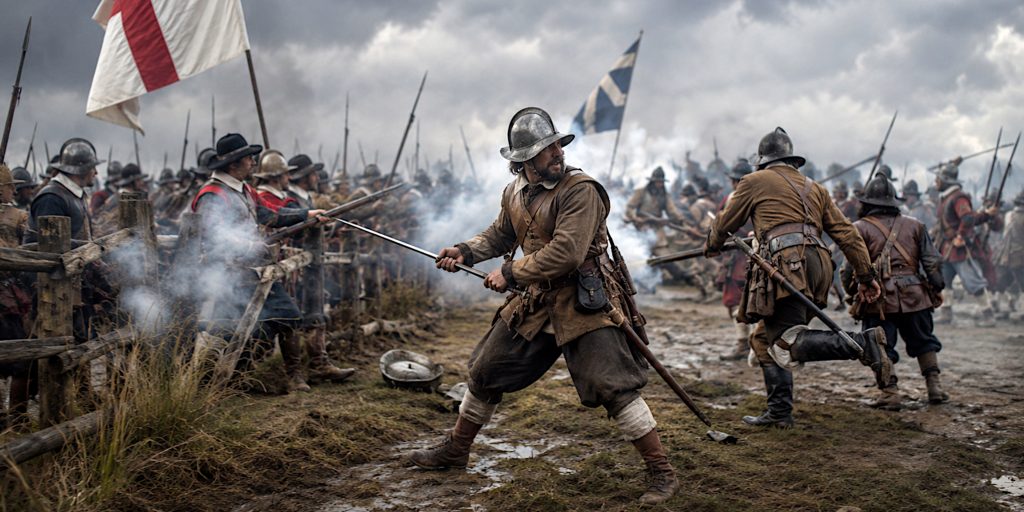
Who won the Battle of Cheriton?
Sir William Waller’s Parliamentarian army defeated the Royalists commanded by the Earl of Forth and Sir Ralph Hopton.
When was the Battle of Cheriton fought?
The main battle was fought on 29 March 1644, following manoeuvring and skirmishing on the previous day.
How many soldiers fought at Cheriton?
The Royalist army probably numbered around 6,000. Parliament may have fielded between 8,000 and 10,000 men. All surviving totals are estimates.
Why did the Royalists lose?
They abandoned a strong defensive position and attacked in poorly coordinated formations. Sir Henry Bard’s isolated advance was destroyed by Parliamentarian cavalry, after which further Royalist attacks failed.
What swords were used at Cheriton?
Likely sword types included mortuary swords, basket-hilted broadswords, backswords, military rapiers and simple hangers. Cavalry officers commonly carried robust cut-and-thrust swords alongside pistols.
Can the battlefield still be visited?
Yes. Public paths and lanes provide access to views across much of the registered battlefield, including Cheriton Wood and the principal ridges.
Sources and Further Reading
- John Adair, Cheriton 1644: The Campaign and the Battle
- Historic England, Battle of Cheriton 1644 Battlefield Report
- Battlefields Trust, Battle of Cheriton
- James Bonsall, research into the small finds and battlefield archaeology of Cheriton
- Kenyon and Ohlmeyer, editors, The Civil Wars: A Military History of England, Scotland and Ireland 1638–1660
- Peter Gaunt, The English Civil War: A Military History
- John Barratt, Cavalier Generals: Charles I and His Commanders during the English Civil War