There comes a point in every Bannerlord campaign when charging around winning field battles just isn’t enough. Eventually you’ll look at a castle perched on a hill, think, “Surely this won’t be too difficult,” and discover that hundreds of defenders, a handful of catapults, and some very determined archers have other ideas.
Sieges are where Bannerlord becomes a different game. Success depends less on individual swordsmanship and far more on preparation, logistics, engineering, morale, and patience. Players who rush straight into an assault often lose elite troops that took hours to recruit. Those who understand the mechanics can conquer heavily defended settlements while suffering surprisingly few casualties.
Here’s how Bannerlord’s siege system actually works and how to use it to your advantage.
Understanding the Three Phases of a Siege
Every siege follows the same broad structure.
Preparation
Your army surrounds the settlement and begins constructing a siege camp. During this stage, defenders cannot be attacked directly, but relief armies may attempt to break the siege before you’re fully established.
Bombardment
Once the camp is complete, siege engines begin construction. Both attacker and defender exchange artillery fire while walls, towers and defensive engines slowly take damage.
Assault
Eventually you decide it’s time to attack. Whether you’re climbing ladders, smashing through a broken wall or leading cavalry through an open gate, this is where all your earlier decisions pay off.
Understanding that these phases are connected is one of the biggest improvements a new player can make.
Why Siege Camps Matter
The siege camp isn’t just decorative scenery.
Constructing it allows your army to:
- Build siege engines
- Store supplies
- Begin starving defenders
- Prevent the settlement from resupplying
- Prepare for an organised assault
If you’re interrupted before the camp finishes, the siege ends immediately.
This means scouting the surrounding region beforehand is incredibly important. An enemy kingdom can often assemble a relief force before you’re fully prepared.
Food Wins More Sieges Than Swords
One mechanic many players underestimate is starvation.
Every town and castle consumes food while under siege.
If supplies run out:
- Garrison numbers begin to shrink
- Militia may disappear
- Defenders become easier to overwhelm
- Loyalty and prosperity suffer after capture
Large towns often survive for quite a while because they’ve accumulated significant food reserves before the siege began.
Castles generally fall into starvation much faster.
Patience can save hundreds of troops.
Every Siege Engine Has a Purpose
Bannerlord offers several siege engines, each suited to different situations.
| Siege Engine | Best Use |
|---|---|
| Trebuchet | Destroying enemy artillery and walls |
| Catapult | Balanced damage against structures and troops |
| Ballista | Accurate anti-personnel fire |
| Ram | Breaking the main gate |
| Siege Tower | Faster wall assault with more troops |
| Ladders | Always available but slower and more dangerous |
One clever trick experienced players use is storing completed trebuchets in reserve until four are built.
Deploying all four simultaneously allows them to overwhelm enemy artillery before defenders can destroy them one by one.
It feels slightly cheesy, but it’s also exactly how the game’s mechanics reward careful planning.
Breaking the Walls Changes Everything
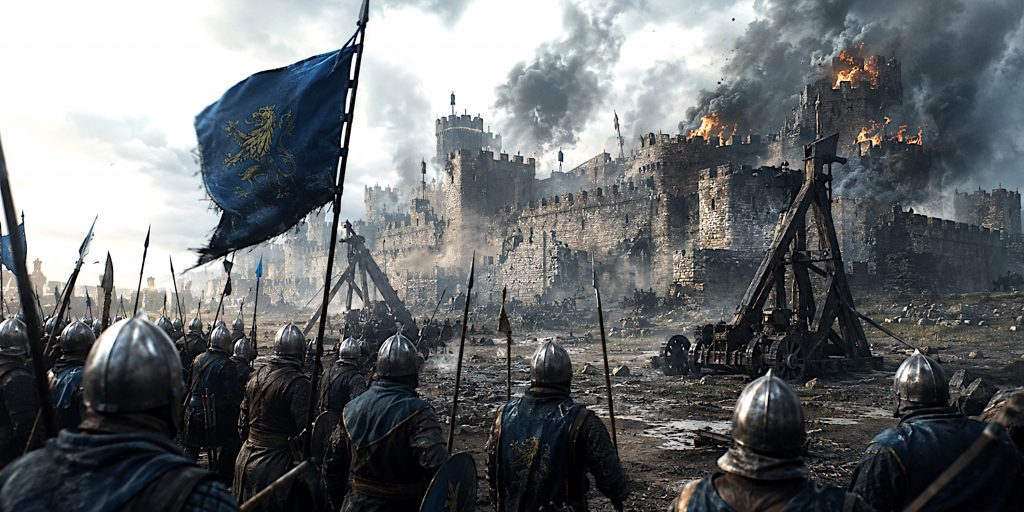
Destroying sections of wall fundamentally alters the battle.
Without breaches:
- Troops funnel through ladders
- Casualties rise dramatically
- Defenders benefit from elevation
- Shield walls become bottlenecks
With breaches:
- Infantry spreads across multiple entrances
- Attackers avoid many ladders
- Archers gain better firing angles
- Reinforcements move faster
Wall breaches often produce far lower casualties than traditional assaults.
Yes, waiting another in game day while trebuchets work can feel painfully slow.
Your elite troops will appreciate the patience.
The Importance of Siege Towers
Many players automatically build siege towers.
Sometimes that’s the right decision.
Sometimes they’re unnecessary.
Siege towers:
- Deliver larger groups onto walls
- Protect troops while approaching
- Create multiple access points
However, if you’ve already destroyed two sections of wall, siege towers become far less valuable.
Your infantry usually performs better attacking through the breaches instead.
Should You Attack the Gate?
Breaking the main gate looks cinematic.
Mechanically, it’s often less effective.
The inner gate usually remains intact even after the outer one falls.
This creates another choke point where defenders concentrate their strongest infantry.
Unless your army significantly outnumbers the defenders, attacking through broken walls is generally safer.
Defending a Siege Feels Completely Different
Playing the defender changes your priorities.
Instead of overwhelming numbers, you’re relying on terrain and fortifications.
Defenders benefit from:
- Elevated firing positions
- Narrow choke points
- Defensive artillery
- Walls slowing attackers
- Shorter reinforcement routes
A force of 300 defenders can defeat armies several times larger if the walls remain intact.
This is why castles can become surprisingly stubborn obstacles throughout a campaign.
Militia Versus Garrison
Bannerlord separates settlement defenders into two groups.
Garrison
Professional soldiers maintained through wages.
Usually stronger.
Usually better equipped.
Militia
Local volunteers generated over time.
Generally weaker but numerous.
Militia costs nothing to maintain, making it excellent for long term defence.
Garrisons provide quality.
Militia provides quantity.
The strongest settlements usually combine both.
Leadership Matters During Sieges
Your character’s skills have a major influence.
Engineering improves:
- Siege engine construction
- Repair speed
- Wall damage
- Defensive rebuilding
Leadership improves morale, making troops fight longer.
Stewardship allows you to maintain larger armies capable of surrounding major cities.
Medicine reduces casualties after assaults, preserving experienced soldiers who would otherwise die.
A well developed governor can also strengthen defensive settlements through building bonuses and improved prosperity.
Army Composition Changes Siege Performance
Not every unit excels inside a siege.
Heavy infantry shines because it survives missile fire and dominates choke points.
Elite archers remain incredibly valuable, especially during wall assaults where defenders expose themselves on battlements.
Shock troops armed with two handed weapons become devastating once breaches open.
Cavalry, meanwhile, loses much of its usual advantage.
Horses don’t climb ladders.
They also have a remarkable talent for standing around looking confused while everyone else fights.
Auto Resolve Versus Fighting Yourself
Auto resolve has improved over Bannerlord’s updates but still behaves differently from manually playing battles.
Manual control allows you to:
- Position archers effectively
- Choose attack routes
- Focus troops through breaches
- Preserve elite soldiers
- React to changing situations
Auto resolve saves time but may produce heavier casualties than careful tactical play.
For important battles, fighting manually almost always delivers better results.
How AI Handles Sieges
The AI has improved considerably since launch but still makes questionable decisions.
You’ll occasionally see armies:
- Assault without siege engines
- Attack before walls are breached
- Waste troops on ladders
- Abandon sieges unexpectedly
- Ignore easier targets nearby
Understanding these tendencies allows players to exploit them, especially when defending.
Common Siege Mistakes
Many failed sieges come down to avoidable errors.
The biggest include:
- Assaulting immediately after surrounding the settlement
- Ignoring enemy relief armies
- Building only one trebuchet
- Forgetting food supplies for your own army
- Attacking heavily defended walls instead of waiting for breaches
- Bringing too much cavalry
- Losing patience
Bannerlord rewards preparation far more than aggression.
Advanced Tips for Consistent Victories
Once you’re comfortable with the basics, several advanced techniques can dramatically improve your success rate.
Store completed trebuchets until four are ready before deploying them together.
Watch nearby enemy armies rather than focusing solely on the settlement.
Bring plenty of food before beginning long sieges.
Use governors with Engineering bonuses to strengthen important frontier castles.
Prioritise wall breaches over dramatic gate assaults.
Replace lost elite troops before beginning another campaign rather than rushing into consecutive sieges.
Most importantly, remember that every siege is part of a wider war. Capturing a castle is satisfying, but keeping it is often the harder challenge.