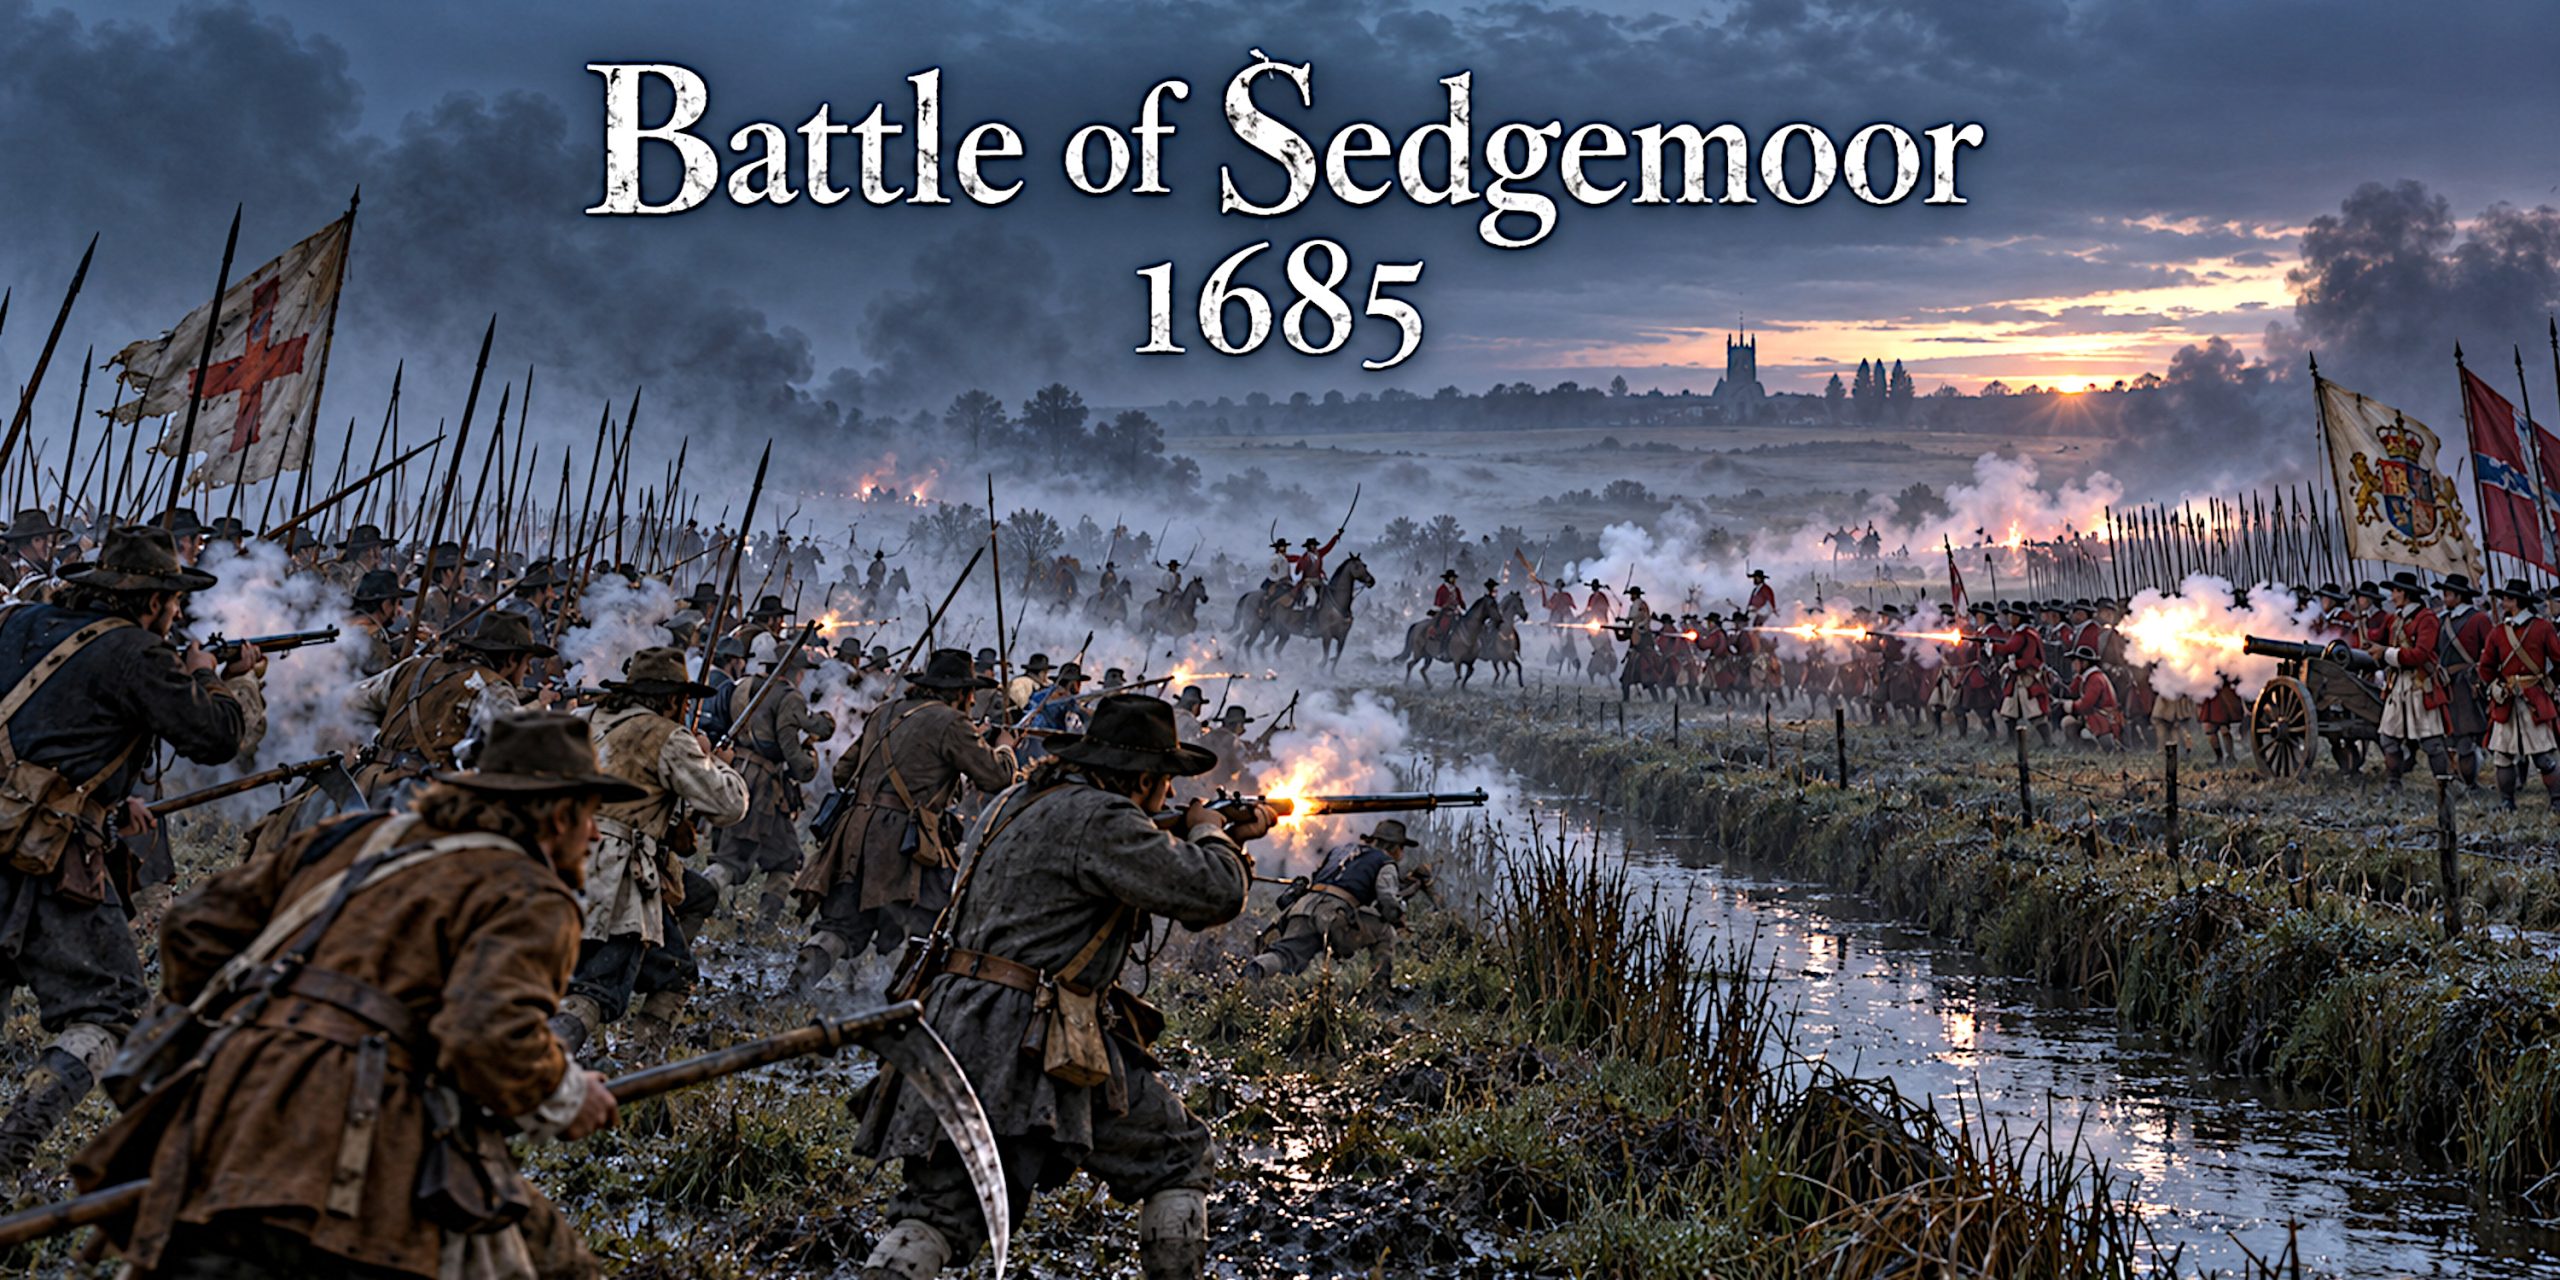
The Battle of Sedgemoor was fought in the darkness and fog of 6 July 1685, on low moorland outside Westonzoyland in Somerset. James Scott, Duke of Monmouth, led a desperate night attack against the professional army of his uncle, King James II. His plan was daring, his intelligence imperfect and his army badly equipped. The result ended the Monmouth Rebellion before breakfast.
Sedgemoor is often called the last pitched battle fought on English soil. That description needs a small qualification because later fighting at Preston in 1715 and Clifton Moor in 1745 also has a claim, depending on how generously one defines a battle. Sedgemoor was certainly the last major set-piece engagement between two field armies in England.
The battlefield itself mattered enormously. Rhynes, the deep drainage ditches of the Somerset Levels, divided the flat ground. In daylight they were obstacles. On a dark, misty night they became traps, barriers and navigational hazards. Monmouth tried to make darkness cancel the Royal Army’s advantages in training and discipline. Instead, it magnified his own army’s weaknesses.
Battle of Sedgemoor: key facts
| Detail | Information |
|---|---|
| Date | 6 July 1685 |
| Location | North of Westonzoyland, near Bridgwater, Somerset |
| Conflict | Monmouth Rebellion |
| Combatants | Army of King James II against Monmouth’s rebel army |
| Royal commander | Louis de Duras, 2nd Earl of Feversham |
| Rebel commander | James Scott, Duke of Monmouth |
| Approximate forces engaged | About 2,000 Royal troops; roughly 3,500 to 4,000 rebels remained with Monmouth, although only part of that force fought effectively |
| Result | Decisive Royal victory |
| Approximate losses | Royal losses about 80 killed and wounded, although contemporary figures vary; rebel losses probably exceeded 1,000 killed, wounded or captured |
| Historical importance | Destruction of Monmouth’s army and the effective end of the rebellion |
Why the battle happened
Charles II died in February 1685 without a legitimate child. The throne passed to his brother, the openly Catholic James II. England was not uniformly hostile to a Catholic monarch, but decades of religious and political distrust gave James’s opponents fertile ground.
Monmouth was Charles II’s eldest illegitimate son, a Protestant and a popular public figure. Rumours that Charles had secretly married Monmouth’s mother had circulated for years, although Charles repeatedly denied them. Legally, Monmouth had no right to the crown. Politically, he looked useful to men who wanted a Protestant alternative.
Monmouth sailed from the Netherlands and landed at Lyme Regis on 11 June 1685. Support gathered quickly in Dorset and Somerset. At Taunton he was proclaimed king, an act that converted rebellion into an unambiguous bid for the throne. His following reportedly rose to about 7,000, drawn largely from artisans, labourers, miners, farmers and tradesmen.
Numbers concealed weakness. Many volunteers lacked military training, firearms and suitable clothing. Monmouth failed to take Bristol, could not secure Bath and withdrew towards Bridgwater as desertion thinned his ranks. The Royal Army under Feversham followed, reinforced by experienced regulars. By 5 July, the rebellion had reached the unpleasant stage at which boldness and desperation become difficult to tell apart.
The battlefield and Monmouth’s plan
Feversham camped near Westonzoyland, about three miles from Bridgwater. His infantry tents stood behind the Bussex Rhyne, while cavalry and dragoons were quartered in and around the village. The position was not an elaborate fortress, but the ditch formed a ready-made defensive line.
Monmouth decided on a surprise attack. His infantry would cross the moor, approach the Royal camp and rush the rhyne. Lord Grey’s cavalry was supposed to pass through a crossing known as the Upper Plungeon, ride into the rear of the camp and disrupt the Royal infantry before it could form. Rebel guns would follow.
It was a plausible plan on a map. The moor at night was less cooperative. Narrow lanes slowed the column, separate bodies lost contact and the cavalry failed to find its intended crossing. War has an old habit of punishing plans that depend upon everyone arriving at an obscure ditch at precisely the right moment.
Forces
Estimates differ because contemporary writers exaggerated, counted men at different stages of the campaign or included troops who never became properly engaged. The figures below are therefore useful approximations rather than a parade return carved in stone.
| Army | Approximate strength at Sedgemoor | Character |
|---|---|---|
| Royal Army | About 2,000, with some accounts giving roughly 2,000 foot and 700 mounted troops available in the wider force | Professional regular infantry, cavalry, dragoons and artillery |
| Monmouth’s army | Roughly 3,500 to 4,000 near the battlefield; perhaps about 2,000 infantry fought in the principal action | Enthusiastic but unevenly trained volunteers, short of firearms and cavalry |
Royal troop composition
| Formation or arm | Role at Sedgemoor |
|---|---|
| Dumbarton’s Regiment, the Royal Scots | Held the Royal right and absorbed the main rebel infantry attack |
| Foot Guards | Formed part of the Royal infantry line behind the Bussex Rhyne |
| Royal regiments of horse | Provided the shock force used in the counter-attack and pursuit |
| Dragoons | Mounted infantry able to patrol, skirmish and reinforce the cavalry screen |
| Royal artillery train | Brought guns forward after the alarm and fired into the dense rebel ranks |
Rebel troop composition
| Formation or arm | Role at Sedgemoor |
|---|---|
| Red, Blue, White, Green and Yellow regiments | The colour-named infantry bodies raised during the rebellion |
| Nathaniel Wade’s troops | Among the leading infantry, advancing against the Royal Scots |
| Lord Grey’s cavalry | Intended to cross the Upper Plungeon and strike the Royal camp from behind |
| Scythemen and other poorly armed levies | Held farther back; many never entered the main firefight |
| Rebel artillery | Three guns brought across the moor and fired on the Royal line |
One contemporary account credited about 2,000 of Monmouth’s better infantry, chiefly Taunton men, with fighting the battle. Another 2,000, including roughly 1,000 scythemen, stood back or failed to come up. Such precision should be treated carefully, but the broad picture is convincing: only part of Monmouth’s nominal strength delivered an effective attack.
Leaders
| Leader | Side | Position and performance |
|---|---|---|
| James Scott, Duke of Monmouth | Rebel | Designed the night attack and accompanied the advance. His plan offered a chance, but depended upon surprise and coordination his army could not sustain. |
| Ford Grey, Lord Grey of Warke | Rebel | Commanded the cavalry. His riders missed the intended crossing and withdrew after meeting Royal troops. He has often carried a disproportionate share of the blame for a wider collapse. |
| Nathaniel Wade | Rebel | Bristol lawyer and commander of the Red Regiment. His account is one of the most valuable rebel descriptions of the battle. |
| Louis de Duras, Earl of Feversham | Royal | Commander of the Royal Army. He chose a defensible camp and ordered the infantry to hold behind the rhyne, though his precautions did not prevent a near surprise. |
| John Churchill | Royal | Commanded a brigade of infantry and helped organise the response. He later became Duke of Marlborough, making Sedgemoor a modest opening act in a much larger military career. |
| Henry FitzRoy, Duke of Grafton | Royal | Commanded the Foot Guards and served in the Royal line. |
| Sir Francis Compton | Royal | Led the mounted outguard whose resistance disrupted the rebel cavalry and helped raise the alarm. |
Arms and armour
Sedgemoor belonged to the age of pike and shot, but firearms were increasingly dominant. Equipment within the rebel army varied wildly. Some men carried military weapons; others arrived with tools altered for war. Courage was plentiful. Standardised supply was not.
Royal weapons and protection
- Muskets: Regular infantry carried matchlock and flintlock muskets. Flintlocks were increasingly important, although the transition was incomplete.
- Pikes: Pikemen still protected infantry formations against cavalry and gave the line strength in close combat.
- Plug bayonets: Some soldiers may have carried plug bayonets, which fitted into a musket muzzle. Socket bayonets were not yet general issue in the English Army at Sedgemoor.
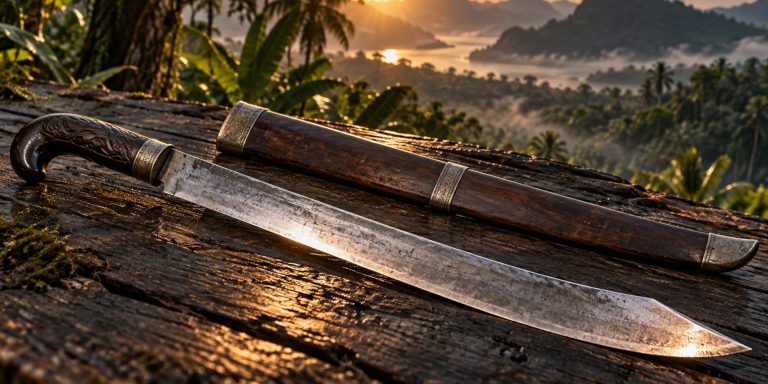
- Cavalry swords: Troopers used robust straight-bladed broadswords and backswords. Surviving late Stuart military swords include basket, half-basket and so-called mortuary-hilt forms, although no single hilt type can safely be assigned to every regiment present.
- Hangers: Short, single-edged hangers were practical sidearms for soldiers and could be carried by infantry, dragoons and artillerymen.
- Pistols and carbines: Royal cavalry carried wheel-lock or flintlock pistols and, in some units, carbines. Dragoons combined firearms with swords.
- Armour: Heavy armour was disappearing. Some horsemen may still have worn breastplates or buff coats, but the Royal Army did not take the field as a mass of armoured cavalry.
Rebel weapons and protection
- Muskets: The best rebel infantry had muskets, but arms, ammunition and training were inconsistent.
- Pikes: Pikes gave untrained units a weapon that was comparatively simple to use in formation, provided the formation held.
- War scythes: Agricultural scythe blades were remounted so that they projected forward, creating a polearm capable of delivering a vicious cut. They were frightening weapons at close range, but no remedy for artillery fire.
- Bills, clubs and improvised polearms: Local tools supplemented inadequate military stocks.
- Hangers and hunting swords: Rebel officers, cavalrymen and volunteers who owned sidearms could have carried hangers or civilian hunting swords.
- Broadswords and backswords: Mounted rebels and men with previous military experience may have carried these more substantial swords.
- Rapiers and early smallswords: Gentlemen and officers could wear fashionable civilian swords. By 1685 the lighter smallsword was gaining favour, while the rapier had not vanished overnight.
- Armour: Most rebels had none. Buff coats may have offered limited protection to a few mounted men or veterans.
The sword was important as a badge of rank and a cavalry weapon, but it did not decide Sedgemoor. Muskets, artillery, cavalry discipline and the Bussex Rhyne mattered more. Any account that turns the battle into a grand exchange of blades has allowed romance to wander off with the evidence.
The battle
The silent march
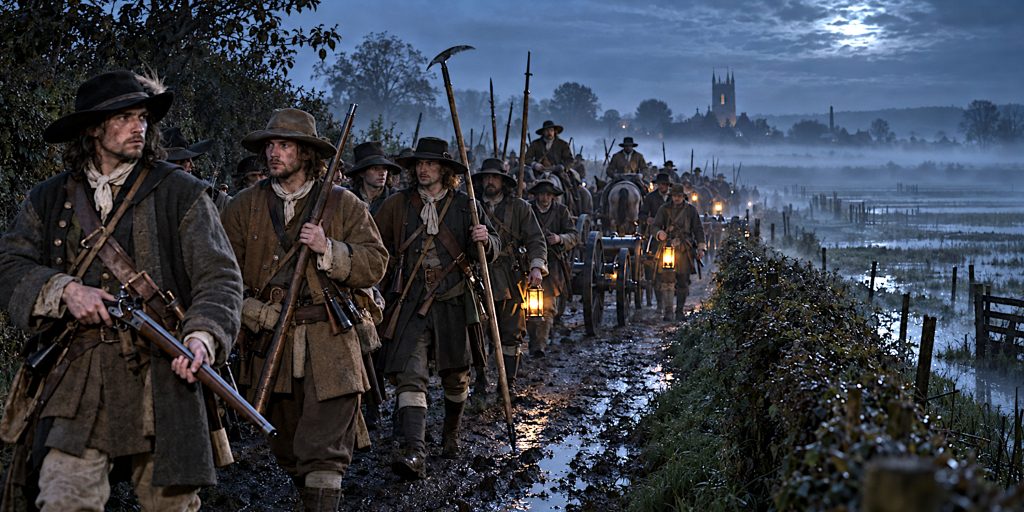
At about 11 pm on 5 July, Monmouth’s army left Bridgwater. A local guide led the column along the Bristol road and through Bradney Lane and Marsh Lane. The troops moved quietly across North Moor while Royal patrols passed remarkably close without detecting them.
The approach was close to succeeding. Royal artillery officer Edward Dummer later admitted that the camp had gone to sleep with an unjustified contempt for the rebels. The Royal commanders had posted guards, however, and had ordered mounted troops to remain ready.
The alarm
Near Langmoor, a pistol or carbine discharged. Accounts disagree about whether the shot was accidental or deliberate. A Royal trooper galloped towards the camp, repeatedly calling for the drums to beat. The warning gave Feversham’s infantry the minutes they needed to form between their tents and the Bussex Rhyne.
Lord Grey’s horse reached the ditch but missed the Upper Plungeon. In the darkness, rebel cavalry passed along the wrong side of the rhyne, exchanged fire with Royal troops and fell back. Some returning riders were mistaken for Royal cavalry and fired upon by their own side.
The infantry fight
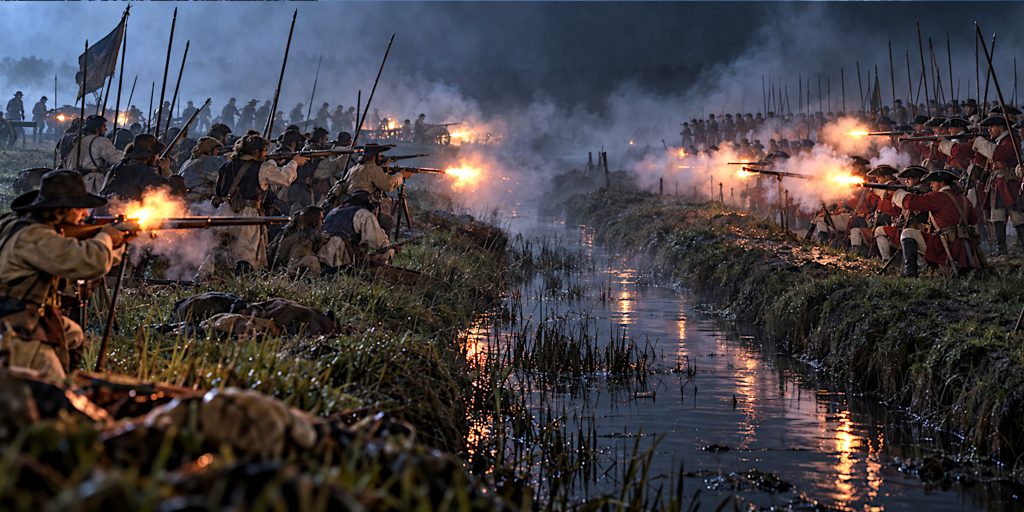
The leading rebel foot advanced to within close musket range of the ditch. Wade later wrote that he had intended to reserve fire until his men were near the enemy, but found the Royal infantry already formed and his own troops disordered by their rapid march.
The rebels nevertheless fought with determination. Their musketry and three guns pressed the Royal right, where Dumbarton’s Scots suffered heavily. Contemporary Royal testimony, hardly sentimental towards Monmouth’s followers, acknowledged their courage. For a time the issue was not entirely secure.
Royal guns and cavalry decide the battle
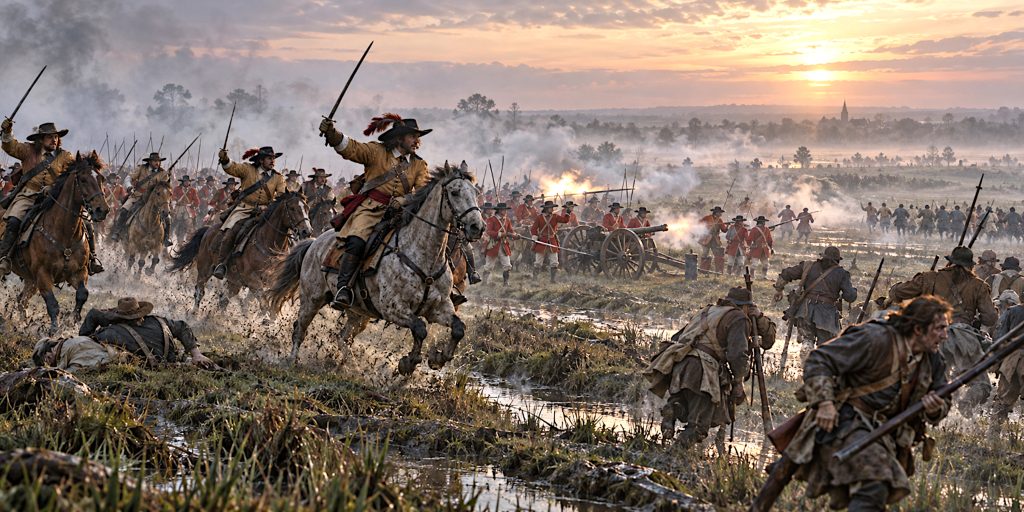
The Royal artillery crews brought guns forward through the fog and confusion. Firing into tightly grouped infantry at short range, they tore gaps in the rebel line. Royal cavalry then reached the open moor and attacked men who had lost their own mounted protection.
As daylight strengthened, concealment disappeared. The rebels could see that the Royal line remained intact; the Royal cavalry could see its targets. Monmouth’s infantry broke. Many fugitives were killed in the fields and drainage ditches during the pursuit. The battle had lasted roughly three hours from alarm to final rout, although the fiercest infantry action was considerably shorter.
Battle timeline
| Time | Event |
|---|---|
| 5 July, afternoon | Feversham’s army camps beside Westonzoyland, with the infantry behind the Bussex Rhyne. |
| About 11 pm | Monmouth’s army leaves Bridgwater and begins its night march. |
| After midnight | The rebel column passes through narrow lanes and onto the moor while nearby Royal patrols fail to detect it. |
| Around 1.30 to 2 am | A firearm discharges and the Royal alarm is raised. Feversham’s infantry forms behind the rhyne. |
| Shortly afterwards | Lord Grey’s cavalry misses the Upper Plungeon, clashes with Royal mounted troops and withdraws. |
| Early morning | Rebel infantry and three guns engage the Royal right across the Bussex Rhyne. |
| Before dawn | Royal artillery is moved forward and inflicts severe losses. Royal horse attacks the exposed rebel infantry. |
| Around daybreak | Monmouth’s army collapses and fugitives scatter towards Bridgwater and the surrounding countryside. |
| 8 July | Monmouth is captured near Ringwood in Hampshire. |
| 15 July | Monmouth is executed on Tower Hill in London. |
Contemporary accounts and quotes
Sedgemoor is unusually well documented. Written narratives survive from Royal officers, local observers and rebel participants, accompanied by early sketch maps. They do not agree on every number or incident, but together they allow the action to be reconstructed in rare detail.
Edward Dummer described the moment the Royal camp awoke:
“At 2 a Clock this Morning (securely sleeping) Our Camp was Rouzd by the near approach of the Rebells; a darke Night and thick Fogg, covering the Moore.”
His judgement on the victory was unusually frank for a man on the winning side:
“Providence was absolutely a greater Friend, then Our Own Conduct.”
The official Royal account recorded Feversham’s crucial defensive order after the alarm. He found the infantry formed beside the ditch and commanded that “not a man” should cross it without orders.
Nathaniel Wade recalled the failure of the rebel cavalry and the predicament of the foot:
“The horse advanced to the ditch, and never farther; but on the firing of some of the King’s foot, ran out of the field.”
These accounts should not be read as neutral transcripts. Dummer defended the Royal Army while admitting its complacency; Wade wrote after capture and had every reason to explain failure carefully. Their value lies partly in where they agree: the darkness, the lost crossing, the rapid Royal deployment and the rebels’ stubborn infantry attack.
Archaeology and the surviving battlefield
The most powerful physical evidence at Sedgemoor is the landscape. The registered battlefield remains open, low-lying country north of Westonzoyland. Pasture occupies much of the moor, while slightly higher ground around Chedzoy has long supported arable farming.
The late 17th-century plans made by Andrew Paschall, rector of Chedzoy, and Edward Dummer correspond closely with the surviving terrain. They show the Royal camp, roads, fields and drainage channels. The Bussex Rhyne was later filled, but its course has been detected as a damp linear feature in aerial and infrared photography. This is unusually good evidence for locating the line across which the principal firefight took place.
The drainage system changed substantially after enclosure and improvement works in the late 18th century. The King’s Sedgemoor Drain and Chedzoy New Cut altered the water landscape, while old crossing points such as Langmoor Stone disappeared. Even so, the general character and tactical shape of the ground can still be read.
Metal-detected finds from the wider battlefield include lead musket balls and other military debris, some displayed or interpreted locally. Such finds can help plot areas of fire and movement, but isolated objects need recorded findspots and systematic analysis before they can carry much argumentative weight. Claims for particular mass graves or exact weapon distributions should therefore be treated cautiously unless supported by excavation.
Sedgemoor was placed on the Register of Historic Battlefields because the site is both historically important and accurately located. The Historic England list entry provides the formal designation, while the Battlefields Trust offers maps and a detailed guide to the action. The Museum of Somerset and the local Bridgwater museum account add useful regional context.
Casualties and the pursuit
Casualty figures vary sharply. Dummer claimed 27 Royal soldiers killed on the field and about 200 wounded, while estimating approximately 1,000 rebels killed or captured. Modern summaries commonly give Royal losses at around 80 and rebel losses of more than 1,000.
The imbalance came largely after the rebel line broke. Disciplined cavalry pursuing scattered infantry across open ground could inflict terrible losses. Men drowned or were trapped in rhynes, while others were cut down in the fields. Hundreds more were captured.
Monmouth fled the battlefield, abandoned his distinctive clothing and attempted to escape eastwards. He was found near Ringwood two days later, reportedly concealed in rough ground. Taken to London, he pleaded for his life but was executed on 15 July.
The Bloody Assizes
The rebellion’s defeat was followed by a judicial campaign under Lord Chief Justice George Jeffreys. At the Bloody Assizes, hundreds of accused rebels were convicted. More than 200 were executed, while many others were transported to the Caribbean and sold into indentured labour. Exact totals vary by source and by the categories counted.
The savagery of the reprisals damaged the regime’s reputation, particularly in the West Country. James II survived Monmouth’s challenge, but Sedgemoor did not secure his dynasty for long. In 1688 William of Orange landed in England, James lost political and military support, and the Glorious Revolution removed him from the throne.
Why Sedgemoor matters
Sedgemoor was not a simple contest between brave amateurs and heartless professionals. Monmouth made a conscious bid for the crown, and his supporters understood that defeat could bring treason charges. The Royal Army, meanwhile, was not invulnerable. It was surprised, partly scattered in quarters and slow to bring its artillery into action.
The battle turned on the Royal troops’ ability to recover. They formed under pressure, used the rhyne as cover and coordinated infantry, guns and horse. Monmouth’s men achieved surprise in the larger sense but failed to exploit it at the decisive place. Their leading infantry fought hard, yet the army around them came apart.
For a historian, that is Sedgemoor’s real fascination. The battle was decided neither by destiny nor by a single cowardly commander. Terrain, incomplete information, training and minutes of lost time combined on a wet Somerset moor. The rebellion ended there, among drainage ditches that had never expected to become famous.
Frequently asked questions
Who won the Battle of Sedgemoor?
The army of King James II won a decisive victory over the rebel force led by the Duke of Monmouth.
When was the Battle of Sedgemoor fought?
It was fought during the early hours of 6 July 1685, after Monmouth launched a night attack from Bridgwater.
Why did Monmouth lose?
His cavalry missed its intended crossing, the Royal camp received warning and his forces became separated in darkness. Once the Royal infantry formed behind the Bussex Rhyne, its superior discipline, artillery and cavalry became decisive.
Was Sedgemoor the last battle fought in England?
It is commonly described as the last pitched battle on English soil. Later engagements at Preston in 1715 and Clifton Moor in 1745 complicate the claim, although neither matched Sedgemoor as a conventional field battle between substantial armies.
Can the battlefield be visited?
Yes. The registered battlefield lies north of Westonzoyland. Visitors should use public rights of way and remember that much of the land is privately owned and actively farmed.