
The Battle of Evesham, fought on 4 August 1265, was one of the bloodiest and most consequential battles in medieval English history. Unlike many medieval engagements that ended with prisoners taken for ransom, Evesham became an exercise in annihilation. It marked the violent end of the Second Barons’ War, the death of Simon de Montfort, Earl of Leicester, and the restoration of royal authority under King Henry III.
For historians, Evesham remains fascinating because it sits at the crossroads of military history and constitutional development. One side fought to restore royal authority, the other claimed to defend reform and accountable government. Neither side would have described themselves as villains. They simply believed England belonged in different hands.
Prince Edward, the future Edward I, demonstrated tactical brilliance that day. Simon de Montfort, despite recognising the hopelessness of his position, chose to fight rather than surrender. The result was less a battle than a carefully orchestrated destruction of an army trapped against the River Avon.
Background
The roots of the battle lay in years of political tension between King Henry III and many of his leading barons.
Henry’s expensive foreign policies, unpopular favourites and repeated financial demands had alienated much of the English nobility. The resulting crisis produced the Provisions of Oxford in 1258, which attempted to limit royal authority and introduce greater oversight of government.
The leading figure behind these reforms was Simon de Montfort.
In May 1264 he achieved an extraordinary victory at the Battle of Lewes, capturing both King Henry III and Prince Edward. England was effectively governed by de Montfort for over a year.
His position, however, proved increasingly fragile.
Many former supporters became uneasy with his concentration of power. Even Gilbert de Clare, Earl of Gloucester, abandoned the reformist cause. When Prince Edward escaped captivity in May 1265, the balance shifted dramatically.
Edward wasted no time.
Moving rapidly across the Midlands, he defeated isolated rebel forces before preventing Simon the Younger from joining his father. He even captured the younger Montfort’s banners, which he later used as part of an elaborate deception.
By early August, Simon de Montfort had marched into perhaps the worst tactical position imaginable.
Forces
| Side | Commander | Estimated Strength | Composition |
|---|---|---|---|
| Royalists | Prince Edward, Gilbert de Clare | 8,000 to 10,000 | Heavy cavalry, mounted knights, infantry, Welsh archers and spearmen |
| Montfortians | Simon de Montfort | 4,500 to 6,000 | Knights, infantry, marcher troops, Welsh allies and household retainers |
Although medieval troop numbers remain debated, historians generally agree that Edward enjoyed roughly a two-to-one numerical advantage.
More importantly, he controlled the battlefield before the fighting even began.
Leaders and Troop Composition
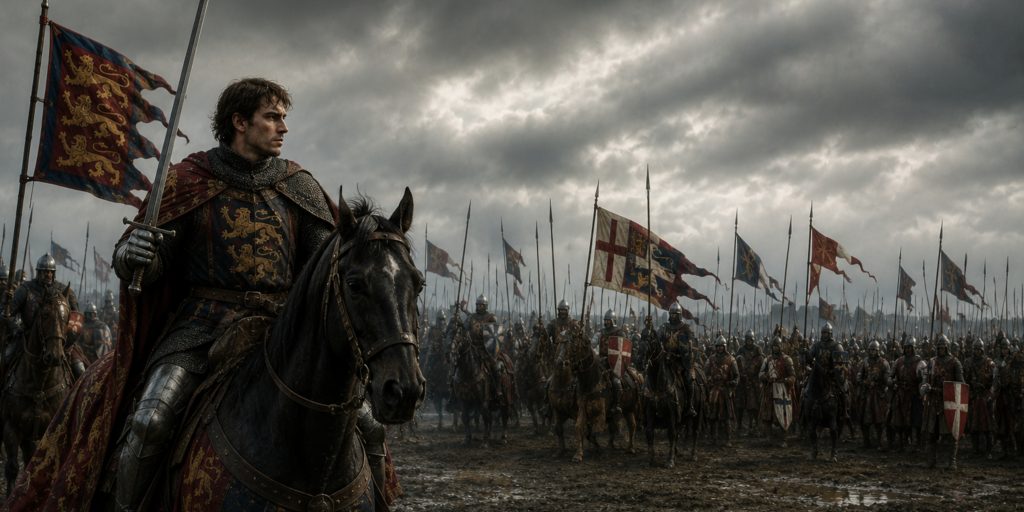
Royalist Command
| Commander | Role | Contribution |
|---|---|---|
| Prince Edward | Overall commander | Planned the encirclement and directed the main assault |
| Gilbert de Clare, Earl of Gloucester | Senior noble commander | Commanded one wing after returning to the royal cause |
| Roger Mortimer | Marcher lord | Led experienced border troops and oversaw pursuit after the battle |
| William de Valence | Royal supporter | Assisted with reserve forces and coordination |
Royalist strengths
- Experienced mounted knights
- Well-disciplined household troops
- Welsh archers and infantry
- Superior battlefield coordination
- High morale following Edward’s recent victories
Montfortian Command
| Commander | Role | Contribution |
|---|---|---|
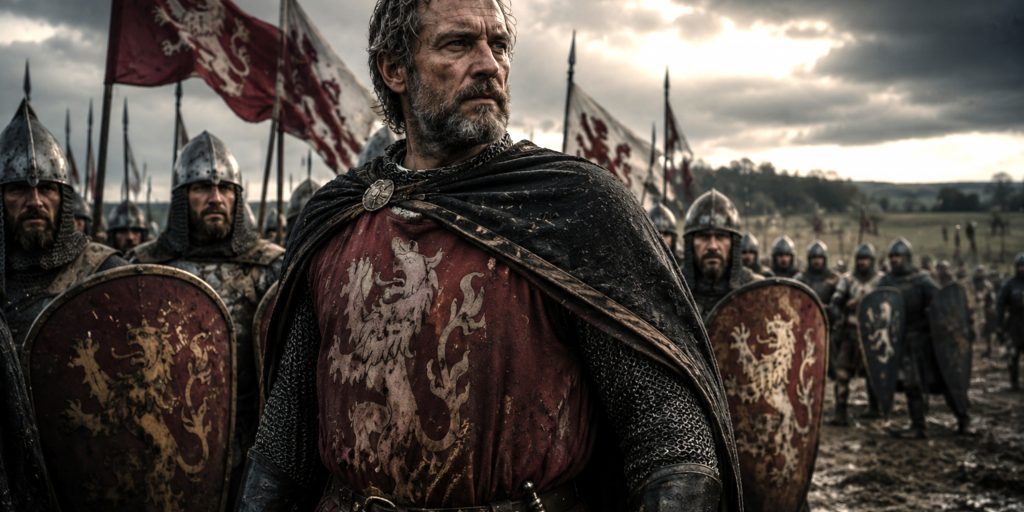
| Simon de Montfort | Commander-in-chief | Led the reformist army despite being heavily outnumbered |
| Henry de Montfort | Son of Simon | Fought beside his father and was killed |
| Peter de Montfort | Senior baron | Died during the fighting |
| Ralph Basset | Rebel noble | Commanded elements of the infantry |
Rebel strengths
- Veteran knights from earlier campaigns
- Loyal household retainers
- Experienced marcher soldiers
- Strong defensive position initially
Unfortunately for de Montfort, none of these strengths mattered once Edward completed the encirclement.
Arms and Armour
Both armies were equipped in broadly similar fashion, reflecting the warfare of the mid-thirteenth century. Success depended less on superior equipment than on leadership and positioning.
| Equipment | Royalists | Montfortians |
|---|---|---|
| Body armour | Mail hauberks with reinforced chausses | Mail hauberks and padded gambesons |
| Helmets | Great helms, cervellières and nasal helmets | Great helms and nasal helmets |
| Shields | Kite and heater shields | Heater shields |
| Primary sword | Knightly arming sword | Knightly arming sword |
| Secondary weapons | Lances, maces, war hammers, spears | Spears, axes, maces and falchions |
| Missile troops | Welsh longbows and crossbows | Crossbows and limited archery |
Sword types used
Several sword forms would almost certainly have appeared on the battlefield.
- Knightly arming swords of the Oakeshott Type XII remained the standard battlefield weapon.
- Type XIII swords, with slightly longer blades suited to mounted combat, were also common.
- Falchions provided powerful cutting blows and were popular among professional soldiers.
- Wealthier knights may have carried early thrust-oriented Type XIV swords, reflecting the gradual evolution of armour.
These swords were sidearms rather than primary battlefield killers. The lance remained the decisive weapon during cavalry charges, while infantry relied heavily on spears and polearms. Medieval warfare had little interest in cinematic duels. It preferred organised violence delivered in large quantities.
Battlefield and Terrain
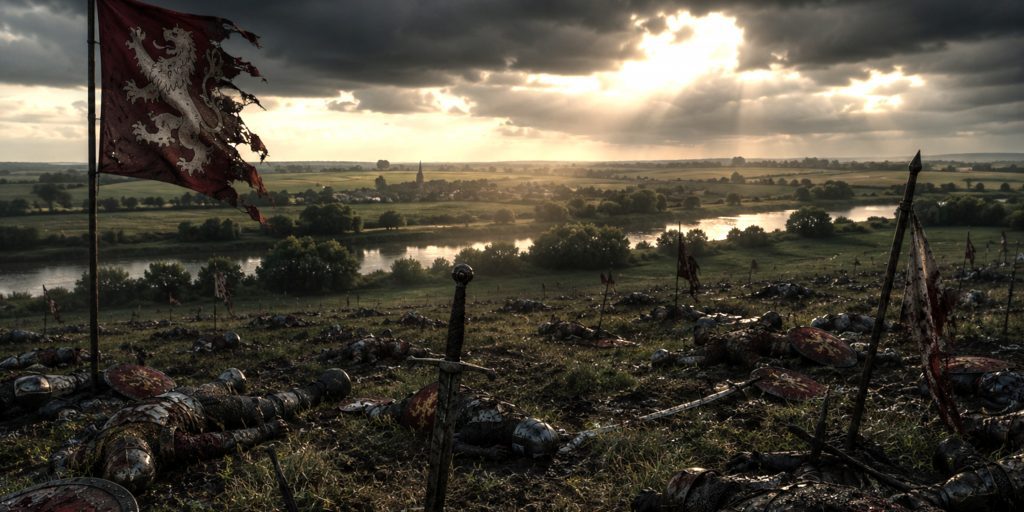
The battlefield lay south of Evesham, enclosed by a sweeping bend in the River Avon.
This geography proved decisive.
Edward occupied Green Hill, forcing de Montfort to fight uphill while the river restricted any meaningful escape.
When the rebel commander reportedly saw the royal banners approaching, he is said to have remarked:
“By the arm of St James, they come on well. They learned that from me.”
Whether entirely authentic or polished by later chroniclers, it captures the grim irony of the moment. Edward had mastered his former captor’s own methods.
Battle Timeline

| Time | Events |
|---|---|
| Early morning | Edward occupies Green Hill overlooking the rebel army. |
| Around 8.00 am | Captured Montfortian banners deceive Simon into believing reinforcements have arrived. |
| Mid-morning | De Montfort realises he has been surrounded on three sides. |
| Late morning | Royalist cavalry launches coordinated downhill attacks. |
| Around midday | Rebel formations collapse under repeated assaults. |
| Shortly afterwards | Simon de Montfort and many senior nobles are killed. |
| Afternoon | Pursuit becomes wholesale slaughter rather than organised combat. |
Many contemporary chroniclers deliberately avoided calling Evesham a battle.
Several instead described it as a massacre.
Casualties
| Side | Estimated Losses |
|---|---|
| Royalists | Several hundred |
| Montfortians | Around 2,000 to 3,000 killed |
The rebel nobility suffered catastrophic losses.
Simon de Montfort, Henry de Montfort and Peter de Montfort all died on the field.
De Montfort’s body was mutilated after death. His head, hands and feet were removed, while other body parts were reportedly sent to Roger Mortimer’s family as grisly trophies. Medieval politics could occasionally make modern election campaigns seem rather civilised.
Archaeology
Unlike Towton or Visby, Evesham has yielded relatively little physical evidence.
Several factors explain this.
- Continuous farming has disturbed archaeological layers.
- Urban expansion around modern Evesham has altered the landscape.
- The River Avon has shifted its course over the centuries.
- Medieval recovery of armour and weapons removed many valuable artefacts soon after the battle.
Nevertheless, investigations have uncovered important evidence.
| Discovery | Significance |
|---|---|
| Iron arrowheads | Confirm intensive missile exchanges |
| Spur fragments | Evidence of heavy cavalry activity |
| Human remains with weapon trauma | Consistent with contemporary descriptions of close combat |
| Metal weapon fragments | Support the traditional battlefield location |
Modern battlefield surveys continue to refine understanding of troop movements using landscape analysis, lidar mapping and metal detecting.
Contemporary Accounts
Medieval chroniclers were unanimous about one thing.
The slaughter shocked even those accustomed to warfare.
“They made a great slaughter, sparing none.”
Bartholomew Cotton
“The body of the noble earl was shamefully mangled.”
Annales Monastici
“Blessed be the Lord who hath avenged the king’s cause.”
Royalist clerical account
Roger Mortimer was later credited with declaring:
“God hath judged between them.”
Whether spoken exactly as recorded is impossible to prove, but the sentiment reflects how royal supporters interpreted the victory as divine judgement.
Aftermath
The destruction of de Montfort’s army effectively ended organised resistance.
Although isolated rebellions continued for several months, royal authority had been restored.
King Henry III resumed power, but the conflict had permanently altered English politics.
Future monarchs, especially Edward I, increasingly recognised the value of consulting representative assemblies.
Ironically, many of Simon de Montfort’s political ideas survived long after the man himself had been hacked to pieces on a Worcestershire hillside.
Legacy
The Battle of Evesham remains one of England’s defining medieval battles.
Its military significance lies in Edward’s operational planning and decisive use of terrain. Its political importance is even greater.
Simon de Montfort failed as a rebel leader, yet many historians regard him as an important figure in the development of parliamentary government. His parliament of 1265, which included representatives from towns as well as the nobility, established precedents that later generations would expand.
Prince Edward also emerged from Evesham with a formidable military reputation. As Edward I, he would become one of England’s greatest warrior kings, applying many of the lessons learned during the civil wars to campaigns in Wales and Scotland.
Visiting the Battlefield Today
Much of the battlefield survives within the landscape surrounding Evesham.
Visitors can explore:
- Green Hill, where Edward deployed his army
- Evesham Abbey site
- The Battle Trail around the battlefield
- Simon de Montfort Memorial
- The annual Battle of Evesham Festival, featuring one of Europe’s largest medieval re-enactments
Although modern development has altered parts of the landscape, the dramatic geography that trapped de Montfort remains remarkably easy to appreciate.
The Seven Swords Verdict
The Battle of Evesham was the decisive moment of the Second Barons’ War and one of the most ruthless encounters ever fought on English soil. It demonstrated Prince Edward’s remarkable tactical skill while ending Simon de Montfort’s experiment in baronial government with extraordinary brutality.
History often remembers victors, but Evesham is unusual because both protagonists left enduring legacies. Edward restored royal power and went on to become one of England’s greatest medieval kings. Simon de Montfort lost everything, yet his vision of broader political representation helped shape the evolution of Parliament. One won the battlefield. The other, in some respects, won the centuries that followed.


Battle of Evesham -Festival https://sevenswords.uk/battle-reenactments-dates-tickets-uk/