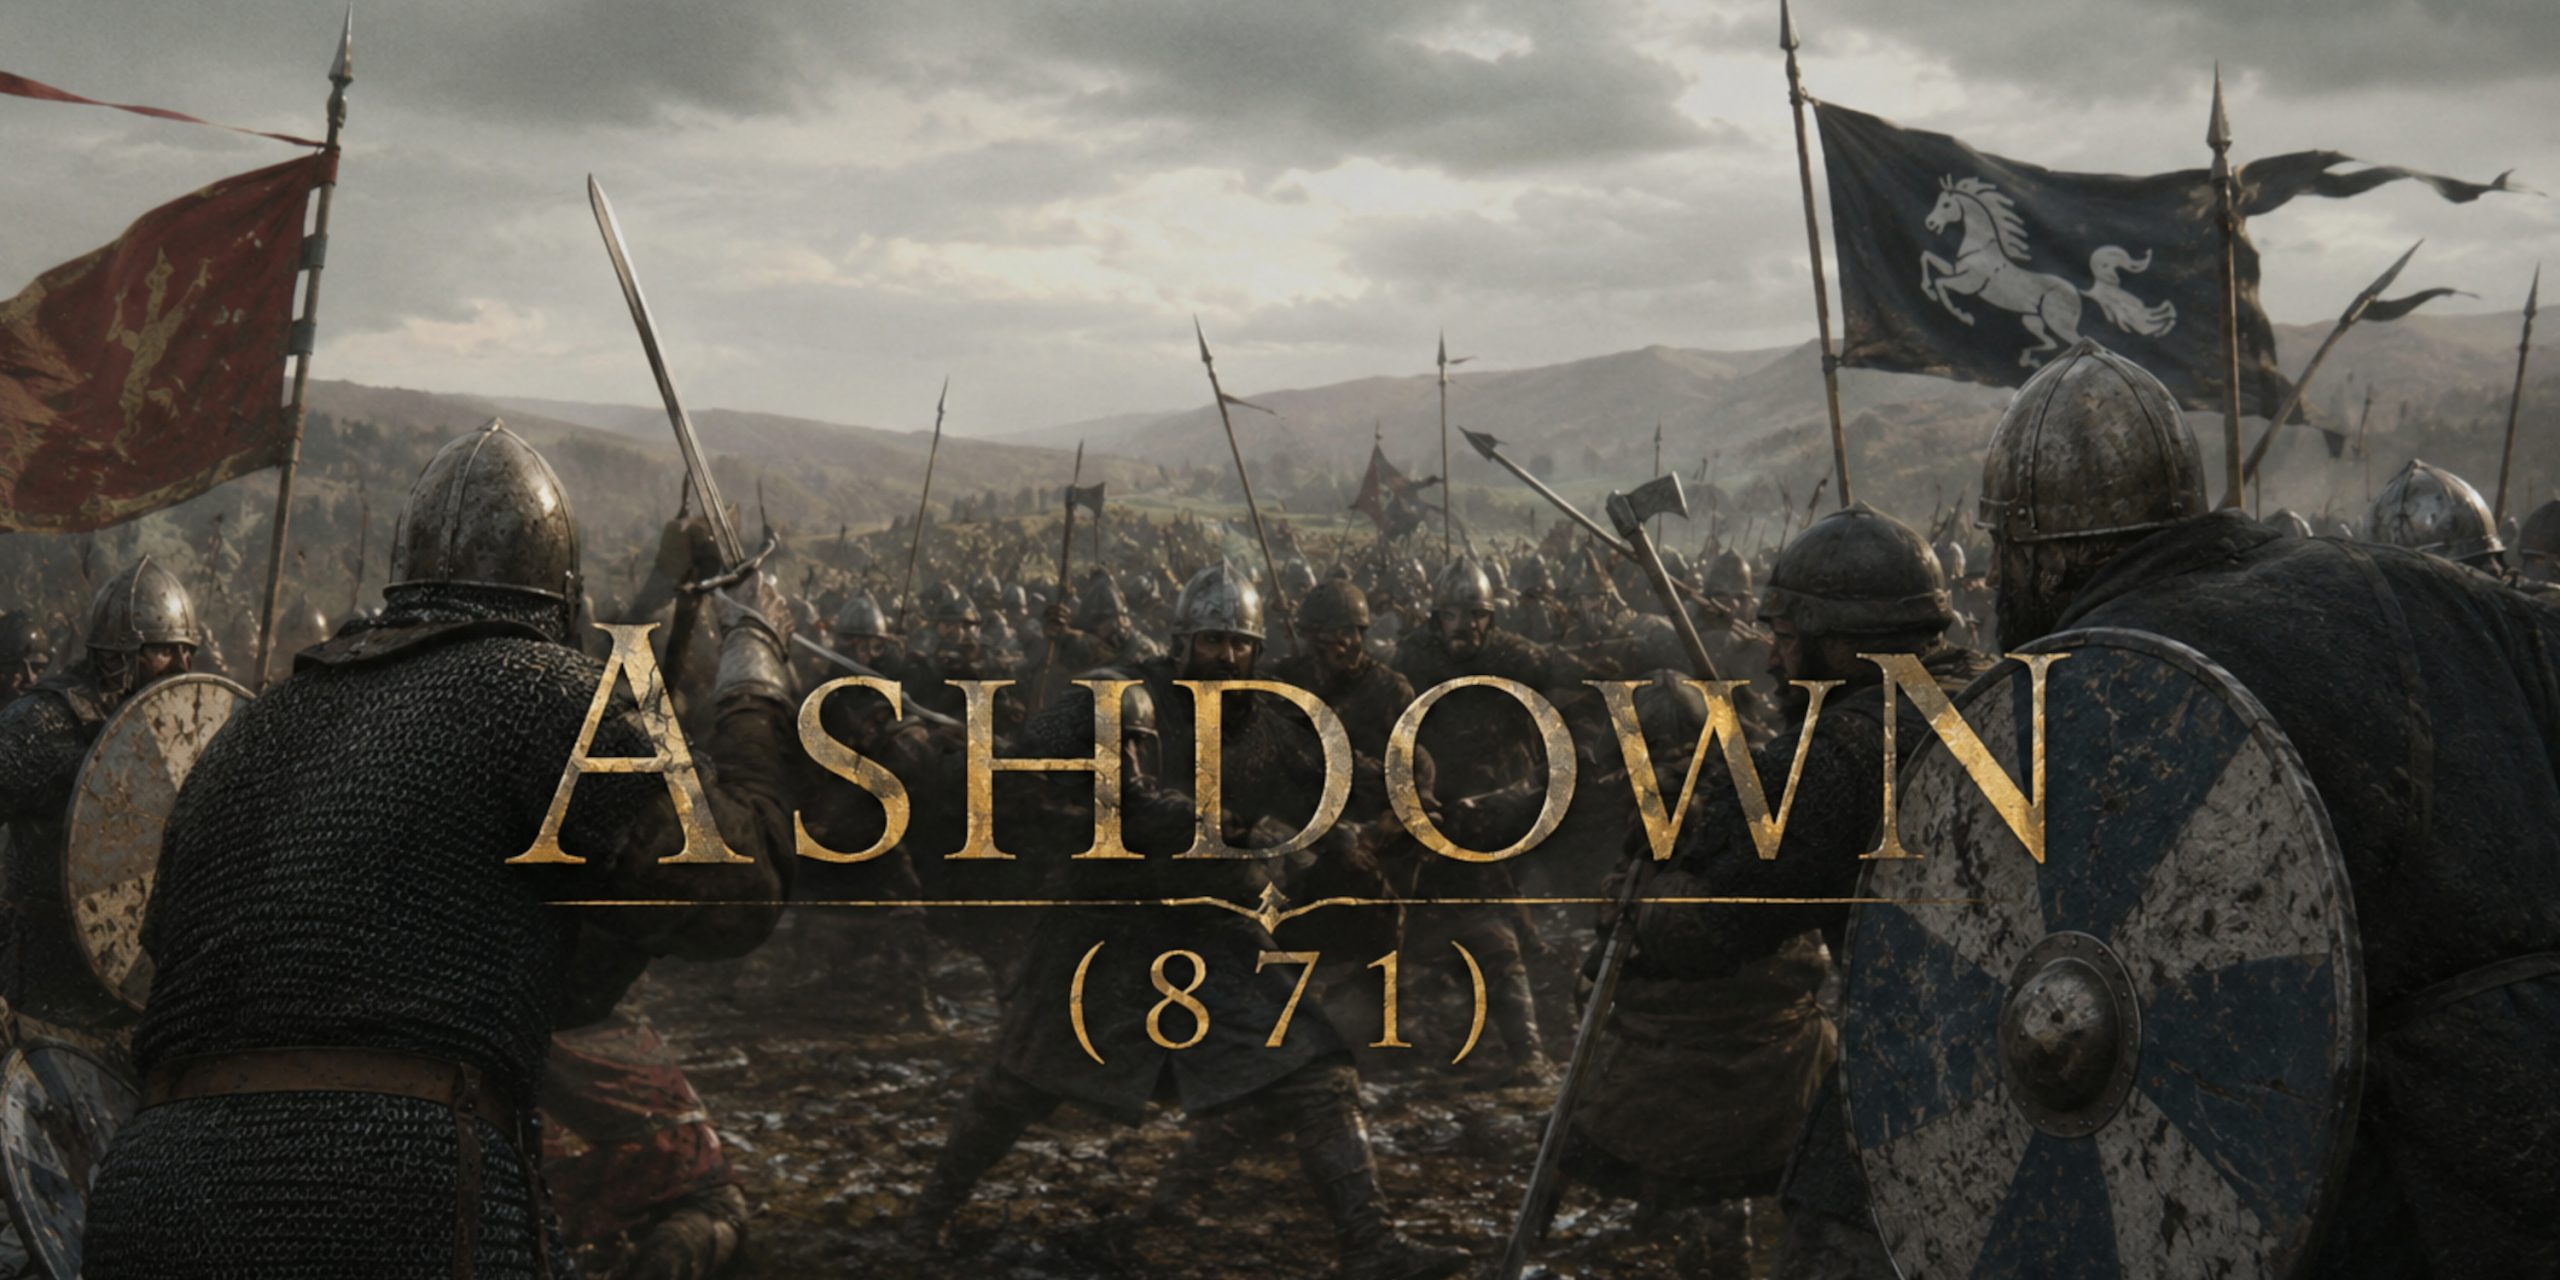
The Battle of Ashdown, fought on 8 January 871, was one of the most important clashes between the Anglo-Saxon kingdoms and the Viking invaders of the ninth century. It came at a moment when Wessex stood dangerously exposed. The Great Heathen Army had already overwhelmed Northumbria and East Anglia, and Mercia’s power had been badly shaken.
At Ashdown, King Aethelred I of Wessex and his younger brother Alfred, later remembered as Alfred the Great, confronted a major Viking force somewhere in the Berkshire Downs. The exact location remains debated, which is a wonderfully medieval problem. The chroniclers tell us a great deal about heroic charges and divine favour, but apparently nobody thought future historians might appreciate a decent map reference.
The battle did not end the Viking threat, but it proved Wessex could fight back. Without victories like Ashdown, the later creation of England may have followed a very different path.
Historical Background: The Viking Advance Into Wessex
By 871 the Viking Great Heathen Army had been campaigning in England for several years. Unlike earlier raiding groups that targeted monasteries and coastal settlements, this was a large organised military force seeking land, tribute and political control.
Before Ashdown:
- 865: The Great Heathen Army landed in East Anglia.
- 866: Vikings captured York and transformed Northumbria.
- 869: King Edmund of East Anglia was defeated and killed.
- 870: The army moved against Wessex.
The West Saxons fought several engagements in rapid succession. The Battle of Reading shortly before Ashdown had ended badly for Wessex, making Alfred and Æthelred’s response even more critical.
Forces At The Battle Of Ashdown
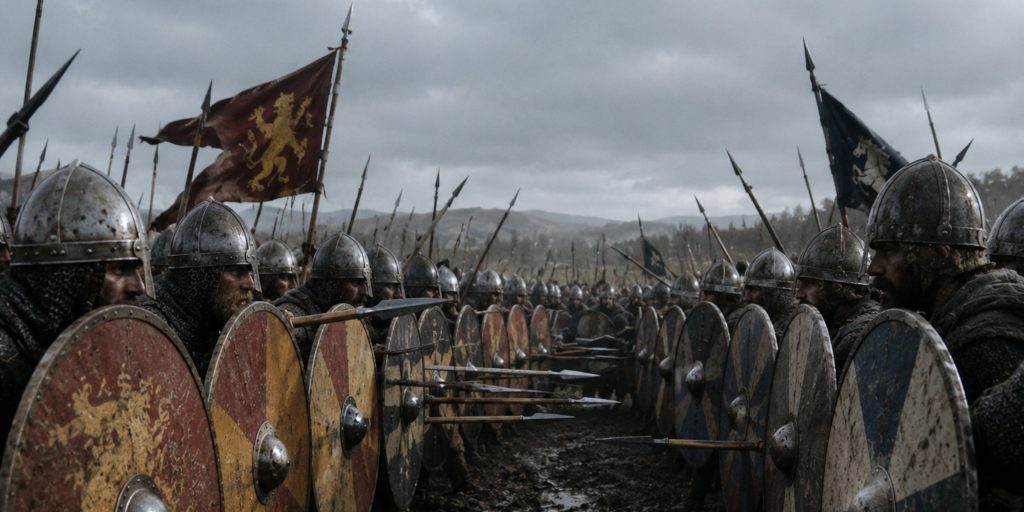
Precise numbers are unknown, and medieval sources often exaggerate army sizes. Modern historians generally suggest both forces were probably several thousand strong rather than the enormous armies imagined in later legend.
| Army | Commanders | Estimated Strength | Composition |
|---|---|---|---|
| Kingdom of Wessex | King Æthelred I, Alfred | Around 3,000 to 6,000 | Royal household troops, thegns, fyrd infantry |
| Great Heathen Army | Bagsecg, Halfdan Ragnarsson and Viking jarls | Around 3,000 to 6,000 | Veteran Viking warriors, shield-wall infantry, elite retainers |
The battle was essentially a clash between two shield-wall traditions. It was not a chaotic brawl between “civilisation and barbarians” as older Victorian histories liked to portray. Both armies were disciplined, experienced and brutally practical.
Leaders And Troop Composition
West Saxon Army
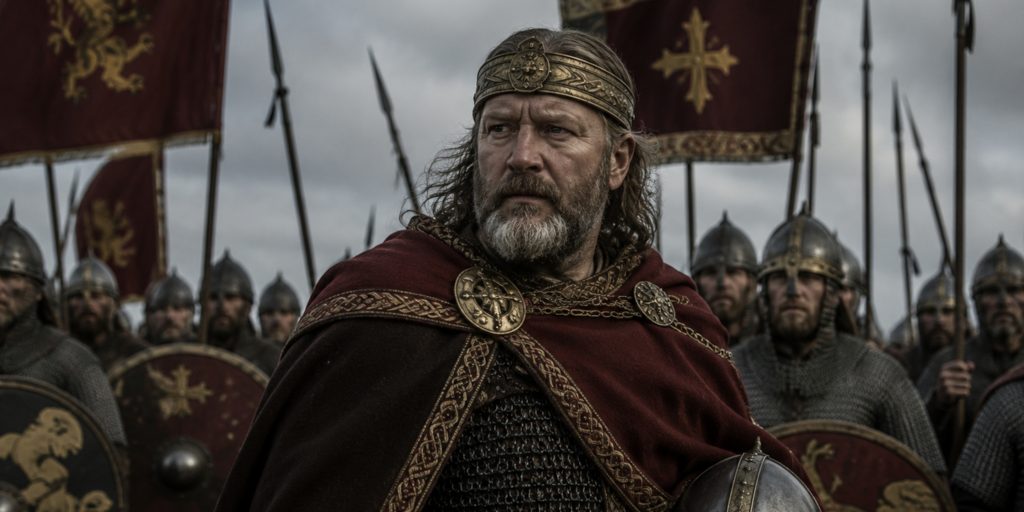
King Æthelred I
Role:
- King of Wessex
- Senior commander
- Led one division of the army
Forces:
- Royal household warriors
- Noble thegns
- Local fyrd levies
Strengths:
- Defensive organisation
- Knowledge of terrain
- Strong leadership structure
Alfred Of Wessex
Role:
- Younger brother of Æthelred
- Battlefield commander
- Future King Alfred the Great
According to tradition, Alfred began the attack while Æthelred remained at prayer. Whether this happened exactly as recorded is debated, but Alfred’s aggressive command style became central to his later reputation.
Viking Army
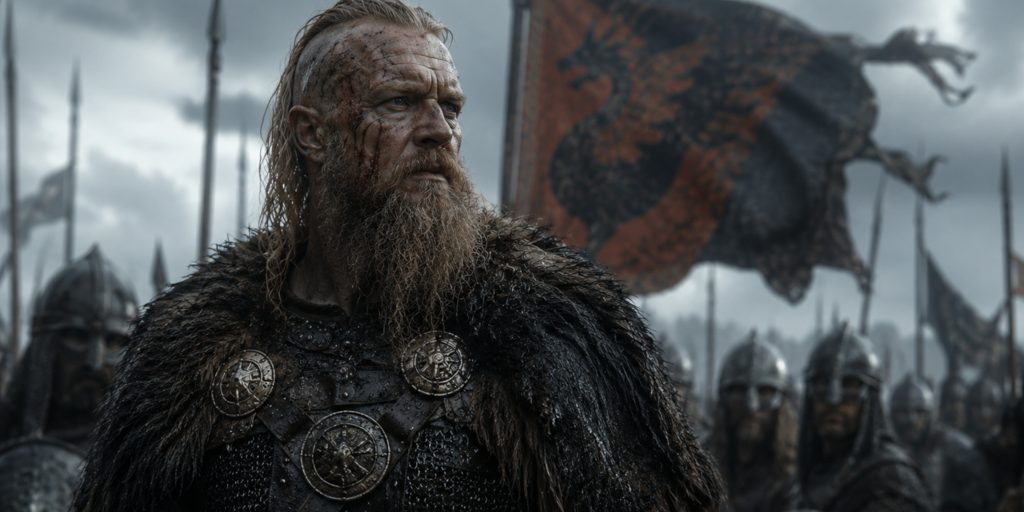
Bagsecg
Role:
- Viking king and senior leader
- Commanded one section of the army
Halfdan Ragnarsson
Role:
- Major Viking commander
- One of the leaders associated with the Great Heathen Army
Forces included:
- Experienced Scandinavian warriors
- Personal retinues
- Shield-wall infantry
- Possible Anglo-Scandinavian allies
Arms And Armour At The Battle Of Ashdown
Ashdown was fought during an era when elite warriors on both sides often looked more similar than people expect. The differences were usually in wealth, equipment quality and fighting tradition.
Anglo-Saxon Weapons
Swords
Common types:
- Petersen Type K sword
A Viking Age style also found in Anglo-Saxon contexts, usually with a broad double-edged blade. - Anglo-Saxon pattern-welded sword
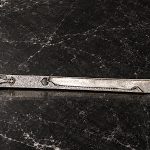
High-status weapons created through complex forging techniques. These were expensive heirlooms rather than everyday tools. - Seax
A single-edged blade carried by many Anglo-Saxon warriors, useful both as a weapon and practical knife.
Other weapons:
- Spears, the most common battlefield weapon
- Round wooden shields with iron bosses
- Throwing spears and javelins
- Axes among lower-status fighters
Armour:
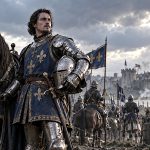
- Mail shirts for wealthy warriors
- Conical helmets
- Leather protection and padded clothing among ordinary fighters
Viking Weapons
Swords
Likely examples:
- Petersen Type H sword
One of the most recognisable Viking Age sword forms, with a broad blade and distinctive hilt. - Petersen Type M sword
A simpler but effective design common in the Viking world. - Ulfberht-style blades
High-quality Frankish-made swords existed during this period, although only wealthy warriors would possess them.
Other weapons:
- Danish axes
- Spears
- Bearded axes
- Round shields
- Long knives
Armour:
- Riveted mail shirts
- Iron helmets
- Thick textile protection
The spear was the real workhorse of Ashdown. Swords dominate museum displays because they survived and look impressive, but most warriors would have trusted a spear before a blade. Medieval warfare rarely cared about looking heroic.
The Battle Timeline
| Time | Event |
| Early January 871 | Viking forces move through Berkshire after defeating Wessex forces at Reading |
| Morning | Saxon scouts locate the Viking army positioned near Ashdown |
| Deployment | Both armies divide their forces into two main formations |
| Opening phase | Shield walls form and prepare for direct combat |
| Main engagement | Alfred launches an attack against the Viking line |
| Turning point | Heavy fighting breaks Viking resistance |
| Final stage | Viking forces retreat after suffering major casualties |
| Aftermath | Viking king Bagsecg and several jarls are reported killed |
How The Battle Was Fought
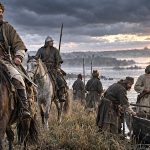
The Anglo-Saxon Chronicle describes the Vikings occupying higher ground before the battle. The two armies formed shield walls, creating the type of brutal infantry contest common in early medieval warfare.
A shield-wall battle relied on:
- Maintaining formation
- Protecting neighbouring warriors
- Pushing against the enemy line
- Exploiting gaps when opponents became exhausted
These battles were often decided by morale rather than complete destruction. Once a section of the line broke, panic could spread quickly.
Contemporary Quotes And Medieval Sources
The main accounts come from the Anglo-Saxon Chronicle and Asser’s Life of King Alfred.
The Anglo-Saxon Chronicle records:
“King Æthelred and Alfred his brother fought against the whole army at Ashdown, and they were victorious.”
Asser later wrote of Alfred’s role:
“Alfred, though holding a lower authority, led his forces promptly against the enemy.”
Asser’s account should be read carefully. He was writing to celebrate Alfred’s reign, meaning his version naturally places Alfred at the centre of events.
Archaeology And The Search For The Battlefield
The exact location of Ashdown remains uncertain.
Possible locations include:
- The Berkshire Downs
- Areas around Ashdown House
- Sites near Compton and Aldworth
Challenges for archaeologists:
- Few identifiable battlefield remains
- Limited ninth-century material evidence
- Unclear medieval place-name references
Finds from the wider region help reconstruct the period rather than confirm the battlefield itself.
Typical discoveries include:
- Anglo-Saxon metalwork
- Viking Age weapon fragments
- Strap fittings and personal items
- Settlement evidence
The missing battlefield is frustrating, but not unusual. Early medieval armies did not leave neat archaeological signatures. A few thousand warriors with mostly organic equipment can disappear surprisingly well after more than a millennium.
Where To See Artefacts From The Period
Although confirmed Ashdown battlefield objects are lacking, museums preserve items from the same Anglo-Saxon and Viking world.
British Museum, London
Highlights:
- Anglo-Saxon swords
- Viking Age weapons
- Helmet and armour fragments
- Ninth-century metalwork
Ashmolean Museum, Oxford
Highlights:
- Anglo-Saxon artefacts
- Early medieval jewellery
- Regional finds connected with Wessex
Winchester Museums
Highlights:
- Material linked to the later West Saxon kingdom
- Objects connected to Alfred’s era and legacy
Military Analysis: Why Ashdown Mattered
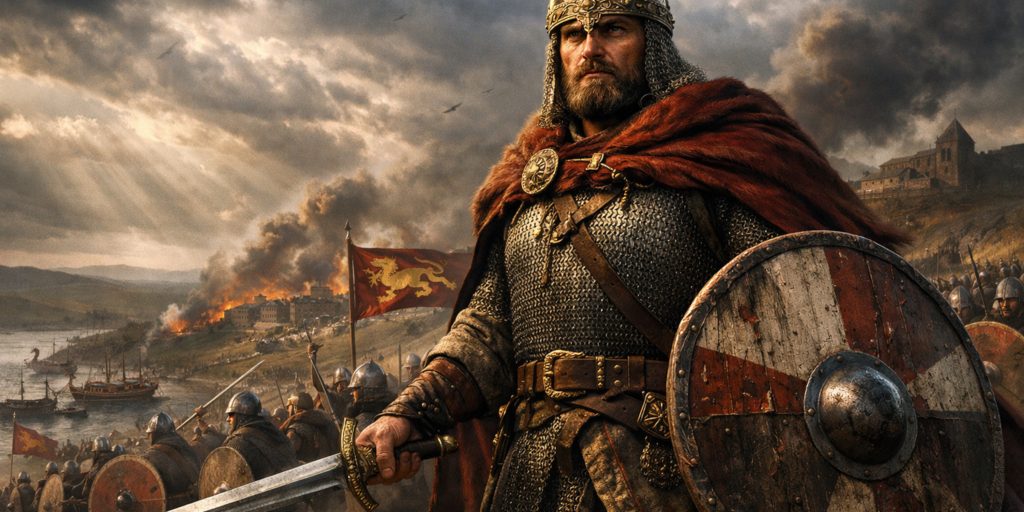
Ashdown was not a final victory. The Vikings continued campaigning and Wessex suffered further defeats. However, its importance lies in proving that the Great Heathen Army could be beaten.
Key consequences:
- Strengthened Alfred’s military reputation
- Preserved West Saxon morale
- Killed several Viking leaders
- Helped establish the experience Alfred later used as king
Alfred’s later reforms, including fortified burhs, improved military organisation and naval developments, were shaped by these years of desperate fighting.
Legacy Of The Battle Of Ashdown
The Battle of Ashdown sits at the beginning of Alfred’s transformation from young royal warrior into one of England’s most influential kings.
It was not a perfect victory, nor the dramatic end of Viking expansion. It was something arguably more interesting: a hard-fought survival battle where the future of Wessex remained uncertain.
History often remembers the final triumphs, but Ashdown captures the difficult middle chapter. Alfred was not yet “the Great”. He was a young commander standing in a muddy shield wall, hoping his line broke second.