Ghost of Tsushima gives you a horse, a sword and an island full of Mongol soldiers who have made several poor career decisions. It also gives you enough techniques, charms, stances and map icons to make the opening hours feel busier than they really are.
The good news is that you do not need a perfect build or a rigid route through Tsushima. Exploration is forgiving, skill choices are rarely disastrous and most missed activities remain available later. A little early knowledge still helps, especially if you want Jin Sakai to look like a legendary warrior rather than a man repeatedly kicked down a hill.
This spoiler-light beginner’s guide covers combat, exploration, upgrades and progression in the main game. It also includes advice for the Director’s Cut, but avoids story details.
Ghost of Tsushima beginner tips at a glance
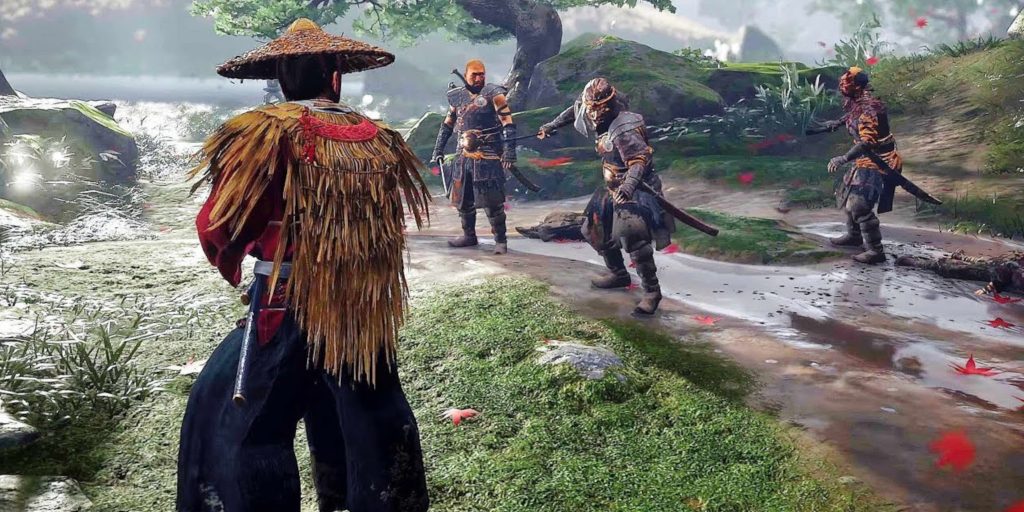
- Learn to parry before relying on dodges.
- Follow golden birds selectively rather than chasing every distraction.
- Unlock the Water Stance early by observing and defeating Mongol leaders.
- Spend early supplies on armour and your katana.
- Use different armour sets for combat, stealth and exploration.
- Complete Bamboo Strikes, Hot Springs and Fox Dens as you encounter them.
- Clear Mongol territories to reveal sections of the map.
- Equip the Charm of Inari if you want upgrade materials more quickly.
- Use Ghost weapons when a fight becomes crowded.
- Leave Iki Island until at least Act II, unless you deliberately want a tougher early challenge.
Choose the right difficulty
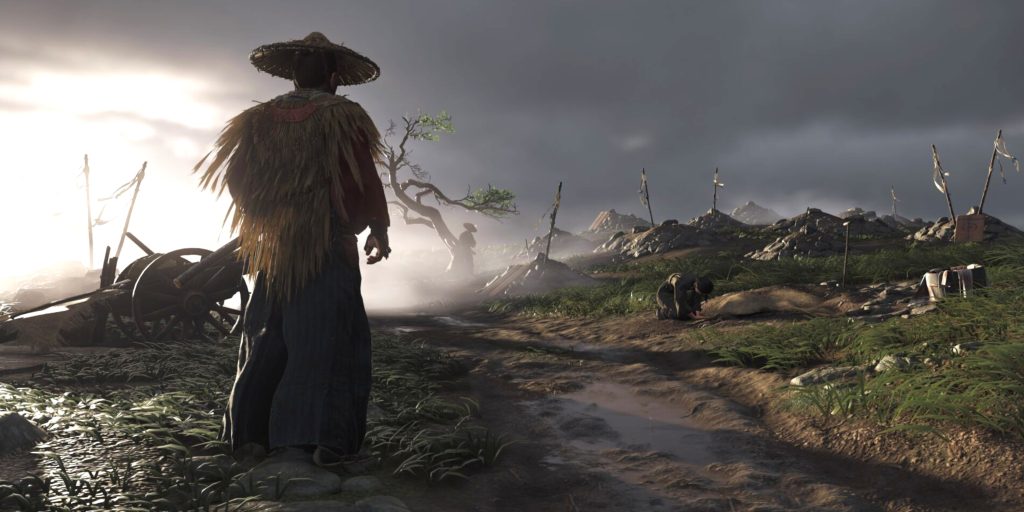
Difficulty changes the demands of combat, but it does not lock you out of trophies. You can adjust it during the game, so there is no prize for spending six hours pretending you enjoy being flattened by the same spearman.
| Difficulty | Best for | What to expect |
|---|---|---|
| Easy | Story-focused players | Wider reaction windows and forgiving fights |
| Medium | Most first-time players | A balanced introduction to every system |
| Hard | Experienced action players | More aggressive enemies and stricter timing |
| Lethal | Fast, dangerous combat | Jin and his enemies both deal extreme damage |
Medium is the safest starting point. Hard suits players who already enjoy parry-based action games. Lethal can feel wonderfully sharp, but it is not simply a harder version of Hard. Its increased weapon damage makes fights shorter in both directions.
Learn the difference between blocking, parrying and dodging
The combat system rewards observation more than frantic button pressing. Enemies telegraph their attacks with coloured glints:
- Regular attacks can usually be blocked or parried.
- Blue-glint attacks can be parried once the relevant technique has been unlocked.
- Red-glint attacks are unblockable and must be dodged or interrupted.
A well-timed parry creates an opening. A perfect parry can lead to a devastating counterattack. Dodging is essential against unblockable strikes, but rolling constantly often carries Jin away from the enemy and breaks your rhythm.
Spend a few early encounters practising defence. Watch the attacker’s weapon rather than the glint alone. The glint warns you about the attack type, while the weapon movement tells you when the blow will actually land.
Match your stance to the enemy
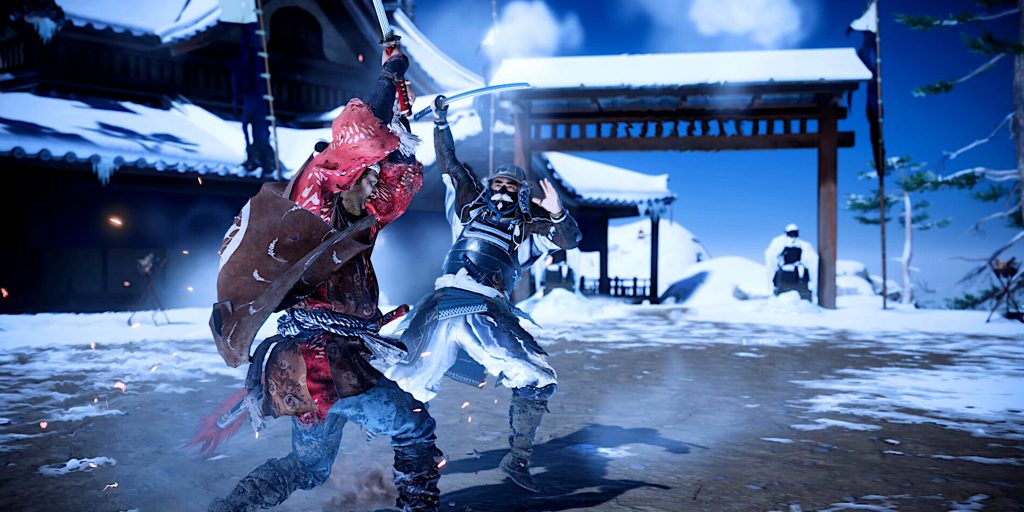
Stances are designed to break the guard of particular enemy types. Switching stance does not consume a resource, and time slows while the stance menu is open.
| Stance | Strong against | Key use |
|---|---|---|
| Stone | Swordsmen | Direct thrusts and sword guard pressure |
| Water | Shieldmen | Rapid heavy strikes that overwhelm shields |
| Wind | Spearmen | Kicks and attacks that disrupt long weapons |
| Moon | Brutes | Heavy blows suited to large enemies |
You can technically fight anyone in any stance, but the correct match breaks an enemy’s stagger bar much faster. Once that white bar is depleted, their defence opens and normal attacks become far more effective.
Do not confuse stance switching with a rigid class system. You are meant to change during a fight, sometimes several times in a few seconds.
Observe Mongol leaders before killing them
New stances are unlocked by earning progress from Mongol leaders. Defeating a leader normally provides one point, but some occupied camps let you observe the leader first for an additional point.
Use focused hearing to locate the leader, approach without being detected and look for the observation prompt. You can then defeat him and receive a second increment of stance progress. It is one of the most useful early efficiencies in the game, and an excellent excuse to watch a heavily armoured man practise his swings for thirty seconds.
Prioritise unlocking Water Stance. Shield-bearing enemies appear frequently, and their defence can make early fights drag.
Spend your first technique points carefully
There is plenty of room to experiment, but several techniques provide immediate value:
- Perfect Parry and related upgrades reward precise defensive play.
- Roll helps Jin escape large attacks and dangerous areas.
- Deflect Arrows reduces the threat from archers while blocking.
- Unyielding Sword Parry allows certain blue-glint sword attacks to be parried.
- Unyielding Spear Parry becomes extremely useful once spearmen appear more often.
- Safe Landing reduces damage after a badly judged descent.
- Concentration upgrades make archery easier and more reliable.
The best opening choices depend on your habits. If you prefer open combat, invest in deflection and evasion. If you enjoy stealth, improve focused hearing and assassination abilities. Do not spread every early point across unrelated branches simply because the icons are glowing at you.
Use Resolve instead of hoarding it
Resolve powers special techniques and allows Jin to heal. You regain it by defeating enemies, parrying attacks and performing other combat actions.
Keep at least one Resolve circle available when a fight looks uncertain. Healing is usually more valuable than saving everything for a dramatic technique, particularly before you have improved your maximum health. If you die with a full Resolve meter, you have effectively carried several health refills into the afterlife. Admirably disciplined, perhaps, but not useful.
Bamboo Strikes increase maximum Resolve. Complete them when you find them, even if the button sequences take a few attempts.
Deal with archers first
Archers announce their shots with a shouted warning. Listen for it and dodge, or block once you have unlocked Deflect Arrows.
In mixed groups, archers should normally be your first target. Sprint towards them, use your bow or throw a kunai to interrupt nearby enemies. Leaving several archers active turns a controlled duel into airborne admin.
Some later ranged enemies are more dangerous than standard bowmen, so keep scanning the edges of a battlefield rather than staring only at the nearest swordsman.
Ghost weapons are part of the combat system
Kunai, smoke bombs, sticky bombs and other Ghost tools are not emergency items reserved for players who have failed at sword fighting. They are central to Jin’s expanding toolkit.
Kunai interrupt attacks and rapidly damage enemy stagger bars. Smoke bombs can reset a collapsing fight, enable assassinations and create breathing room. Sticky bombs are useful against tougher targets and clustered enemies.
Use these tools regularly. Ammunition is replenished through exploration, defeated enemies and trappers. A full inventory at the end of every fight is less impressive than winning cleanly.
Change armour to suit the task
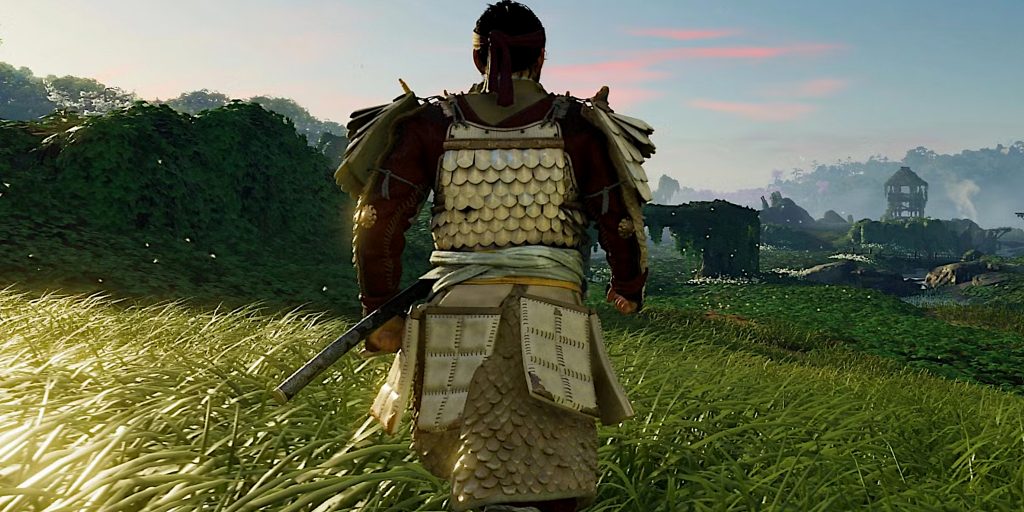
Armour sets provide different bonuses, and upgrading them strengthens those effects. There is no single outfit that dominates every activity.
- Samurai Clan Armour is a dependable early option for direct combat and survivability.
- Traveller’s Attire helps reveal the map, locate artefacts and clear more fog while exploring.
- Ronin Attire supports stealth and melee damage.
- Tadayori’s Armour is built around archery.
Switching outfits is free, even shortly before combat. Wear Traveller’s Attire on the road, then change when you approach a camp or duel. If armour loadouts are enabled in the options, assign charms and cosmetic choices to individual sets. This saves a surprising amount of menu shuffling.
Prioritise katana and armour upgrades
Supplies are used across many upgrades, so early spending can feel restrictive. Your katana and main combat armour give the clearest returns. Greater sword damage shortens every close-range encounter, while improved armour bonuses make mistakes less expensive.
Upgrade the tanto if stealth assassinations are central to your playstyle. Bow upgrades are worthwhile for an archer build, but you do not need to improve every weapon immediately.
Collect iron, steel, linen, leather and other materials whenever they appear. Resources do not weigh Jin down, and he possesses the pockets of a small warehouse.
Equip the Charm of Inari for faster upgrades
The Charm of Inari increases the amount of certain supplies and crafting materials you collect. It is obtained from the Arrow Peak Shrine in Izuhara and is one of the most useful early exploration charms.
Equip it while travelling and gathering resources, then replace it with a combat-focused charm before a demanding duel if needed. This small habit reduces material grinding across the campaign.
Remember that major charms and minor charms occupy different slot types. Completing Fox Dens and honouring Inari Shrines unlocks additional minor charm slots and eventually improves related charms.
Let the wind guide you, but use the map intelligently
There is no permanent minimap. Swipe up on the touchpad when using a controller to summon the Guiding Wind, which points towards your tracked objective. On PC, use the assigned Guiding Wind input.
The system keeps the screen beautifully uncluttered, although the wind occasionally expects you to distinguish a meaningful breeze from a forest having opinions.
You do not need to uncover every patch of fog by riding across it. Liberating Mongol-controlled territories clears surrounding areas of the map and reveals nearby points of interest. Complete camps as you travel and use the Traveller’s Attire when you genuinely want to explore between objectives.
Follow golden birds selectively
Golden birds lead Jin towards nearby activities, cosmetic items and points of interest. They are helpful, but they can also turn a ten-minute journey into an evening of chasing feathers through woodland.
Follow them when you are in an exploratory mood. Ignore them when you have a specific mission in mind. Nothing terrible happens if you continue along the road, and most discoveries will still be waiting later.
Foxes are more focused guides. Following one leads to an Inari Shrine, usually with a useful progression reward attached.
Complete the most valuable side activities
Not every map marker has equal mechanical value. These activities are particularly useful:
| Activity | Main reward | Why it matters |
|---|---|---|
| Bamboo Strike | Increased maximum Resolve | More healing and special attacks |
| Hot Spring | Increased maximum health | Greater survivability |
| Fox Den | Charm progression | More slots and improved charm effects |
| Shinto Shrine | Major charm | Powerful build-changing bonuses |
| Mythic Tale | Unique ability or equipment | Some of the game’s best rewards |
| Haiku | Cosmetic headband | No combat benefit, but excellent scenery |
Mythic Tales deserve special attention. Their blue map icons lead to self-contained stories and valuable techniques or equipment. They are among the strongest side quests in the game, both mechanically and dramatically.
Use Standoffs without depending on them
Standoffs can remove one or more enemies before ordinary combat begins. Hold the prompted button and release it only when the opponent commits to the strike. Watch the body and feet rather than reacting to false weapon movements.
Later enemies feint more convincingly. Upgraded armour and techniques can extend a successful Standoff into a chain of kills, but failure costs a large portion of health. If you are entering a heavily defended area or already low on health, stealth may be the wiser opening.
There is no moral penalty for choosing stealth over a Standoff. The narrative may examine Jin’s methods, but the game does not run a hidden honour meter that changes the ending because you used smoke bombs.
Do not worry about clearing everything in Act I
It is easy to remain in Izuhara for too long because the first region is packed with activities. Complete the side stories and upgrades that interest you, but do not treat the map as unpaid paperwork.
The main story opens new regions, abilities and enemy types. You can return to earlier areas later, and most content is not permanently lost when you advance. A healthy route mixes main tales, character tales, Mythic Tales and nearby exploration.
If your combat feels weak, complete a few upgrades. If the world feels repetitive, progress the story. Tsushima works best when neither side of the game is allowed to swallow the other.
Save Iki Island until you are ready
The Director’s Cut adds Iki Island, which becomes accessible during Act II. The expansion assumes familiarity with the main game’s combat systems and introduces aggressive enemies with more complex encounters.
For a first playthrough, visiting after completing the main story gives the cleanest narrative and difficulty progression. Going during Act II is still valid if you want its abilities, armour and rewards earlier, but expect a sharper challenge and some dialogue that reflects later events.
Once Jin begins the Iki storyline, you may be unable to return immediately. Finish any urgent mainland business before setting sail.
Adjust the accessibility and control settings
A few settings can make the game more comfortable without removing its challenge:
- Armour loadouts attach separate charms and cosmetics to each armour set.
- Enhanced Combat Cues make dangerous attacks easier to distinguish.
- Aim assist can help players who dislike controller bow aiming.
- Simplified controls reduce some rapid or sustained button inputs.
- Projectile indicators provide clearer warnings about ranged attacks.
- Larger subtitles and speaker names improve dialogue readability.
Browse the settings before beginning in earnest. Games often hide their most useful quality-of-life features in menus, presumably as a small test of character.
Common beginner mistakes to avoid
- Attacking shieldmen with Stone Stance instead of switching to Water Stance.
- Spending all Resolve on techniques and leaving nothing for healing.
- Ignoring archers while fighting nearby melee enemies.
- Hoarding Ghost weapons for an imaginary future emergency.
- Upgrading every armour set equally and running short of supplies.
- Chasing every bird, fox and plume of smoke during a story mission.
- Forgetting to observe eligible Mongol leaders before defeating them.
- Attempting Iki Island immediately after it becomes available.
- Treating stealth as a failure rather than another valid combat approach.
Best early-game progression route
There is no compulsory route, but this sequence creates a strong foundation:
- Complete the opening story missions until free exploration becomes available.
- Recruit early allies and unlock the bow through the relevant character tale.
- Visit the Golden Temple to meet upgrade vendors.
- Obtain the Charm of Inari from Arrow Peak Shrine.
- Observe and defeat Mongol leaders to unlock Water Stance quickly.
- Complete nearby Hot Springs and Bamboo Strikes for health and Resolve.
- Upgrade your katana and one dependable armour set.
- Pursue Mythic Tales when their blue icons appear.
- Liberate camps along your route rather than clearing the entire region at once.
- Continue the main story when exploration begins to feel routine.
Think of this as a sensible opening, not sacred doctrine. The game is designed to tolerate curiosity.
Final advice before you begin
The most important lesson is to remain flexible. Change stances, change armour and use the tools Jin acquires. Ghost of Tsushima becomes more satisfying when you stop trying to force every encounter into the same honourable sword duel.
Take time to explore, but resist the urge to strip the island of icons before advancing the story. Practise parries, invest in a few dependable upgrades and let occasional mistakes become part of the journey. Falling off a cliff while following a fox is not quite the samurai legend Jin had in mind, but it is a very authentic first playthrough.