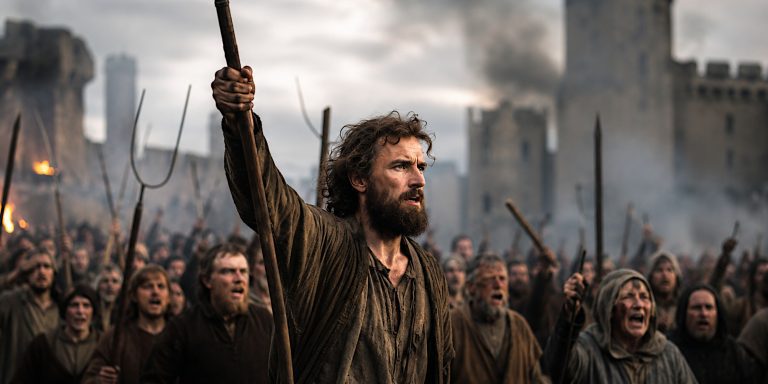
The Battle of Hedgeley Moor was a sharp, decisive clash during the Wars of the Roses that tends to be overshadowed by larger engagements. That is a shame, because it tells us a great deal about how the conflict was actually fought. This was not a set piece contest between kings. It was a fast moving regional battle, shaped by local power, hard geography, and commanders who knew the land better than any court politician ever could.
Fought on 25 April 1464 near the village of Hedgeley in Northumberland, the battle ended in a clean Yorkist victory. It broke Lancastrian control in the north east and paved the way for the collapse of organised resistance in the region. It also removed one of the Lancastrian cause’s most capable captains in a manner that was final, brutal, and entirely typical of the period.
Background
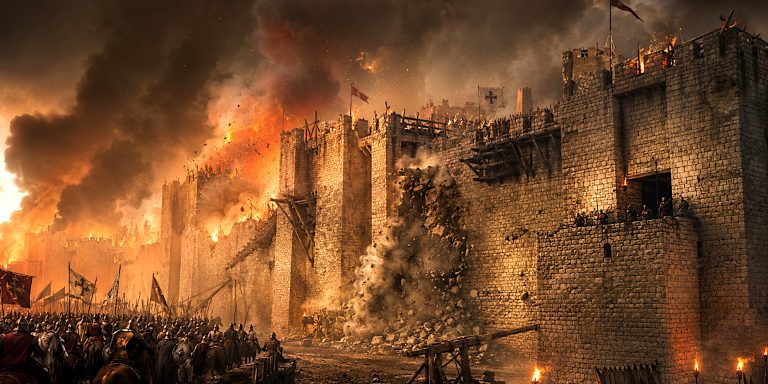
By 1464, Edward IV had secured the crown, but northern England remained unsettled. Northumberland was a Lancastrian stronghold, anchored by castles such as Alnwick, Bamburgh, and Dunstanburgh. These fortresses mattered. Whoever held them controlled supply routes, mustering points, and local loyalty.
The Lancastrian leadership in the region fell to Henry Beaufort, a determined and experienced commander. His task was to reinforce the northern castles and keep the Yorkists out. Opposing him was John Neville, brother of the Earl of Warwick, and one of the most effective Yorkist field commanders of the war.
Both sides knew a confrontation was coming. The only question was where.
Location and terrain
Hedgeley Moor lies a few miles south west of Alnwick, in rolling, exposed countryside. It is open ground, broken by gentle rises, marshy patches, and narrow tracks. This was not a place for heavy manoeuvre or elaborate formations. Once contact was made, it was going to be close, confused, and decisive.
For a historian, this is the sort of battlefield that explains outcomes without saying a word. Visibility is limited. Retreat routes are narrow. Once a line buckles, it really buckles.
Forces
Yorkist Army
| Element | Estimated Numbers | Notes |
|---|---|---|
| Men at arms | 1,500 to 2,000 | Core of the force, well equipped |
| Archers | 1,000 to 1,500 | English longbowmen, tactically decisive |
| Billmen and infantry | 1,000 | Close combat specialists |
| Total | 3,500 to 4,500 | Experienced northern troops |
Lancastrian Army
| Element | Estimated Numbers | Notes |
|---|---|---|
| Men at arms | 2,000 | Strong noble retinues |
| Archers | 1,500 | Comparable in number to Yorkists |
| Infantry | 1,000 | Mixed quality |
| Total | 4,000 to 4,500 | Heavily reliant on leadership |
Numbers were broadly similar. The difference lay in cohesion and command.
Commanders and leadership
Yorkist commanders
- John Neville
- Sir John Howard
- Sir Ralph Percy, a former Lancastrian who changed sides at a very convenient moment
Lancastrian commanders
- Henry Beaufort
- Sir Ralph Percy
- Lord Hungerford
It is worth pausing on Percy. His defection during the battle was not subtle, heroic, or honourable. It was effective. Wars of the Roses loyalty had a habit of evaporating under pressure.
Arms and armour
This was classic mid fifteenth century English warfare, practical and lethal rather than glamorous.
Swords in use
- Arming swords of Oakeshott Types XV and XVI, optimised for thrusting into gaps in armour
- Early longswords, especially among men at arms and household troops
- Falchions and messers among infantry, particularly in close pursuit
Other weapons
- English longbows with bodkin arrows for armour penetration
- Bills and glaives for hooking, pulling, and finishing armoured opponents
- Pollaxes used by men at arms in the press
Armour
- Mail with plate elements for infantry
- Full harness for nobles and retainers
- Sallets and kettle hats were common, often with simple visors
This was not tournament armour. It was built to survive arrows, mud, and exhaustion.
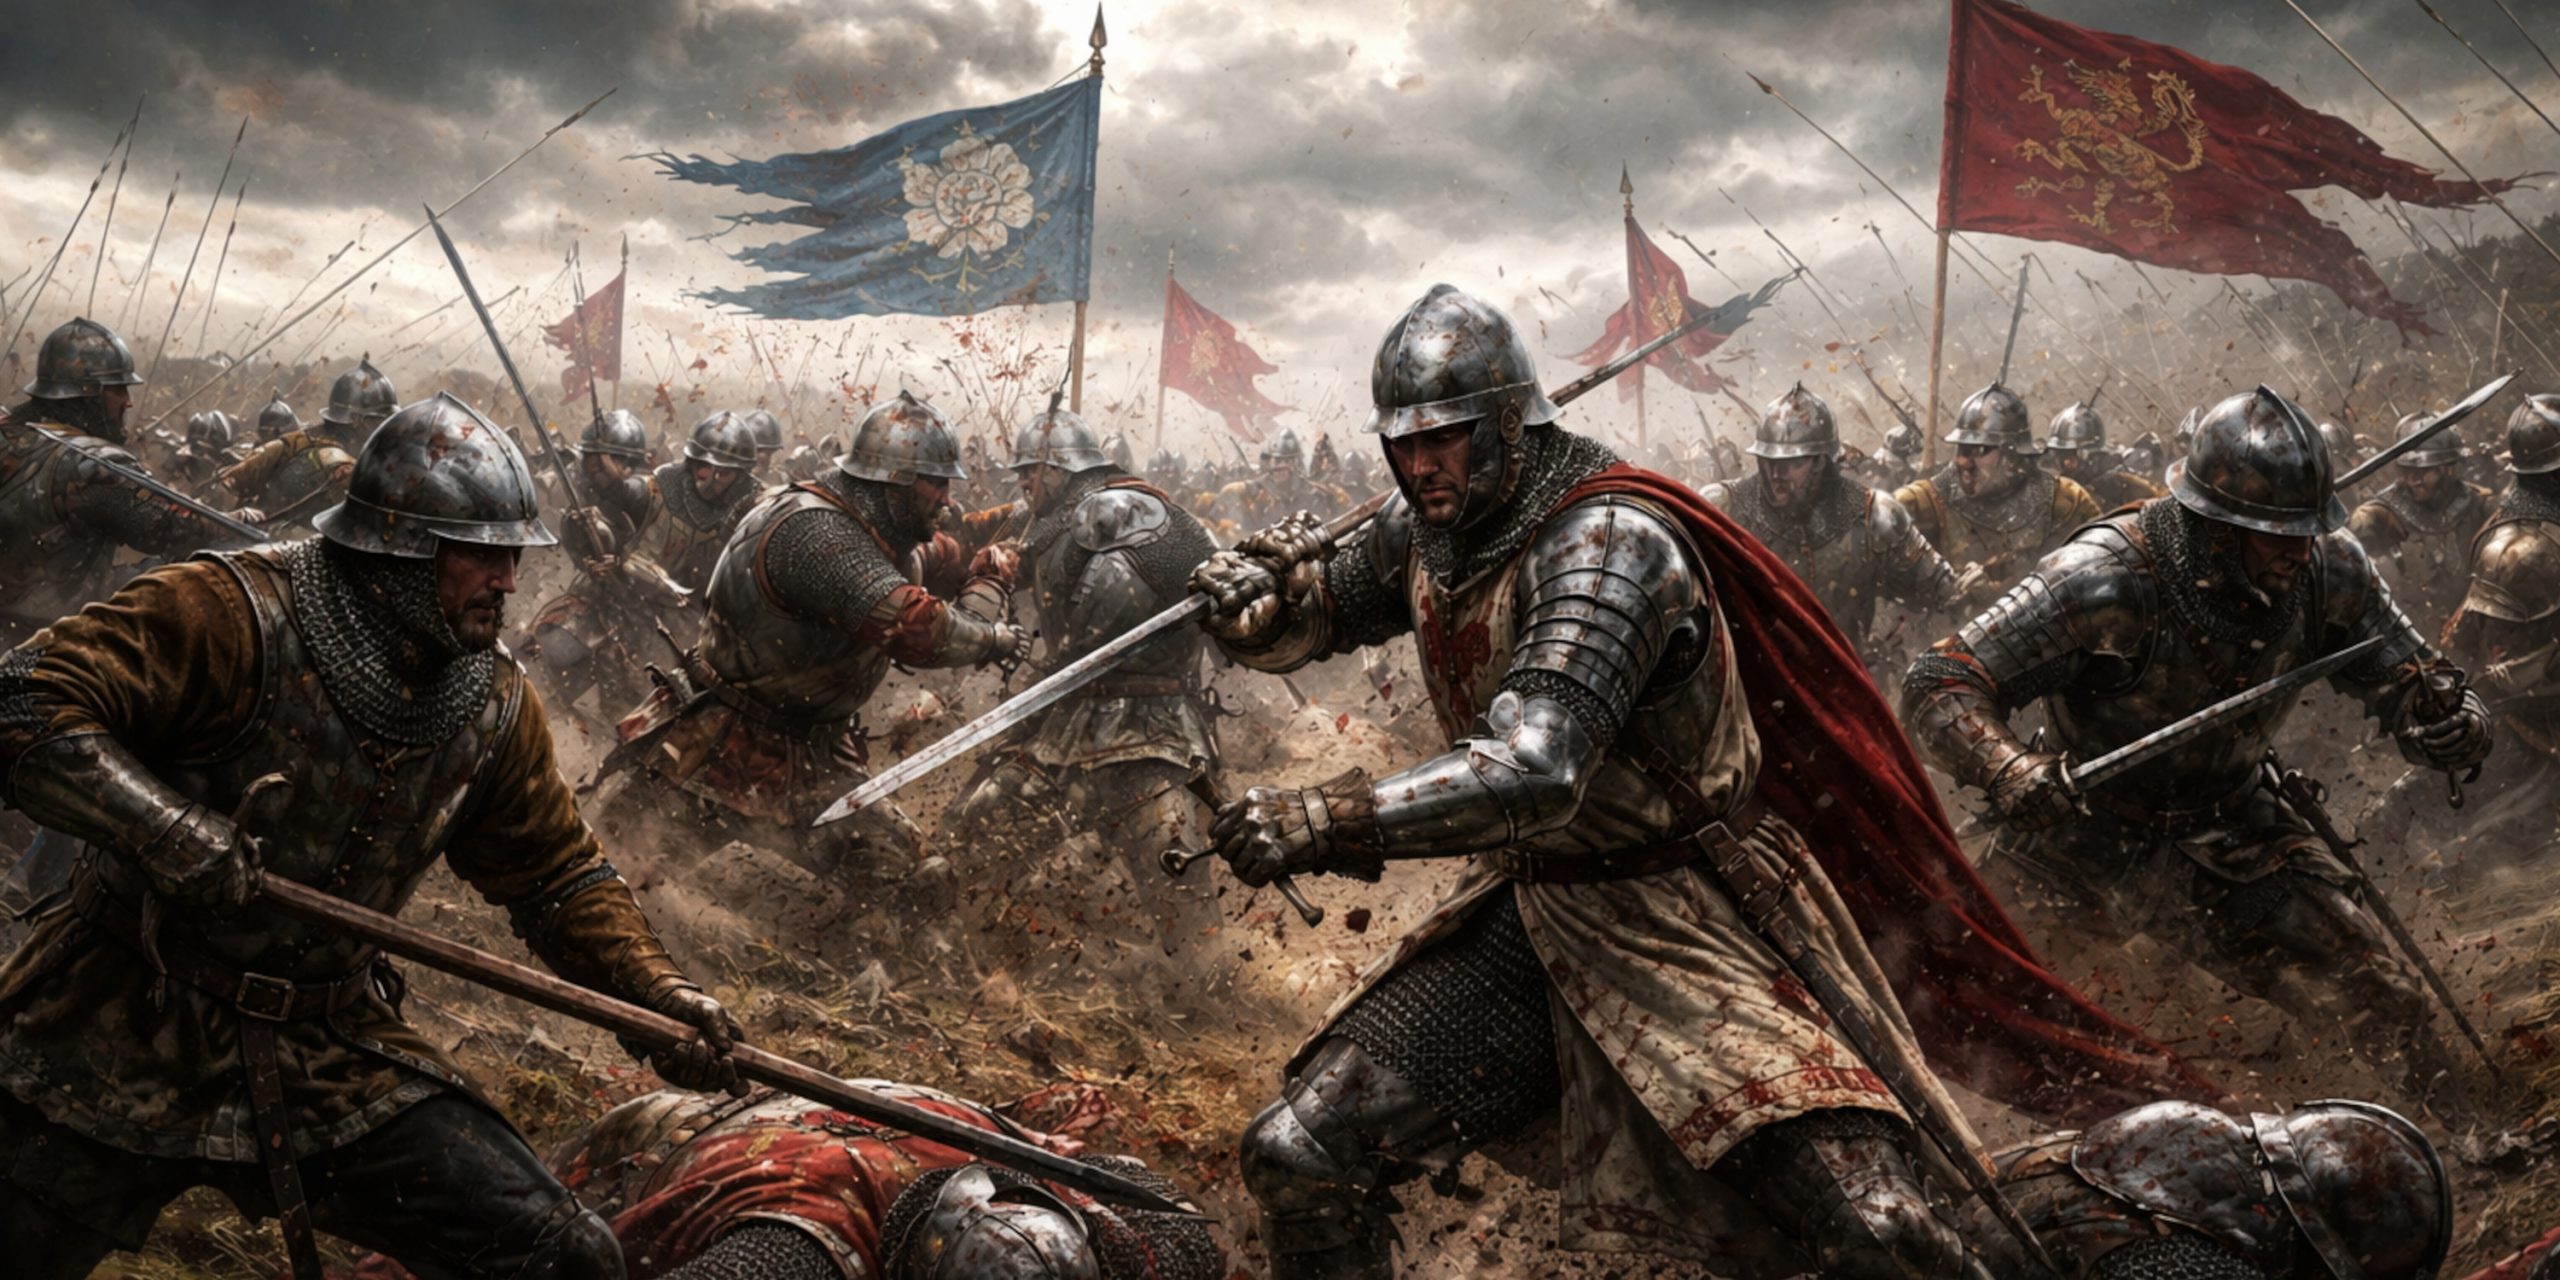
The battle
Montagu intercepted the Lancastrian column as it moved across Hedgeley Moor, aiming to reinforce the northern castles. The Yorkists advanced aggressively, using their archers to disrupt the Lancastrian line before contact.
The fighting quickly collapsed into a brutal melee. Lancastrian cohesion failed when Sir Ralph Percy defected mid battle, taking his men with him. That single moment shattered the Lancastrian right.
Somerset attempted to rally his troops but was overwhelmed. Once he fell, resistance collapsed. The Yorkists pressed hard, turning retreat into rout. Hedgeley Moor offered little mercy to a broken army.
Timeline of events
- Early morning: Lancastrian forces advance south across the moor
- Mid morning: Yorkist army makes contact and deploys archers
- Opening phase: Sustained arrow fire destabilises Lancastrian line
- Mid battle: Sir Ralph Percy defects to the Yorkists
- Collapse: Somerset killed in close combat
- Afternoon: Lancastrian army routed, Yorkists hold the field
Short battles often tell us the most. This one was over almost as soon as it truly began.
Casualties and aftermath
Lancastrian losses were severe, especially among the leadership. The death of Somerset was a strategic catastrophe for the Lancastrian cause in the north.
Yorkist casualties were comparatively light. More importantly, the victory opened the road to the recapture of Northumberland’s great castles, completed shortly after at the Battle of Hexham.
In practical terms, Hedgeley Moor ended organised Lancastrian resistance in the region. In political terms, it confirmed Edward IV’s grip on England.
Archaeology and battlefield evidence
No large scale archaeological excavation has taken place at Hedgeley Moor, which is typical rather than unusual. However:
- Local finds of arrowheads and weapon fragments have been reported historically
- Landscape analysis supports contemporary descriptions of constrained movement
- Place name evidence preserves the memory of conflict in the area
As with many Wars of the Roses battlefields, the archaeology whispers rather than shouts. That does not make it less valuable.
Contemporary voices
The chronicler John Warkworth noted the suddenness of the Lancastrian collapse, attributing it to betrayal and poor fortune rather than numbers.
Later northern accounts were blunter, placing the blame squarely on Somerset’s inability to hold his men together once pressure was applied. Medieval chroniclers rarely missed a chance to say “I told you so”.
Takeaway
Hedgeley Moor demonstrates how the Wars of the Roses were actually won. Not by grand strategy alone, but by regional control, reliable commanders, and soldiers who knew when to stand and when to run.
It also reminds us that loyalty in this war was conditional. Banners mattered less than survival. If that sounds cynical, it is because it was.