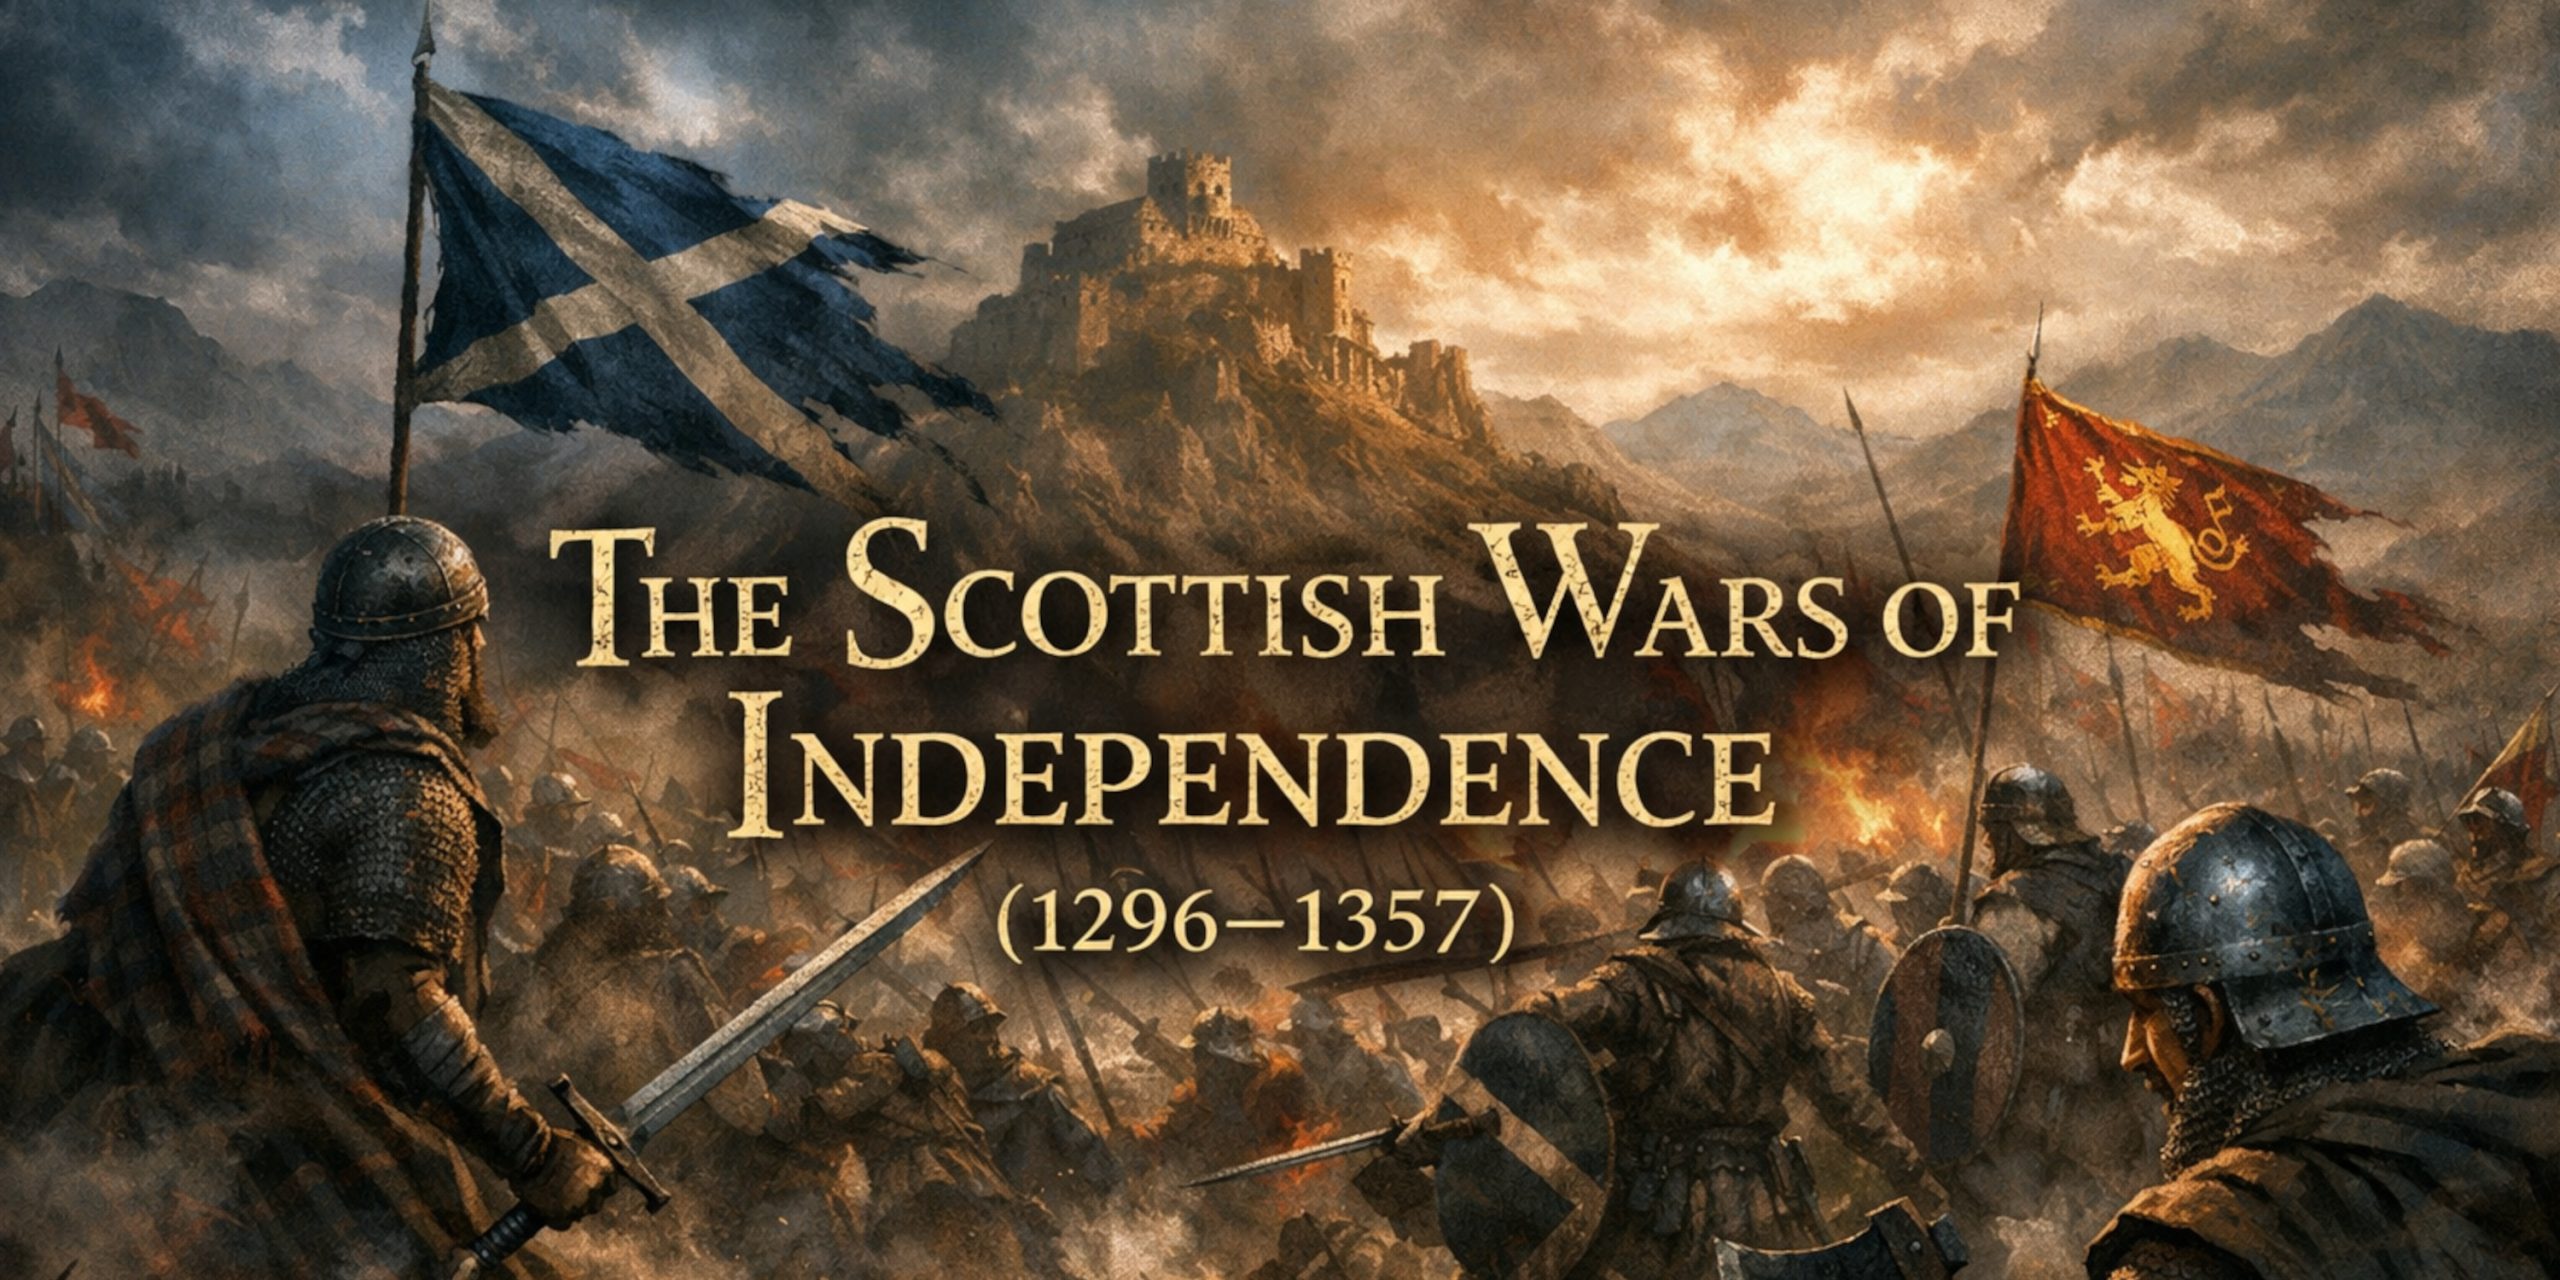
The Scottish Wars of Independence remain one of the most fiercely argued and emotionally charged chapters in British history. They produced heroes, traitors, guerrilla warfare, castle sieges, political murders, propaganda, and enough shifting loyalties to make even the most patient medieval chronicler sigh heavily into his inkpot.
At their heart, these wars were a struggle over whether Scotland would remain an independent kingdom or become subject to the English Crown. Between 1296 and 1357, Scotland endured invasion, civil war, occupation, famine, raids and repeated campaigns by some of the most formidable rulers of the age.
For Scotland, the wars became a defining national story. For England, they were an expensive and frustrating military commitment that refused to stay solved. For historians, they are a reminder that medieval politics was rarely neat and almost never fair.

Why the Wars Began
The crisis began after the death of King Alexander III of Scotland in 1286. Alexander’s sudden death left no surviving adult heir. His granddaughter, Margaret, Maid of Norway, was recognised as the next ruler, but she died in 1290 before reaching Scotland.
Scotland was left without a monarch. Several powerful nobles claimed the throne, most notably John Balliol and Robert Bruce, grandfather of the future king. Rather unwisely, the Scottish nobles invited King Edward I of England to arbitrate.
Edward I, a man not especially famous for modesty or restraint, agreed to settle the matter, but only after insisting that he be recognised as overlord of Scotland.
John Balliol was chosen king in 1292. Edward then treated Balliol less like an independent monarch and more like a troublesome local official who had misplaced some paperwork. Scottish resentment grew rapidly.
When Edward demanded Scottish military support for his war against France, Scotland instead renewed its alliance with France in 1295. This became known as the Auld Alliance.
The response from Edward was swift and brutal.
The First War of Independence (1296–1328)
Edward I’s Invasion
In 1296 Edward invaded Scotland. His army stormed Berwick, one of the richest towns in the kingdom. Contemporary accounts describe widespread slaughter. Thousands may have been killed.
Edward then defeated the Scots at the Battle of Dunbar. John Balliol surrendered and was stripped of his kingdom. Scottish regalia and symbols of kingship were seized, including the Stone of Scone.
For a brief moment, Edward probably believed the matter settled.
He was mistaken.
William Wallace and Andrew Moray
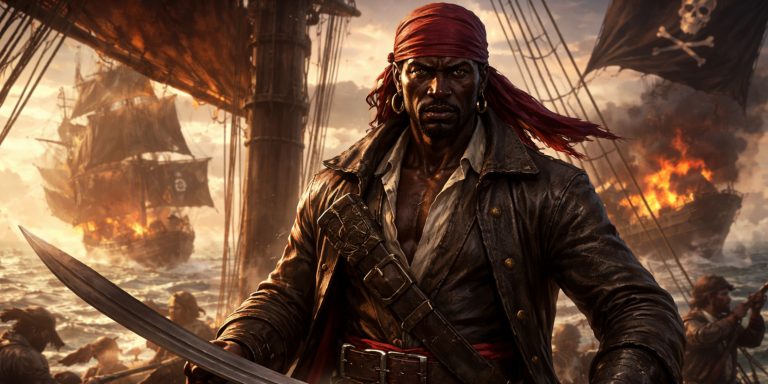
Resistance quickly emerged. Two of its most important leaders were William Wallace and Andrew Moray.
Moray led an uprising in the north, while Wallace raised support in the south-west. Their forces joined together in 1297 and won one of the most astonishing victories of the wars at Stirling Bridge.
Battle of Stirling Bridge (1297)
The English army attempted to cross a narrow bridge over the River Forth. Wallace and Moray waited until only part of the English force had crossed before attacking.
The result was chaos. English cavalry could not deploy properly and many soldiers were trapped against the river.
The victory transformed Wallace into a national figure. Moray, however, was badly wounded and died soon afterwards. His role was later overshadowed by Wallace, which remains one of the great historical injustices of the period.
Why Stirling Bridge Mattered
- It proved that the English could be defeated.
- It restored Scottish morale.
- It turned Wallace into Guardian of Scotland.
- It showed the effectiveness of fighting on carefully chosen ground.
Battle of Falkirk (1298)
Edward I returned the following year with a much larger army.
At Falkirk, Wallace positioned his infantry in circular formations known as schiltrons, bristling with spears. The tactic worked at first, but English archers broke up the Scottish formations before the cavalry and infantry moved in.
The Scots were defeated.
Wallace resigned as Guardian of Scotland soon afterwards, though he continued resistance for several years.
The Capture and Execution of William Wallace
Wallace was eventually captured near Glasgow in 1305.
He was taken to London, tried for treason, and executed with extraordinary brutality. The English accused him of betraying Edward I. Wallace replied that he had never sworn allegiance to Edward and therefore could not be a traitor.
That answer has echoed through Scottish history ever since.
Robert the Bruce and the Turning Point
The next phase of the war centred on Robert the Bruce.
Bruce came from one of Scotland’s most powerful families and had his own claim to the throne. In 1306 he killed his rival John Comyn at Greyfriars Church in Dumfries. Murdering a political rival inside a church was not generally regarded as ideal behaviour, even by medieval standards.
Bruce was crowned King of Scots shortly afterwards.
At first, his position seemed hopeless. Edward I campaigned against him, and Bruce suffered a series of defeats. Yet after Edward’s death in 1307, Bruce slowly rebuilt his strength.
He relied on:
- Guerrilla warfare
- Surprise attacks
- The destruction of castles that could not be held
- Support from loyal nobles and clans
By 1314 Bruce controlled most of Scotland.
Battle of Bannockburn (1314)
Bannockburn became the most famous Scottish victory of the wars.
Edward II marched north with a huge army to relieve Stirling Castle. Bruce blocked his advance near Bannockburn.
The Scottish army was smaller but better positioned. Bruce used terrain brilliantly, forcing the English into cramped ground where their cavalry lost much of its advantage.
The Scottish schiltrons advanced aggressively rather than simply standing on the defensive. English lines collapsed.
The victory secured Bruce’s position and gave Scotland renewed confidence.
Key Results of Bannockburn
- Robert the Bruce emerged as the uncontested King of Scots.
- English authority in Scotland was severely weakened.
- Scotland gained stronger diplomatic recognition abroad.
- The war continued, but the balance had shifted decisively.
The Declaration of Arbroath (1320)
One of the most important documents of the medieval period was produced during the wars.
The Declaration of Arbroath was a letter sent by Scottish nobles to Pope John XXII in 1320. It defended Scotland’s independence and justified Bruce’s kingship.
Its most famous line remains extraordinary:
“For so long as a hundred of us remain alive, never will we on any conditions be brought under English rule.”
The declaration did not speak in modern democratic terms, but it expressed the idea that a king ruled only so long as he defended the freedom of his people.
The Treaty of Edinburgh-Northampton (1328)
After years of war, England finally recognised Scottish independence in 1328.
The Treaty of Edinburgh-Northampton acknowledged Robert the Bruce as King of Scots.
For a brief moment, peace arrived.
It did not last.
The Second War of Independence (1332–1357)
Robert the Bruce died in 1329. His heir, David II, was still a child.
This created an opportunity for Edward Balliol, son of John Balliol, who claimed the Scottish throne with English backing.
In 1332 Balliol invaded Scotland and defeated Bruce supporters at Dupplin Moor.
A year later, Edward III of England entered the conflict. The wars began again.
Battle of Halidon Hill (1333)
Halidon Hill was a disaster for Scotland.
The Scots attacked uphill against a well-prepared English position. English longbowmen inflicted terrible losses before the Scottish army could close with the enemy.
The battle resembled later English victories in the Hundred Years’ War.
If Stirling Bridge showed the danger of attacking across a narrow bridge, Halidon Hill demonstrated with painful clarity that charging uphill into longbow fire was equally unwise.
David II and the Later War
David II spent years in exile in France before returning to Scotland.
In 1346, while England was campaigning in France, David invaded northern England in support of the Auld Alliance. The result was the Battle of Neville’s Cross.
The Scots were defeated and David was captured.
He spent eleven years as a prisoner in England.
The conflict eventually ended with the Treaty of Berwick in 1357, which secured David’s release in exchange for a huge ransom.
Although Scotland remained independent, the kingdom was financially exhausted.
Major Battles of the Scottish Wars of Independence
| Battle | Date | Result | Why It Mattered |
|---|---|---|---|
| Battle of Dunbar | 1296 | English victory | Opened Scotland to Edward I’s conquest |
| Battle of Stirling Bridge | 1297 | Scottish victory | Wallace and Moray defeated a larger English force |
| Battle of Falkirk | 1298 | English victory | Wallace lost power after defeat |
| Battle of Methven | 1306 | English victory | Robert the Bruce suffered an early setback |
| Battle of Loudoun Hill | 1307 | Scottish victory | Bruce began to rebuild support |
| Battle of Bannockburn | 1314 | Scottish victory | Secured Bruce’s kingship and Scottish independence |
| Battle of Dupplin Moor | 1332 | Balliol and English victory | Began the Second War of Independence |
| Battle of Halidon Hill | 1333 | English victory | Showed the devastating power of English archers |
| Battle of Neville’s Cross | 1346 | English victory | David II captured |
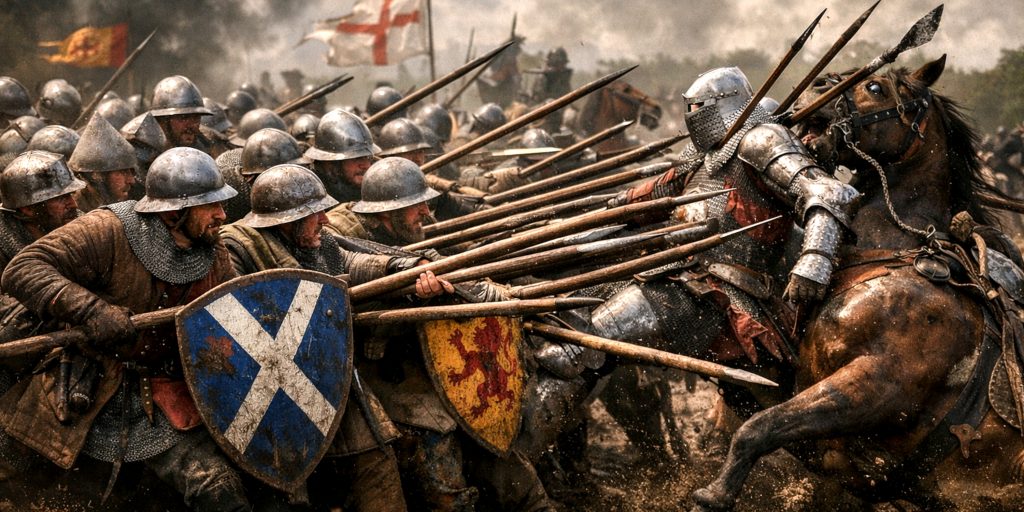
Weapons and Warfare
The wars were fought with a mixture of traditional feudal armies and more flexible local forces.
Scottish forces often relied on:
- Spearmen organised in schiltrons
- Light cavalry
- Archers, though fewer than the English
- Guerrilla tactics in rough terrain
English armies relied heavily on:
- Armoured knights
- Longbowmen
- Infantry with polearms and swords
- Castle warfare and siege engines
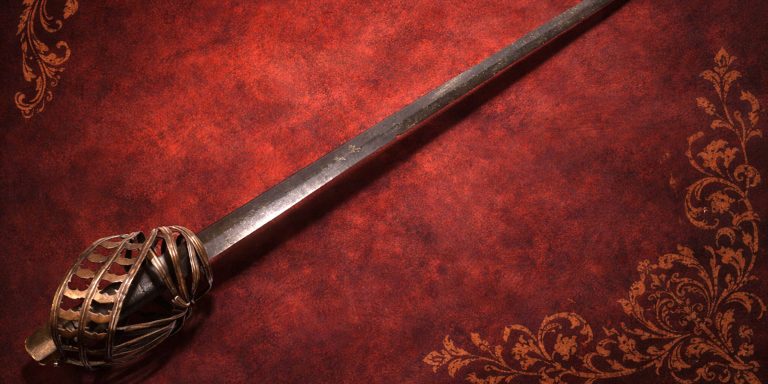
Common weapons included:
- Arming swords
- Spears
- Axes
- Maces
- Longbows
- Crossbows
- Early polearms
By the later stages of the wars, plate armour was becoming more common among nobles, though many ordinary soldiers still fought in padded jacks or mail.
Archaeology and What Survives
Archaeology has revealed important evidence from the wars, though surprisingly little survives from some of the most famous battlefields.
Bannockburn
Archaeological work around Bannockburn has uncovered medieval weapon fragments, horse equipment and traces of the landscape that shaped the battle.
Modern surveys suggest the fighting may have covered a wider area than once believed.
Stirling Bridge
Very little physical evidence from the battle survives, partly because the medieval bridge no longer exists. However, excavations and landscape studies have helped historians understand how the narrow crossing trapped the English army.
Caerlaverock Castle
The siege of Caerlaverock in 1300 is unusually well documented. The castle itself still survives and offers one of the clearest surviving links to the wars.
entity[“point_of_interest”,”Caerlaverock Castle”,”Dumfries and Galloway, Scotland, UK”] remains one of the finest surviving medieval fortresses in Scotland.
The Stone of Scone
The Stone of Scone, seized by Edward I in 1296, became one of the most potent symbols of Scottish kingship.
Today it can be seen at entity[“point_of_interest”,”Perth Museum”,”Perth, Scotland, UK”].
Important Sites Connected to the Wars
- Bannockburn Visitor Centre, Stirling, Scotland, UK
- Stirling Castle, Stirling, Scotland, UK
- Arbroath Abbey, Arbroath, Scotland, UK
- Dumfries Museum, Dumfries, Scotland, UK
- National Museum of Scotland, Edinburgh, Scotland, UK
Contemporary Quotes
The wars produced some of the most memorable lines in medieval British history.
“I have brought you to the ring. Hop if you can.”
This was supposedly said by Robert the Bruce to Henry de Bohun before Bruce killed him at Bannockburn with an axe blow.
“A king without a kingdom.”
A contemporary description of John Balliol after his deposition.
“For freedom alone, which no good man gives up except with his life.”
From the Declaration of Arbroath.
Chroniclers on both sides often exaggerated, complained, contradicted one another and occasionally seemed determined to make future historians miserable. Even so, their accounts remain invaluable.
Why the Wars are still relevant

The Scottish Wars of Independence shaped Scotland’s political identity for centuries.
They created enduring national figures in William Wallace and Robert the Bruce. They also left behind a powerful memory of resistance and independence that continued to influence Scottish politics long after the medieval kingdom disappeared.
The wars were not a simple tale of noble patriots against wicked invaders. Scottish nobles frequently fought each other. Some supported England. Others changed sides more than once. English kings could be ruthless, but Scottish politics was hardly a calm and united affair.
That complexity is precisely what makes the period so compelling.
The story is full of flawed people making desperate choices in impossible circumstances. Medieval Scotland was not a land of tidy certainties. It was a kingdom trying very hard not to vanish.
And against rather long odds, it succeeded.