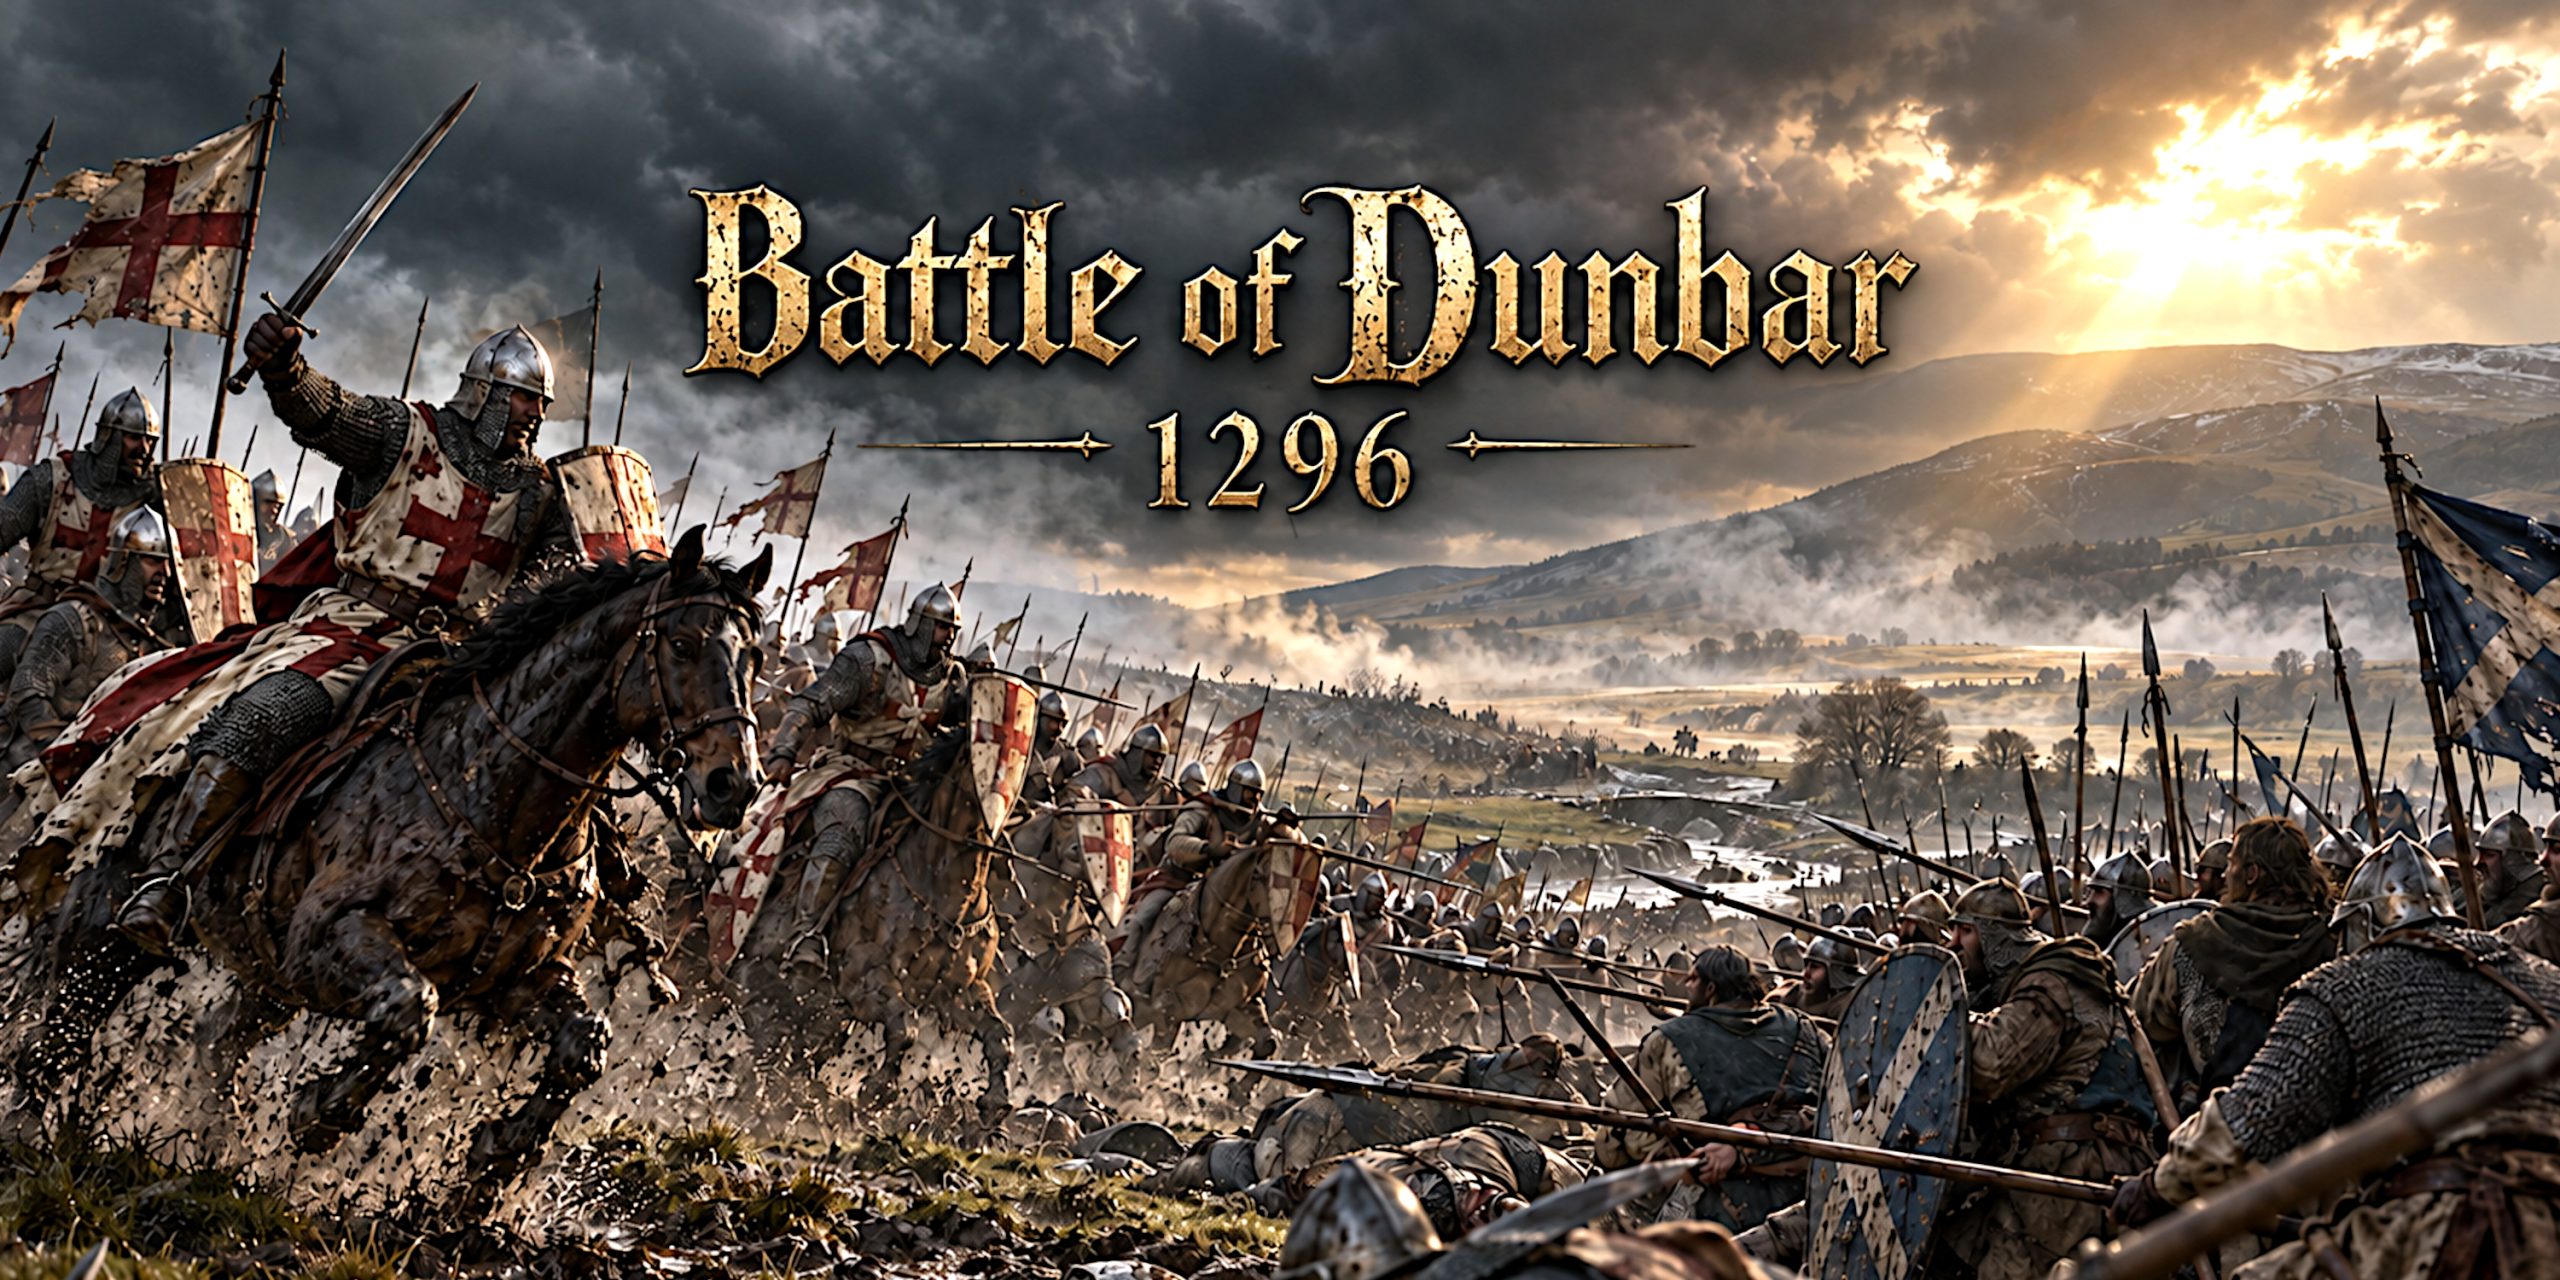
The Battle of Dunbar, fought on 27 April 1296, was the first major field battle of the Wars of Scottish Independence. It was also a brutally efficient English victory. A Scottish relief army advanced from high ground near Spott to challenge troops besieging Dunbar Castle, but its formation broke under attack and pursuit.
The fighting itself may have been brief. Its political effect was enormous. Dunbar Castle surrendered the following day, Scottish resistance rapidly collapsed, and King John Balliol was forced to give up his crown within three months.
This is occasionally presented as Edward I personally crushing Scotland in battle. He did not. Edward directed the campaign, but the English field army at Dunbar was commanded by John de Warenne, Earl of Surrey. Medieval history has enough formidable kings without crediting them with being in two places at once.
Battle of Dunbar at a Glance
| Detail | Information |
|---|---|
| Date | 27 April 1296 |
| Location | Near Spott, south of Dunbar, East Lothian |
| Wider conflict | First War of Scottish Independence |
| English commander | John de Warenne, 6th Earl of Surrey |
| Scottish commander | John Comyn, Earl of Buchan |
| Estimated English strength | Around 2,300 |
| Estimated Scottish strength | Around 2,000 to 3,000 |
| Result | Decisive English victory |
| Immediate consequence | Surrender of Dunbar Castle and collapse of organised Scottish resistance |
The figures are modern estimates, not exact totals. Contemporary and near-contemporary writers supplied much larger numbers, but their arithmetic was generally serving the story rather than the quartermaster.
Why the Battle Happened
Scotland entered a succession crisis after Alexander III died in 1286 and his granddaughter, Margaret, Maid of Norway, died in 1290. Scottish leaders asked Edward I of England to arbitrate between rival claimants. Edward selected John Balliol in 1292, but treated the new king as a subordinate rather than the ruler of an independent kingdom.
The pressure became intolerable. In 1295, Scotland made an alliance with France, later called the Auld Alliance, while Balliol and his council rejected Edward’s demands for military service against the French. Edward responded with invasion.
In March 1296, the English captured and sacked Berwick-upon-Tweed. Edward then moved against Dunbar Castle. Its lord, Patrick, Earl of Dunbar, supported Edward, but the countess and members of the garrison admitted Balliol’s supporters. John de Warenne was sent with part of the English army to besiege it.
The garrison appealed for help. A Scottish force led by John Comyn, Earl of Buchan, marched towards Dunbar while Balliol remained with another body of troops at Haddington.
Forces
No trustworthy muster roll survives for both armies. The most careful modern reconstruction places the opposing forces within broadly similar ranges.
| Army | Likely strength | Main elements | Position before battle |
|---|---|---|---|
| Kingdom of England | Around 2,300 | Roughly 300 cavalry and 2,000 infantry, including a contingent associated with the Bishop of Durham | Advancing from the siege of Dunbar Castle towards Spott Burn |
| Kingdom of Scotland | Around 2,000 to 3,000 | Noble cavalry, men-at-arms and a larger infantry body | High ground around Brunt Hill and the Lammermuir foothills |
English payroll evidence suggests Edward’s invasion army contained about 11,000 soldiers in total, including approximately 1,000 cavalry. Only a portion was committed at Dunbar. The Scottish army was certainly not the 40,000-strong host claimed in one English account. Such a force would have been extraordinary for the place, circumstances and period.
English troop composition
- Mounted knights and men-at-arms formed the decisive striking arm.
- Sergeants and lighter cavalry supported reconnaissance, pursuit and communication.
- Infantry probably included spearmen, archers and crossbowmen drawn from Edward’s wider invasion force.
- The English appear to have retained cohesion while crossing broken ground near the burn.
Scottish troop composition
- Earls, barons, knights and mounted men-at-arms gave the army an important cavalry element.
- Spear-armed infantry probably made up most of the force.
- Lesser landholders and local levies may also have been present.
- The Scots held advantageous high ground but lost much of its value when they descended towards the English.
Leaders
| Leader | Side | Role at Dunbar | Assessment |
|---|---|---|---|
| Edward I | England | Directed the invasion but was not the battlefield commander | His campaign had already secured Berwick and placed Scotland under severe pressure |
| John de Warenne, Earl of Surrey | England | Commanded the relief and siege force | An experienced veteran of Edward’s Welsh wars who kept his army organised during the advance |
| John Comyn, Earl of Buchan | Scotland | Led the Scottish relief army | A major Balliol supporter and Constable of Scotland, but his army’s descent from high ground proved disastrous |
| John Balliol | Scotland | King of Scots, positioned around Haddington rather than on the field | His authority was badly damaged by the defeat and soon collapsed altogether |
Andrew Moray and his father, Sir Andrew Moray, fought with the Scottish army and were captured. The younger Moray later escaped and became one of the principal leaders of the rising of 1297 alongside William Wallace.
Arms and Armour
The evidence does not allow individual weapons to be assigned to named combatants at Dunbar. We can, however, reconstruct the likely equipment from late 13th-century military practice, surviving objects, manuscript art and administrative records.
| Troop type | Likely armour | Shields | Weapons, including sword types |
|---|---|---|---|
| English and Scottish knights | Mail hauberk, padded aketon or gambeson, mail chausses and an iron helm; some transitional plate reinforcement | Heater shield | Lance, mace, axe and a straight, double-edged arming sword, commonly corresponding to Oakeshott Types XII or XIII |
| Mounted men-at-arms | Mail shirt or hauberk with padded protection; open-faced or enclosed helmet | Heater shield | Lance and arming sword; some may have carried war hammers or maces |
| Spearmen | Padded coat, leather protection or mail for wealthier soldiers; iron cap | Round, oval or heater-style shield depending on status and local practice | Long spear, knife and occasionally an arming sword |
| Archers | Light armour or padded garment; simple iron helmet for some | Usually none | Self bow, knife, axe or short sidearm |
| Crossbowmen | Padded armour, mail where available and iron helmet | Pavise possible in siege service, though not securely evidenced in the field action | Crossbow, quarrels and a sword or large knife |
Specific sword types likely used
- Oakeshott Type XII arming sword: A versatile one-handed sword with a broad blade, steady taper and point capable of both cutting and thrusting. It was widely used in the 13th century.
- Oakeshott Type XIII arming sword: Typically broader and more parallel-sided, with a rounded or spatulate point. It was well suited to powerful cuts against lightly armoured opponents.
- Large Type XIIIa sword: The longer grip and blade allowed two-handed use, although it remained far less common than the ordinary knightly arming sword.
- Single-edged falchion: A heavy cutting sword known in 13th-century Europe. It may have appeared among English or Scottish troops, but there is no evidence tying a particular example to Dunbar.
The sword mattered as a close-combat weapon and badge of status, but the lance and spear probably did more work during the initial collision. Battles rarely respect the modern desire to place the sword at the centre of every frame.
The Battlefield and Terrain
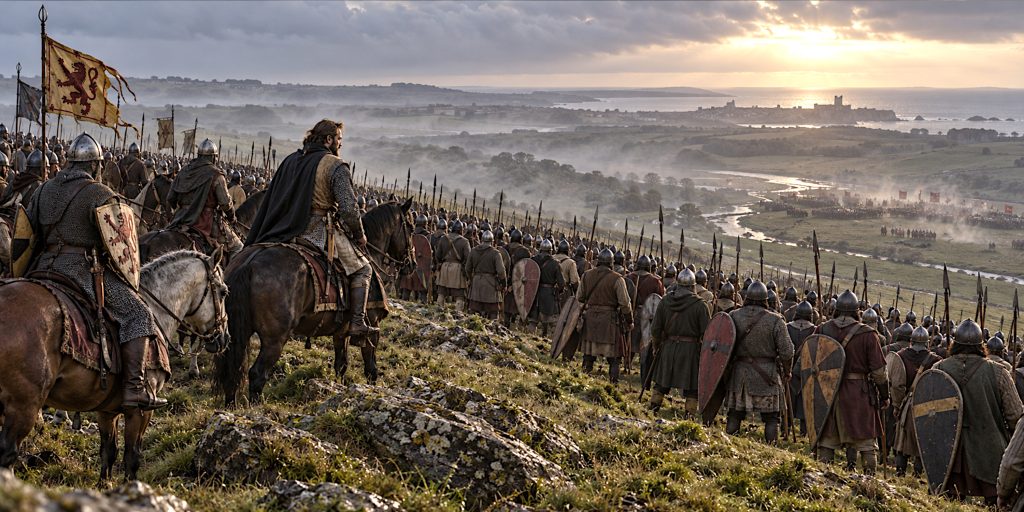
The battlefield lies south of Dunbar around Spott Burn, Brunt Hill and the lower slopes of the Lammermuir Hills. The Scottish army probably formed on or near Brunt Hill, several hundred feet above the low ground.
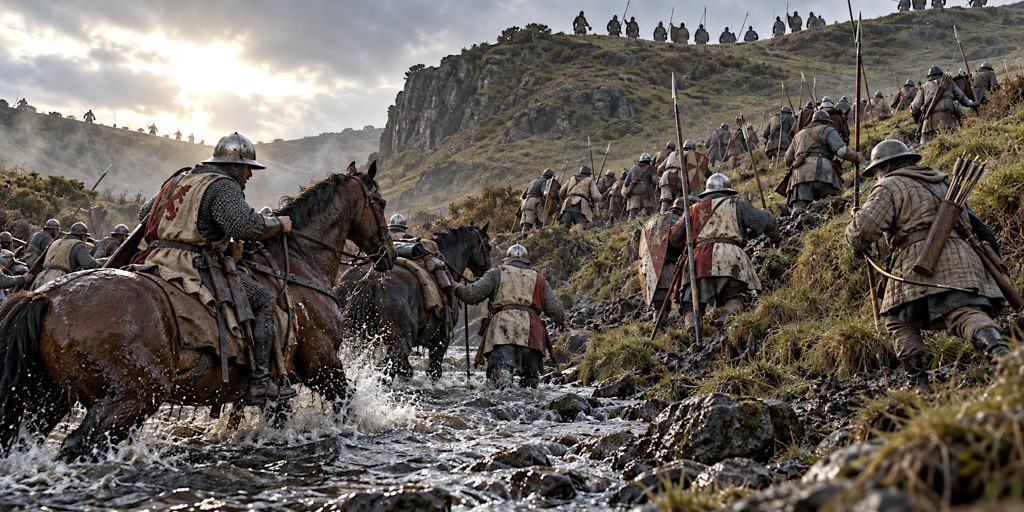
The English had to descend into the defile cut by Spott Burn. From the Scottish position, parts of Warenne’s force may briefly have disappeared from view. The Scots appear to have interpreted this movement as a retreat or loss of order and advanced rapidly downhill.
That decision surrendered their strongest advantage. When the Scots regained clear sight of the English, Warenne’s troops had crossed the difficult ground and re-formed. The Scottish descent may have disrupted their ranks before contact was made.
Historic Environment Scotland identifies the likely battle area as including the summit and western saddle of Brunt Hill, the Spott Burn defile, and flatter ground south of the burn. The surviving landscape is unusually valuable because much of it remains agricultural and comparatively undeveloped.
How the Battle Unfolded
Warenne moved away from Dunbar Castle to meet the relief army. His troops descended towards Spott Burn, crossed the low ground and began climbing or forming beyond it.
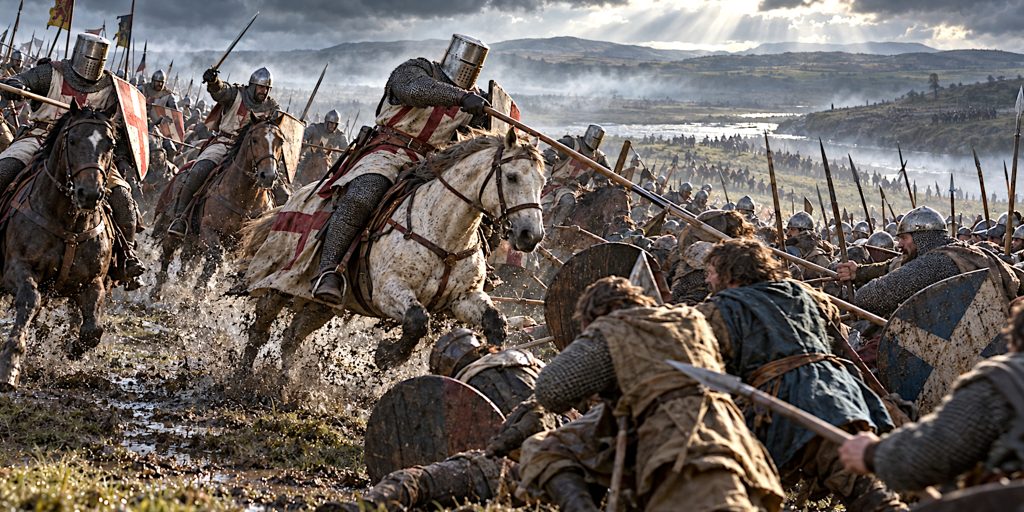
Seeing the English movement, the Scots rushed down from their elevated position. Whether they genuinely believed the English were fleeing is uncertain, but the interpretation appears in the surviving narrative tradition. Momentum replaced formation, which is a poor exchange when armoured cavalry is waiting below.
The English counterattack broke the Scottish mounted troops quickly. Once the cavalry gave way, the infantry had little protection against mounted pursuit. The action became a rout stretching along the valley and across the surrounding ground.
Some Scottish nobles escaped to Dunbar Castle. Their refuge lasted less than a day. The castle surrendered to Edward on 28 April, delivering many prominent prisoners into English hands.
Battle Timeline
| Date | Event |
|---|---|
| 17 November 1292 | Edward I rules in favour of John Balliol during the Great Cause |
| 1295 | Scotland enters an alliance with France and moves away from Edward’s control |
| March 1296 | Edward I invades Scotland and captures Berwick-upon-Tweed |
| April 1296 | John de Warenne begins operations against Dunbar Castle |
| Before 27 April | The castle garrison asks John Balliol’s forces for relief |
| Morning of 27 April | John Comyn’s Scottish army occupies high ground near Spott and Brunt Hill |
| 27 April | Warenne advances from Dunbar and crosses the ground around Spott Burn |
| 27 April | The Scots descend, attack and are rapidly routed by the English |
| 28 April | Dunbar Castle surrenders to Edward I |
| May to June 1296 | Major Scottish castles and nobles submit as Edward advances north |
| 12 July 1296 | John Balliol abdicates at Stracathro, near Brechin |
| August 1296 | Edward leaves Scotland after removing the Stone of Destiny and reorganising royal government |
Contemporary and Near-Contemporary Accounts
The written sources are vivid but partisan. Several were composed in England or copied and expanded later. Their phrases reveal how the victory was remembered, not necessarily the exact words shouted on the field.
The English pursuit was described in Documents Illustrative of the History of Scotland:
“When the Englishmen saw the Scotchmen, they fell upon them and discomfited the Scotchmen, and the chase continued more than five leagues of way, and until the hour of vespers.”
Peter Langtoft, writing in the late 13th and early 14th centuries, compared the collapsing Scots to:
“Quails or straw in the wind.”
The Scalacronica preserved a list of distinguished prisoners, including:
“The count of Menteith, the count of Atholl, the count of Ross, and six barons.”
John of Fordun’s later Scottish chronicle described those handed over after seeking safety in Dunbar Castle as:
“Like sheep offered to the slaughter.”
These are translated forms and their wording varies between editions. They should not be treated as stenographic transcripts. Medieval chroniclers were historians, moralists and entertainers in proportions that changed whenever a good line presented itself.
Casualties and Prisoners
The true casualty total is unknown. Claims that 10,000 Scots died at Dunbar are almost certainly inflated or confused with the bloodshed at Berwick. The field battle seems to have been short, although fleeing infantry may have suffered heavily during the pursuit.
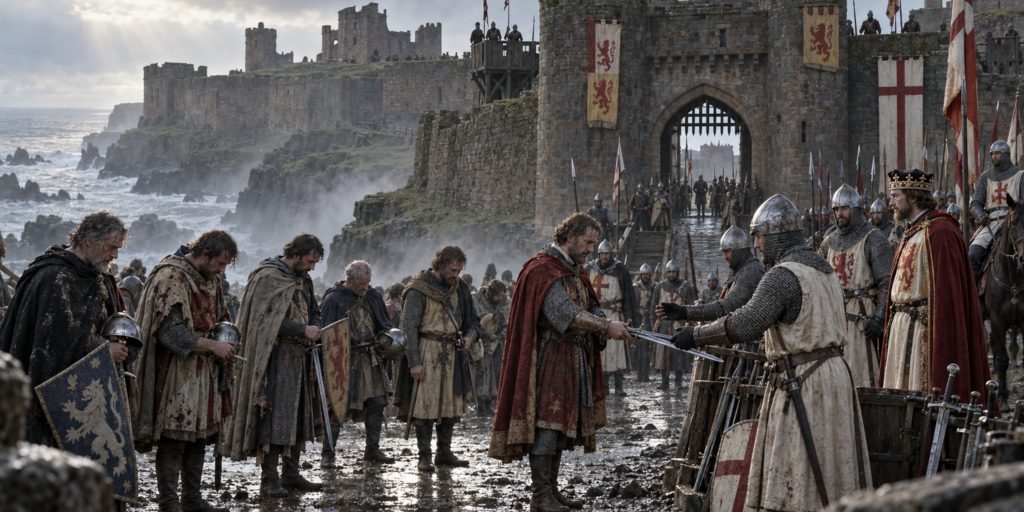
The number and status of prisoners mattered more politically than the body count. More than 100 Scottish knights, nobles and squires were captured in the battle or surrendered from Dunbar Castle. Those named in the sources include the earls of Atholl, Menteith and Ross, as well as members of the Comyn and Moray families.
Sir Patrick Graham is the best-known named Scottish casualty. Chroniclers presented him as fighting bravely after much of the army had fled, a useful reminder that individual courage and competent command are not the same thing.
Archaeology and the Search for the Battlefield
The Battle of Dunbar I is included in Scotland’s Inventory of Historic Battlefields. The designation protects the historical landscape and recognises its archaeological potential. It does not mean that a neat scatter of swords, helmets and labelled arrows has already been recovered.
No confirmed human remains or battle-related artefact assemblage has been reported from the battlefield. In 2007, CFA Archaeology carried out metal detecting and trial trenching at Brandsmill ahead of construction work. The investigation found no material linked to the battle; the excavated features were modern silo pits.
That negative result does not prove the battlefield is empty. The survey covered only part of a much wider landscape. Potential evidence could include:
- Iron arrowheads or crossbow bolt heads
- Buckles, strap fittings and harness mounts
- Horseshoes and horseshoe nails
- Fragments of weapons or armour
- Coins and personal objects lost during movement or pursuit
- Unmarked graves or scattered human remains
Iron survives unpredictably in cultivated soil, and medieval battlefields often leave a faint archaeological signature. Future systematic survey may clarify the route of the armies and the areas of closest fighting.
Why the English Won
Several factors probably combined:
- Command and cohesion: Warenne’s troops negotiated difficult ground without dissolving into disorder.
- Scottish misjudgement: The descent from high ground may have been prompted by a mistaken belief that the English were retreating.
- Broken formation: A rapid downhill advance made it harder for the Scots to maintain an organised battle line.
- Effective cavalry: English knights and men-at-arms exploited the initial break and turned it into a pursuit.
- Political fragility: Balliol’s kingdom was divided, while Edward’s invasion force had stronger central direction and recent campaigning experience.
The result was not evidence of permanent English military superiority. Warenne himself would be defeated by Wallace and Moray at Stirling Bridge in 1297. Terrain and timing are cruel editors of reputation.
Aftermath
Dunbar broke the organised defence of Balliol’s government. Edward advanced through Scotland as castles and leading nobles submitted. Edinburgh Castle fell after a siege, Stirling Castle was abandoned, and Edward reached as far north as Elgin.
John Balliol surrendered in July. His royal insignia were stripped from his surcoat, an episode later associated with the insulting nickname “Toom Tabard”, or empty coat. Edward removed the Stone of Destiny from Scone, carried away royal records and installed an English administration.
Yet Dunbar settled the campaign, not the country. English rule generated resistance almost immediately. Andrew Moray escaped captivity and raised the north, while William Wallace led rebellion in the south. Their victory at Stirling Bridge the following year exposed how shallow Edward’s conquest really was.
Legacy of the Battle of Dunbar
Dunbar is easily overshadowed by Stirling Bridge, Falkirk and Bannockburn. That is understandable, but historically misleading. The battle destroyed Balliol’s military position and allowed Edward I to impose direct control over Scotland with remarkable speed.
Its deeper importance lies in what followed. The humiliation of 1296 did not end Scottish resistance. It helped transform a dispute over kingship and feudal authority into a prolonged struggle over who possessed the right to govern Scotland.
The battlefield also offers a useful warning about medieval sources. The broad outcome is clear, but troop numbers, casualties and dramatic speeches are much less secure. Dunbar was decisive enough without borrowing another 37,000 Scots from a chronicler’s imagination.
Frequently Asked Questions
Who won the Battle of Dunbar in 1296?
The English army commanded by John de Warenne, Earl of Surrey, defeated the Scottish relief army led by John Comyn, Earl of Buchan.
Was Edward I at the Battle of Dunbar?
Edward I led the invasion of Scotland but did not command the field action at Dunbar. John de Warenne commanded the English force. Edward arrived at Dunbar Castle after the battle and received its surrender.
How many soldiers fought at Dunbar?
Modern estimates suggest around 2,300 English troops and between 2,000 and 3,000 Scots. Medieval claims of tens of thousands are considered implausible.
Where was the battle fought?
The fighting took place south of Dunbar near Spott Burn, Brunt Hill and the northern edge of the Lammermuir Hills in East Lothian.
Did the Battle of Dunbar end Scottish resistance?
It ended organised resistance under John Balliol in 1296, but not the wider conflict. Rebellion resumed under Andrew Moray and William Wallace in 1297.
Recommended Sources and Further Reading
- Historic Environment Scotland: Battle of Dunbar I
- G. W. S. Barrow, “Lothian in the First War of Independence, 1296–1328”, Scottish Historical Review, volume 55
- Amanda Beam, The Balliol Dynasty, 1210–1364
- E. L. G. Stones, Anglo-Scottish Relations, 1174–1328
- Sir Herbert Maxwell, translator, The Chronicle of Lanercost, 1272–1346