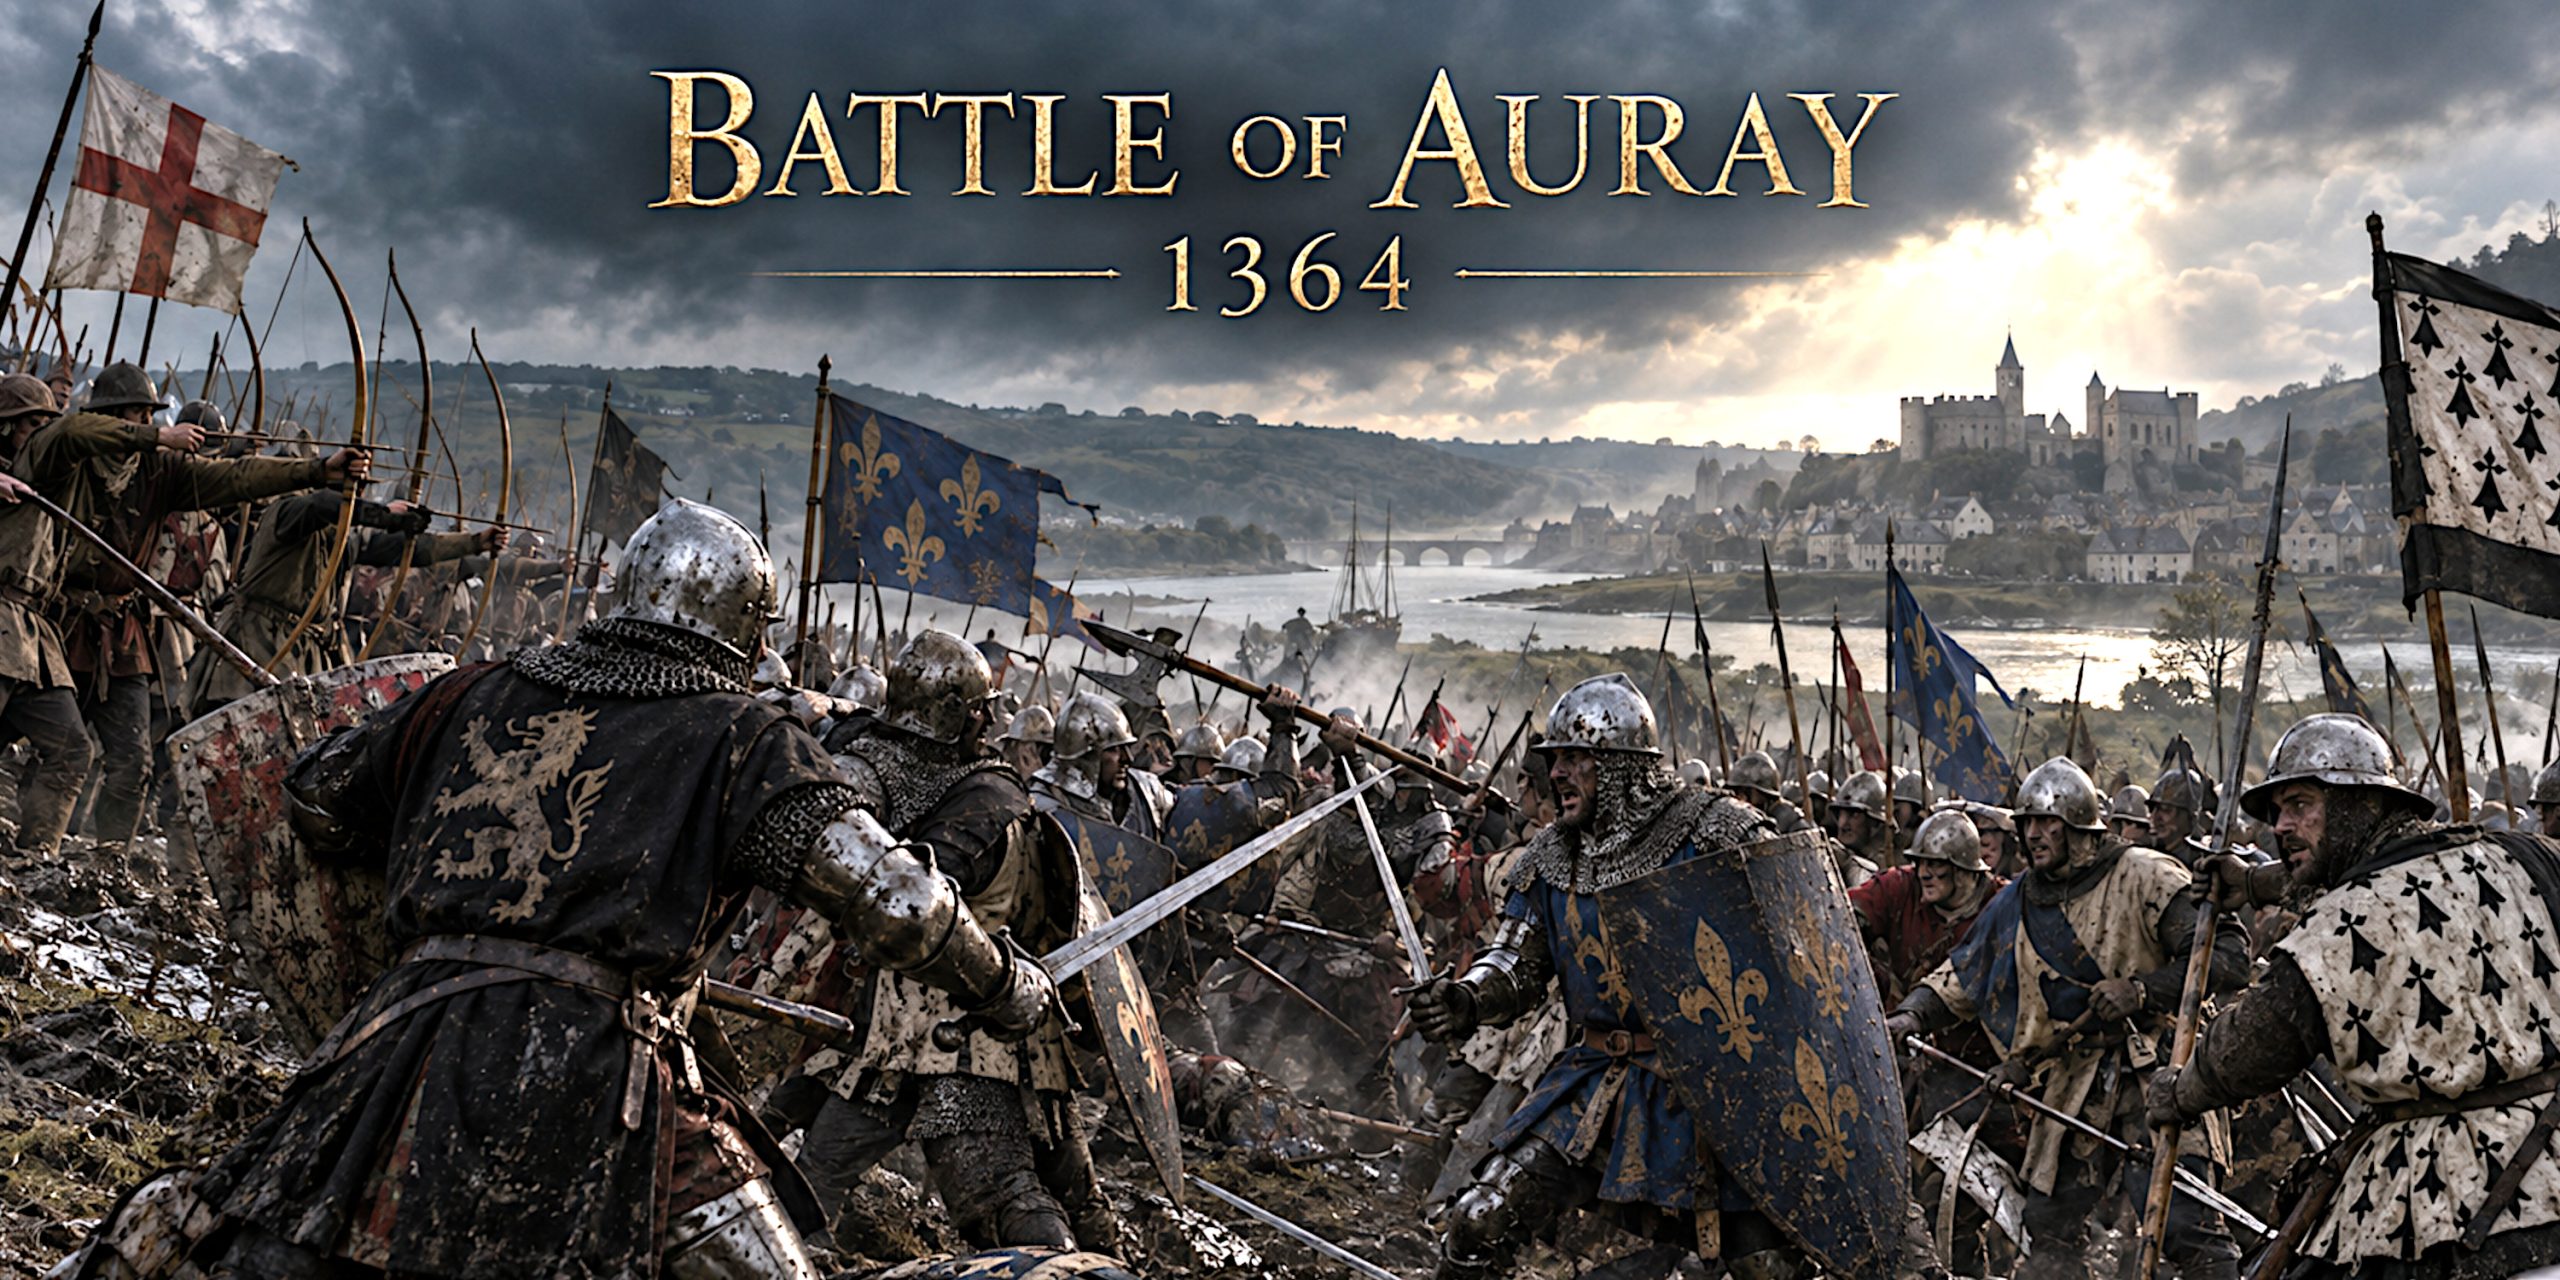
On 29 September 1364, two rival claimants to the Duchy of Brittany met outside Auray to settle a dispute that had already lasted twenty-three years. John of Montfort arrived with Breton supporters and experienced English soldiers. Charles of Blois brought his own Breton following, reinforced by French troops under Bertrand du Guesclin.
The Battle of Auray was brutal, closely fought and politically decisive. Charles was killed, du Guesclin was captured and the Montfortist cause emerged victorious. Unlike many battles of the Hundred Years’ War, Auray genuinely resolved the immediate argument. Medieval wars were not usually so obliging.
It also deserves to be understood as a Breton civil conflict, not merely another English victory over France. Bretons fought on both sides, while the rival monarchies supplied commanders, soldiers and money to ensure that a regional succession dispute became part of their wider struggle.
Battle of Auray at a Glance
| Detail | Information |
|---|---|
| Date | 29 September 1364 |
| Location | Near Auray, Brittany, present-day France |
| Wider conflict | Breton War of Succession and Hundred Years’ War |
| Montfortist claimant | John of Montfort, later Duke John IV |
| Bloisist claimant | Charles of Blois |
| Result | Decisive Montfortist victory |
| Major consequences | Charles killed, du Guesclin captured, Montfort succession secured |
| Peace settlement | First Treaty of Guérande, 1365 |
Why the Breton War of Succession Began
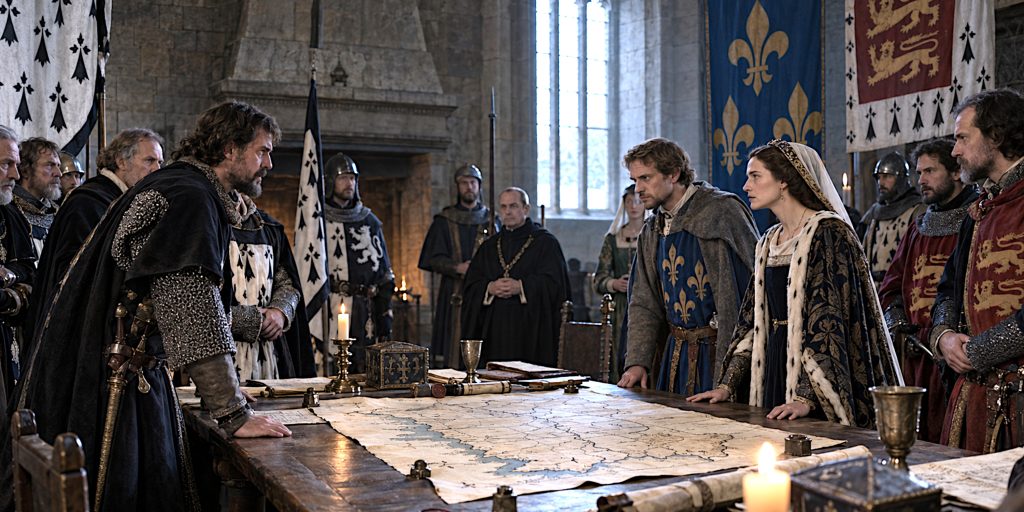
The crisis began when Duke John III of Brittany died without a direct heir in 1341. Two competing claims divided the duchy.
John of Montfort based his claim on descent through the male line. Charles of Blois claimed Brittany through his wife, Joan of Penthièvre, who was John III’s niece.
The dispute involved a larger legal question. Could the duchy pass through a woman, or should succession favour the closest male-line claimant? Breton custom did not provide an answer acceptable to everyone, particularly when land, revenue and political influence were at stake.
The rival claims quickly attracted foreign support:
- Philip VI of France backed Charles of Blois.
- Edward III of England supported John of Montfort.
- Much of the Breton nobility divided between the two claimants.
- Towns, castles and local communities changed hands repeatedly.
- English and French captains turned Brittany into another theatre of the Hundred Years’ War.
John of Montfort died in 1345, but his claim continued through his young son, also named John. His widow, Joanna of Flanders, had already demonstrated that the Montfortist cause possessed rather more resilience than its enemies expected.
By 1364, the younger John of Montfort was old enough to lead his own campaign. Charles of Blois, meanwhile, remained determined to obtain the duchy he had pursued for more than two decades.
The Road to Auray
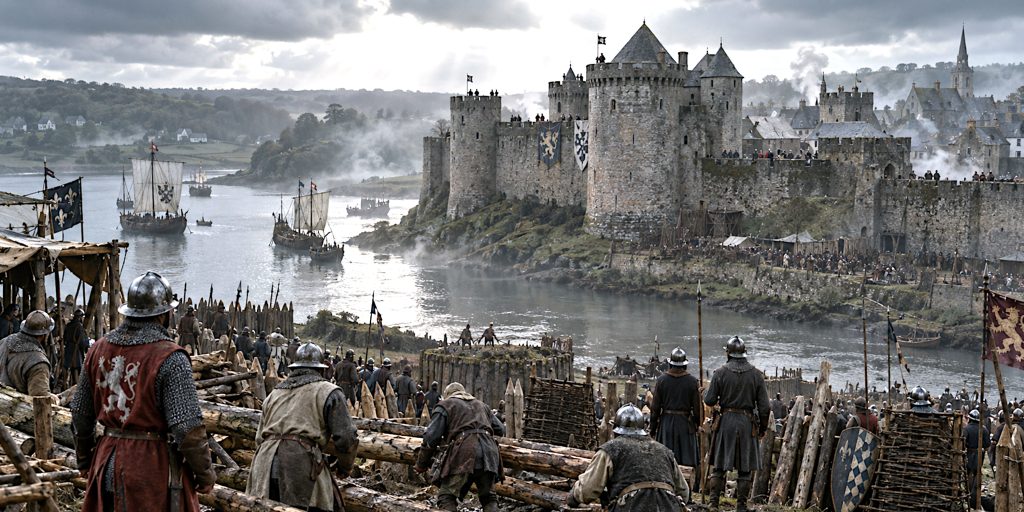
During the summer of 1364, John of Montfort resumed offensive operations in southern Brittany. Assisted by Sir John Chandos and other Anglo-Breton commanders, he moved against Auray.
The town occupied an important position between Montfortist-held centres such as Hennebont and Vannes. Its castle stood on elevated ground and controlled access to the River Loc’h and the nearby coast.
Montfort’s forces entered the town and placed the castle under siege. Ships associated with the Montfortist captain Nicolas Bouchart reportedly helped blockade it from the water.
Charles of Blois could not allow the fortress to fall without attempting its relief. He gathered his forces and advanced towards Auray with Bertrand du Guesclin commanding an important part of the army.
When the relieving force approached, Montfort abandoned his exposed positions around the town. He moved to higher ground north of Auray, avoiding the unpleasant prospect of being caught between the castle garrison and Charles’s field army.
The opposing forces were now separated by the Loc’h and the broken, damp ground surrounding it.
Forces at the Battle of Auray
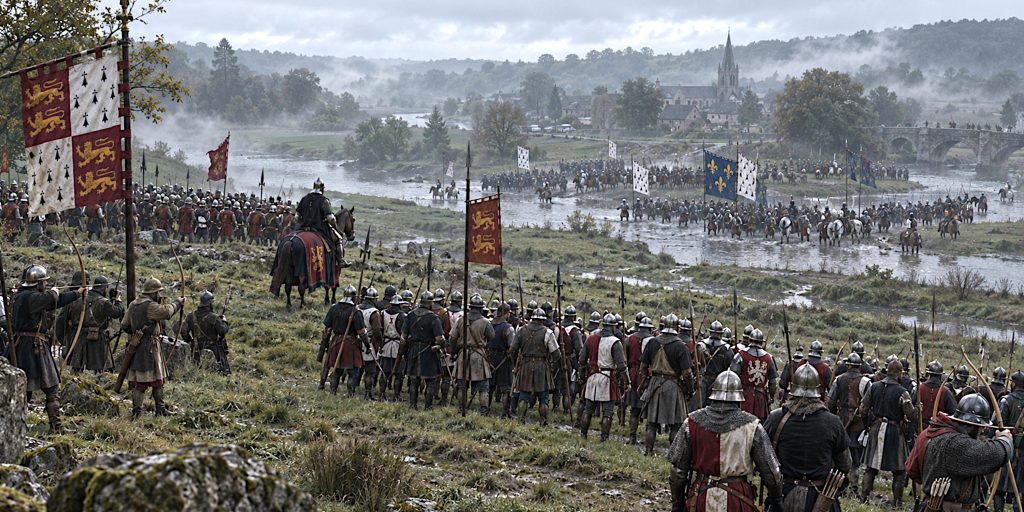
Precise figures cannot be established. Medieval chroniclers were rarely equipped with reliable muster returns, and modern estimates vary considerably.
Some accounts give Montfort between 2,000 and 3,000 men, while others place his army much higher. Estimates for Charles of Blois commonly range from approximately 3,000 to 4,000. These figures should be treated as informed approximations, not a medieval box office count.
What matters tactically is that both armies contained substantial bodies of experienced men-at-arms. The Montfortists also had English and Welsh archers, while the Bloisist army included crossbowmen and French troops.
Principal commanders
| Montfortist and English army | Bloisist and French army |
|---|---|
| John of Montfort | Charles of Blois |
| Sir John Chandos | Bertrand du Guesclin |
| Olivier de Clisson | Jean de Chalon, Count of Auxerre |
| Sir Robert Knolles | Louis de Chalon |
| Sir Hugh Calveley | Breton and French noble contingents |
Probable troop composition
| Troop type | Role at Auray |
|---|---|
| Men-at-arms | Main close-combat force, probably fighting largely on foot |
| English and Welsh archers | Missile support and protection of the Montfortist divisions |
| French crossbowmen | Opening missile engagement and support for the advance |
| Mounted retainers | Scouting, communication, pursuit and movement before battle |
| Reserves | Particularly important in the Montfortist deployment |
The armies were not simply “English” and “French”. Each was a coalition. Breton nobles, household retainers and local soldiers stood in both lines, making Auray the final reckoning of a civil war as well as an episode in Anglo-French rivalry.
How the Armies Were Deployed
Accounts vary in detail, but the Montfortist army appears to have been divided into several formations or battles:
- Olivier de Clisson commanded on the right.
- Robert Knolles commanded on the left.
- John of Montfort and John Chandos held the centre.
- Hugh Calveley commanded a reserve behind the main line.
- Archers were positioned to support the principal formations.
Charles of Blois arranged his army with:
- The Count of Auxerre on the left.
- Bertrand du Guesclin on the right.
- Charles commanding the centre.
- A limited reserve, whose role remains uncertain.
The contrast between the two deployments was crucial. The Montfortist army retained a formed body behind its front line. Charles either kept too little in reserve or failed to employ what he had effectively.
A reserve is not especially romantic, which may explain why chroniclers preferred heroic single combat. It is, however, extremely useful when part of an army begins to lose.
The Battlefield and Terrain
The battle was fought north of Auray, near the River Loc’h. The exact reconstruction of every formation remains disputed, but the landscape imposed several clear limitations.
The area contained:
- Marshy or waterlogged ground close to the river.
- Rising slopes north of the town.
- Narrow crossing points.
- Fields divided by natural obstacles and tracks.
- The castle and town behind the original Montfortist siege positions.
Charles’s army had to cross the river and deploy on ground that offered limited freedom of movement. Montfort occupied a more favourable position on or near rising ground.
It would be too simple to claim that the marsh decided the battle by itself. Medieval commanders could recognise wet ground perfectly well. The more important problem was that Charles advanced into a confined position against an organised enemy with a usable reserve.
Attempts to Avoid Battle
Negotiations took place before the armies engaged. The surviving narratives suggest that neither claimant would accept a settlement that surrendered his fundamental right to Brittany.
There were reportedly discussions about dividing the duchy or resolving the dispute through a more limited contest. These proposals failed.
After twenty-three years of war, compromise had become politically dangerous. Each side had supporters whose lands, offices and reputations depended on victory. Charles and John were no longer arguing only for themselves.
On 29 September, traditionally the feast of Saint Michael, Charles ordered his army forward.
How the Battle of Auray Unfolded
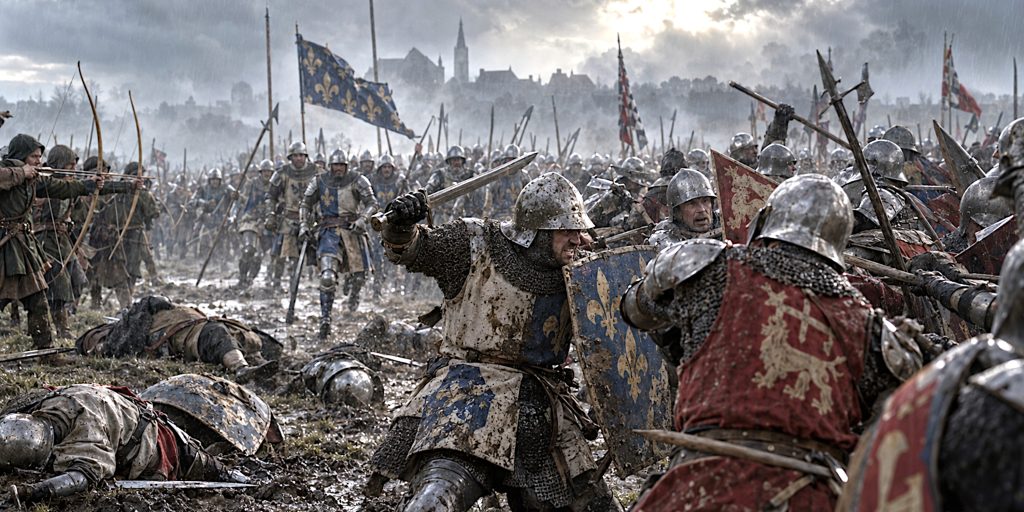
The missile exchange
The engagement opened with fighting between Bloisist crossbowmen and Montfortist archers. The English longbowmen probably disrupted the enemy’s approach and provided covering fire for their own men-at-arms.
Their effect should not be exaggerated. Auray was not a repetition of Crécy, with massed cavalry destroyed by endless volleys. The principal struggle became a close infantry battle between heavily armoured men.
The frontal assault
Charles’s divisions advanced against the Montfortist line. Men-at-arms on both sides appear to have fought predominantly on foot, giving the formations greater stability and allowing knights to remain beside their retainers.
The fighting developed into a series of violent contests across the front. Chroniclers describe the battle as prolonged and exceptionally hard fought.
The Bloisist attacks placed parts of Montfort’s army under severe pressure. Some later retellings present the result as an effortless triumph of English tactics. It was nothing of the sort. Montfort’s line came close enough to failure for its reserve to become necessary.
Calveley’s reserve intervenes
Hugh Calveley’s reserve reinforced threatened sections of the Montfortist formation. This allowed the front line to absorb the Bloisist attacks without collapsing.
Once the immediate danger had passed, the Montfortists could counter-attack against enemy units that were already tired, compressed and without comparable support behind them.
This may have been the decisive phase. The reserve did not win the battle alone, but it gave Chandos and Montfort options that Charles lacked.
The Bloisist wings collapse
One section of the Bloisist line was pushed back towards the centre. As formations became crowded together, command and mutual support deteriorated.
The Count of Auxerre was captured. Du Guesclin’s division continued fighting, but the wider army began to break apart around it.
Medieval battlefield defeat often happened in this fashion. A force could remain dangerous at individual points while losing cohesion as a whole. Once men believed neighbouring formations were fleeing, courage became a rapidly depreciating asset.
Charles of Blois is killed
Charles remained with his men and was killed during the final fighting. The precise manner of his death is uncertain.
Different traditions claimed that he:
- Died fighting in the general mêlée.
- Was killed by an English soldier.
- Was deliberately dispatched after being recognised.
- Was singled out because neither claimant was to be allowed to survive as a prisoner.
These versions reflect the political needs of later writers as much as battlefield fact. Froissart treated Charles’s death as part of the confused fighting. Other narratives made it a deliberate killing or execution.
What is certain is that his death ended the Bloisist claim as an immediate military cause.
Du Guesclin is captured
Bertrand du Guesclin continued fighting until he was surrounded and forced to surrender. His capture was a valuable prize rather than an invitation to kill him.
High-ranking prisoners could command large ransoms, and du Guesclin’s reputation made him particularly valuable. He was later released after payment of a substantial ransom and returned to French service.
Chivalric warfare could be remarkably selective. A claimant might be too dangerous to leave alive, while a celebrated captain standing nearby represented a handsome financial opportunity.
Arms and Armour at Auray
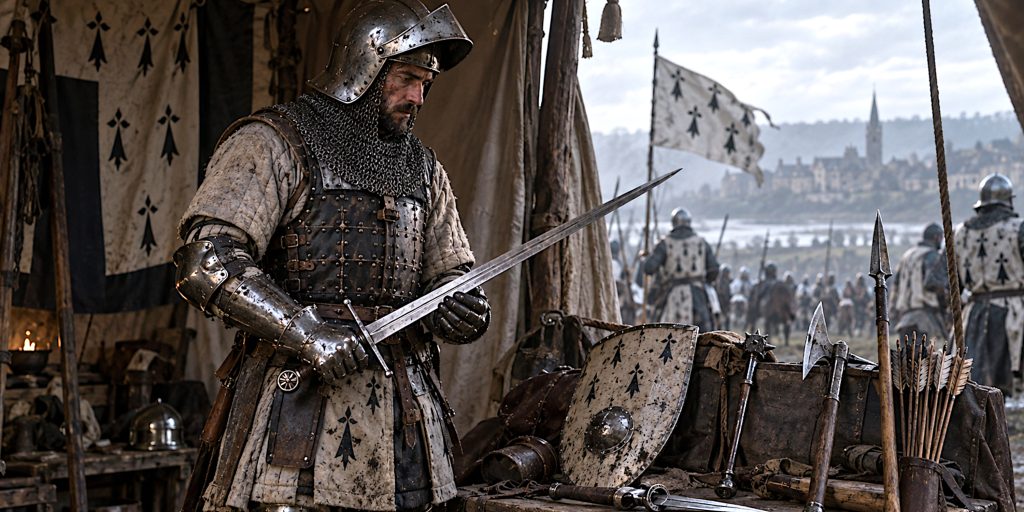
Auray was fought during a period when the armour of wealthy men-at-arms was developing rapidly. Mail remained important, but increasing areas of the body were protected by shaped iron or steel plates.
Armour worn by men-at-arms
A well-equipped knight or professional man-at-arms might have worn:
- A mail shirt or haubergeon beneath additional protection.
- A padded arming garment.
- A bascinet with an aventail protecting the neck and shoulders.
- A visor, including pointed forms often described as hounskull bascinets.
- A coat of plates or early breastplate.
- Plate protection for the arms and legs.
- Gauntlets with articulated metal plates.
- A surcoat or jupon displaying heraldic colours.
Equipment varied according to wealth. Not every combatant wore a complete harness, and Breton retainers of modest status may have depended on mail, padded armour, helmets and smaller pieces of plate.
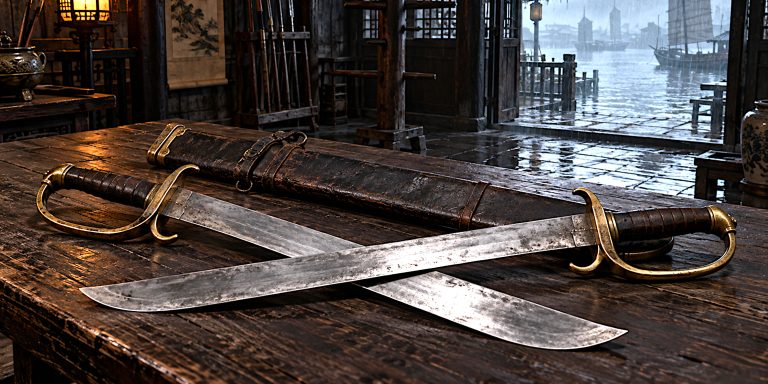
Swords used at Auray
No surviving weapon can be securely assigned to an individual fighter at Auray. The following sword types are based on dated fourteenth-century examples, artistic evidence and the broader military culture of England, France and Brittany.
| Sword type | Likely user and function |
|---|---|
| Arming sword | Common sidearm for knights and men-at-arms |
| Oakeshott Type XIV | Broad blade with an acute point, suitable for cutting and thrusting |
| Oakeshott Type XV | Strongly tapered, diamond-section blade intended for effective thrusts |
| Oakeshott Type XVI | Combined cutting and thrusting design with a reinforced point |
| Early longsword | Two-handed or hand-and-a-half weapon used by some elite combatants |
| Falchion | Single-edged cutting weapon carried by some soldiers and retainers |
The arming sword remained the most plausible sword for the majority of armoured combatants. Blades with increasingly acute points reflected the spread of plate armour, but swords did not simply pierce breastplates. Fighters aimed for gaps at the face, throat, armpit, groin and joints.
Longswords were present in fourteenth-century warfare, although the claim that they were the standard weapon of either army would be misleading.
Other close-combat weapons
Swords shared the battlefield with weapons better suited to defeating armour:
- Lances and heavy spears.
- Poleaxes and early pollaxe forms.
- Maces.
- War hammers.
- Axes.
- Rondel daggers.
- Baselard daggers.
The rondel dagger was particularly important during grappling. Once an armoured opponent had been knocked down or restrained, a narrow dagger could be driven through gaps in his protection.
Longbows and crossbows
Montfort’s archers used longbows, probably with a mixture of bodkin-like and broad-headed arrows. Their shooting could wound unprotected men and horses, disrupt formations and force opponents to keep visors closed.
The Bloisist force fielded crossbowmen. Crossbows offered considerable power and could be used effectively by troops trained to work in organised groups, although their slower shooting rate placed them at a disadvantage during a rapid exchange.
Neither weapon should be treated as a magical armour remover. Against high-quality plate, missile fire was more reliable as a means of disruption than guaranteed penetration.
Battle Timeline
| Date or phase | Event |
|---|---|
| 1341 | Duke John III dies without a direct heir, beginning the succession crisis |
| 1341 to 1364 | Brittany is divided by sieges, raids and changing alliances |
| Summer 1364 | John of Montfort renews his campaign in southern Brittany |
| August to September | Montfort besieges Auray and blockades its castle |
| 27 to 28 September | Charles of Blois and du Guesclin approach with a relieving army |
| 28 September | Montfort withdraws from his siege positions and occupies stronger ground |
| Morning, 29 September | Negotiations fail and both armies prepare for battle |
| Opening phase | Crossbowmen and longbowmen exchange missiles |
| Main phase | Bloisist men-at-arms launch frontal attacks |
| Decisive phase | Hugh Calveley’s reserve reinforces the Montfortist line |
| Final phase | The Bloisist formations collapse; Charles is killed |
| End of battle | Du Guesclin and several nobles are captured |
| 1365 | The Treaty of Guérande recognises John as Duke of Brittany |
Specific times of day cannot be reconstructed reliably from the surviving accounts.
Contemporary Accounts and Quotes
Most detailed narratives of Auray were written by authors with political sympathies, literary ambitions or access to participants from only one side. They remain indispensable, but they should not be mistaken for neutral transcripts.
Jean Froissart’s Chronicles present the battle as a great chivalric encounter. In an English translation of his account, Charles of Blois is described as dying while fighting “valiantly and courageously”.
Froissart also offers a wonderfully medieval observation on the psychology of defeat:
“When discomfiture comes, the discomfited lose courage and are alarmed at very little.”
The wording varies between manuscripts and translations, but the idea is convincing. Once the Bloisist wings began to give way, fear travelled through the army faster than any formal command.
The poet Cuvelier, writing about Bertrand du Guesclin, presents Charles as determined to face his rival and settle the struggle through personal courage. This is splendid chivalric storytelling, although battlefield command rarely behaved quite so neatly.
Later accounts disagreed over Charles’s death. Froissart placed it within the mêlée, while traditions associated with du Guesclin described a more deliberate killing. Their disagreement is historically valuable because it warns us against repeating a dramatic version as settled fact.
Casualties and Prisoners
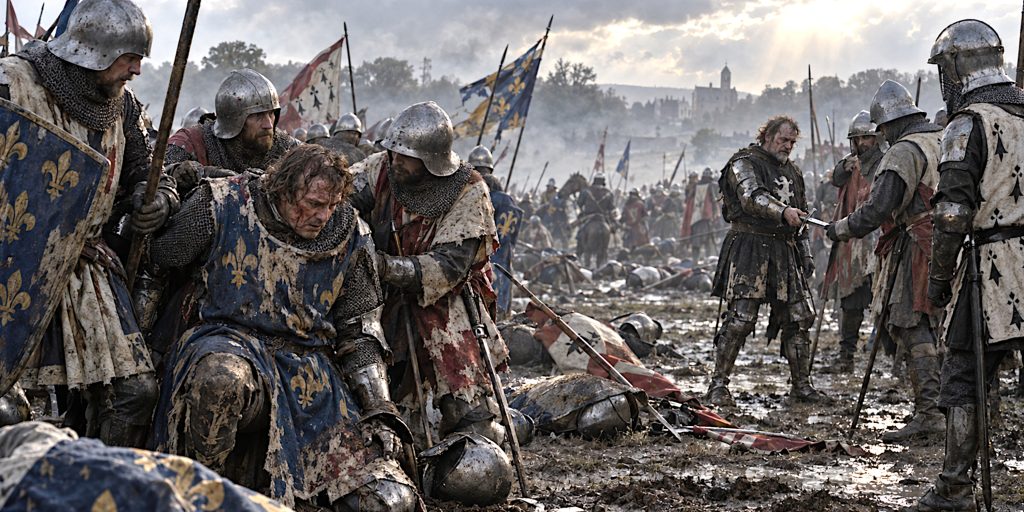
Reliable casualty figures do not survive.
Some later estimates suggest that hundreds of Bloisist soldiers were killed and many more captured. Claims that the Montfortists lost only a handful of men are plainly triumphalist and incompatible with descriptions of a hard-fought battle.
The most important known losses included:
- Charles of Blois, killed.
- Bertrand du Guesclin, captured.
- The Count of Auxerre, captured.
- Numerous French and Breton knights taken for ransom.
- Heavy but unquantifiable losses among the defeated infantry and retainers.
The capture of nobles was economically significant. Ransom rights could reward captors, finance further campaigning and elevate the fortunes of professional soldiers.
Ordinary soldiers enjoyed fewer financial protections. A knight might be worth preserving. A nameless archer or spearman generally was not.
Archaeology and the Battlefield Today
The archaeology of Auray is much less substantial than the present article previously suggested. There is no secure published body of finds that allows historians to reconstruct the battle through excavated arrowheads, weapon fragments or identified mass graves.
Claims about such discoveries should therefore be avoided unless supported by a formal excavation report.
The broad battlefield has traditionally been placed north of Auray, around the Loc’h valley and the area later occupied by the Chartreuse d’Auray. The monastery was founded after the battle by John of Montfort, partly as a memorial and religious act connected with the dead.
Useful forms of evidence include:
- The surviving topography of the Loc’h valley.
- Historical place names.
- Monastic records associated with the Chartreuse.
- Medieval and early modern narrative accounts.
- Later maps showing roads, slopes and river crossings.
- Illuminated manuscripts depicting the battle.
The famous manuscript images of Auray are not eyewitness battlefield sketches. They were produced decades later and present warfare according to the armour, artistic conventions and political interests of their own period.
A carefully planned archaeological survey could still be valuable. However, modern building, roads, agriculture and centuries of landscape change make the original battlefield difficult to examine.
Why Montfort Won
Several factors contributed to the Montfortist victory.
- Montfort and Chandos selected a defensible position.
- Their army appears to have maintained better cohesion.
- English archers helped disrupt the Bloisist approach.
- Experienced captains commanded the main divisions.
- Hugh Calveley’s reserve reinforced parts of the line under pressure.
- Charles’s army attacked across restrictive ground.
- The Bloisist formations lacked effective support once the advance stalled.
- Charles’s death destroyed the political purpose holding his army together.
The reserve was probably the most important tactical difference. It allowed Chandos to respond to events rather than merely endure them.
John Chandos deserves considerable credit, although medieval sources sometimes allow celebrated commanders to absorb the achievements of everyone around them. Auray was won by disciplined formations, competent subordinate leaders and soldiers who held their ground during close combat.
The Death of Charles of Blois
Charles’s death transformed a military defeat into a dynastic conclusion. Had he survived and escaped, the struggle might have continued through another campaign or a fresh round of negotiations.
His reputation after death became unusually complex. Supporters remembered him as a pious and legitimate ruler who had suffered for a just cause. Evidence gathered for his proposed canonisation recorded his religious devotion, charity and personal austerity.
His conduct during the war was less saintly. Forces serving his cause participated in the same destructive raiding, executions and siege warfare practised by their opponents. Medieval political sanctity could coexist comfortably with military violence, provided the paperwork was handled by sympathetic people.
Charles was beatified by the Roman Catholic Church in 1904, but never canonised.
Aftermath and the Treaty of Guérande
The death of Charles and the destruction of his field army left John of Montfort without an effective military rival.
In 1365, the First Treaty of Guérande recognised him as Duke John IV of Brittany. Joan of Penthièvre retained important lands and titles, while her descendants received a conditional right of succession should the Montfort line fail.
John’s English support did not turn Brittany into an obedient English possession. As duke, he had to manage Breton political interests and his formal relationship with the French Crown. He paid homage to Charles V of France, despite owing much of his victory to English military assistance.
Auray therefore produced a Montfortist victory without delivering complete English control of Brittany. Politics promptly resumed its usual habit of making battlefield results untidy.
The Legacy of the Battle of Auray
Auray ended the active phase of the Breton War of Succession and established the Montfort dynasty in Brittany. Its significance extended beyond the identity of the next duke.
The battle demonstrated:
- The value of disciplined reserves.
- The continuing importance of dismounted men-at-arms.
- The usefulness of archery when integrated with close-combat formations.
- The danger of frontal attacks on restrictive ground.
- The influence of professional captains such as Chandos, Calveley and du Guesclin.
- The difficulty of separating Breton politics from the Hundred Years’ War.
For du Guesclin, defeat was only a temporary interruption. He returned to service, campaigned in Spain and eventually became Constable of France.
For John of Montfort, Auray secured a duchy. For Charles of Blois, it created the kind of heroic death that chroniclers, poets and political descendants could reshape for generations.
For Brittany, it ended one war while leaving unresolved questions about loyalty, foreign influence and ducal independence. A battle can decide a succession. It cannot persuade everyone to agree about what that decision means.
Frequently Asked Questions
Who won the Battle of Auray?
John of Montfort and his Anglo-Breton allies won a decisive victory over Charles of Blois and the Franco-Breton army.
When was the Battle of Auray fought?
The battle took place on 29 September 1364.
Why was the battle important?
It ended the main military struggle of the Breton War of Succession. Charles of Blois was killed, allowing John of Montfort to secure recognition as Duke of Brittany.
Was Bertrand du Guesclin killed at Auray?
No. Du Guesclin was captured and later ransomed. He subsequently became one of France’s most important commanders.
Did longbowmen win the battle?
Archers contributed to the Montfortist victory, but Auray was primarily decided by close combat, stronger battlefield organisation and the effective use of a reserve.
Where was the battle fought?
It was fought north of Auray in Brittany, close to the River Loc’h and the site later associated with the Chartreuse d’Auray.
Sources and Further Reading
- BnF Essentiels: manuscript image of the Battle of Auray
- Bretagne Culture Diversité: La bataille d’Auray
- The Online Froissart: Charles of Blois
- Jean Froissart, Chronicles
- Jonathan Sumption, The Hundred Years War, Volume II: Trial by Fire
- Michael Jones, The Creation of Brittany
- Michael Jones, The Breton Civil War
- Richard Barber, The Life and Campaigns of the Black Prince
- Christopher Allmand, The Hundred Years War: England and France at War