Everything we know about Baldwin III’s desperate march through Seljuk territory
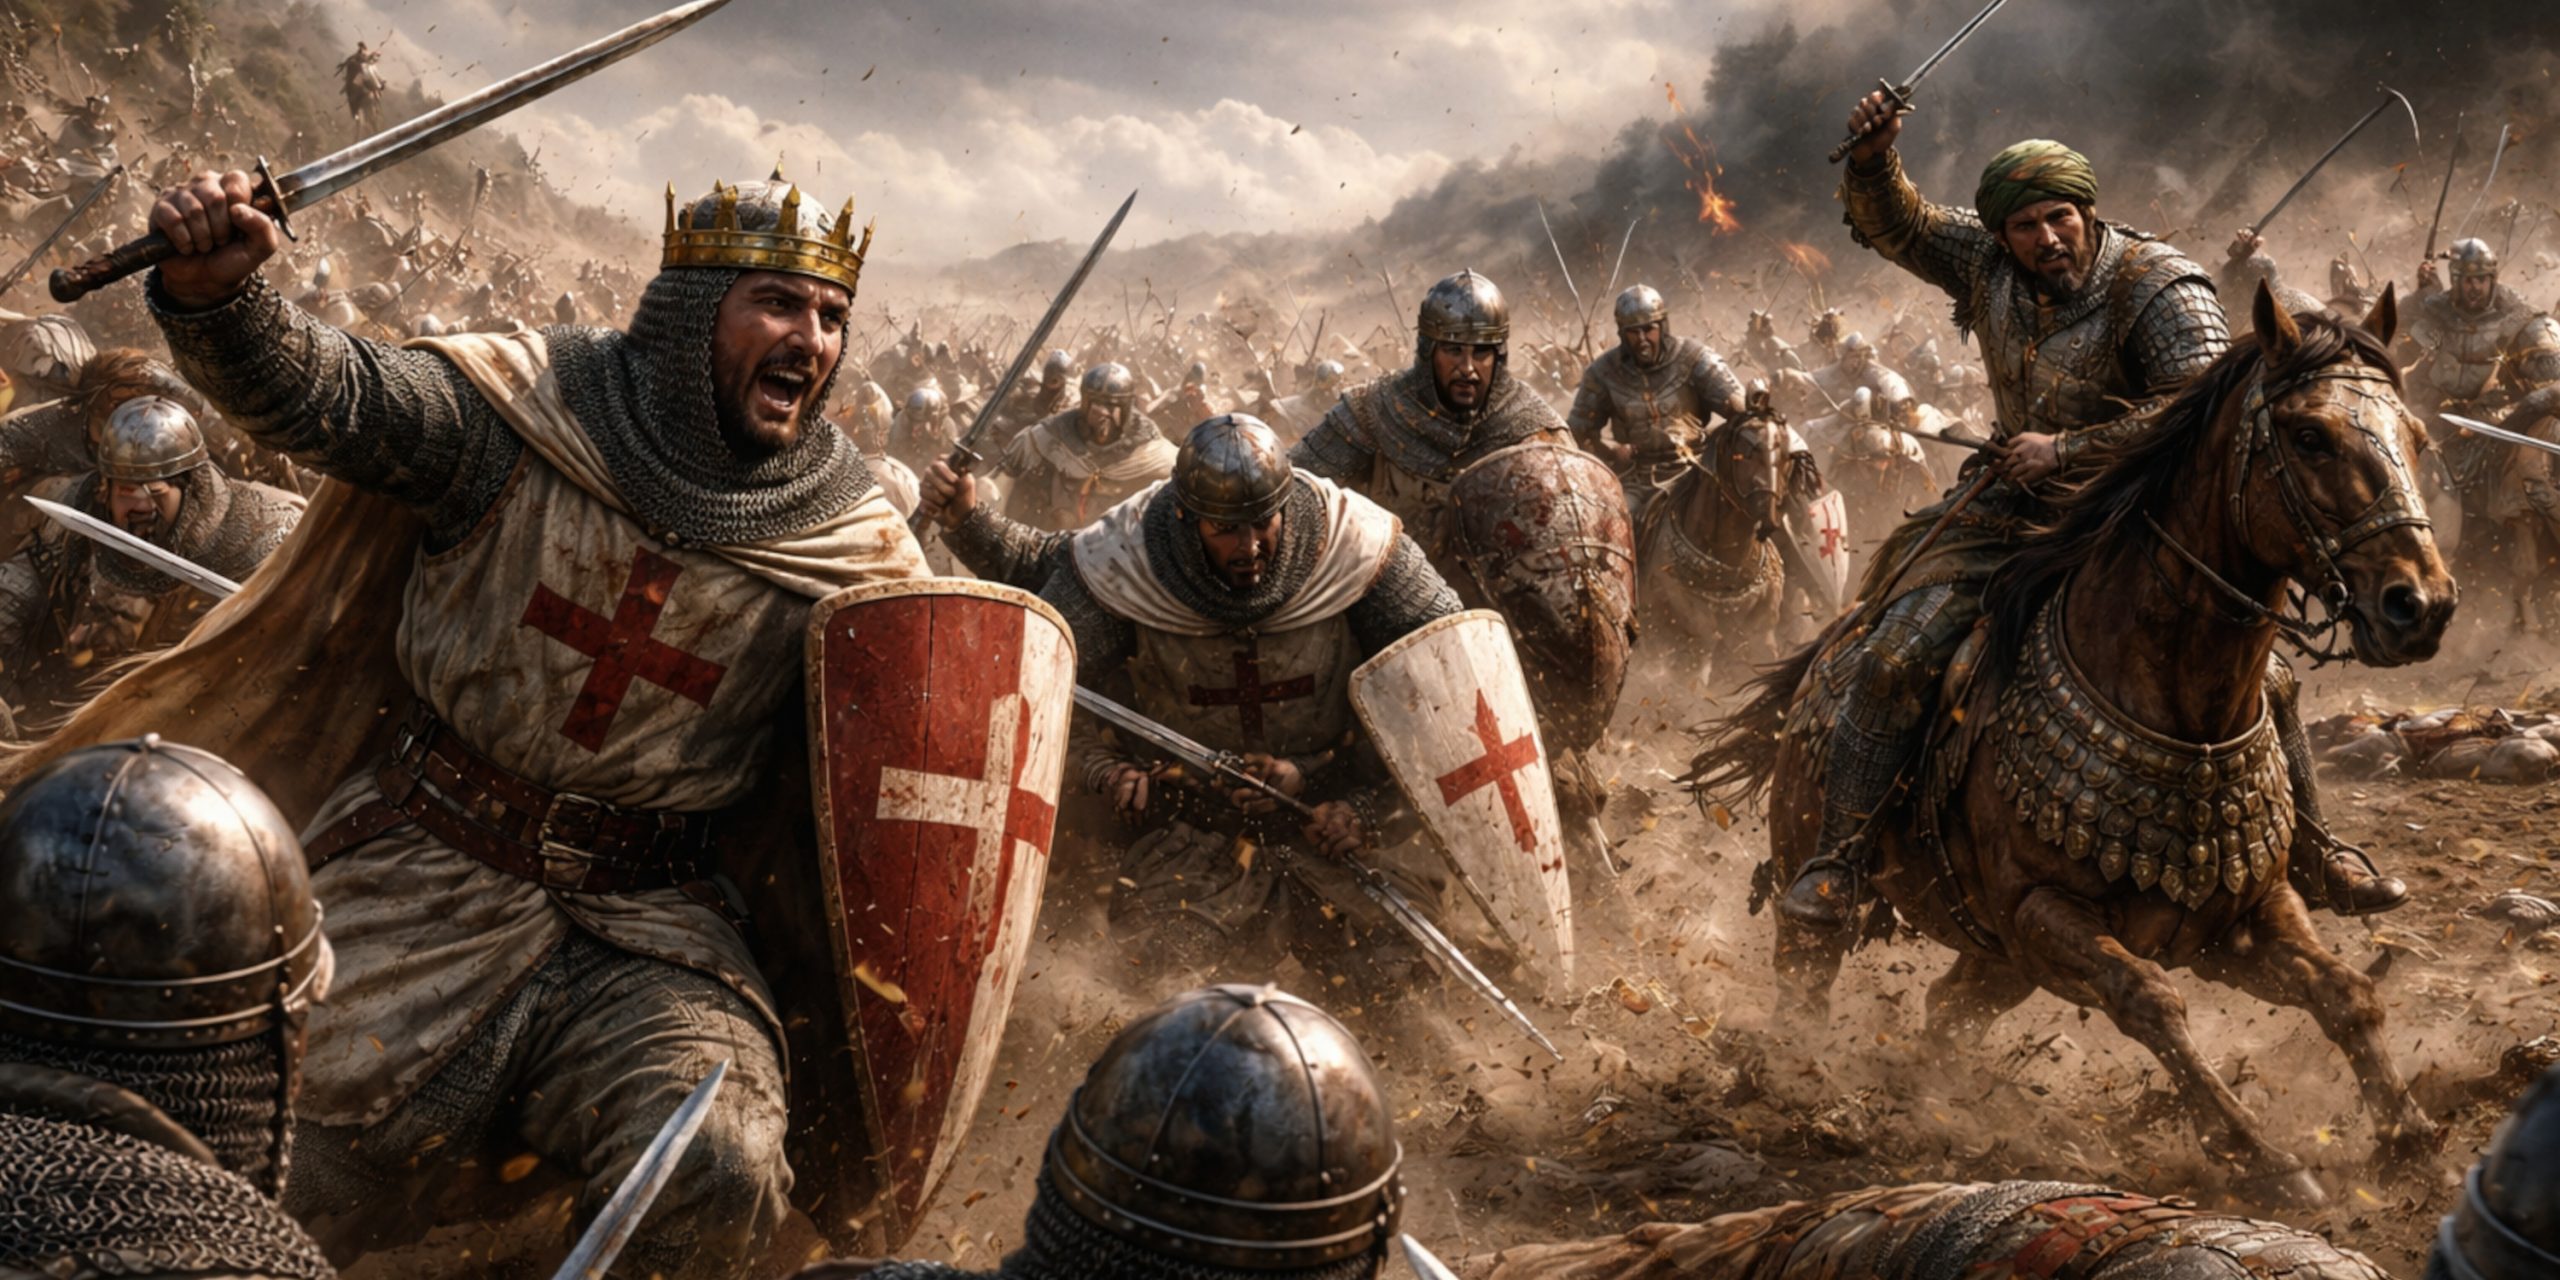
King Baldwin III of Jerusalem found himself leading a column not of conquering knights, but of refugees, relics, and whatever remained of Frankish authority in Edessa. The Seljuks, quite reasonably, saw an opportunity. What followed was less a set-piece battle and more a running fight across hostile ground resulting in a clash clash near Aintab in 1150.
Historical Background
The fall of Edessa in 1144 had already shaken the Crusader states to their foundations. By 1150, the last fragments of the County of Edessa were collapsing under pressure from Seljuk forces led by Nur ad-Din and his allies.
Baldwin III entered the region not to expand territory, but to extract what remained. This included Latin settlers, local Christians, and valuable relics. It was a retreat dressed up as a rescue mission, and everyone involved understood the risk.
The Seljuks shadowed the column, waiting for terrain and timing to favour them. Near Aintab, they found both.
Forces
Precise numbers are elusive, though medieval chroniclers rarely let uncertainty prevent confidence. What can be said is that Baldwin’s force was not large, and it was burdened.
Crusader Forces
| Component | Estimated Strength | Notes |
|---|---|---|
| Knights | 300 to 500 | Core heavy cavalry, elite but limited |
| Infantry | 1,000 to 2,000 | Mixed quality, including local levies |
| Non-combatants | Several thousand | Civilians, clergy, camp followers |
| Command | Baldwin III | Supported by senior nobles |
Seljuk Forces
| Component | Estimated Strength | Notes |
|---|---|---|
| Cavalry | 2,000 to 5,000 | Highly mobile mounted archers |
| Light infantry | Unknown | Likely minimal role |
| Command | Seljuk emirs under Nur ad-Din | Coordinated harassment tactics |
The imbalance is obvious. Baldwin’s army had weight but little flexibility. The Seljuks had speed and patience.
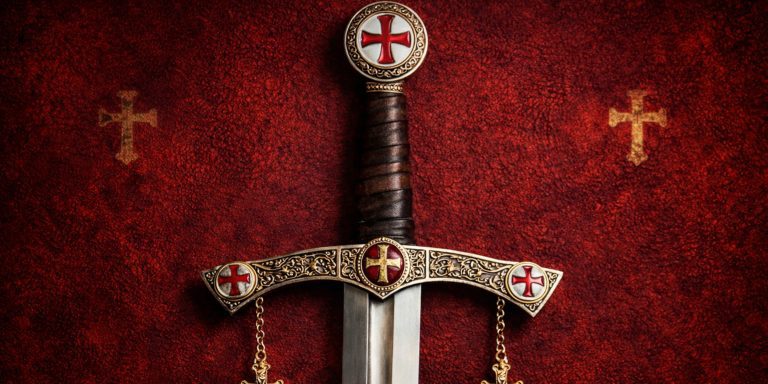
Arms and Armour
Crusader Equipment
- Mail hauberks with coifs, often knee-length
- Kite shields, painted and practical
- Helmets, nasal or early enclosed forms
- Spears or lances for cavalry charges
- Swords, typically straight double-edged blades
Common sword types used:
- Oakeshott Type X and XI arming swords
- Early Type XII blades beginning to appear
- Broad, cutting-focused designs suited to mounted combat
Seljuk Equipment
- Lamellar or scale armour for wealthier riders
- Composite bows, the decisive weapon of the battlefield
- Light spears and javelins
- Curved sabres and straight blades depending on region
Common sword types used:
- Early Islamic sabres with slight curvature
- Straight double-edged swords influenced by earlier traditions
The contrast could not be clearer. The Franks fought for shock and close combat. The Seljuks fought to avoid both until it suited them.
Leaders and Command Structure
Crusader Command
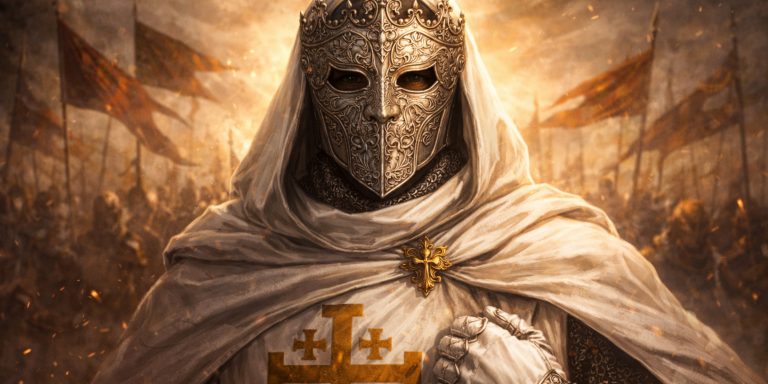
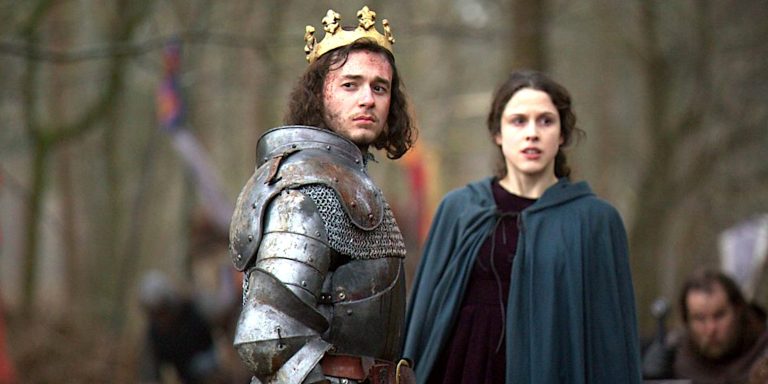
- Baldwin III, King of Jerusalem
- Senior nobles of the Kingdom, likely including experienced frontier lords
- Ecclesiastical figures accompanying the column
Seljuk Command
- Regional emirs aligned with Nur ad-Din
- Command structure built around flexible cavalry units
- Emphasis on initiative and harassment rather than rigid formation
The Battle Timeline
Early Phase
Baldwin’s column begins its withdrawal from Edessa’s remaining territories. Progress is slow, burdened by civilians and supplies.
Seljuk Contact
Mounted archers begin probing attacks. Arrows fall at range, testing discipline rather than seeking immediate breakthrough.
Encirclement Pressure
The Seljuks tighten their presence, striking flanks and rear elements. The Crusaders are forced into a defensive marching formation.
Crisis Point near Aintab
Sustained attacks threaten to fragment the column. Panic among non-combatants becomes a real danger.
Baldwin’s Intervention
The king reportedly takes a direct role in organising defence, rallying troops, and maintaining cohesion.
Breakthrough and Withdrawal
Through disciplined defence and occasional counter-charges, the Crusaders push through and continue their retreat.
Aftermath
The column reaches safer territory, though with losses and no illusions about the fragility of their position in the east.
Contemporary Quotes
William of Tyre, never one to miss a chance to praise a king who survived, offers a glimpse of Baldwin’s conduct:
“The king, steadfast and unshaken, resisted their assaults with great courage.”
Ibn al-Qalanisi, writing from the Islamic perspective, reflects the tactical approach:
“They harried the Franks without rest, striking them in every place where they were weak.”
Both accounts agree on one point, even if reluctantly. This was not a glorious charge. It was endurance under pressure.
Archaeology and Evidence
Unlike grand siege sites, Aintab offers little in the way of a clearly defined battlefield. The engagement was mobile, stretched across terrain rather than fixed to a single killing ground.
Archaeological evidence is therefore indirect:
- Regional fortifications show the contested nature of the frontier
- Material culture reflects a mix of Frankish and Islamic military presence
- No confirmed mass grave or concentrated battlefield layer has been identified
In truth, this is the sort of battle archaeology struggles with. It leaves fewer scars in the soil, but plenty in the written record.
Analysis and Significance
The Battle of Aintab did not redraw maps, but it revealed something more immediate. The Crusader states were no longer dictating terms in northern Syria. They were reacting, retreating, and surviving where they could.
Baldwin III’s leadership stands out not for brilliance in manoeuvre, but for steadiness. He kept a fragile force intact under conditions that favoured the enemy at every turn. That alone deserves a measure of respect, even if it lacks the romance of a decisive victory.
The Seljuks, for their part, demonstrated a style of warfare that would continue to trouble the Crusaders for decades. Mobility, patience, and the refusal to fight on unfavourable terms. It is difficult to admire from the receiving end.
Seven Swords Takeaway
Aintab is easy to overlook. It lacks the drama of Hattin or the scale of Antioch. Yet it captures the reality of frontier warfare in the twelfth century rather well.
Not every campaign ends with banners planted and cities taken. Sometimes success is simply getting out alive, with your army still recognisable as an army. Baldwin III managed that, which in 1150 was achievement enough.