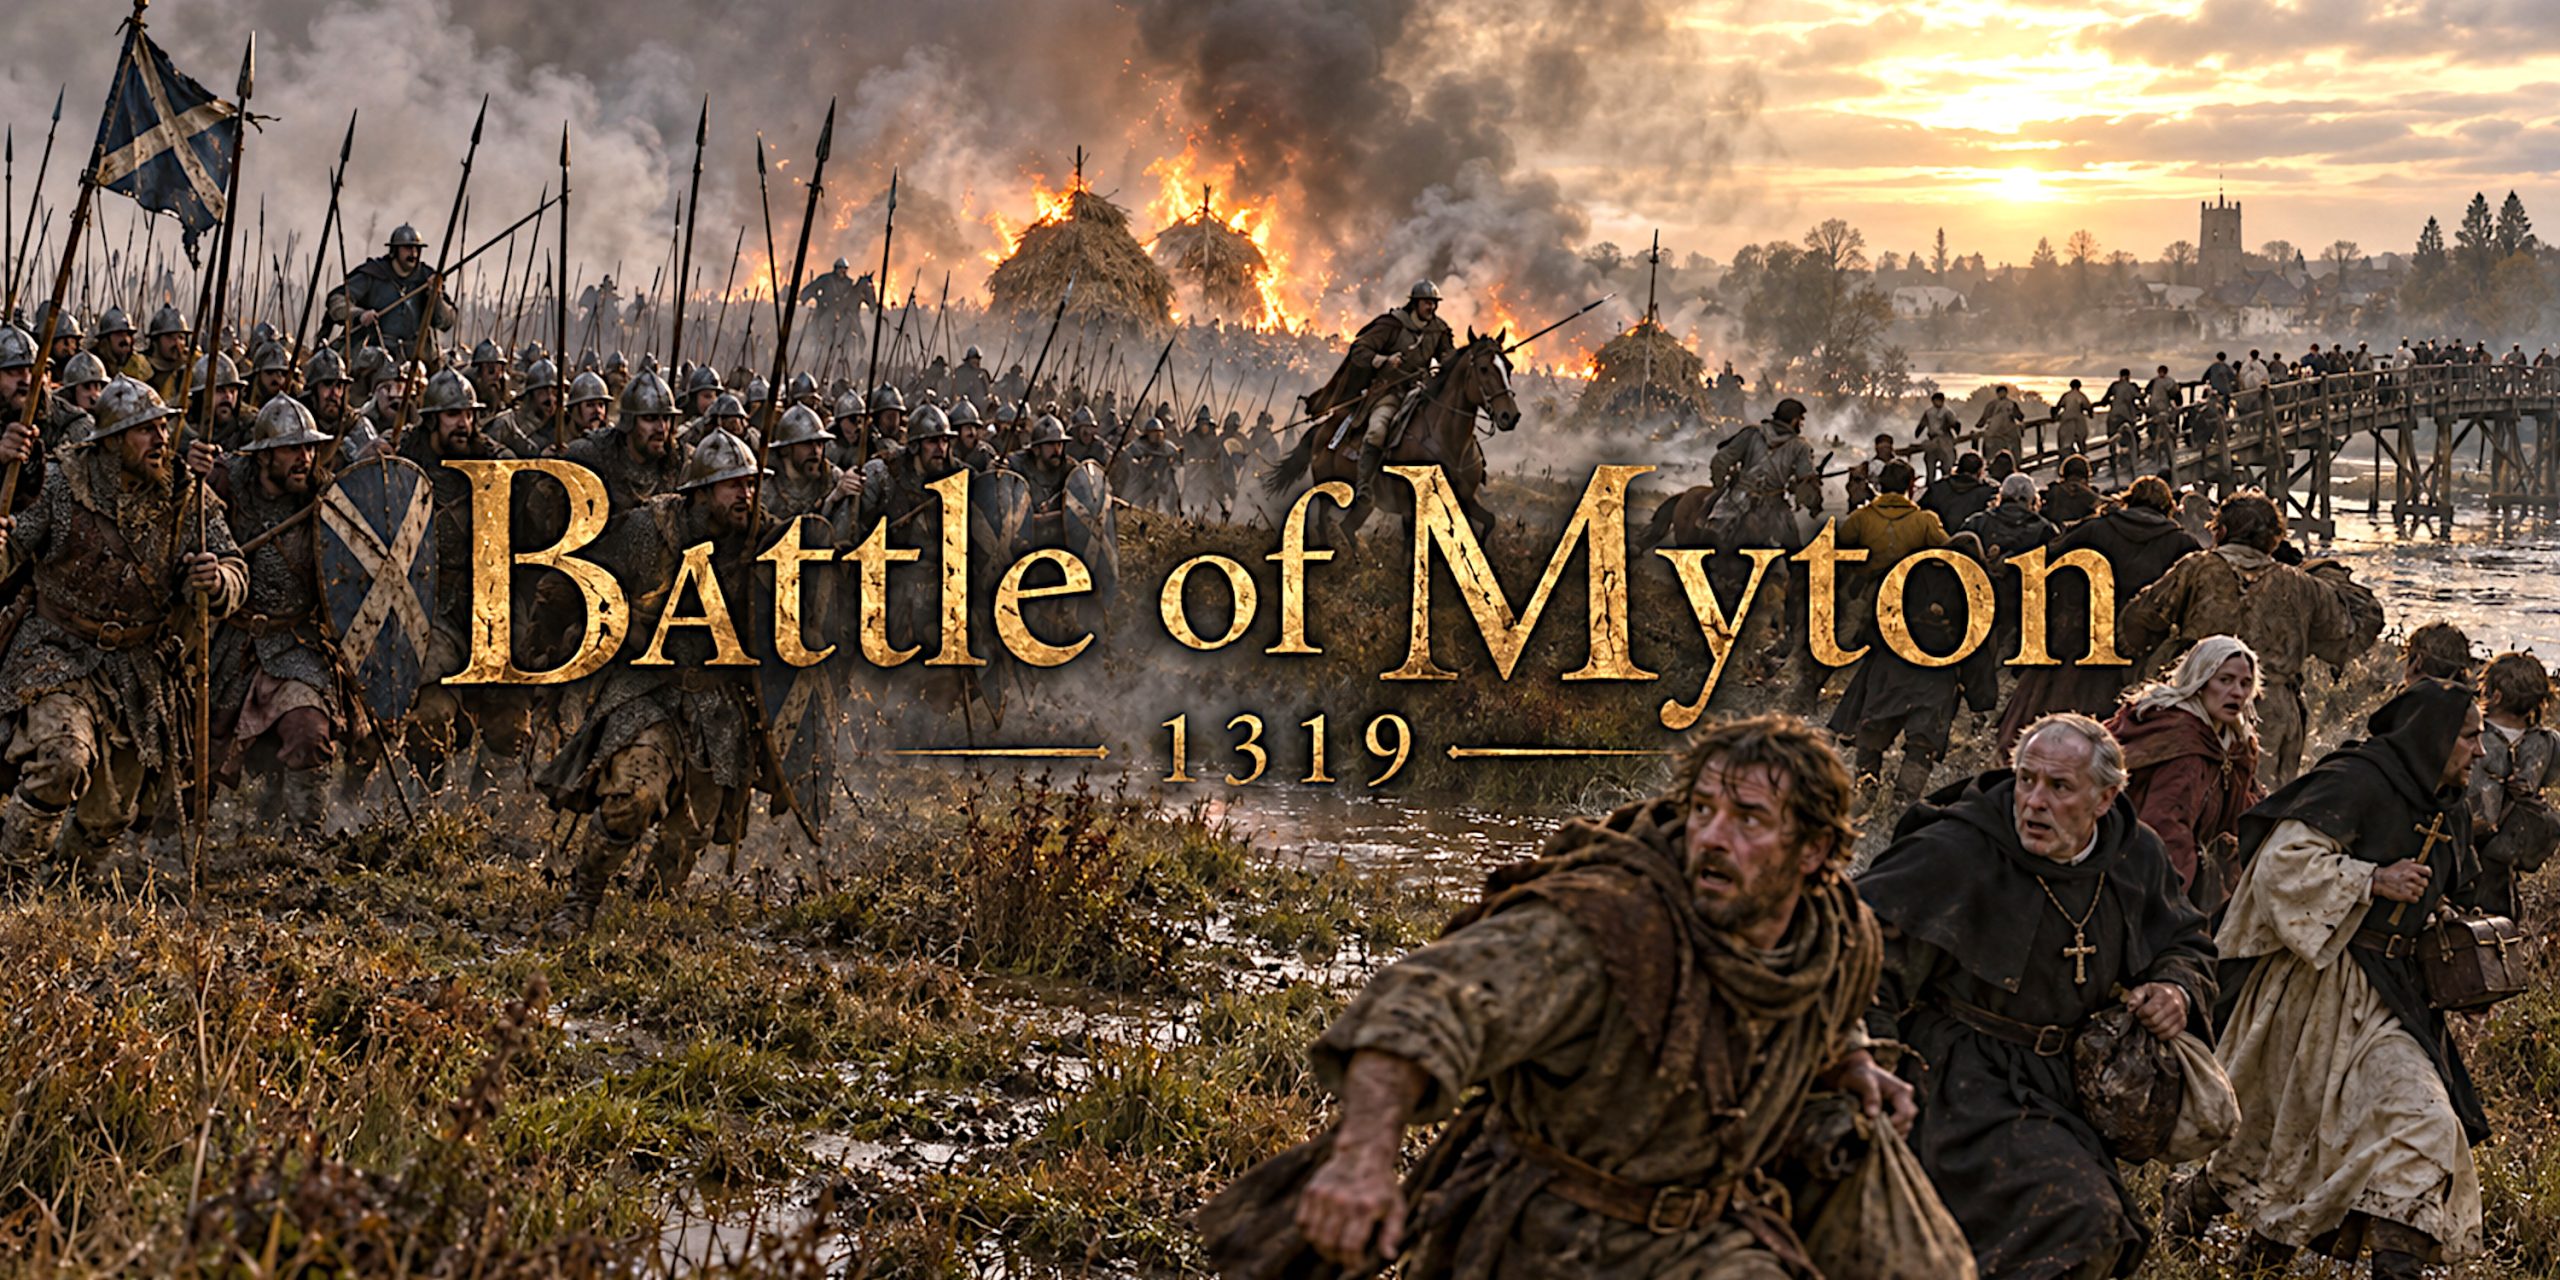
The Battle of Myton, fought on 20 September 1319 near Myton-on-Swale in Yorkshire, ended in a decisive Scottish victory over an English force hastily assembled around York. Its remembered names, the “Chapter of Myton” and the “White Battle”, reflect the conspicuous presence of clergy among the English participants.
There is something particularly grim about this encounter. Men drawn from churches, workshops and farms marched out to confront experienced soldiers, then found their escape threatened by the River Swale. The chroniclers recognised the imbalance, even when they disagreed about the details.
Myton deserves attention as a military disaster with consequences far beyond its battlefield. The Scottish raid helped undermine Edward II’s attempt to recover Berwick-upon-Tweed.
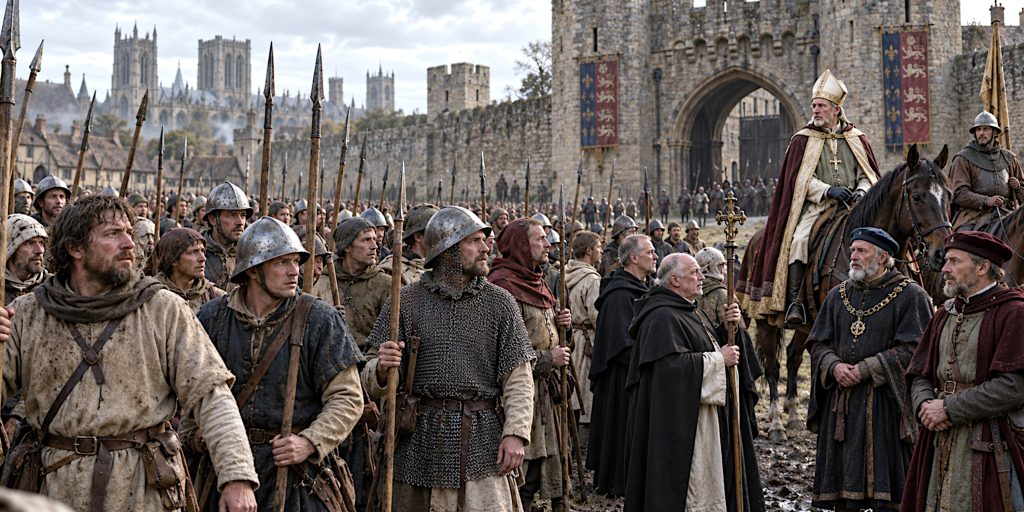
Battle of Myton at a Glance
| Detail | Summary |
|---|---|
| Date | 20 September 1319 |
| Location | Near Myton-on-Swale, North Yorkshire |
| Conflict | First War of Scottish Independence |
| Scottish commanders | Thomas Randolph, Earl of Moray, and Sir James Douglas |
| English leaders | William Melton, Archbishop of York; John Hotham, Bishop of Ely; Nicholas Fleming, Mayor of York |
| Result | Scottish victory |
| Alternative names | Chapter of Myton; White Battle |
| Principal uncertainty | Army sizes, casualty totals and the precise sequence of manoeuvres |
Background: Why the Scots Were in Yorkshire
Following Scotland’s victory at Bannockburn in 1314, the capture of Berwick in 1318 strengthened Robert Bruce’s position. Edward II attempted to recover the town in 1319.
Rather than challenge the English siege army directly, Randolph and Douglas carried the war into northern England. Their raid threatened property, communications and the security of York while much of England’s military strength was occupied at Berwick.
Accounts also describe a Scottish plan to seize Queen Isabella, who was staying near York. She was moved to safety. Archbishop Melton and other English leaders then gathered a force to confront the raiders.
It was an understandable response to an immediate threat. Whether marching out was wiser than defending York is another matter. Ecclesiastical seniority did not come with an automatic qualification in battlefield command.
Forces: Leaders and Troop Composition
The contrast between the armies was chiefly one of experience, equipment and organisation. Precise headcounts remain uncertain.
| Side | Leader | Position and significance |
|---|---|---|
| Scotland | Thomas Randolph | Earl of Moray and an experienced commander who had led a division at Bannockburn |
| Scotland | Sir James Douglas | Experienced commander associated with mobile operations and raids |
| England | William Melton | Archbishop of York and a principal organiser of the English response |
| England | John Hotham | Bishop of Ely and Chancellor of England |
| England | Nicholas Fleming | Mayor of York, killed in the defeat |
Troop composition
| Element | Scottish force | English force |
|---|---|---|
| Core troops | Experienced fighting men under established commanders | Hastily assembled militia and local recruits |
| Infantry | Spearmen capable of fighting in a close formation | Townsmen, countrymen and clerical participants |
| Mounted element | Mounted troops used for movement and pursuit | Some mounted leaders and retainers |
| Men-at-arms | An experienced military core | Serious shortage, with many serving at Berwick |
| Reported strength | Often given as 10,000–15,000 | Often given as 10,000–20,000 |
| Reliability of numbers | Unverified medieval estimates | Unverified medieval estimates |
These figures should not be treated as a surviving muster roll. The evidence supports a substantial disparity in military effectiveness more securely than any exact numerical advantage. The Armies & the losses
Arms and Armour: What Weapons Were Used?
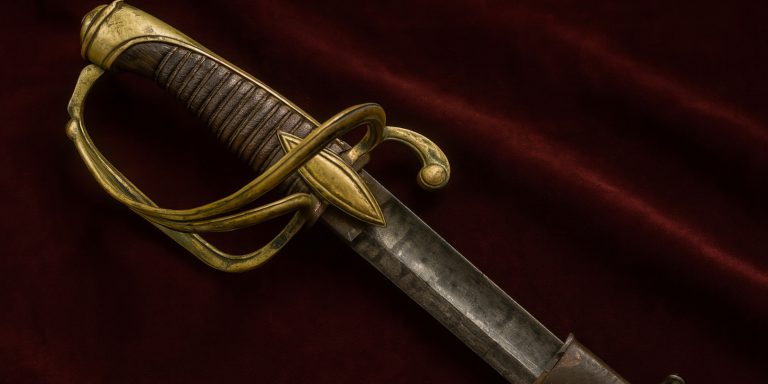
No securely identified battlefield assemblage establishes the weapons carried at Myton. The following is a reconstruction from early fourteenth-century equipment, rather than an inventory recovered from the site.
Swords
| Sword type | Description | Relevance to Myton |
|---|---|---|
| Single-handed arming sword | Straight, double-edged blade with a crossguard, suitable for cutting and thrusting | The most appropriate general sword type for equipped combatants on either side |
| Oakeshott Type XII | A tapering, fullered blade generally associated with single-handed swords | A plausible period form |
| Oakeshott Type XIII | A broader blade with relatively parallel edges, usually associated with cutting | Another period-appropriate possibility |
| Oakeshott Type XIV | A comparatively short, broad blade tapering towards a pronounced point | Plausible around the date of the battle |
Oakeshott types are modern classifications. Neither Douglas nor Randolph would have ordered a sword by asking for its catalogue number.
Later Scottish claymores and basket-hilted broadswords should not appear in a reconstruction of Myton. Claims about a distinctive Highland dirk also require caution.
Other weapons and protection
- Spears: Central to Scottish close-order infantry fighting and more important to the formation than individual swords.
- Axes and knives: Plausible supplementary weapons, although their distribution at Myton is unknown.
- Bows: Appropriate to the period, but the surviving narratives do not establish a decisive archery phase.
- Mail and padded armour: Suitable protection for better-equipped soldiers, with considerable variation between individuals.
- Helmets and shields: Iron helmets and shields were available, but no reliable evidence gives their proportions within either army.
The English force was not uniformly helpless peasants carrying farming tools. Equally, equipping every participant with mail and a sword would disguise the uneven resources of a hurried levy.
How the Battle Unfolded
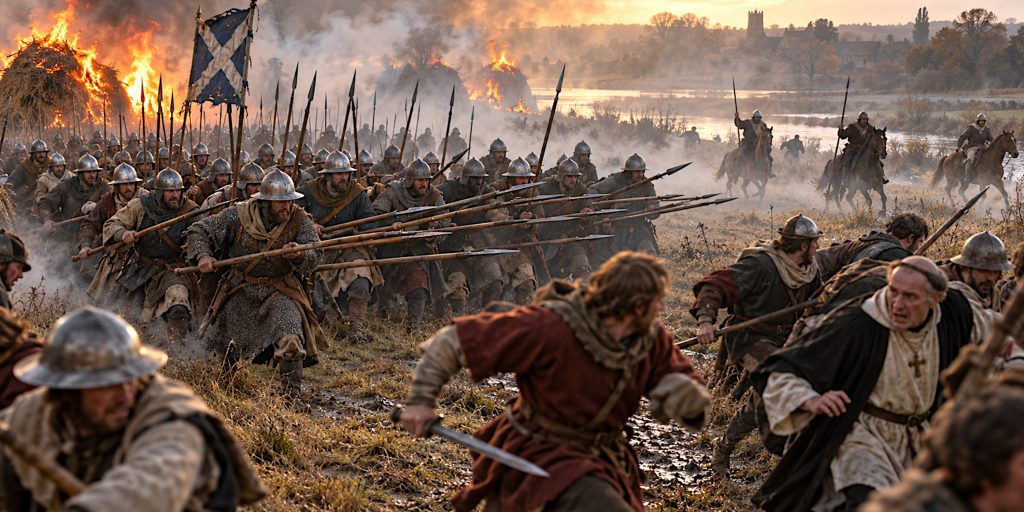
The English advanced towards the Scots near the Swale. The sources consistently portray their movement as poorly organised.
Scottish troops formed a compact body. The Chronicle of Lanercost describes a single schiltron, followed by a powerful collective shout that unsettled the approaching English. It then places mounted pursuit after the English began to flee.
Other accounts give burning hay a prominent role. Smoke obscured the Scots, while mounted troops threatened the English route back towards the bridge.
The narratives cannot be fitted into a perfectly timed sequence. Nevertheless, they describe the same essential disaster: an inexperienced force lost cohesion, and retreat became a pursuit in which the river made escape more dangerous.
Contemporary Quotes and What They Tell Us
The quotations below are short excerpts in published English translation or modernised spelling. They preserve the chroniclers’ perspectives, rather than providing a neutral transcript of events.
The Chronicle of Lanercost
“they marched all scattered through the fields and in no kind of array”
The criticism concerns collective organisation. Courage could not compensate for approaching an experienced enemy without a coherent formation.
The Vita Edwardi Secundi
“These are not soldiers but huntsmen”
The Life of Edward the Second attributes this dismissive remark to the Scots. It is best read as the chronicler’s expression of the imbalance between the armies, rather than verified speech heard across the field.
Its account also contrasts Scottish fighting ability with English inexperience. Myton
Casualties: How Many Men Died at Myton?
The English suffered heavily, but the totals are disputed.
| Account | Reported English losses | Qualification |
|---|---|---|
| John Barbour’s The Bruce | About 1,000 killed, including 300 priests | Written decades after the battle |
| Chronicle of Lanercost | About 4,000 killed and a further 1,000 drowned | A contemporary claim, not a verified count |
| Scottish losses | No dependable total | Precise modern figures would be speculative |
Fleming’s death and Melton’s escape are part of the recorded aftermath. Other English survivors were captured and taken to Scotland for ransom.
The casualty figures convey the scale of the perceived catastrophe. They cannot tell us exactly how many bodies lay in the meadows or river. The Armies & the losses
Archaeology and the Battlefield Landscape
The Battlefields Trust reports no identified archaeological evidence securely relating to the battle. Claims that particular swords, buckles or other objects came from Myton therefore need documented provenance.
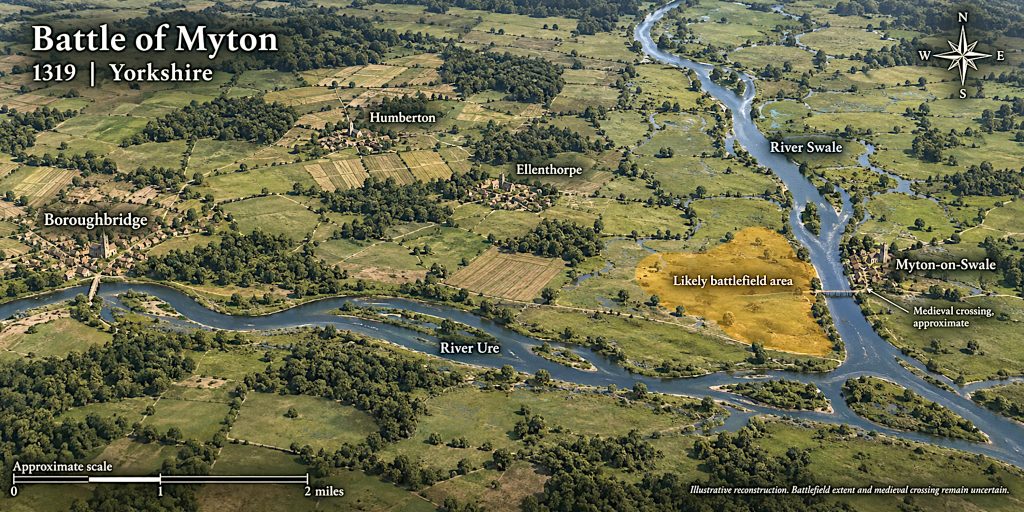
The accepted battlefield lies on low ground west of the Swale, north of its confluence with the Ure. Its full extent remains uncertain, as does the precise position of the medieval bridge.
| Evidence | What it contributes |
|---|---|
| Chronicle references | Connect the fighting with Myton, the Swale and a bridge |
| Floodplain terrain | Helps explain the dangers of retreat and river crossing |
| Historic fields and settlements | Provide context for reconstructing the medieval landscape |
| Local burial traditions | Preserve memory, but do not establish excavated graves |
| Battle-related artefacts | No securely identified assemblage reported by the Battlefields Trust |
Traditions that the dead were buried in Myton churchyard remain unproven. Battlefield mass graves are another possibility, but have not been established.
For me, the uncertainty makes the landscape more interesting. A quiet meadow can preserve a convincing setting without surrendering the exact location of every movement. Archaeology has not yet supplied the missing detail. The Battlefield
Battle Timeline
| Date or phase | Event |
|---|---|
| 1318 | The Scots capture Berwick-upon-Tweed |
| Late August 1319 | Edward II begins his siege of Berwick |
| September 1319 | Randolph and Douglas raid into northern England |
| Before the battle | English leaders assemble a force around York |
| 20 September 1319 | The armies meet near Myton and the Swale |
| During the fighting | The English force breaks; pursuit and drownings follow |
| After Myton | The raid contributes to the abandonment of the English siege |
The date generally accepted is 20 September 1319. The Brut gives a conflicting October date, illustrating why individual chronicle details require comparison. Myton
Why Myton Matters
Myton illustrates how a raid could disrupt a much larger campaign. Randolph and Douglas threatened the country behind Edward II’s army, forcing English leaders to confront competing military priorities.
It also exposes the danger of confusing a large gathering with an effective fighting force. Training, leadership and cohesion mattered when the English approached the Scots, and mattered still more when they tried to withdraw.
The clerical presence gave the battle its memorable names, but townsmen and countrymen shared the disaster. Reducing Myton to a story about unfortunate priests misses much of its human cost.
What stays with me is how quickly the purpose of the march must have changed. Men who had set out to protect their city were soon trying to reach a bridge, find a crossing or simply survive the pursuit. The strategic consequences were considerable. For those beside the Swale, the immediate problem was rather more personal.