The Ulm Campaign of September and October 1805 is one of those military operations that looks almost indecently neat on a map. Napoleon’s Grande Armée swept eastwards, crossed the Danube behind the Austrian army, severed its communications and progressively compressed General Karl Mack’s forces into Ulm. The campaign culminated in the surrender of a substantial Austrian army on 20 October.
Calling Ulm a single battle is slightly misleading. There were hard-fought actions at Wertingen, Günzburg, Haslach-Jungingen and Elchingen, but Napoleon’s achievement was fundamentally operational. He defeated Mack by manoeuvring faster than the Austrians could understand what was happening.
That distinction matters. Ulm was not Austerlitz, Waterloo or Borodino. There was no enormous climactic collision between two armies. Instead, an army was systematically deprived of roads, intelligence, supplies and realistic options until surrender became the least disastrous choice.
For a historian, this is precisely what makes Ulm so interesting. It is warfare stripped of much of its heroic mythology. Roads, marching speed, staff work and geography did most of the killing before the shooting was finished.
Battle of Ulm at a Glance
| Detail | Information |
|---|---|
| Campaign | War of the Third Coalition |
| Dates | September to 20 October 1805 |
| Location | Ulm and the upper Danube, southern Germany |
| Belligerents | French Empire and allies vs Austrian Empire |
| French commander | Emperor Napoleon I |
| Principal Austrian commander | General Karl Mack von Leiberich |
| Result | Decisive French strategic victory |
| Key actions | Wertingen, Günzburg, Haslach-Jungingen, Elchingen |
| Final surrender | 20 October 1805 |
| Strategic consequence | Destruction of the main Austrian field force in Germany and French advance towards Vienna |
Why the Ulm Campaign Happened
In 1805 Britain, Austria, Russia and their allies formed the Third Coalition against Napoleonic France.
Napoleon had assembled a large army around Boulogne, ostensibly for the invasion of Britain. When Austria moved into Bavaria and Russia prepared to advance westwards, Napoleon abandoned the immediate invasion project and turned his army east.
The transformation was remarkably rapid.
The Grande Armée marched from the Channel coast towards the Rhine and Danube using a corps system which allowed formations to move independently along separate roads while remaining close enough to support one another.
Austria had moved first. That should have been an advantage.
Instead, General Karl Mack advanced into Bavaria before the Russian army under Kutuzov could properly unite with him. His forces concentrated around Ulm while Napoleon approached from an unexpected direction.
The French were not simply coming straight at him from the west. They were moving around him.
Napoleon’s First Bulletin of the Grande Armée openly celebrated the manoeuvre, describing how the French advance had placed the army several marches behind its opponent and threatened its destruction.
Mack’s strategic problem was becoming unpleasantly simple. The longer he remained around Ulm, the fewer roads remained available to escape.
Forces
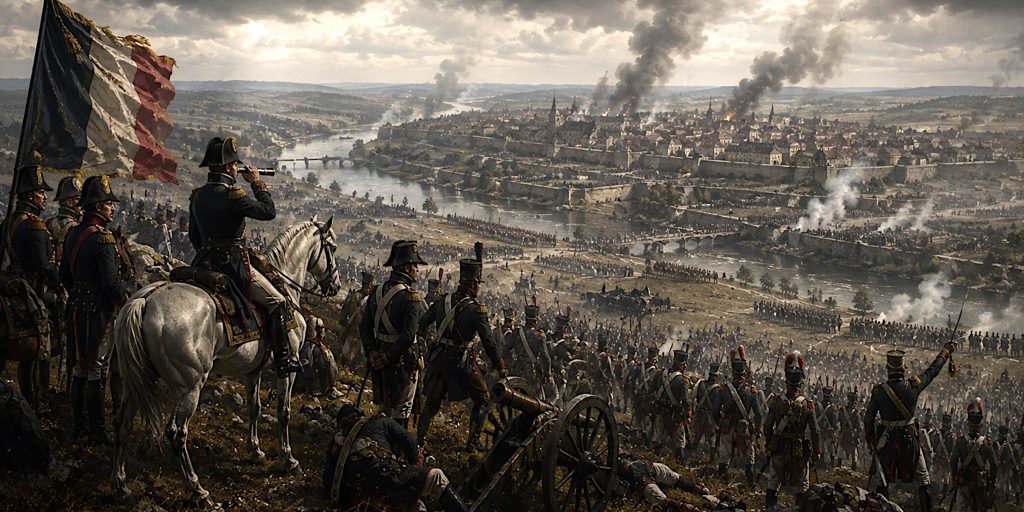
Exact strengths vary considerably between sources because the Ulm Campaign involved dispersed corps, detachments, prisoners and troops arriving or escaping at different stages.
The figures below should therefore be treated as useful campaign estimates rather than suspiciously precise headcounts.
| Force | Approximate strength | Composition |
| Napoleon’s Grande Armée in the wider German campaign | 180,000 to 200,000+ | Infantry, cavalry, artillery and allied contingents organised into corps |
| French forces directly involved around Ulm | Roughly 100,000+ available across several corps | Line and light infantry, cavalry, artillery |
| Austrian Army of the Danube at the opening of operations | Around 70,000 to 80,000 | Infantry, cavalry, artillery and grenadier formations |
| Austrians surrendering at Ulm | Around 25,000 | Remaining troops trapped with Mack |
| Austrian artillery surrendered at Ulm | Around 60 guns | Field artillery |
The surrender at Ulm was only part of the Austrian disaster. Thousands more had already been captured during the surrounding operations, while other formations escaped or were dispersed. Fondation Napoléon’s chronology records 25,000 men and 60 cannon surrendering at Ulm itself.
French Leaders and Command Structure
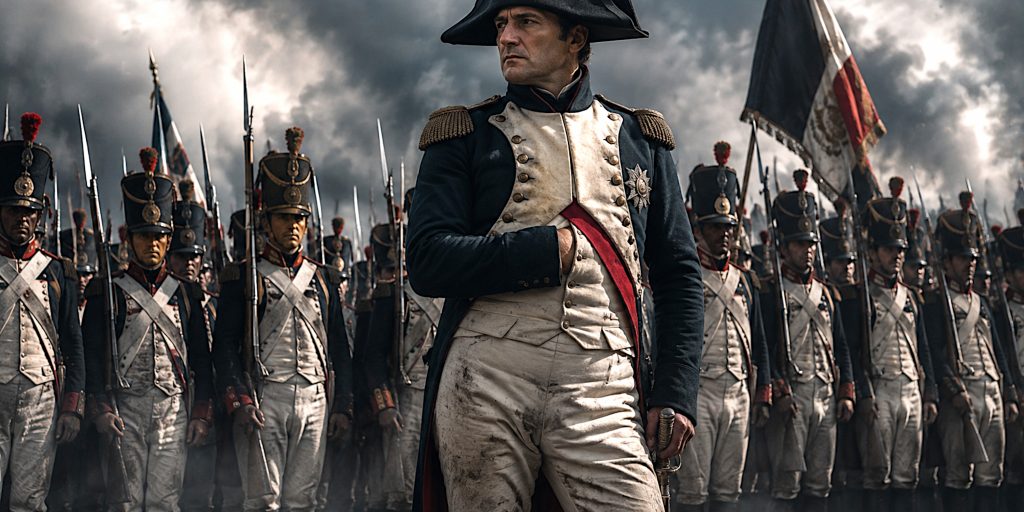
Napoleon’s great advantage was not merely numerical. The Grande Armée contained an unusually strong collection of experienced commanders.
| Commander | Role | Importance at Ulm |
| Napoleon Bonaparte | Emperor and commander-in-chief | Directed the overall encirclement |
| Marshal Joachim Murat | Cavalry commander | Reconnaissance, pursuit and interception |
| Marshal Michel Ney | VI Corps | Central figure at Günzburg and Elchingen |
| Marshal Jean Lannes | V Corps | Supported operations closing on Ulm |
| Marshal Nicolas Soult | IV Corps | Advanced towards Augsburg and Memmingen |
| Marshal Jean-Baptiste Bernadotte | I Corps | Operated through Bavaria and towards Munich |
| Marshal Louis-Nicolas Davout | III Corps | Formed part of Napoleon’s broad strategic movement |
| Marshal Auguste Marmont | II Corps | Participated in the wider encirclement |
The corps system deserves much of the credit. Each corps combined infantry, artillery and supporting cavalry and could operate independently for limited periods.
Napoleon could therefore spread his army across several roads without reducing it to an administrative shambles. That sounds rather less exciting than a cavalry charge, but campaigns are frequently decided by organisational details that painters sensibly leave out.
Austrian Leaders
| Commander | Role | Importance |
| General Karl Mack von Leiberich | Effective commander of the Austrian army | Principal architect of the Austrian operational plan |
| Archduke Ferdinand Karl | Nominal commander | Escaped from the encirclement |
| Prince Johann von Liechtenstein | Senior cavalry commander | Involved in Austrian operations around Ulm |
| Michael von Kienmayer | Austrian general | Commanded troops operating away from Mack’s main concentration |
| Prince Karl Philipp Schwarzenberg | Austrian commander | Escaped with Archduke Ferdinand |
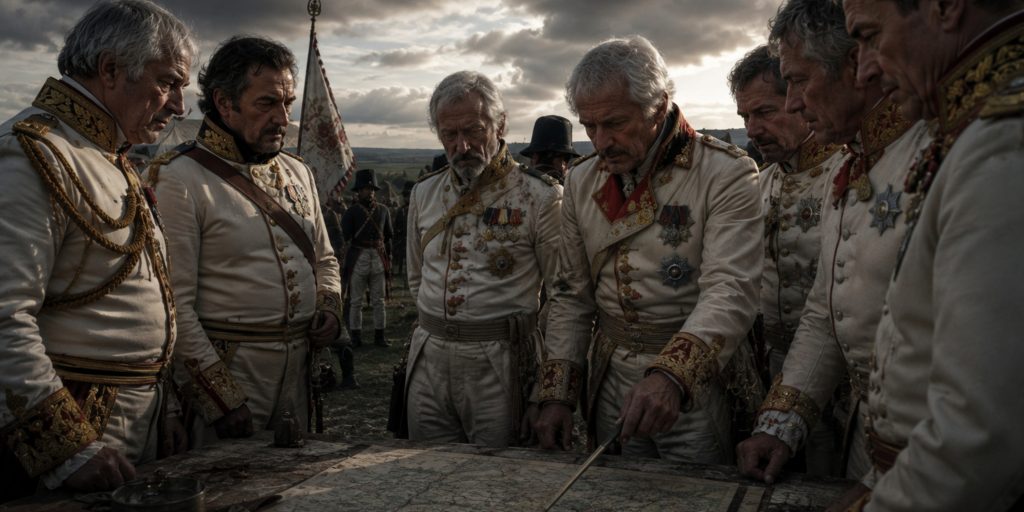
Mack has subsequently become the convenient villain of the story.
Some criticism is deserved. He repeatedly misread Napoleon’s intentions, remained around Ulm too long and failed to respond decisively when the threat to his communications became obvious.
Yet reducing the campaign to Mack being incompetent lets everyone else off rather easily. Austrian command arrangements were confused, relations between senior officers were poor, intelligence was unreliable and the coalition timetable depended heavily upon Russian forces arriving from the east.
Mack made serious mistakes, but Napoleon also created the circumstances in which those mistakes became fatal.
Troop Composition
French Grande Armée
The French forces around Ulm included:
- Line infantry regiments armed principally with smoothbore muskets
- Light infantry used for skirmishing and screening
- Heavy cavalry, including cuirassiers
- Dragoons capable of mounted and dismounted service
- Hussars and chasseurs à cheval used extensively for reconnaissance and pursuit
- Foot artillery
- Horse artillery
- Engineers and pontoon troops
- Bavarian and other allied forces operating within the wider campaign
Napoleon’s infantry remained the core of the army, but cavalry was particularly important during a campaign based upon finding, screening and trapping an opponent.
Austrian Army
The Austrian forces contained:
- German and Hungarian line infantry
- Grenadier battalions
- Jäger and other light troops
- Cuirassiers
- Dragoons
- Chevau-légers
- Hussars
- Foot and cavalry artillery
- Pioneer and engineering elements
The Austrian army was certainly not technologically primitive. Its problems around Ulm concerned command, deployment and strategic positioning rather more than individual weapons.
Arms and Armour
By 1805 European soldiers had largely abandoned battlefield armour, with the notable exception of heavy cavalry equipment. Firearms dominated combat, although swords remained essential weapons for cavalry and important symbols of rank for officers.
French Weapons
| Weapon | Users | Role |
| Charleville-pattern flintlock musket | Line infantry | Principal infantry firearm |
| Infantry briquet sabre | Selected infantrymen, NCOs and specialist troops | Short sidearm |
| AN XI light cavalry sabre | Chasseurs and hussars | Curved cutting sword suited to mounted combat |
| AN XI heavy cavalry sword | Cuirassiers and heavy cavalry | Long, comparatively straight cavalry weapon |
| Officer’s sabre or épée | Officers | Combat weapon and badge of rank |
| Bayonet | Infantry | Converted the musket into a close-combat weapon |
| Field cannon | Artillery | Battlefield fire support |
The famous sabre briquet deserves a little caution. It is visually inseparable from Napoleonic infantry, but the musket and bayonet did vastly more practical work.
French cavalry swords were more important tactically. Light cavalry generally preferred curved sabres suited to slashing from horseback, while heavy cavalry carried longer blades intended to deliver powerful cuts and thrusts during mounted action.
Austrian Weapons
| Weapon | Users | Role |
| Model 1798 infantry musket | Austrian infantry | Standard smoothbore firearm |
| Infantry sabre | NCOs and selected troops | Sidearm |
| Heavy cavalry sword | Cuirassiers | Mounted cutting and thrusting |
| Hussar sabre | Hussars | Curved cavalry sword |
| Dragoon sword | Dragoons | Longer cavalry sidearm |
| Officer’s sword or sabre | Officers | Combat and ceremonial weapon |
| Bayonet | Infantry | Close combat |
| Field artillery | Artillery formations | Support and disruption |
Armour
Actual body armour was largely confined to heavy cavalry.
French cuirassiers could wear metal cuirasses and helmets, although equipment varied during the early Imperial period. Austrian cuirassiers likewise retained protective equipment associated with heavy cavalry.
For the ordinary infantryman, however, his coat offered about as much protection against a musket ball as fashion could reasonably be expected to provide.
Napoleon’s Plan
Napoleon’s operational concept was based upon speed and envelopment.
Rather than attacking Mack directly from the west, the Grande Armée crossed the Rhine and moved eastwards north of the Austrian position. French corps then crossed the Danube and descended upon Mack’s rear.
By 6 October Napoleon was at Nördlingen, with French forces preparing to cross the Danube around Donauwörth. The crossing proceeded the following day.
This effectively reversed the strategic situation.
Mack had expected to face a French army advancing from the west.
Suddenly Napoleon was appearing to the east and north-east.
The Austrian army around Ulm was now facing away from its most dangerous enemy.
Battle and Campaign Timeline
| Date | Event |
| 8 September 1805 | Austrian forces invade Bavaria |
| Late September | Napoleon’s Grande Armée advances rapidly from the Rhine |
| 6 October | Napoleon reaches Nördlingen and prepares the Danube crossing |
| 7 October | Major French forces cross the Danube |
| 8 October | Murat and Lannes defeat Austrian forces at Wertingen |
| 9 October | Ney wins at Günzburg and secures important Danube crossings |
| 11 October | French and Austrian forces clash at Haslach-Jungingen |
| 13 October | Mack’s communications are effectively severed and Ulm becomes increasingly isolated |
| 14 October | Ney wins the Battle of Elchingen |
| 14 October | Archduke Ferdinand and Schwarzenberg escape with several thousand troops |
| 15 October | Ney and Lannes occupy the Michelsberg heights overlooking Ulm |
| 16 October | French pressure increases and Napoleon offers terms |
| 19 October | Mack formally agrees to capitulate |
| 20 October | Approximately 25,000 Austrian soldiers march out and surrender |
The chronology maintained by Fondation Napoléon records Mack as effectively surrounded by 13 October, with the French victory at Elchingen the following day driving Austrian forces back towards Ulm.
Wertingen, 8 October
The fighting at Wertingen demonstrated how quickly the French manoeuvre was beginning to bite.
Murat and Lannes struck an Austrian force under General Franz Auffenberg. The Austrians were defeated and more than 2,000 prisoners were reportedly taken, including Auffenberg himself.
The action was not enormous by Napoleonic standards, but strategically it mattered.
French forces were appearing where the Austrian command did not want them.
Günzburg, 9 October
Ney’s troops fought for crossings over the Danube around Günzburg.
The French victory further restricted Austrian freedom of movement and yielded more than 1,000 prisoners according to contemporary French campaign records.
Mack still possessed opportunities to escape, but every delay made the situation worse.
Haslach-Jungingen, 11 October
Here the French nearly discovered that bold manoeuvre can become recklessness remarkably quickly.
General Pierre Dupont found himself confronting a much larger Austrian force with only part of Ney’s corps.
Dupont nevertheless fought aggressively and convinced the Austrians that he represented a considerably larger French concentration.
The battle itself was tactically confused and costly. More importantly, the Austrians failed to exploit their numerical advantage decisively.
This was arguably one of Mack’s last meaningful opportunities to break through the French screen before the trap closed completely.
Elchingen, 14 October
The Battle of Elchingen was the most celebrated tactical action of the Ulm Campaign.
Ney crossed the Danube and attacked Austrian positions around Elchingen. The fighting drove the Austrians back towards Ulm and helped seal Mack’s isolation.
Napoleon later rewarded Ney with the title Duke of Elchingen.
On the same evening, Schwarzenberg and Archduke Ferdinand escaped with roughly 6,000 cavalry and other troops, eventually reaching the Russian forces.
Their escape demonstrates that the French encirclement was not an impenetrable wall. Determined movement was still possible.
Mack simply failed to organise it on the scale required.
The Trap Closes Around Ulm
By 15 October Ney and Lannes had occupied the Michelsberg heights overlooking Ulm.
The Austrian position was becoming hopeless.
French formations controlled the approaches. Austrian detachments elsewhere had been defeated, scattered or captured. The Russians were too distant to rescue Mack.
Napoleon could now afford to negotiate from overwhelming strength.
On 16 October he offered Mack the opportunity to capitulate.
Mack initially hesitated, still hoping that events elsewhere might save him.
They did not.
The Surrender of Ulm
Mack agreed to capitulate on 19 October.
The following day the Austrian army marched out.
Around 25,000 men and 60 cannon were surrendered according to Fondation Napoléon’s chronology.
One account describes Mack approaching Napoleon and surrendering his sword while identifying himself as the unfortunate Mack. Austrian soldiers then passed between assembled French formations and deposited their weapons.
It was carefully staged theatre as well as military procedure.
Napoleon understood the political value of spectacle. An enemy army marching past him and laying down its weapons provided a considerably better advertisement than any communiqué from Paris.
Contemporary Voices
The Grande Armée’s First Bulletin captured the confidence produced by Napoleon’s manoeuvre:
“The army is in perfect health and burning with desire to get down to business.”
The bulletin went on to stress that French movements had placed Napoleon’s army several marches behind the enemy.
The language is propaganda, of course. Napoleon’s bulletins were hardly exercises in detached academic analysis. Yet in this instance the underlying strategic claim was substantially true.
A later account of the surrender records Mack presenting himself before Napoleon with the words:
“Here is the unfortunate Mack…”
The moment became part of Napoleonic legend, reinforced by later paintings of the surrender.
Napoleon himself subsequently invoked Ulm while addressing his troops before Austerlitz, referring to the Russian army coming to avenge the Austrian army destroyed there.
Why Mack Lost
Mack’s defeat resulted from several overlapping failures.
- He concentrated too far west before Russian support arrived.
- He underestimated French marching speed.
- Austrian intelligence failed to establish Napoleon’s intentions quickly enough.
- Command disagreements weakened decision-making.
- Mack repeatedly delayed retreat.
- French cavalry and corps movements disrupted Austrian communications.
- Napoleon attacked Mack’s strategic rear rather than simply his front.
- French victories around Ulm progressively removed escape routes.
Mack also appears to have placed too much faith in intelligence suggesting that Napoleon might have to retreat because of political trouble in France.
Fondation Napoléon records an extraordinary episode in which intelligence linked to Karl Schulmeister helped reinforce Mack’s belief that Napoleon might withdraw. Mack ignored more accurate reports concerning French movements south of Ulm.
The espionage story has accumulated legend over the years and should be treated carefully. Mack did not lose an army because one clever spy told him a fib. His deeper problem was his willingness to believe information compatible with what he already hoped was happening.
That remains a surprisingly modern military failing.
Why Napoleon Won
Ulm is often presented as evidence of Napoleon’s personal genius. There is plenty of truth in that, although the phrase can obscure the machinery behind the victory.
Speed
The Grande Armée covered enormous distances rapidly, arriving before Austrian planning could properly adjust.
Corps Organisation
Napoleon could move formations independently while retaining the ability to concentrate them for battle.
Operational Envelopment
Instead of smashing directly into the Austrian front, Napoleon manoeuvred onto its communications.
Cavalry
Murat’s cavalry provided reconnaissance, screening and pursuit, making it increasingly difficult for Austrian formations to move undetected.
Aggressive Subordinates
Ney, Lannes, Soult, Murat and other commanders were capable of acting energetically without requiring Napoleon to supervise every battalion.
Austrian Delay
Napoleon’s plan succeeded partly because Mack gave him time to complete it.
That qualification matters. Great manoeuvres still require an opponent to make mistakes.
Casualties and Prisoners
Figures vary depending upon whether individual engagements and prisoners captured throughout the campaign are included.
| Category | Approximate figure |
| Austrians surrendered at Ulm itself | Around 25,000 |
| Austrian guns surrendered at Ulm | Around 60 |
| Prisoners at Wertingen | More than 2,000 |
| Prisoners at Günzburg | More than 1,000 |
| Total Austrian losses during wider Ulm operations | Tens of thousands killed, wounded, captured or dispersed |
| French losses | Comparatively light at campaign level, though significant in individual actions |
Some historical accounts place total Austrian captures around the Ulm operations considerably higher than the 25,000 surrendered on 20 October because they include prisoners taken during the surrounding battles and pursuit.
This distinction explains apparently contradictory figures in different histories.
Archaeology and the Battlefield Today
The Ulm Campaign presents an archaeological problem that differs from compact battlefields such as Waterloo.
There is no single neat “Ulm battlefield”. The campaign unfolded across a broad landscape encompassing river crossings, roads, villages, heights, camps and several separate engagements.
Potential archaeological evidence from Napoleonic campaigning in the region includes:
- Musket balls
- Gunflints
- Uniform buttons
- Buckles and fittings
- Coins and personal objects
- Horseshoes and cavalry equipment
- Artillery fragments
- Military camp debris
- Burial evidence
- Landscape features associated with roads, crossings and defensive positions
Any interpretation of isolated finds requires considerable caution. Southern Germany witnessed repeated military activity, and identifying an object as specifically belonging to the October 1805 campaign can be difficult without secure archaeological context.
The landscape itself is arguably the most valuable surviving evidence.
The Danube, Iller valley, Michelsberg heights and road network around Ulm explain Napoleon’s victory more clearly than a cabinet filled with buttons ever could. Standing on the high ground around the city makes the operational problem immediately understandable. Once the French controlled the heights and eastern communications, Mack’s room for manoeuvre had become desperately small.
Where to Explore the Ulm Campaign Today
Modern Ulm retains a strong connection with its military past, although much of the surviving fortification belongs to later periods.
Visitors interested in the campaign can explore:
- Ulm and the Danube crossings
- The Michelsberg heights
- Elchingen and its surrounding battlefield landscape
- Günzburg
- Wertingen
- The wider Danube road network used during the campaign
The celebrated painting The Surrender of Ulm, 20 October 1805 by Charles Thévenin is associated with the collections at Versailles and helped establish the visual mythology of Napoleon receiving Mack’s capitulation.
For anyone visiting the region, I would resist the temptation to look only for monuments. Ulm makes far more sense when followed geographically. Trace the Danube crossings and French approach routes and the campaign begins to explain itself.
Ulm and Trafalgar
One of history’s more remarkable coincidences occurred immediately after the Austrian surrender.
Mack’s troops marched out on 20 October 1805.
The following day, 21 October, Nelson destroyed the Franco-Spanish fleet at Trafalgar.
Within roughly twenty-four hours, Napoleon had achieved one of the greatest operational victories of his career while Britain achieved the naval victory that would become central to its own national mythology.
The contrast neatly illustrates the strategic character of the Napoleonic Wars.
France dominated continental warfare.
Britain increasingly dominated the sea.
Neither triumph immediately settled the war.
What Happened After Ulm?
Napoleon did not stop.
With Mack’s army removed, the Grande Armée advanced east towards Vienna while Russian forces attempted to avoid being trapped in turn.
Napoleon entered Vienna on 13 November 1805.
The campaign then culminated at Austerlitz on 2 December, where Napoleon defeated the combined Austrian and Russian armies.
Ulm therefore cannot really be separated from Austerlitz.
The first destroyed Austria’s principal army in southern Germany.
The second shattered the remaining coalition field army.
Together they made the 1805 campaign perhaps the finest demonstration of Napoleon’s operational method.
Was Ulm Napoleon’s Greatest Campaign Victory?
There is a respectable argument that it was.
Austerlitz was the greater battlefield victory. Jena-Auerstedt destroyed Prussia’s principal armies. Friedland produced a decisive political settlement.
But Ulm demonstrates something purer.
Napoleon effectively defeated an army before forcing it into a conventional decisive battle.
He used geography, marching speed, intelligence, corps organisation and aggressive subordinate commanders to transform Mack’s position from apparently defensible to virtually hopeless in a matter of days.
There is also a warning here.
Napoleon’s success can make the campaign appear inevitable when viewed retrospectively. It was not. Dupont’s dangerous position at Haslach-Jungingen and the successful escape of Ferdinand and Schwarzenberg demonstrate that gaps existed in the French net.
A more decisive Austrian command might have exploited them.
That does not diminish Napoleon’s achievement. If anything, it makes it more impressive. Military genius is rarely the creation of a flawless plan. More often it lies in creating more opportunities than the opponent can cope with.
At Ulm, Napoleon did exactly that.
Legacy of the Battle of Ulm
The campaign became a textbook example of strategic envelopment.
Its importance lies in several areas:
- It demonstrated the effectiveness of Napoleon’s corps system.
- It showed how rapid concentration could defeat a slower command structure.
- It removed Austria’s principal army in Germany.
- It opened the road towards Vienna.
- It established favourable conditions for the Austerlitz campaign.
- It enhanced the reputations of Ney, Murat, Lannes and other French commanders.
- It demonstrated the danger of allowing an enemy to operate against communications and retreat routes.
Ulm also provides a useful corrective to the popular image of Napoleonic warfare.
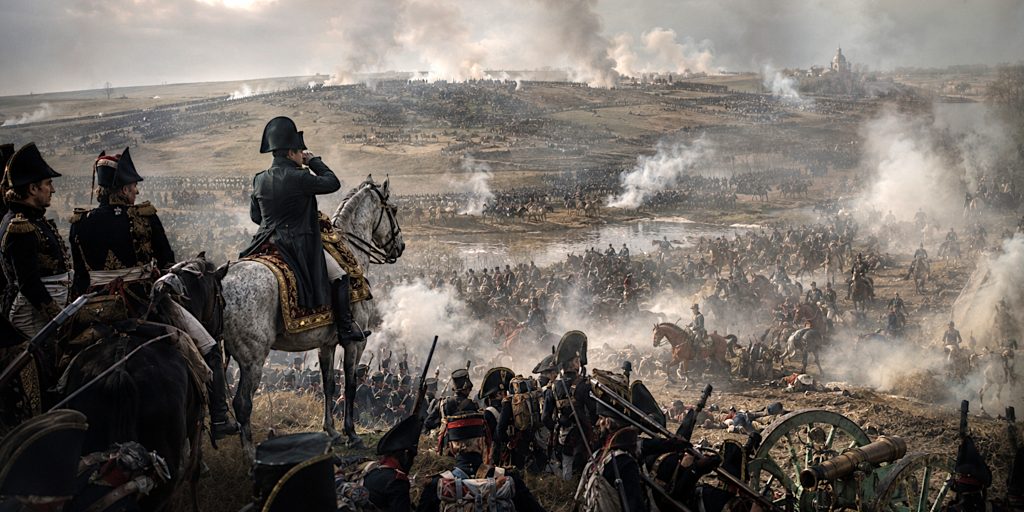
The period was certainly filled with columns, cavalry charges, cannon smoke and spectacular uniforms. Yet one of Napoleon’s finest victories depended primarily upon getting large numbers of men onto the right roads at the right time.
The uniforms were admittedly much better than modern motorway clothing.