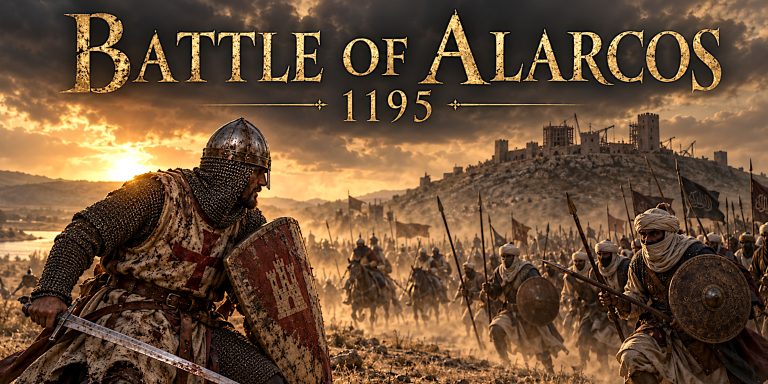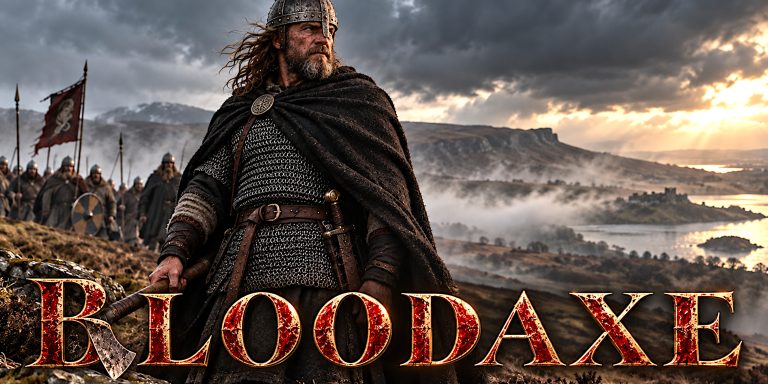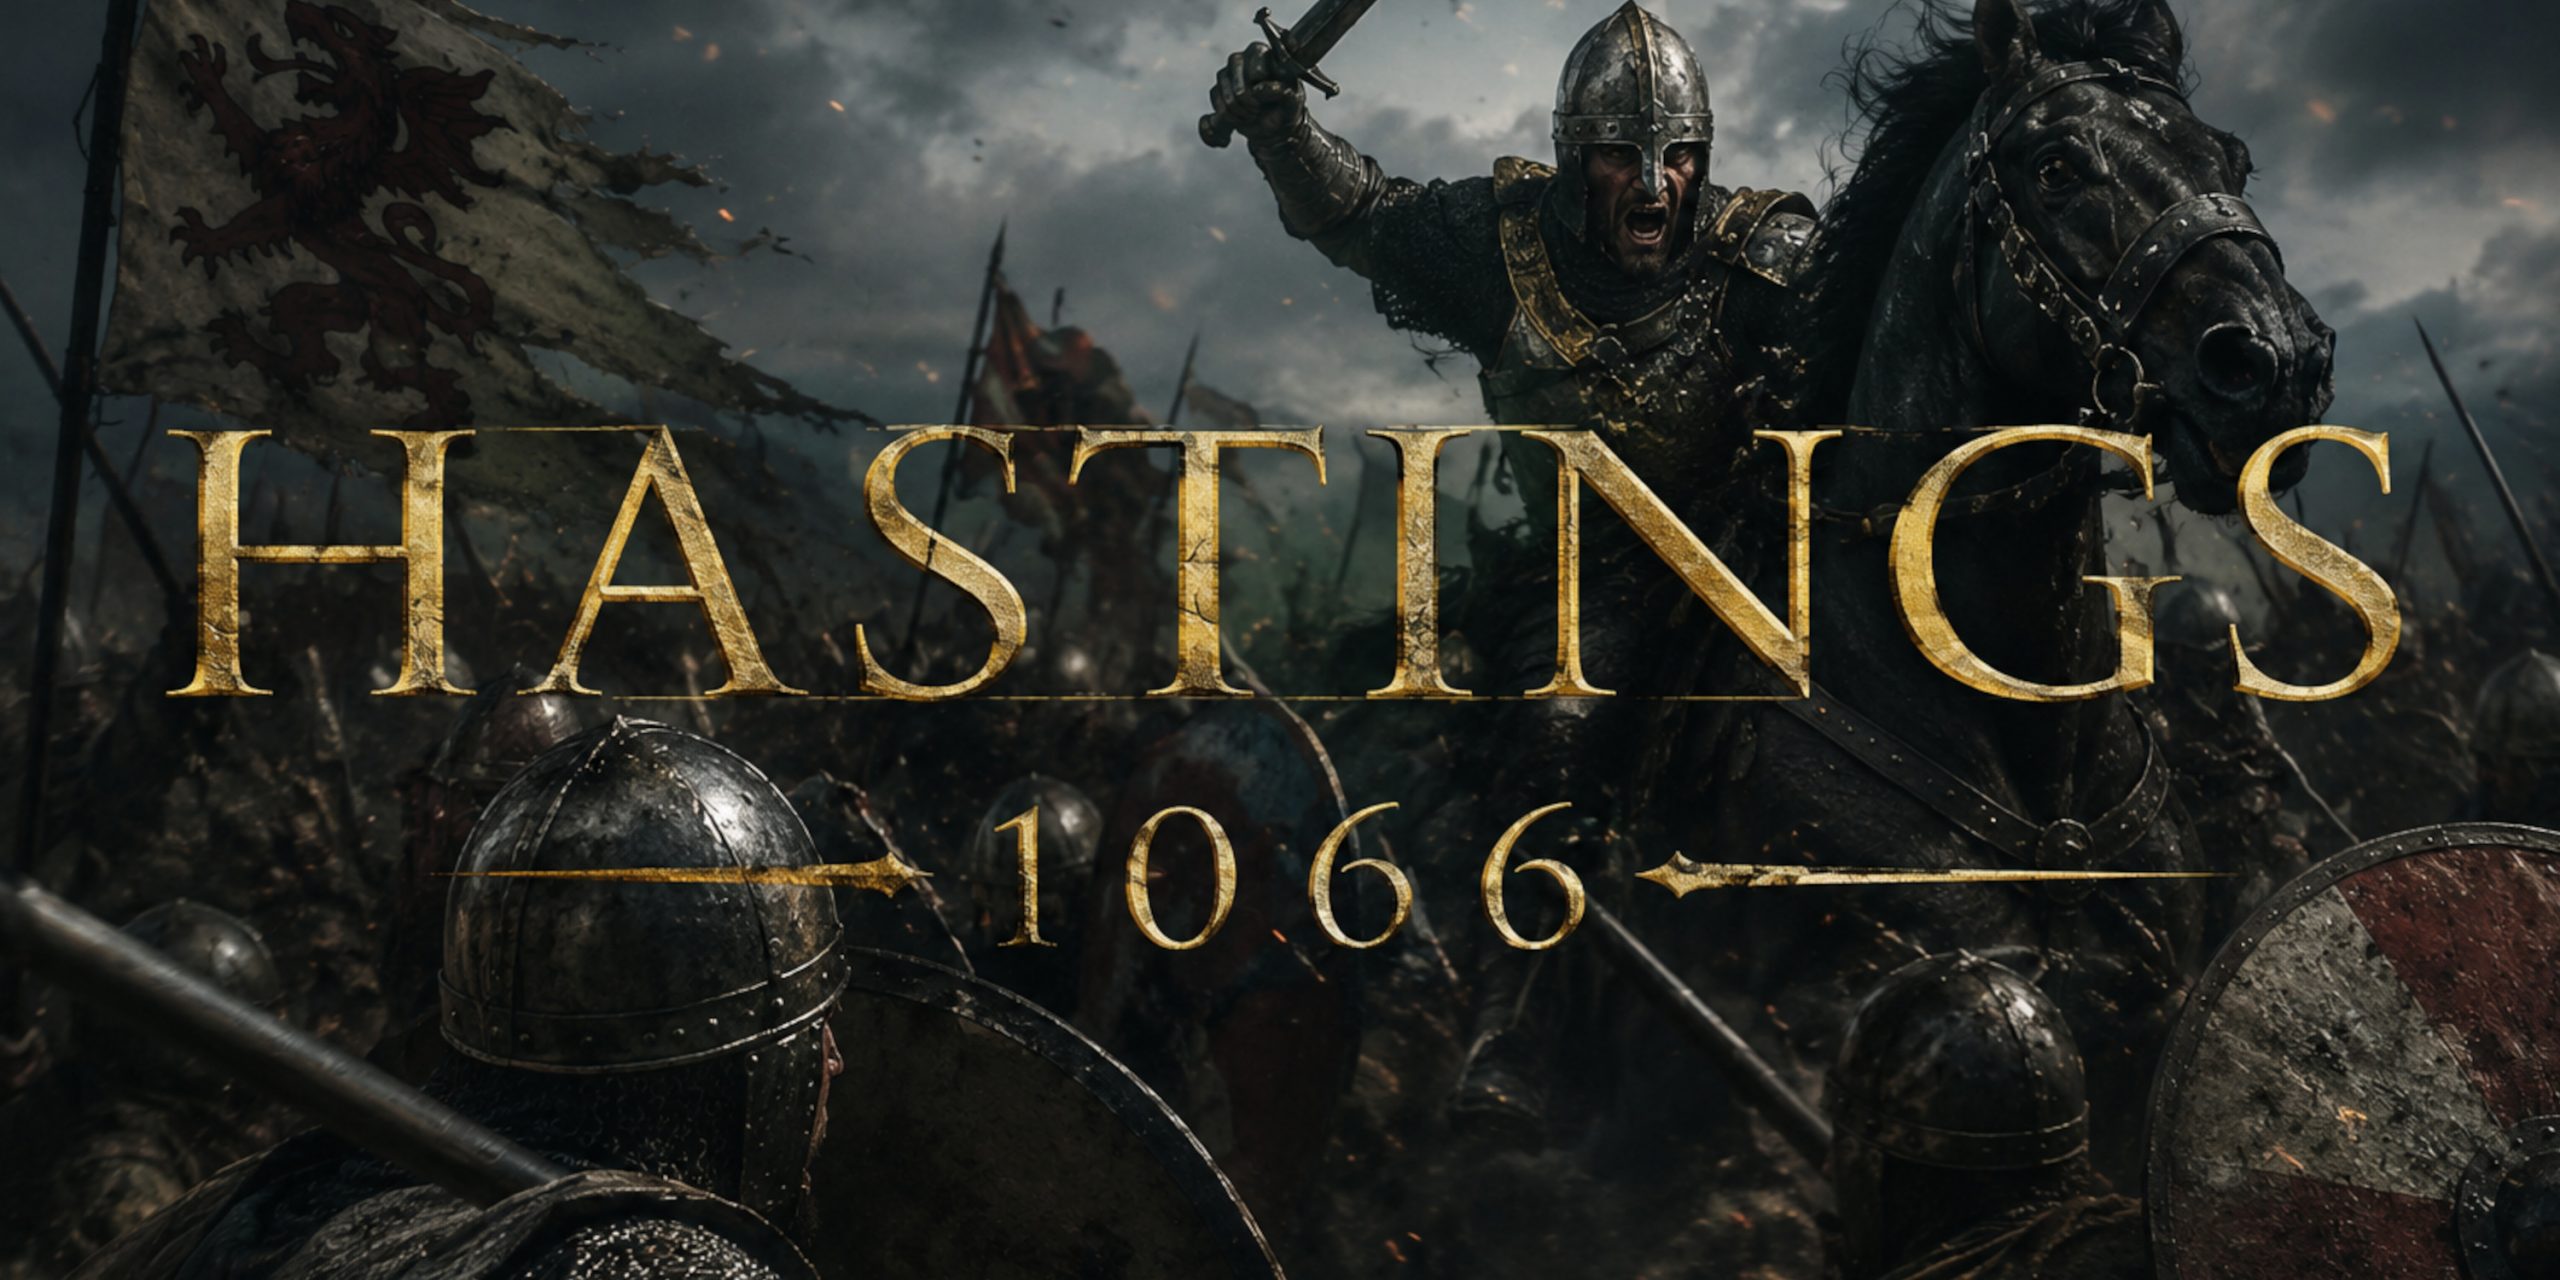
The Battle of Hastings, fought on 14 October 1066, was one of those rare moments where a single day genuinely redirected history. England entered the morning as an Anglo-Saxon kingdom ruled by Harold Godwinson. By nightfall, its king was dead, its ruling class was shattered, and William, Duke of Normandy, stood on the edge of becoming William the Conqueror.
As historians, we should always be cautious about calling anything “inevitable”. Hastings was not a simple story of a modern Norman army crushing outdated Saxons. Harold’s army was experienced, disciplined and terrifying behind a shield wall. William’s victory came through endurance, adaptation, leadership and probably a little bit of luck. Medieval commanders rarely complained when fortune decided to join their side.
The battle combined Norman cavalry charges, archery, infantry assaults and one of the most famous defensive stands in medieval warfare.
Background: The Road to Hastings
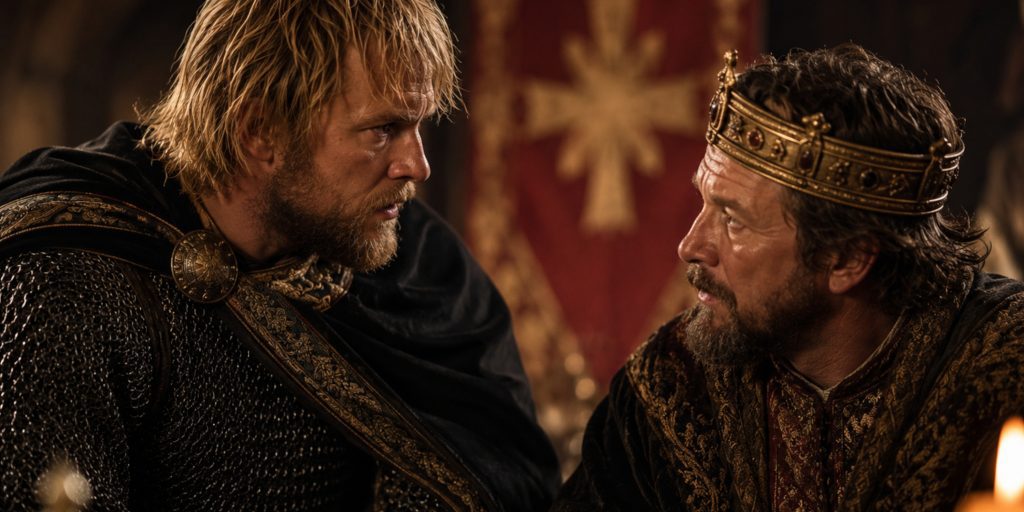
The death of Edward the Confessor in January 1066 created a succession crisis. Three major claimants emerged:
| Claimant | Position | Claim |
|---|---|---|
| Harold Godwinson | Earl of Wessex, later King Harold II | Claimed Edward had named him successor and was chosen by the Witan |
| William of Normandy | Duke of Normandy | Claimed Edward promised him the throne and Harold had sworn to support him |
| Harald Hardrada | King of Norway | Claimed the English throne through earlier Scandinavian agreements |
Harold defeated Hardrada at the Battle of Stamford Bridge on 25 September 1066 after a forced march north. It was a brilliant victory but came at a brutal cost.
Within days, William landed at Pevensey. Harold marched his exhausted forces south, covering around 250 miles. Medieval armies did not have the luxury of recovery days and comfortable transport. A tired Saxon warrior still had to fight, even if his legs strongly disagreed with the arrangement.
Forces at the Battle of Hastings
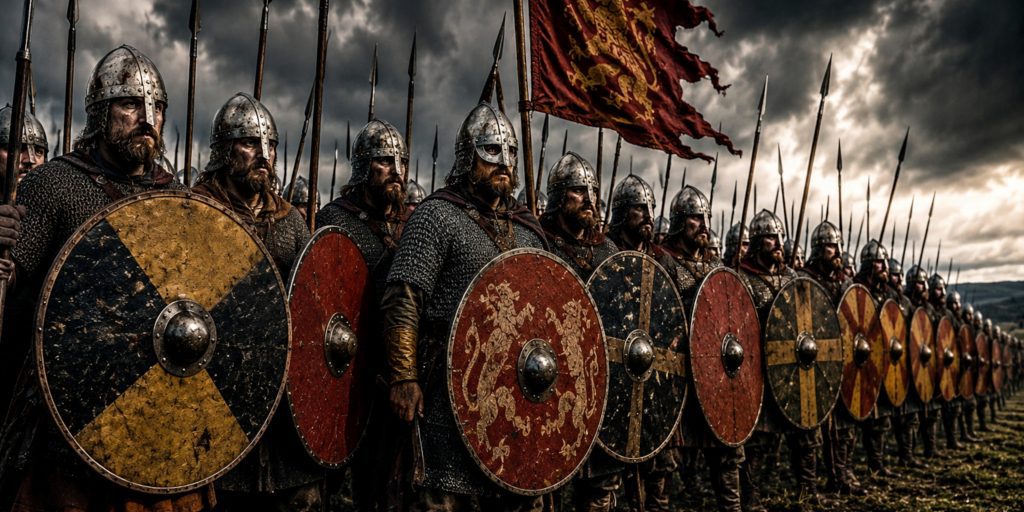
Exact numbers remain debated. Medieval sources often exaggerated army sizes, sometimes with the enthusiasm of someone trying to make their favourite side sound more impressive.
Modern estimates usually place both armies somewhere between 7,000 and 10,000 men.
| Army | Commander | Estimated Strength | Main Troops |
| Anglo-Saxons | King Harold II | Around 7,000 to 8,000 | Housecarls, fyrd infantry, nobles |
| Normans | Duke William of Normandy | Around 7,000 to 10,000 | Knights, infantry, archers, crossbowmen |
Leaders and Troop Composition
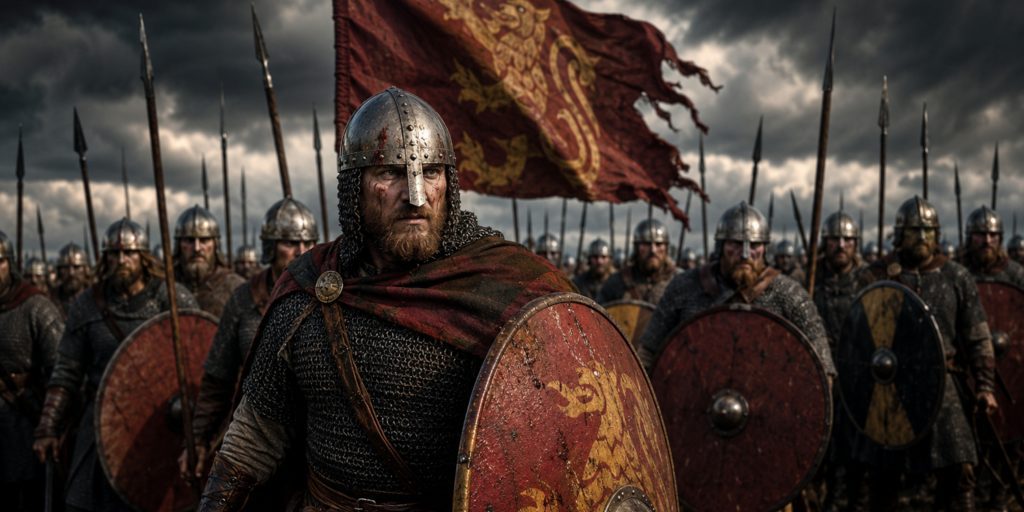
Anglo-Saxon Army
Commander: Harold Godwinson
Harold was not an inexperienced king thrown into disaster. He was one of the most capable military leaders in Europe at the time.
His forces included:
Housecarls
Elite professional warriors who formed the backbone of Harold’s army.
Equipment:
- Mail hauberks
- Conical helmets
- Large round or kite shields
- Two-handed Dane axes
- Swords
- Spears
Their Dane axes became legendary. A skilled housecarl could deliver devastating blows capable of cutting through shields, armour and unlucky Norman horses.
The Fyrd
Local levies who supported the professional warriors.
Equipment:
- Spears
- Shields
- Knives or seaxes
- Occasional swords
- Limited armour depending on wealth
The fyrd has sometimes been unfairly dismissed as a peasant mob. Many were experienced fighters, although they lacked the equipment and training of Harold’s elite troops.
Norman Army
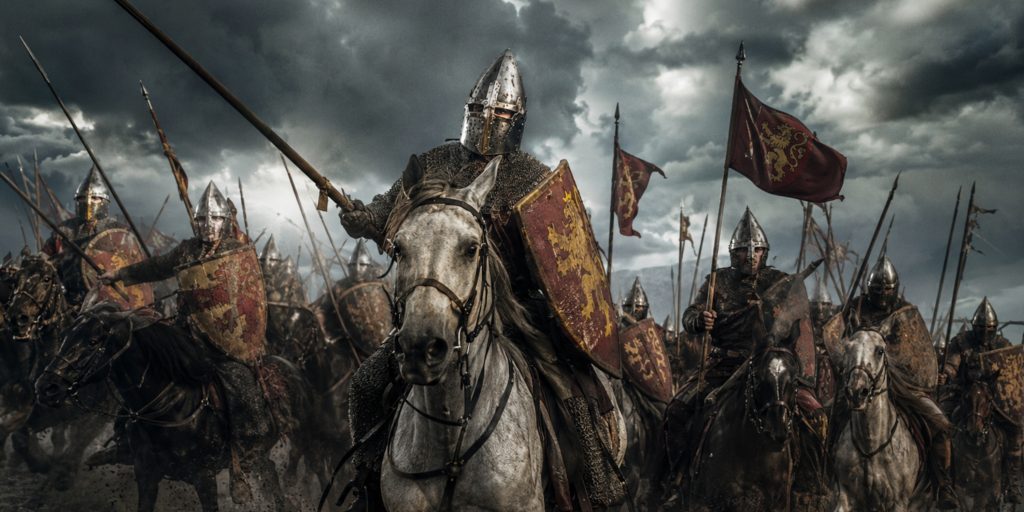
Commander: William, Duke of Normandy
William brought a more flexible combined-arms force.
His army contained:
Norman Knights
The most famous element of his army.
Equipment:
- Mail armour
- Nasal helmets
- Kite shields
- Lances
- Swords
- Maces
They fought using mounted shock tactics, although the idea of unstoppable medieval cavalry smashing everything instantly is more Hollywood than history.
Infantry
Norman infantry supported cavalry attacks.
Weapons:
- Spears
- Swords
- Axes
- Clubs
Archers and Crossbowmen
The Norman missile troops played a key role.
Weapons:
- Self bows
- Early medieval crossbows
The final stages of the battle may have involved archers firing at higher angles into the Saxon formation.
Arms and Armour at Hastings
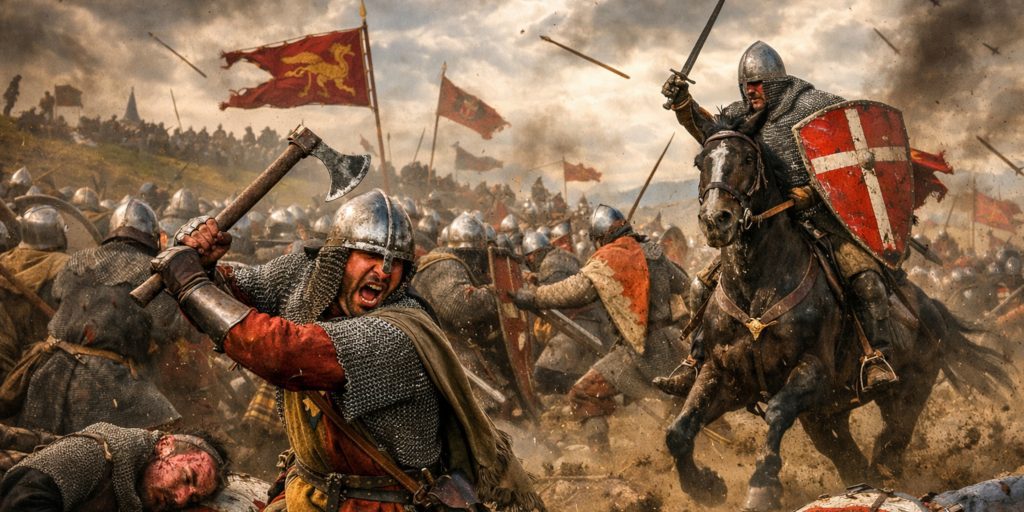
The battlefield was a clash of two related but different military traditions.
Anglo-Saxon Weapons
Pattern-Welded Swords
High-status Saxon warriors carried beautifully made double-edged swords.
Features:
- Straight double-edged blade
- Around 70 to 90 cm blade length
- Broad fuller to reduce weight
- Iron or steel construction
- Decorated hilts among nobles
A sword was not just a weapon. It represented wealth, family status and identity.
Dane Axe
The iconic weapon of Harold’s housecarls.
Features:
- Long wooden shaft
- Wide cutting blade
- Two-handed use
- Excellent reach
Against cavalry, it was terrifying.
Seax
A single-edged knife or short sword used throughout Anglo-Saxon England.
Uses:
- Sidearm
- Utility blade
- Close combat weapon
Norman Weapons
Norman Knightly Sword
The classic 11th-century knightly sword.
Features:
- Straight double-edged blade
- Cruciform guard
- One-handed use from horseback
- Balanced for cutting
These weapons developed into the later European arming sword.
Lance
Norman cavalry relied heavily on the spear or lance.
Methods included:
- Overarm thrusting
- Underarm attacks
- Early couched techniques
Mace
Used by some warriors, especially against armoured opponents.
Armour
Both armies used similar protective equipment:
- Mail hauberks
- Iron helmets with nasal guards
- Padded garments beneath armour
- Wooden shields covered with leather
Norman kite shields offered better leg protection for cavalry. Saxon round shields were excellent for forming dense defensive walls.
Battle Timeline
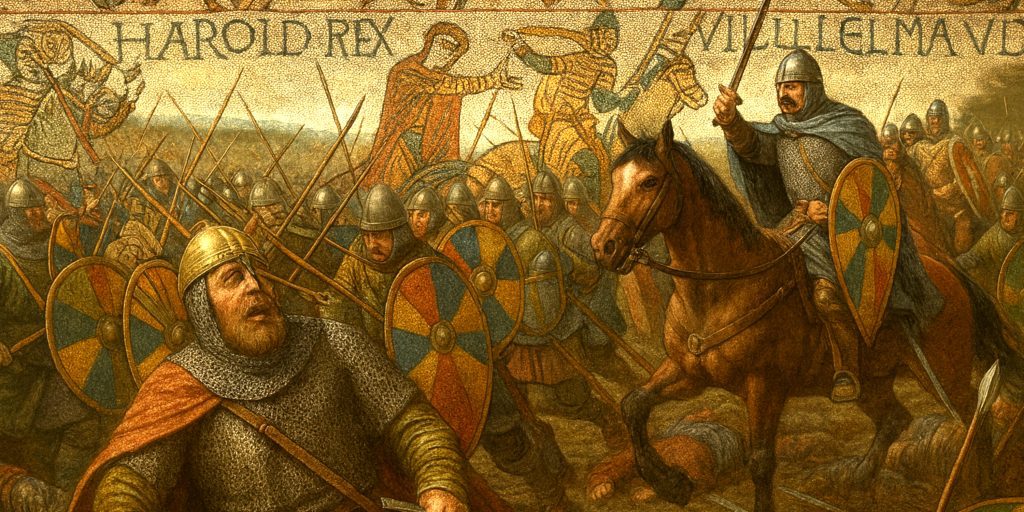
Morning: Harold Takes Position
Harold formed his army on high ground near modern Battle, East Sussex.
The Saxons created a shield wall across Senlac Hill.
Advantages:
- Strong defensive position
- Protected flanks
- Forced Norman attacks uphill
First Norman Attacks
William opened with:
- Archers
- Infantry assaults
- Cavalry charges
The Saxon line held.
Norman cavalry struggled against disciplined infantry. Horses, quite reasonably, were not excited about charging directly into axes.
Rumours of William’s Death
At one stage, part of the Norman army began retreating.
A rumour spread that William had been killed. According to later accounts, he removed his helmet to show his soldiers he was alive.
This moment became central to Norman storytelling about his leadership.
Feigned Retreats
One of the most debated moments of Hastings was the Norman use of retreat tactics.
Some Saxons pursued fleeing Normans, breaking formation.
William exploited these openings.
Whether these were planned tactics or accidental opportunities remains debated.
Death of Harold
Late in the battle, Harold was killed.
The famous story says he was struck in the eye by an arrow, largely based on interpretations of the Bayeux Tapestry.
Other accounts suggest he was cut down by Norman knights.
The truth remains uncertain. Medieval sources loved dramatic deaths, and kings rarely received quiet endings in chronicles.
Contemporary Quotes and Sources
William of Poitiers
William’s chaplain praised the duke’s leadership:
“His courage was everywhere apparent.”
While valuable, William of Poitiers wrote from the Norman perspective, so his account needs careful handling.
Anglo-Saxon Chronicle
The English record described the disaster:
“There was great slaughter made on either side.”
The Chronicle captures the scale of loss felt in England after the defeat.
Orderic Vitalis
Writing later, Orderic reflected on the transformation after conquest:
“The English groaned aloud for their lost liberty.”
Later accounts are useful but must be weighed against political and cultural viewpoints.
Archaeology of the Battle of Hastings

Finding physical evidence from Hastings has been surprisingly difficult.
The traditional battlefield is around Battle Abbey, built by William after the conquest.
Archaeological work has discovered:
- Medieval material around Battle
- Landscape evidence matching descriptions of the battlefield
- Features connected with Battle Abbey
However, confirmed battlefield finds are rare.
Possible reasons include:
- Valuable weapons and armour were collected after fighting
- Iron objects decayed over centuries
- The exact fighting area remains debated
Important related artefacts can be seen at:
- Battle Abbey, East Sussex
- British Museum, London
- Museum of Bayeux, France, home of the Bayeux Tapestry
The Bayeux Tapestry remains the most important visual source for the campaign. It is Norman propaganda, but exceptionally useful propaganda.
Military Analysis: Why William Won
William’s victory came from several factors:
- Better battlefield flexibility
- Effective combination of cavalry, infantry and archers
- Ability to adapt during battle
- Harold’s exhausted army after Stamford Bridge
- Loss of Saxon discipline during key moments
Harold’s decision to fight quickly has often been criticised. However, allowing William more time could have been equally dangerous.
History is much easier when you already know the ending.
Aftermath and Legacy
William was crowned King of England on Christmas Day 1066.
The consequences were enormous:
- Replacement of much of the Anglo-Saxon nobility
- Introduction of Norman castles
- Creation of the Domesday Book
- Transformation of English language and culture
- Closer links between England and continental Europe
Hastings was not simply the end of Anglo-Saxon England overnight. Cultures merged, resisted and evolved. Yet few battles have created such a clear before and after.
The most remarkable thing about Hastings is how close it may have been. A stronger shield wall, a different decision, or another hour of daylight could have changed the history of England.
That uncertainty is exactly why 1066 still fascinates nearly a thousand years later.
Watch the documentay: