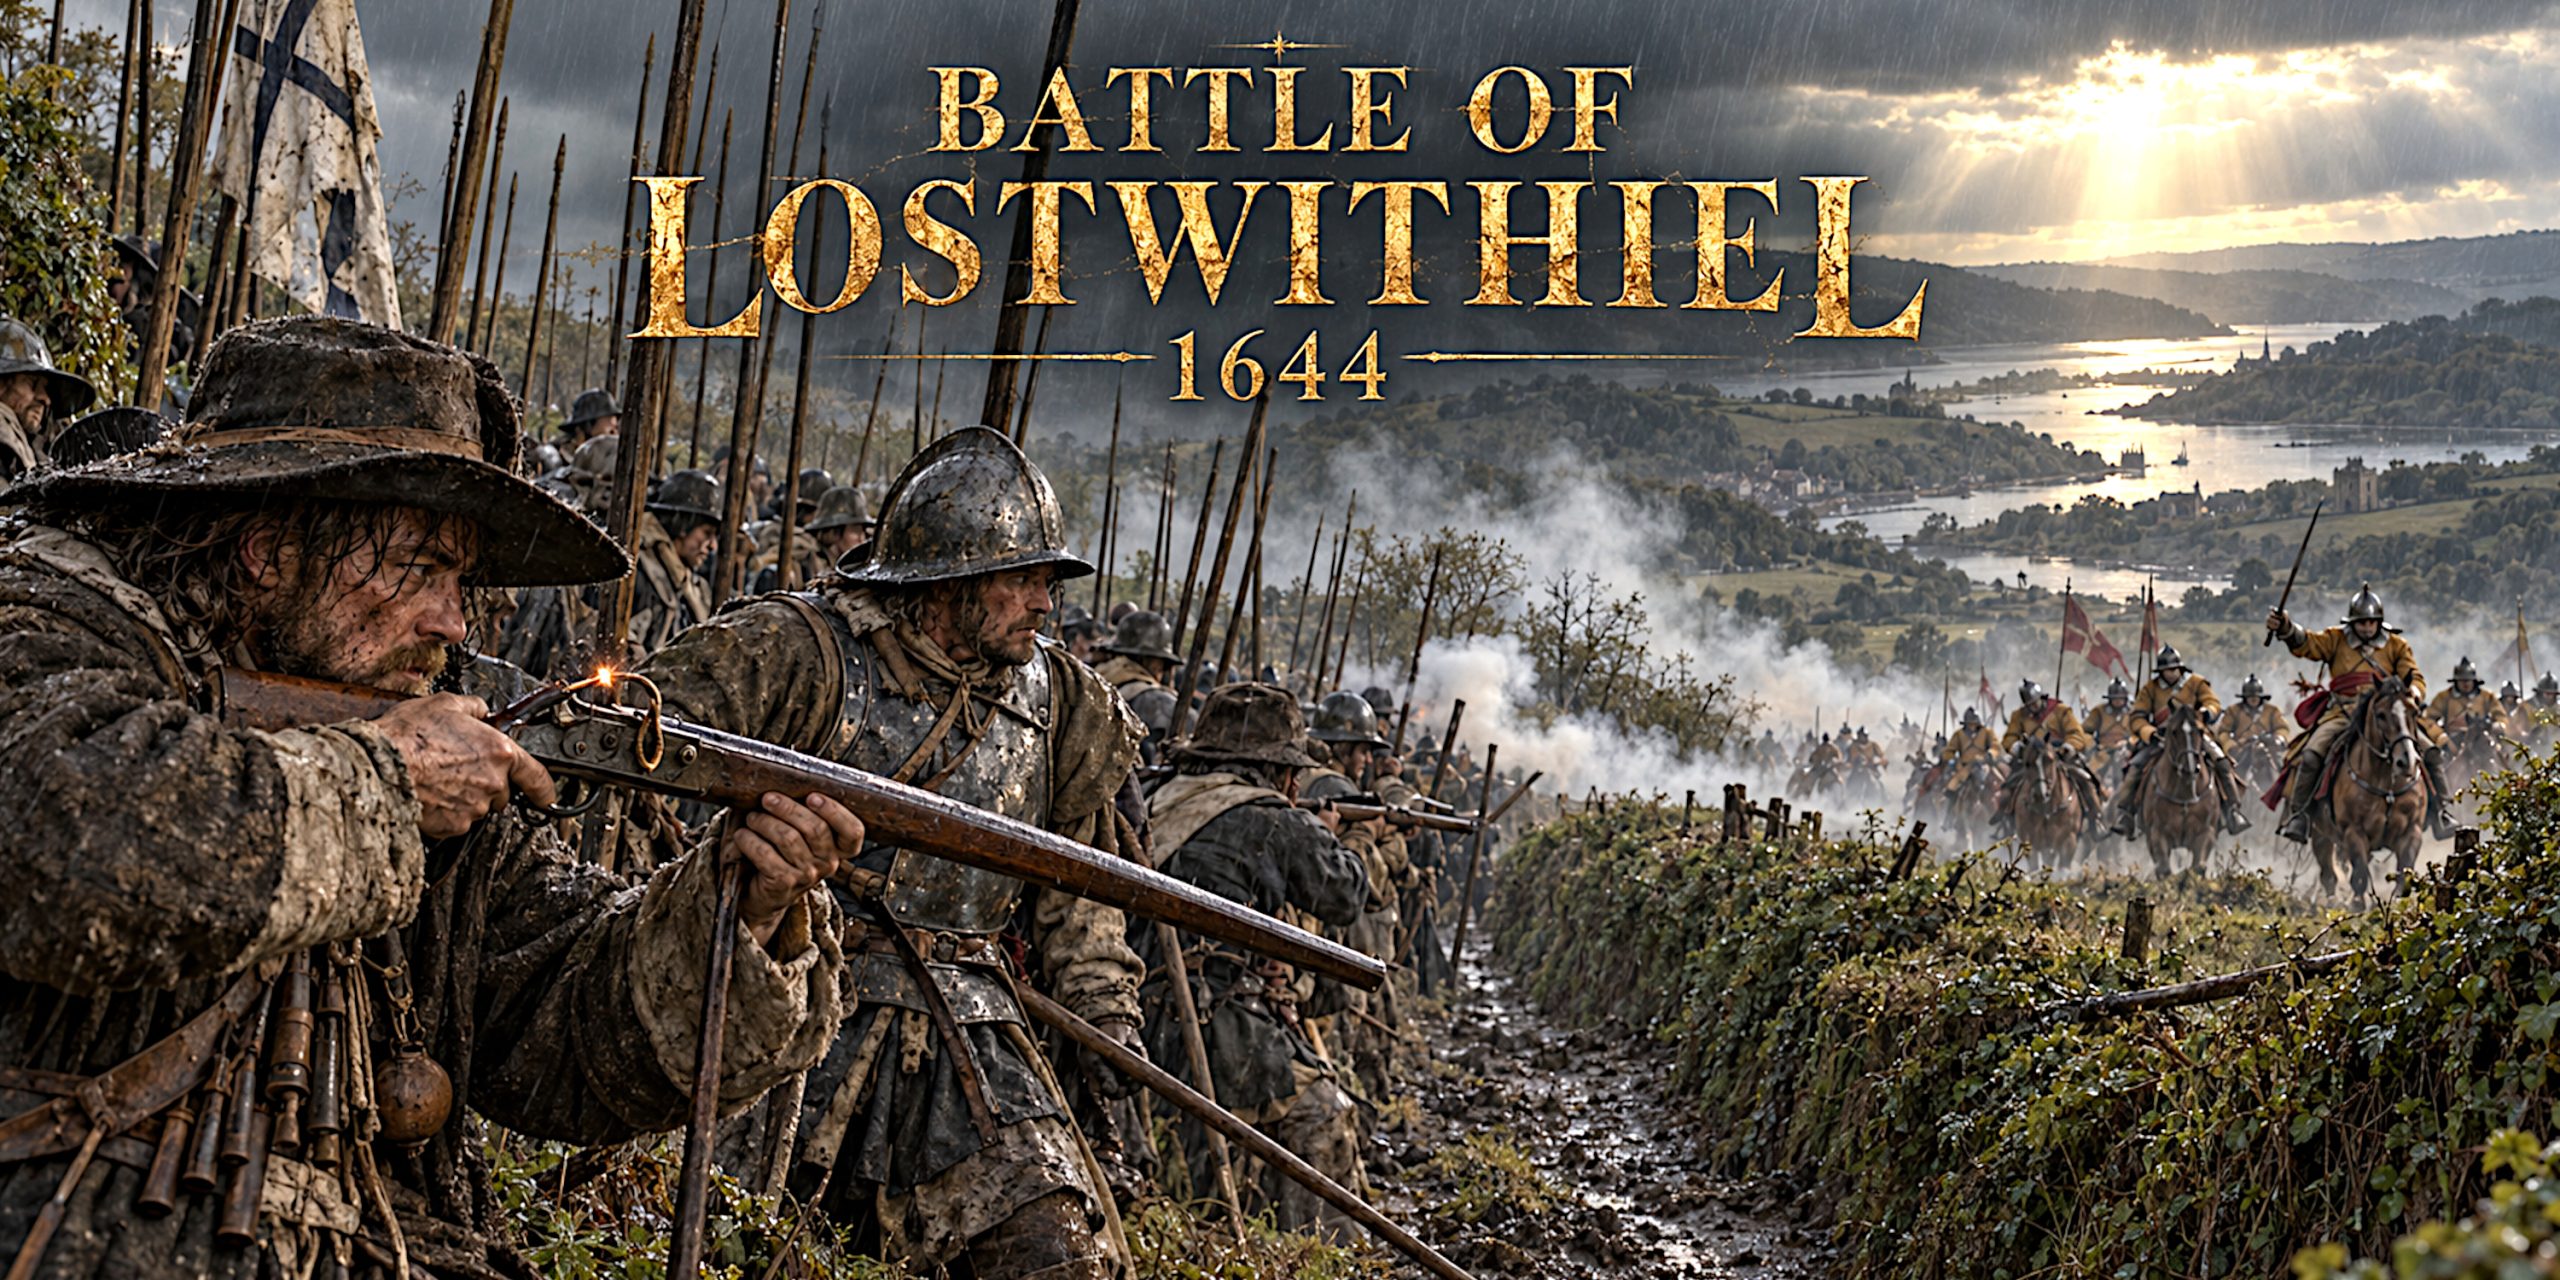
The Battle of Lostwithiel was one of Parliament’s gravest defeats in the First English Civil War. Between 21 August and 2 September 1644, Charles I’s armies squeezed the Earl of Essex’s forces into an increasingly desperate corner of Cornwall. Most of the Parliamentarian cavalry escaped, and Essex fled by sea. Around 6,000 infantry remained to surrender.
Yet “battle” is a slightly misleading description. Lostwithiel involved successive attacks, the capture of commanding ground, fighting through hedged fields and a retreat towards a coastline that offered rather less salvation than Essex had hoped.
I find it particularly revealing because the catastrophe developed gradually. An army could still fight, still counterattack and still possess experienced officers, yet lose its ability to feed itself or leave. At Lostwithiel, those practical difficulties became fatal. National Army Museum
Battle of Lostwithiel at a Glance
| Detail | Summary |
|---|---|
| Conflict | First English Civil War |
| Main fighting | 21 August to 1 September 1644 |
| Final surrender | 2 September 1644 |
| Location | Lostwithiel and the countryside towards Castle Dore and Fowey, Cornwall |
| Royalist commander | King Charles I |
| Parliamentarian commander | Robert Devereux, 3rd Earl of Essex |
| Outcome | Major Royalist victory |
| Principal consequence | Parliament lost the weapons, artillery and equipment of Essex’s infantry army |
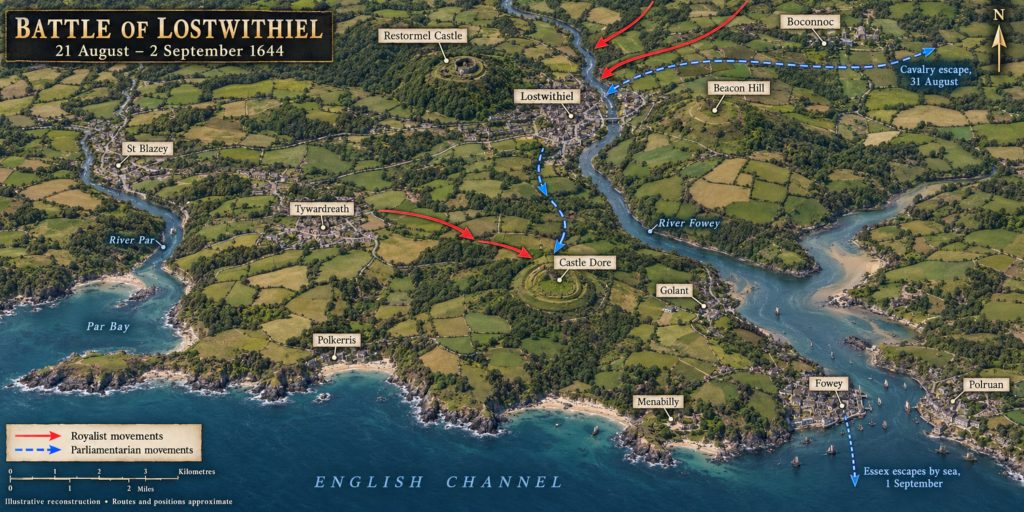
The campaign had begun before these principal engagements. Essex entered Lostwithiel on 2 August, with the Royalists gradually concentrating around him. bcw-project.org.uk
Background: Why Essex Marched into Cornwall
During the summer of 1644, Parliament possessed considerable military resources but struggled to make its commanders work together. Essex and Sir William Waller had separate armies, competing priorities and an unhelpful relationship.
Instead of maintaining a united effort against Charles I, Essex advanced into the West Country. His campaign relieved pressure on Parliamentarian positions, but it also carried his army deeper into territory where the Royalists could gather substantial support.
Charles exploited the separation. After checking Waller at Cropredy Bridge on 29 June, he followed Essex westwards. In Cornwall, the king could combine his own army with Prince Maurice’s western forces and troops under Sir Richard Granville.
Essex had advanced into a narrowing peninsula while his opponents accumulated behind and around him. The map was becoming distinctly unfriendly.
Forces
Army strengths are estimates, rather than exact headcounts. Figures vary according to the date, the formations included and whether officers and artillery personnel are counted.
| Army | Estimated strength | Composition |
|---|---|---|
| Royalists | Approximately 16,000–19,000 | Combined Oxford, Western and Cornish forces |
| Parliamentarians | Approximately 10,000–11,000 at the outset | Infantry, cavalry, a small dragoon element and artillery personnel |
| Parliamentarian infantry surrendering | Around 6,000 | Remaining foot soldiers after the cavalry breakout and final retreat |
A detailed reconstruction by the Battlefields Trust suggests slightly over 12,000 Royalist infantry and up to 7,000 cavalry. Its Parliamentarian estimate includes about 6,500 infantry excluding officers, with roughly 3,000 or more cavalry depending on counting conventions.
These figures describe the wider concentration of troops. They should not be imagined as two complete armies standing opposite each other in a single field.
Leaders and Troop Composition
Royalist commanders
- Charles I: Exercised overall strategic authority and personally accompanied the campaign.
- Patrick Ruthven, Earl of Brentford: Commanded the Oxford army.
- Prince Maurice: Led the Western Army.
- Sir Richard Granville: Commanded a separate force containing Cornish troops and militia.
- George, Lord Goring: Directed important cavalry operations.
- Sir Thomas Bassett: Led musketeers supporting the movement towards St Blazey.
The Royalist advantage came from combining these forces and applying pressure at several points. Infantry occupied enclosed ground while mounted troops threatened routes, supplies and forage.
Parliamentarian commanders
- Robert Devereux, Earl of Essex: Parliament’s lord general and commander of the expedition.
- Philip Skippon: Senior infantry commander, left to negotiate after Essex departed.
- Sir William Balfour: Led the successful cavalry breakout.
- Christopher Whichcote: Commanded the London auxiliary infantry serving with Essex.
Essex’s foot included established field regiments, the Green and Orange London auxiliaries, locally raised troops and units drawn from Plymouth. This was a mixed army with experienced elements, rather than an expendable collection of raw recruits.
Arms and Armour
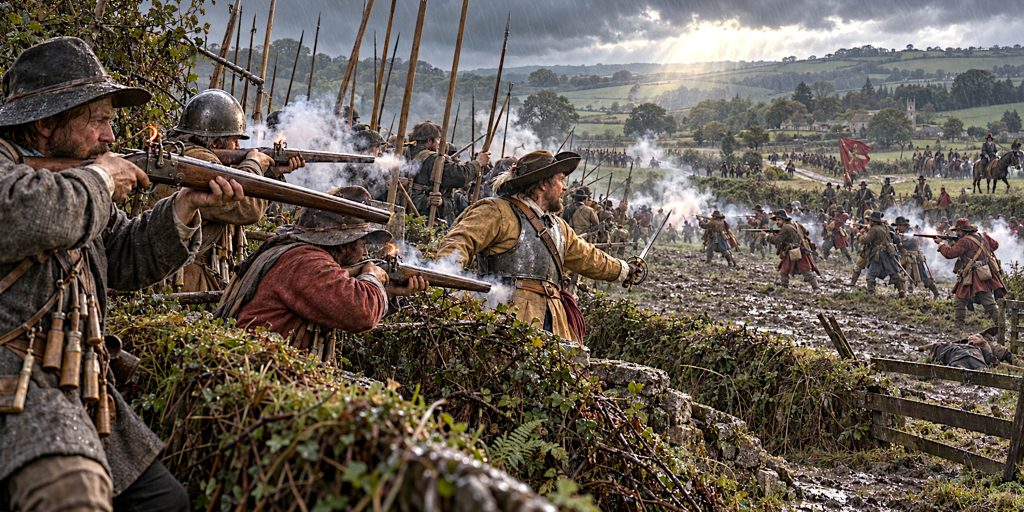
The armies at Lostwithiel belonged to the world of pike, shot and mounted swordsmanship. Their equipment overlapped considerably. Political allegiance did not produce two conveniently distinct sets of weapons.
Infantry and cavalry equipment
| Troop type | Principal weapons | Typical protection |
|---|---|---|
| Musketeers | Matchlock musket and sword | Wool clothing and headgear, usually little armour |
| Pikemen | Long wooden pike with steel head, plus sword | Helmet and sometimes back and breastplates |
| Cavalry | Sword and pistols; some carried carbines | Buff coat, helmet and often back and breastplates |
| Dragoons | Firearm for fighting dismounted | Generally lighter equipment than cavalry |
Pikemen helped protect musketeers against mounted attack. Cavalry equipment ideally combined firearms, a substantial sword and protection for the head and torso, although actual provision varied. A buff coat could offer useful resistance to cuts without providing the security of plate armour. National Army Museum
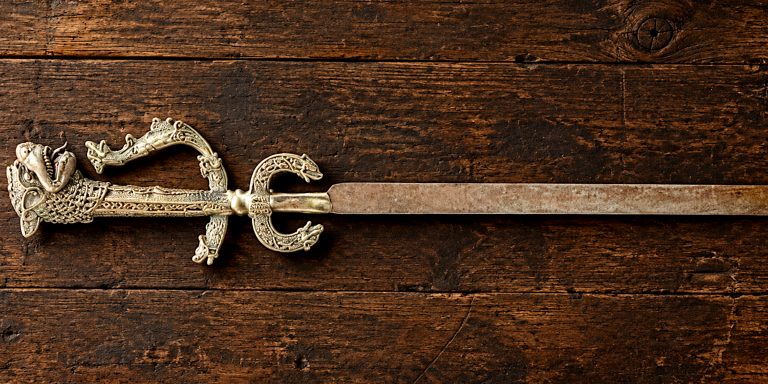
Specific sword types
The following are appropriate to English Civil War armies. They are period weapon types, not a verified inventory of swords recovered at Lostwithiel.
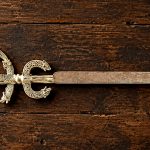
- Mortuary-hilt swords: Distinctive English swords with protective iron guards, carried by officers on both sides. The name is a later collecting term, not evidence that they appeared only after Charles I’s execution.
- Backswords: Straight, single-edged blades suited to forceful cutting, often fitted with substantial hand protection.
- Double-edged cavalry swords: Straight blades capable of both cutting and thrusting.
- Infantry swords or hangers: Practical sidearms whose quality and form varied considerably.
A London Museum mortuary sword dated 1636–1645 carries a Hounslow maker’s inscription, placing this recognisable weapon form firmly within the period of the campaign. London Museum
Why the terrain mattered
Cornish hedgebanks broke up visibility and restricted movement. Musketeers could defend enclosed fields, while long pikes and mounted formations needed room to operate.
Rain added another problem. Matchlock soldiers had to preserve usable powder and burning match while moving through wet countryside. A musket was an effective weapon, but it came with a fairly demanding relationship with the weather.
How the Battle Developed
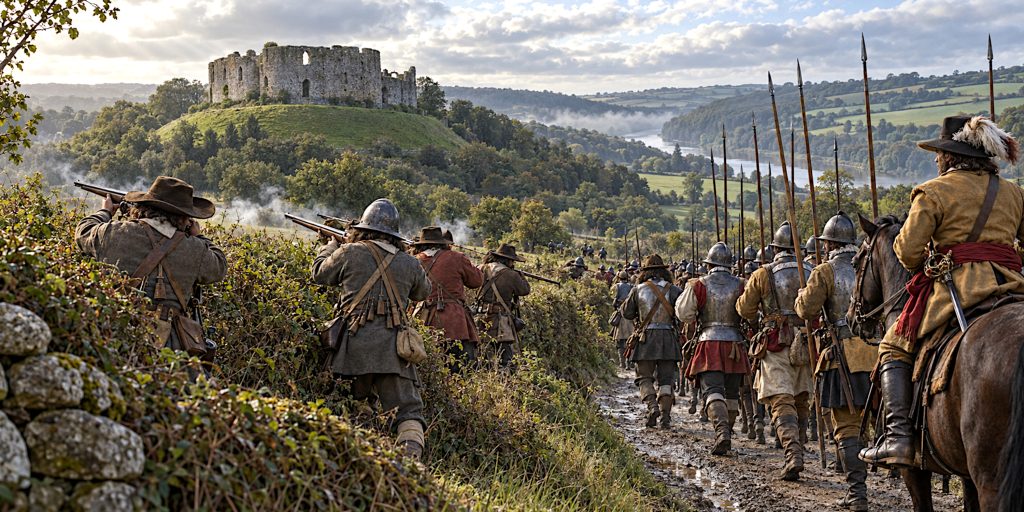
The Royalists seize the heights
On 21 August, Royalist forces moved against the commanding ground around Lostwithiel. They occupied Beacon Hill and adjoining enclosures, while Granville’s troops captured Restormel Castle.
Parliamentarian counterattacks failed to restore the position. Essex now faced an enemy established on ground from which it could observe, threaten and bombard his defences.
The capture of these positions was more consequential than a simple change of ownership on a map. It reduced the space within which Essex could manoeuvre and made his army’s continued occupation of Lostwithiel increasingly precarious.
The routes towards the coast become insecure
The Royalists also restricted access to supplies and grazing. Goring and Bassett moved towards St Blazey, tightening pressure on the western side of Essex’s position.
Access to the sea remained essential, but proximity to water did not guarantee access to ships. Royalist control at Polruan compromised the entrance to Fowey harbour, while the smaller coastal anchorages offered limited alternatives.
Essex needed a workable evacuation, not merely a view of the Channel.
Balfour’s cavalry escapes
In the early hours of 31 August, Balfour led the bulk of the Parliamentarian cavalry out through the Royalist positions towards Liskeard and ultimately Plymouth.
The escape was a substantial achievement. It preserved much of Essex’s mounted force, although it left the infantry facing a separate and much harder withdrawal.
The infantry retreats towards Castle Dore
The foot soldiers withdrew southwards through rain and mud. Guns became stranded, equipment was abandoned and Royalist troops pressed the retreat.
There was resistance, including local counterattacks. Nevertheless, the Parliamentarians were forced back towards Castle Dore as their remaining options contracted.
Essex escaped by sea early on 1 September, accompanied by several senior figures. Skippon remained with the infantry. Terms were negotiated that day, followed by surrender on 2 September.
Contemporary Quotes
Contemporary accounts need careful handling. Essex had a defeat to explain, while Royalist writers had a victory to celebrate.
Essex describes the pressure
Writing on 27 August, Essex warned:
“we shall be put to great extremities”
The phrase appears within his description of exhausting duties and dwindling ammunition and match. It captures an army approaching a supply crisis while still actively defending itself.
Richard Symonds records the abandoned equipment
The Royalist observer Richard Symonds described the retreat:
“the enemy had left a cartload of muskets”
Discarded weapons were physical evidence of the withdrawal’s disorder and the difficulty of moving equipment through the wet countryside. Both extracts are reproduced in Natasha Ferguson’s University of Glasgow doctoral research.
Reading Royalist testimony critically
Sir Edward Walker’s accounts are especially valuable because he served close to the king. They are also politically interested documents. His description of Royalist success should be read alongside Parliamentarian evidence, rather than treated as an impartial verdict.
The National Army Museum holds an early draft of Walker’s account dated 2 September 1644, allowing comparison with his later narrative. Historians are fortunate when a propagandist leaves enough paperwork to be checked. National Army Museum
Surrender, Casualties and the Treatment of Soldiers
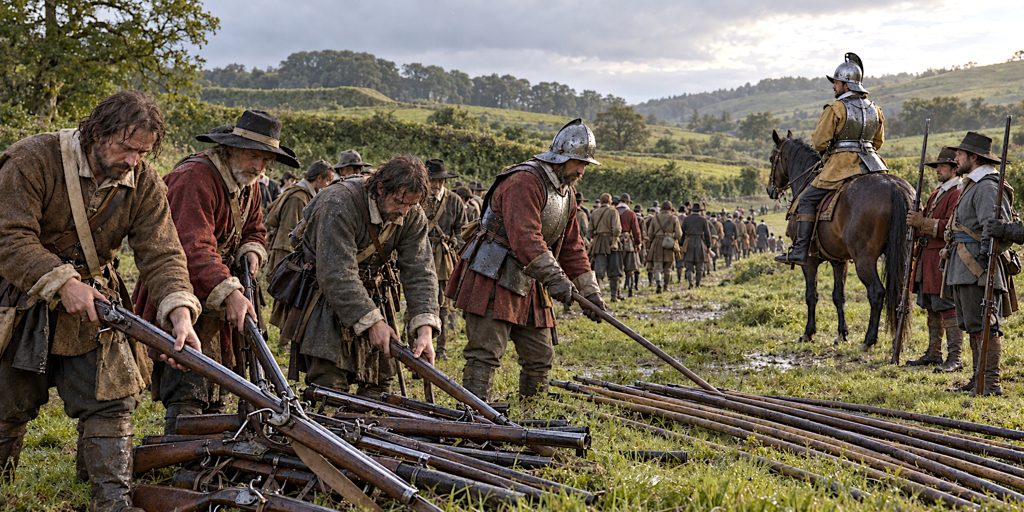
The infantry surrendered its weapons, ammunition and artillery in return for permission to march away.
That distinction matters. Around 6,000 men surrendering does not mean 6,000 men were killed. Reliable totals for battlefield deaths and wounded are difficult to establish.
The soldiers’ ordeal also continued after the agreement. Royalist troops and local people robbed men leaving the battlefield despite provisions intended to protect them. Contemporary accounts suggest that only part of the surrendered force reached its eventual destination together.
Those missing from later returns cannot simply be counted as dead. Desertion, sickness, dispersal and other losses complicate the picture. The surrender terms had preserved lives, but they did not ensure a safe or orderly journey home.
Archaeology: Fighting Written into the Fields
Lostwithiel’s archaeology is particularly valuable because the campaign spread across enclosed countryside rather than one easily defined battlefield.
Around Tywardreath, recorded discoveries include:
- Large quantities of lead musket balls.
- Musket components and powder-container fittings.
- Buttons and buckles.
- Concentrations of material associated with the final retreat.
The heritage record reports more than 1,000 artefacts, predominantly musket balls, recovered by 2009. These discoveries are probably connected with fighting during the closing stages of the campaign.
What the finds suggest
The Battlefields Trust identifies bullet distributions near hedgerows that may reflect Parliamentarian resistance to attacks from the direction of St Blazey. Finds between Castle Dore and Golant also support accounts of fighting in the final stages.
There are limits. An apparent concentration of bullets can reflect where searching was most intensive, as well as where shooting was fiercest. Archaeological interpretation depends on accurate recording and an understanding of survey coverage. Archaeology of the Battle
At Beacon Hill, the Royalist redoubt no longer survives as an obvious earthwork, but aerial photographs have recorded a roughly square cropmark associated with its position.
For me, this is where the campaign becomes most tangible: a vanished gun position, a scatter of shot and the surviving shape of the ground recover experiences that official narratives pass over quickly.
Battle Timeline
| Date | Event |
|---|---|
| 29 June 1644 | Charles checks Waller at Cropredy Bridge before continuing west |
| 2 August | Essex enters Lostwithiel |
| Early to mid-August | Royalist forces concentrate and restrict Parliamentarian movement |
| 21 August | Royalists seize important heights and Restormel Castle |
| Late August | Pressure on supply routes and forage intensifies |
| Night of 30–31 August | Balfour leads the main cavalry breakout |
| 31 August | Parliamentarian infantry conducts a fighting retreat towards Castle Dore |
| 1 September | Essex escapes by sea; Skippon negotiates |
| 2 September | Around 6,000 infantry surrender their arms |
The dates distinguish the principal fighting from the wider campaign and the final implementation of the surrender.
Why Lostwithiel Mattered
Lostwithiel demonstrated how effectively Charles could exploit divided opponents and concentrate his forces. Parliament lost a field army’s equipment, while the king secured a major victory at a moment when the war’s outcome remained uncertain.
Yet the victory had limits. Much of Essex’s cavalry survived, and the surrendered infantry was released rather than permanently removed from Parliament’s manpower pool. Weapons could eventually be replaced.
The campaign also exposed weaknesses in Parliament’s command arrangements. Lostwithiel belongs within the wider sequence of military disappointments that strengthened the case for reform and, ultimately, the creation of the New Model Army in 1645. It did not cause that transformation by itself.
What stays with me is the difference between winning a campaign and winning a war. Charles had achieved an impressive concentration of force in Cornwall. Turning that success into a decisive national advantage proved considerably harder. bcw-project.org.uk