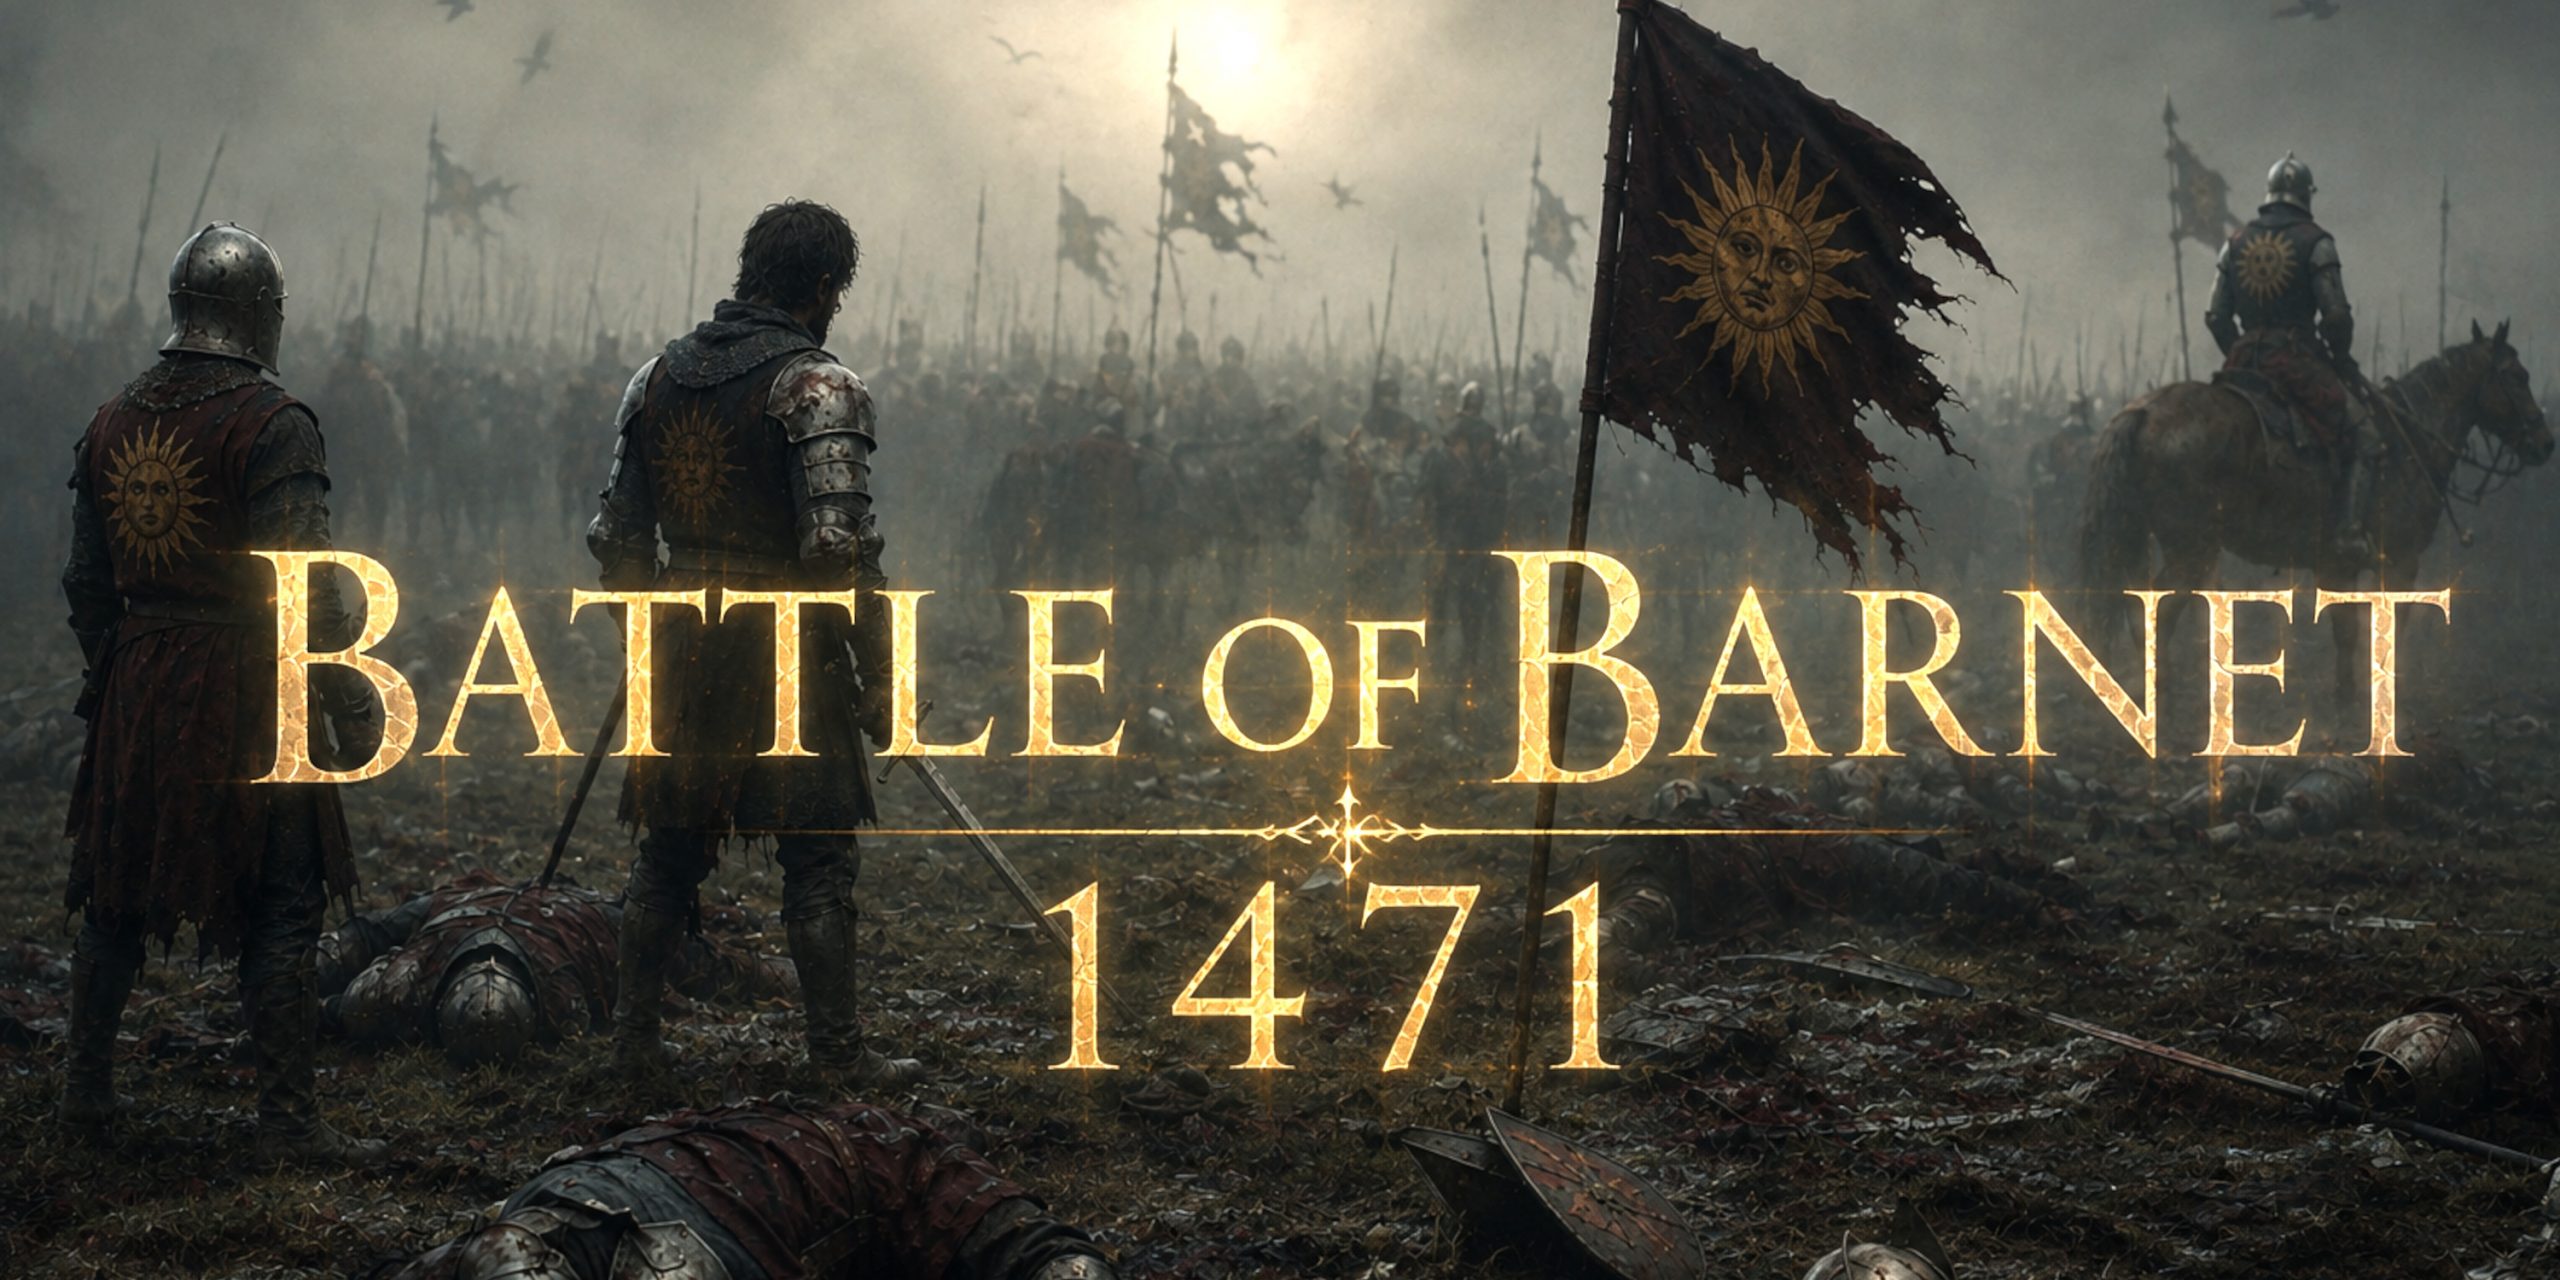
The Battle of Barnet was fought on Easter Sunday, 14 April 1471, and remains one of the strangest and most consequential battles of the Wars of the Roses. Dense fog covered the battlefield north of London. The opposing armies deployed out of alignment. One wing routed its enemy and then returned through the mist, only to be attacked by its own side. Cries of treason followed. By the end of the fighting Richard Neville, Earl of Warwick, lay dead and Edward IV had removed the most dangerous political rival of his reign.
It has all the ingredients of medieval drama, perhaps suspiciously many of them.
Yet Barnet was not simply a battle decided by bad weather and unfortunate heraldry. Edward had returned from exile only weeks earlier and conducted an exceptionally aggressive campaign to recover his throne. Warwick commanded an experienced army and had good reason to believe Edward could still be stopped.
Barnet became a brutal test of command, cohesion and endurance. Its result transformed the political landscape of England.
Battle of Barnet at a Glance
| Detail | Information |
|---|---|
| Date | 14 April 1471 |
| Location | North of Barnet, traditionally around Hadley and the former Gladsmoor or Gladmore Heath |
| War | Wars of the Roses |
| Yorkist commander | Edward IV |
| Opposing commander | Richard Neville, Earl of Warwick |
| Yorkist strength | Uncertain, probably several thousand |
| Warwick’s strength | Uncertain, possibly larger than Edward’s army |
| Result | Decisive Yorkist victory |
| Major deaths | Earl of Warwick and Marquess of Montagu |
| Strategic consequence | Edward IV destroyed Warwick’s attempt to maintain the Lancastrian restoration |
| Next major battle | Tewkesbury, 4 May 1471 |
Precise army strengths are impossible to establish. Figures such as 10,000 Yorkists against 15,000 Lancastrians are often repeated, but the surviving evidence does not justify that degree of confidence.
Why Was the Battle of Barnet Fought?
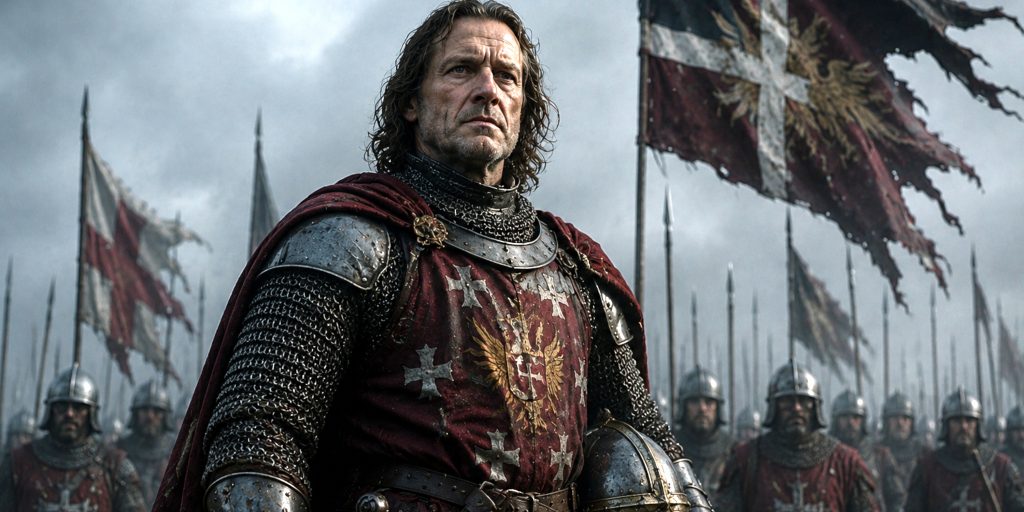
Barnet grew out of the collapse of one of the most important political partnerships in fifteenth-century England.
Richard Neville, Earl of Warwick, had been instrumental in Edward IV’s rise to power. Warwick possessed enormous estates, an extensive affinity of retainers and connections stretching through the English aristocracy. His influence eventually earned him the enduring nickname “the Kingmaker”, although the term can make English politics of the period sound rather more organised than it actually was.
Edward and Warwick increasingly disagreed during the 1460s.
Edward’s secret marriage to Elizabeth Woodville in 1464 damaged Warwick’s plans for a diplomatic marriage abroad. The rapid advancement of the Woodville family created further tensions, while the king and Warwick also disagreed over foreign policy.
Warwick eventually allied himself with Edward’s younger brother George, Duke of Clarence.
Rebellions followed.
The relationship deteriorated so completely that Warwick eventually reconciled with Margaret of Anjou, the Lancastrian queen whose cause he had spent years opposing.
In 1470 Warwick invaded England. Edward fled to the Low Countries and Henry VI was restored to the throne during the brief period known as the Readeption.
It was an extraordinary reversal.
It was also temporary.
Edward IV Returns to England
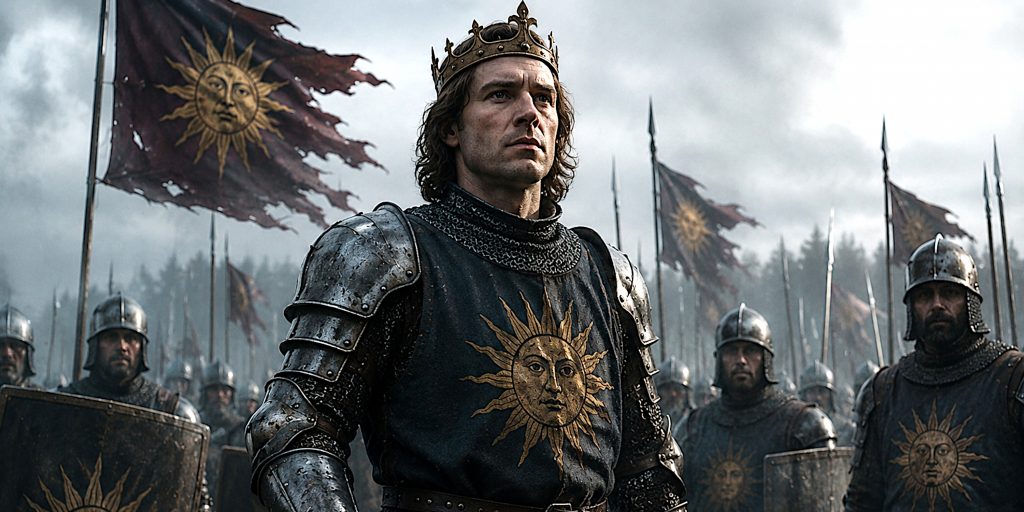
Edward landed at Ravenspur in Yorkshire in March 1471 with a relatively small force.
Initially he claimed that he wanted only to recover his inheritance as Duke of York. It was politically convenient and almost certainly tactical.
As Edward moved through England his support increased.
The critical development came when Clarence abandoned Warwick and reconciled with his brother.
Edward then advanced towards London.
The capital admitted him, Henry VI fell back into Yorkist custody, and Edward immediately turned north to confront Warwick.
There was little time for either side to manoeuvre politically. The crisis was going to be settled by force.
Forces at the Battle of Barnet
The exact sizes of the armies remain disputed.
Late medieval chronicles frequently provide unreliable troop numbers, and historians have consequently produced quite different estimates for Barnet.
Warwick may have possessed the larger army, but Edward had experienced commanders and troops who had followed him through an exceptionally dangerous campaign.
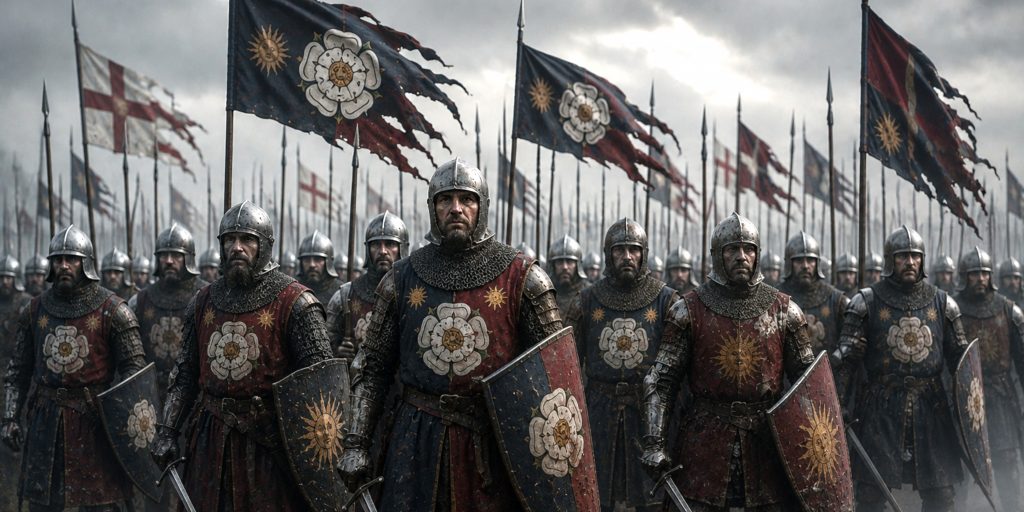
Yorkist Army
| Command | Commander | Position |
| Overall command | Edward IV | Centre |
| Right | Richard, Duke of Gloucester | Yorkist right |
| Left | William, Lord Hastings | Yorkist left |
| Senior commander | George, Duke of Clarence | With Edward’s restored Yorkist coalition |
Edward was already an experienced battlefield commander.
He had fought at Mortimer’s Cross and Towton and had demonstrated a willingness to lead personally in combat.
Richard, Duke of Gloucester, the future Richard III, was only eighteen at Barnet. His position in command of a major division shows the confidence Edward already placed in him.
Warwick’s Army
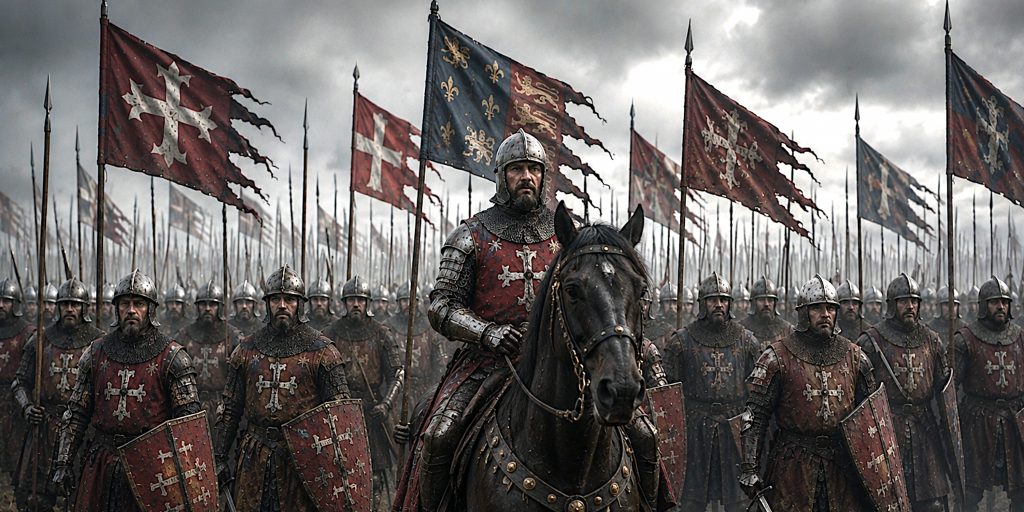
| Command | Commander | Position |
| Overall command | Richard Neville, Earl of Warwick | Main army |
| Neville contingent | John Neville, Marquess of Montagu | Central command |
| Right | John de Vere, Earl of Oxford | Right wing |
| Left | Henry Holland, Duke of Exeter | Left wing |
Calling Warwick’s force simply “Lancastrian” can obscure how peculiar the political situation had become.
Warwick and Montagu had spent much of their careers supporting York. Oxford was a committed Lancastrian. Clarence had recently been Warwick’s ally but had returned to Edward.
Barnet was therefore fought by coalitions assembled from years of shifting political loyalties.
The heraldry was colourful. The politics were considerably less tidy.
Troop Composition
Both armies were composed principally of late medieval English infantry supported by noble households and specialist troops.
Likely forces included:
- Men-at-arms
- Knights and esquires fighting dismounted
- Noble retainers
- Longbowmen
- Billmen
- Spearmen and other polearm-equipped infantry
- Artillery crews
- Household troops
- Mounted messengers and commanders
- Some troops equipped with early firearms
Many of the heavily armoured combatants would have fought on foot.
The image of thousands of knights galloping into one another is poorly suited to the Wars of the Roses. Horses were essential for movement, reconnaissance, communication and pursuit, but English men-at-arms commonly dismounted for major set-piece battles.
The Battlefield
The battle took place north of Barnet, probably around the Hadley and Monken Hadley area.
Contemporary accounts refer to the battlefield as Gladmore or Gladsmoor Heath. Identifying its precise extent in the modern landscape remains difficult.
Edward approached Warwick during the evening of 13 April.
The Yorkists moved remarkably close to Warwick’s army in the darkness.
That positioning proved unexpectedly useful.
Warwick’s artillery fired during the night towards the location where his gunners believed the Yorkists were positioned. Edward had advanced closer than expected, meaning much of the fire apparently passed beyond his troops.
Edward did not respond with his own artillery, helping conceal his actual position.
Then the weather intervened.
The Fog at Barnet
A dense mist covered the battlefield on the morning of 14 April.
This was not a minor inconvenience.
Commanders had extremely limited visibility. Individual divisions could fight without understanding what was happening elsewhere. Standards, badges and shouted commands became more important while simultaneously becoming harder to identify.
Even worse, the two armies had deployed out of alignment.
Warwick’s right extended beyond Edward’s left, while Edward’s right similarly overlapped Warwick’s left.
Neither side seems to have fully appreciated the situation before the fighting began.
The result was almost inevitable chaos.
How the Battle of Barnet Was Fought
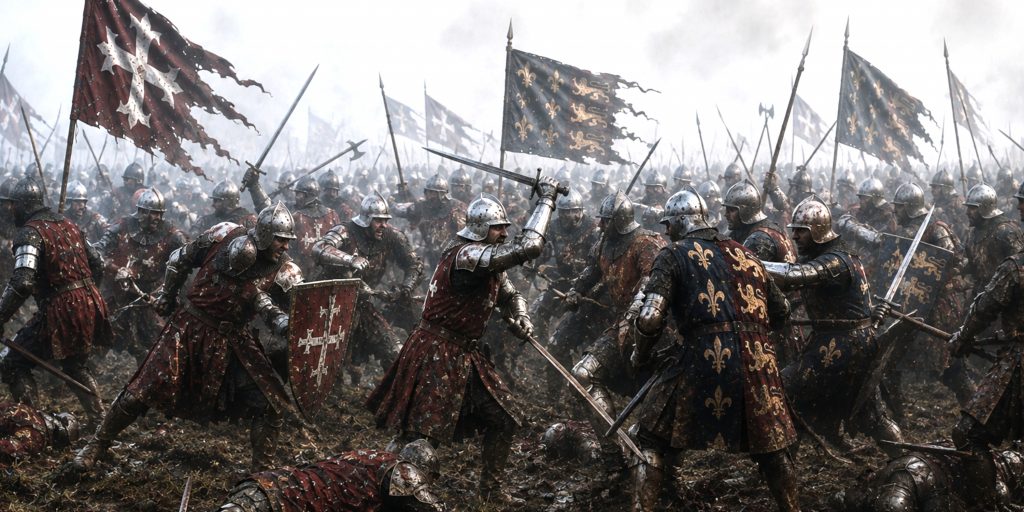
Oxford Smashes the Yorkist Left
John de Vere, Earl of Oxford, commanded Warwick’s right wing.
Because his troops extended beyond the Yorkist line, Oxford was able to attack the flank of Lord Hastings’ division.
Hastings’ men were overwhelmed.
Some Yorkist troops fled south through Barnet and towards London, reportedly carrying news that Edward had lost the battle.
Had anyone been running a fifteenth-century breaking-news service, this would have been an awkward morning.
Oxford’s troops pursued the fleeing Yorkists.
That success removed them from the main battlefield at a crucial moment.
Gloucester Fights on the Yorkist Right
At the opposite end of the line, Richard, Duke of Gloucester, enjoyed a similar positional advantage against the forces commanded by the Duke of Exeter.
Fierce fighting developed.
Exeter’s troops resisted strongly and the battle became prolonged rather than producing an immediate breakthrough.
Because each side was advancing on a different flank, the fighting line appears to have gradually rotated.
In clear weather commanders might have recognised what was happening.
At Barnet they could barely see beyond the men immediately around them.
Edward IV in the Centre
Edward fought with the Yorkist centre.
This mattered.
Late medieval kingship still placed enormous importance on personal military leadership. A king physically present among his troops could reinforce morale and demonstrate that he shared their danger.
Edward was particularly suited to this form of warfare.
He was unusually tall, physically powerful and an experienced combatant. His military reputation was based partly on his ability to remain effective when battles became chaotic.
Barnet provided plenty of opportunity to demonstrate that particular talent.
Neither side had achieved a decisive advantage when Oxford’s victorious troops began returning to the battlefield.
Then everything went wrong for Warwick.
Oxford’s Star and Edward’s Sun
Oxford’s badge was a star with streams or rays.
Edward IV used the sun in splendour.
Through dense fog, Oxford’s returning troops were apparently mistaken for Yorkists by men from Warwick’s army.
They were attacked.
Oxford’s men understandably concluded that something had gone very badly wrong.
Cries of:
“Treason! Treason!”
spread through Warwick’s army.
This was an exceptionally dangerous accusation in 1471.
Clarence had only recently abandoned Warwick. Noble allegiances had changed repeatedly. Men on the battlefield had good reason to believe that another betrayal was entirely possible.
Oxford’s troops began withdrawing.
The psychological effect appears to have spread.
Warwick’s army started to collapse.
Did Friendly Fire Really Decide Barnet?
The incident involving Oxford is one of the most famous episodes of the Wars of the Roses.
It should not, however, be treated as a complete explanation for the Yorkist victory.
Several factors had already created a dangerous situation for Warwick:
- Dense fog severely restricted visibility
- The armies were badly aligned
- Oxford had left the main engagement while pursuing Hastings
- Gloucester had maintained pressure on Warwick’s opposite flank
- The battle line had shifted during the fighting
- Warwick’s coalition contained men with very different political histories
- Edward maintained cohesion in the Yorkist centre
- Recent betrayals made accusations of treason unusually credible
Oxford’s return therefore appears to have triggered a wider collapse rather than magically transforming a secure victory into defeat.
Barnet was already balanced on a knife edge.
The friendly-fire incident pushed it off.
The Death of Warwick the Kingmaker
As Warwick’s army broke, Edward’s troops pursued.
Warwick attempted to escape but was killed.
The precise circumstances of his death remain uncertain.
His brother John Neville, Marquess of Montagu, also died during the battle.
Their deaths were strategically more important than the loss of thousands of ordinary soldiers.
Warwick had dominated English politics for much of the previous decade. He had helped Edward become king, rebelled against him, driven him into exile and restored Henry VI.
Now he was dead.
The man later remembered as the Kingmaker had discovered the unpleasant limitation of making kings. Occasionally one of them comes back.
Arms and Armour at the Battle of Barnet
Barnet was fought during a period of sophisticated armour development and increasing use of gunpowder weapons.
The battlefield combined weapons that would have been familiar centuries earlier with technologies pointing towards the early modern world.
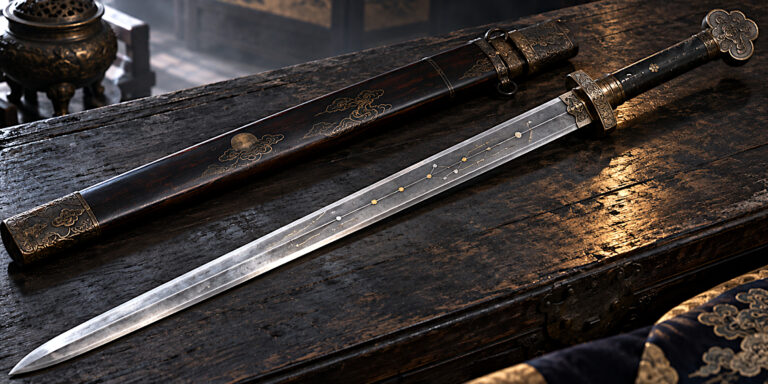
Swords
Swords remained important sidearms for men-at-arms and wealthier soldiers.
Longsword
Longswords with extended grips were well established by the later fifteenth century.
They could be used with both hands and were particularly versatile in armoured combat.
Against plate armour, combatants could use half-swording techniques, gripping part of the blade to control the point and thrust towards vulnerable gaps.
Arming Sword
The single-handed arming sword remained common as a sidearm.
Its compact size made it useful in close fighting, particularly once formations had become compressed.
Hand-and-a-Half or Bastard Sword
Swords occupying the broad territory between conventional arming swords and larger two-handed weapons were increasingly common.
Modern classification can make these categories seem tidier than medieval terminology actually was.
The important point is that swords were becoming increasingly specialised for a world in which good plate armour was extremely difficult to defeat with simple cutting blows.
Bills
The English bill was one of the characteristic infantry weapons of the period.
Its blade, hook and thrusting point made it useful for:
- Cutting
- Thrusting
- Hooking opponents
- Pulling men off balance
- Attacking horses
- Fighting armoured opponents at close range
Billmen formed an important part of English armies throughout the Wars of the Roses.
Poleaxes
The poleaxe was particularly associated with heavily armoured combatants.
A typical weapon could combine:
- Axe blade
- Hammer or fluke
- Thrusting spike
- Reinforced shaft
Against plate armour, concentrated blows and thrusts were considerably more useful than repeatedly striking a breastplate with the edge of a sword.
Longbows
Longbowmen remained important.
Arrows could disrupt formations, wound less heavily protected troops and force an enemy to advance under missile fire.
High-quality plate armour nevertheless provided substantial protection, particularly at unfavourable angles and longer distances.
The longbow remained dangerous, but by 1471 it was operating in a very different defensive environment from that of Crécy or Poitiers.
Artillery
Barnet provides clear evidence that English civil warfare had entered the gunpowder age.
Warwick deployed artillery and used it during the night before the battle.
The apparent failure of much of that fire demonstrates the limitations of early battlefield artillery. Guns could be powerful, but range estimation, visibility, rate of fire and mobility remained serious problems.
Handguns
Hand-held gunpowder weapons were spreading across European armies during the fifteenth century.
Their exact scale of use at Barnet remains uncertain, although archaeological investigation of the battlefield has included searches for lead shot and other evidence that might clarify the role of firearms.
Armour
A wealthy knight or man-at-arms in 1471 could possess an advanced plate harness.
This might include:
- Sallet
- Bevor or other throat and lower-face protection
- Breastplate
- Backplate
- Pauldrons
- Vambraces
- Gauntlets
- Cuisses
- Poleyns
- Greaves
- Sabatons
- Mail protecting gaps between plates
Not everyone possessed armour of equal quality.
Lower-status troops might wear brigandines, jacks, mail, helmets or individual pieces of plate according to wealth and availability.
This produced a battlefield containing everything from highly protected noblemen to relatively lightly equipped infantry.
Battle of Barnet Timeline
| Date or phase | Event |
| March 1471 | Edward IV lands at Ravenspur after exile |
| March to April | Edward gathers supporters while moving south |
| Early April | Clarence abandons Warwick and rejoins Edward |
| 11 April | Edward enters London and takes Henry VI into custody |
| 13 April | Edward advances north towards Warwick |
| Evening, 13 April | Yorkists approach the Lancastrian position |
| Night | Warwick’s artillery fires towards the presumed Yorkist position |
| Dawn, 14 April | Thick fog covers the battlefield |
| Early battle | Oxford defeats Hastings on the Yorkist left |
| Early battle | Gloucester fights Exeter on the opposite flank |
| Mid-battle | The fighting line shifts as both successful wings advance |
| Later battle | Oxford’s troops return from pursuing Hastings |
| Later battle | Warwick’s troops mistake Oxford’s men for Yorkists |
| Collapse | Cries of treason spread through Warwick’s army |
| Rout | Edward’s forces break Warwick’s remaining resistance |
| Aftermath | Warwick and Montagu are killed |
| 4 May 1471 | Edward defeats the remaining Lancastrian field army at Tewkesbury |
Exact times cannot be reconstructed reliably, so any account assigning precise hours to individual phases should be approached cautiously.
Casualties
The number of dead at Barnet is uncertain.
Medieval chroniclers were rarely reliable statisticians, particularly when describing enemy casualties.
Some later accounts give substantial totals, but no precise figure can be accepted confidently.
Warwick’s army probably suffered particularly heavily during the rout.
Among the important casualties were:
- Richard Neville, Earl of Warwick
- John Neville, Marquess of Montagu
Henry Holland, Duke of Exeter, was badly wounded but survived.
Oxford also escaped.
Warwick’s political coalition had been shattered, but significant Lancastrian resistance remained.
Archaeology of the Battle of Barnet
Locating the exact battlefield has proved surprisingly difficult.
The general area north of Barnet is known, but the precise positions occupied by the two armies remain debated.
The traditional battlefield is associated with Hadley Green, Monken Hadley and surrounding land.
Modern development has substantially changed parts of the landscape.
Archaeological projects have attempted to refine the location through systematic investigation.
Methods have included:
- Metal detecting
- Geophysical survey
- Test pits
- Landscape reconstruction
- Historical map analysis
- Artefact distribution mapping
Researchers have searched for objects including:
- Lead shot
- Buckles
- Horse equipment
- Spurs
- Weapon fragments
- Armour fittings
- Military equipment
For battlefield archaeology, the location of an object can matter as much as the object itself.
A concentration of lead shot, for example, could help identify firing positions or the direction of an advance.
Individual discoveries therefore need to be considered as part of wider distribution patterns.
No archaeological discovery has yet provided a complete reconstruction of Barnet.
That uncertainty is important.
The battlefield should be treated as an active historical and archaeological problem rather than a perfectly mapped event.
Contemporary Accounts of Barnet
Our understanding of Barnet depends heavily on narrative sources written during or close to the period.
Among the most important are:
- The Historie of the Arrivall of Edward IV in England
- John Warkworth’s chronicle
- The Crowland Chronicle continuation
The Arrivall provides one of the fullest accounts of Edward’s campaign.
It is extremely valuable.
It is also sympathetic to Edward IV, which means it should not be treated as neutral reporting.
Warkworth’s account preserves important details concerning the confusion of the battle and Oxford’s troops.
The famous cry of:
“Treason! Treason!”
captures the political atmosphere of the battlefield rather neatly.
Whether every detail occurred exactly as later chroniclers described is impossible to prove.
The broader picture, however, is consistent.
Barnet was fought in terrible visibility, the armies became disordered, Oxford’s returning troops were involved in a friendly-fire incident, and Warwick’s army subsequently collapsed.
Edward IV’s Leadership at Barnet
Barnet is one of the clearest demonstrations of Edward IV’s qualities as a military commander.
Within weeks he had:
- Returned from exile
- Landed with limited resources
- Gathered supporters
- Reconciled with Clarence
- Recovered London
- Secured Henry VI
- Marched against Warwick
- Defeated his principal political enemy
That is an extraordinary campaign.
Edward was not an infallible strategist, but he was exceptionally dangerous once campaigning began.
His willingness to fight personally also mattered.
At Barnet, where commanders had limited visibility and communications were primitive, maintaining morale and cohesion could decide the battle.
Edward managed it.
Warwick did not.
What Happened After Barnet?
Edward had little time to enjoy his victory.
Margaret of Anjou and her son Edward of Westminster arrived in England on the very day Barnet was fought.
The timing could hardly have been worse for the Lancastrians.
Instead of joining Warwick, Margaret found that his army had been destroyed and Warwick himself was dead.
Lancastrian forces nevertheless regrouped and attempted to move west.
Edward responded rapidly.
On 4 May 1471 the two sides met at the Battle of Tewkesbury.
Edward won again.
Edward of Westminster was killed, removing Henry VI’s only son and the principal Lancastrian heir.
Henry VI died in the Tower of London shortly afterwards, almost certainly murdered.
Within three weeks of Barnet, the Lancastrian restoration had effectively been destroyed.
Why the Battle of Barnet Mattered
Barnet was one of the decisive battles of the Wars of the Roses because it removed Warwick from English politics permanently.
His death transformed Edward IV’s position.
The king had defeated the man who had helped overthrow him, restored control of London and eliminated the political network capable of sustaining Henry VI’s restored regime.
Tewkesbury completed the military destruction of the Lancastrian cause a few weeks later.
Edward would rule England for another twelve years without facing another major battlefield challenge to his throne.
That period of stability ended with his death in 1483.
The crisis that followed would eventually bring Richard III to the throne and Henry Tudor to Bosworth.
Barnet therefore sits at an important hinge in the Wars of the Roses.
Without Edward’s victory, the political history of the next fourteen years could have looked radically different.
Where to Visit the Battlefield Today
The battlefield lies around the northern edge of modern Barnet and the Monken Hadley area.
Visitors can explore parts of the traditional battlefield landscape around Hadley Green and surrounding roads and open spaces.
The Barnet battlefield monument commemorates the fighting, although the modern landscape bears little resemblance to the open heath encountered by the armies in 1471.
That makes archaeological and landscape interpretation particularly important.
Unlike castles or abbeys, battlefields rarely announce themselves dramatically.
Barnet is now threaded through the modern world.
The fog, at least, occasionally remains authentic.
Barnet in Perspective
Barnet fascinates because so much went wrong at once.
The armies deployed incorrectly. Fog concealed their positions. Oxford achieved a major victory on one flank and then became involved in the disaster that helped destroy his own army. Warwick’s artillery fired ineffectively through the darkness. Rumours of betrayal spread among men who had spent the previous year watching nobles change sides.
Yet reducing Barnet to a catalogue of accidents underestimates Edward IV.
He had returned from exile facing terrible odds. Within weeks he recovered his capital, rebuilt his coalition and brought Warwick to battle.
When the battlefield descended into confusion, Edward’s army held together longer.
That was ultimately what mattered.
Warwick had spent years shaping the politics of kings.
On Easter Sunday 1471, in the fog north of Barnet, the king he had once helped create finally destroyed him.