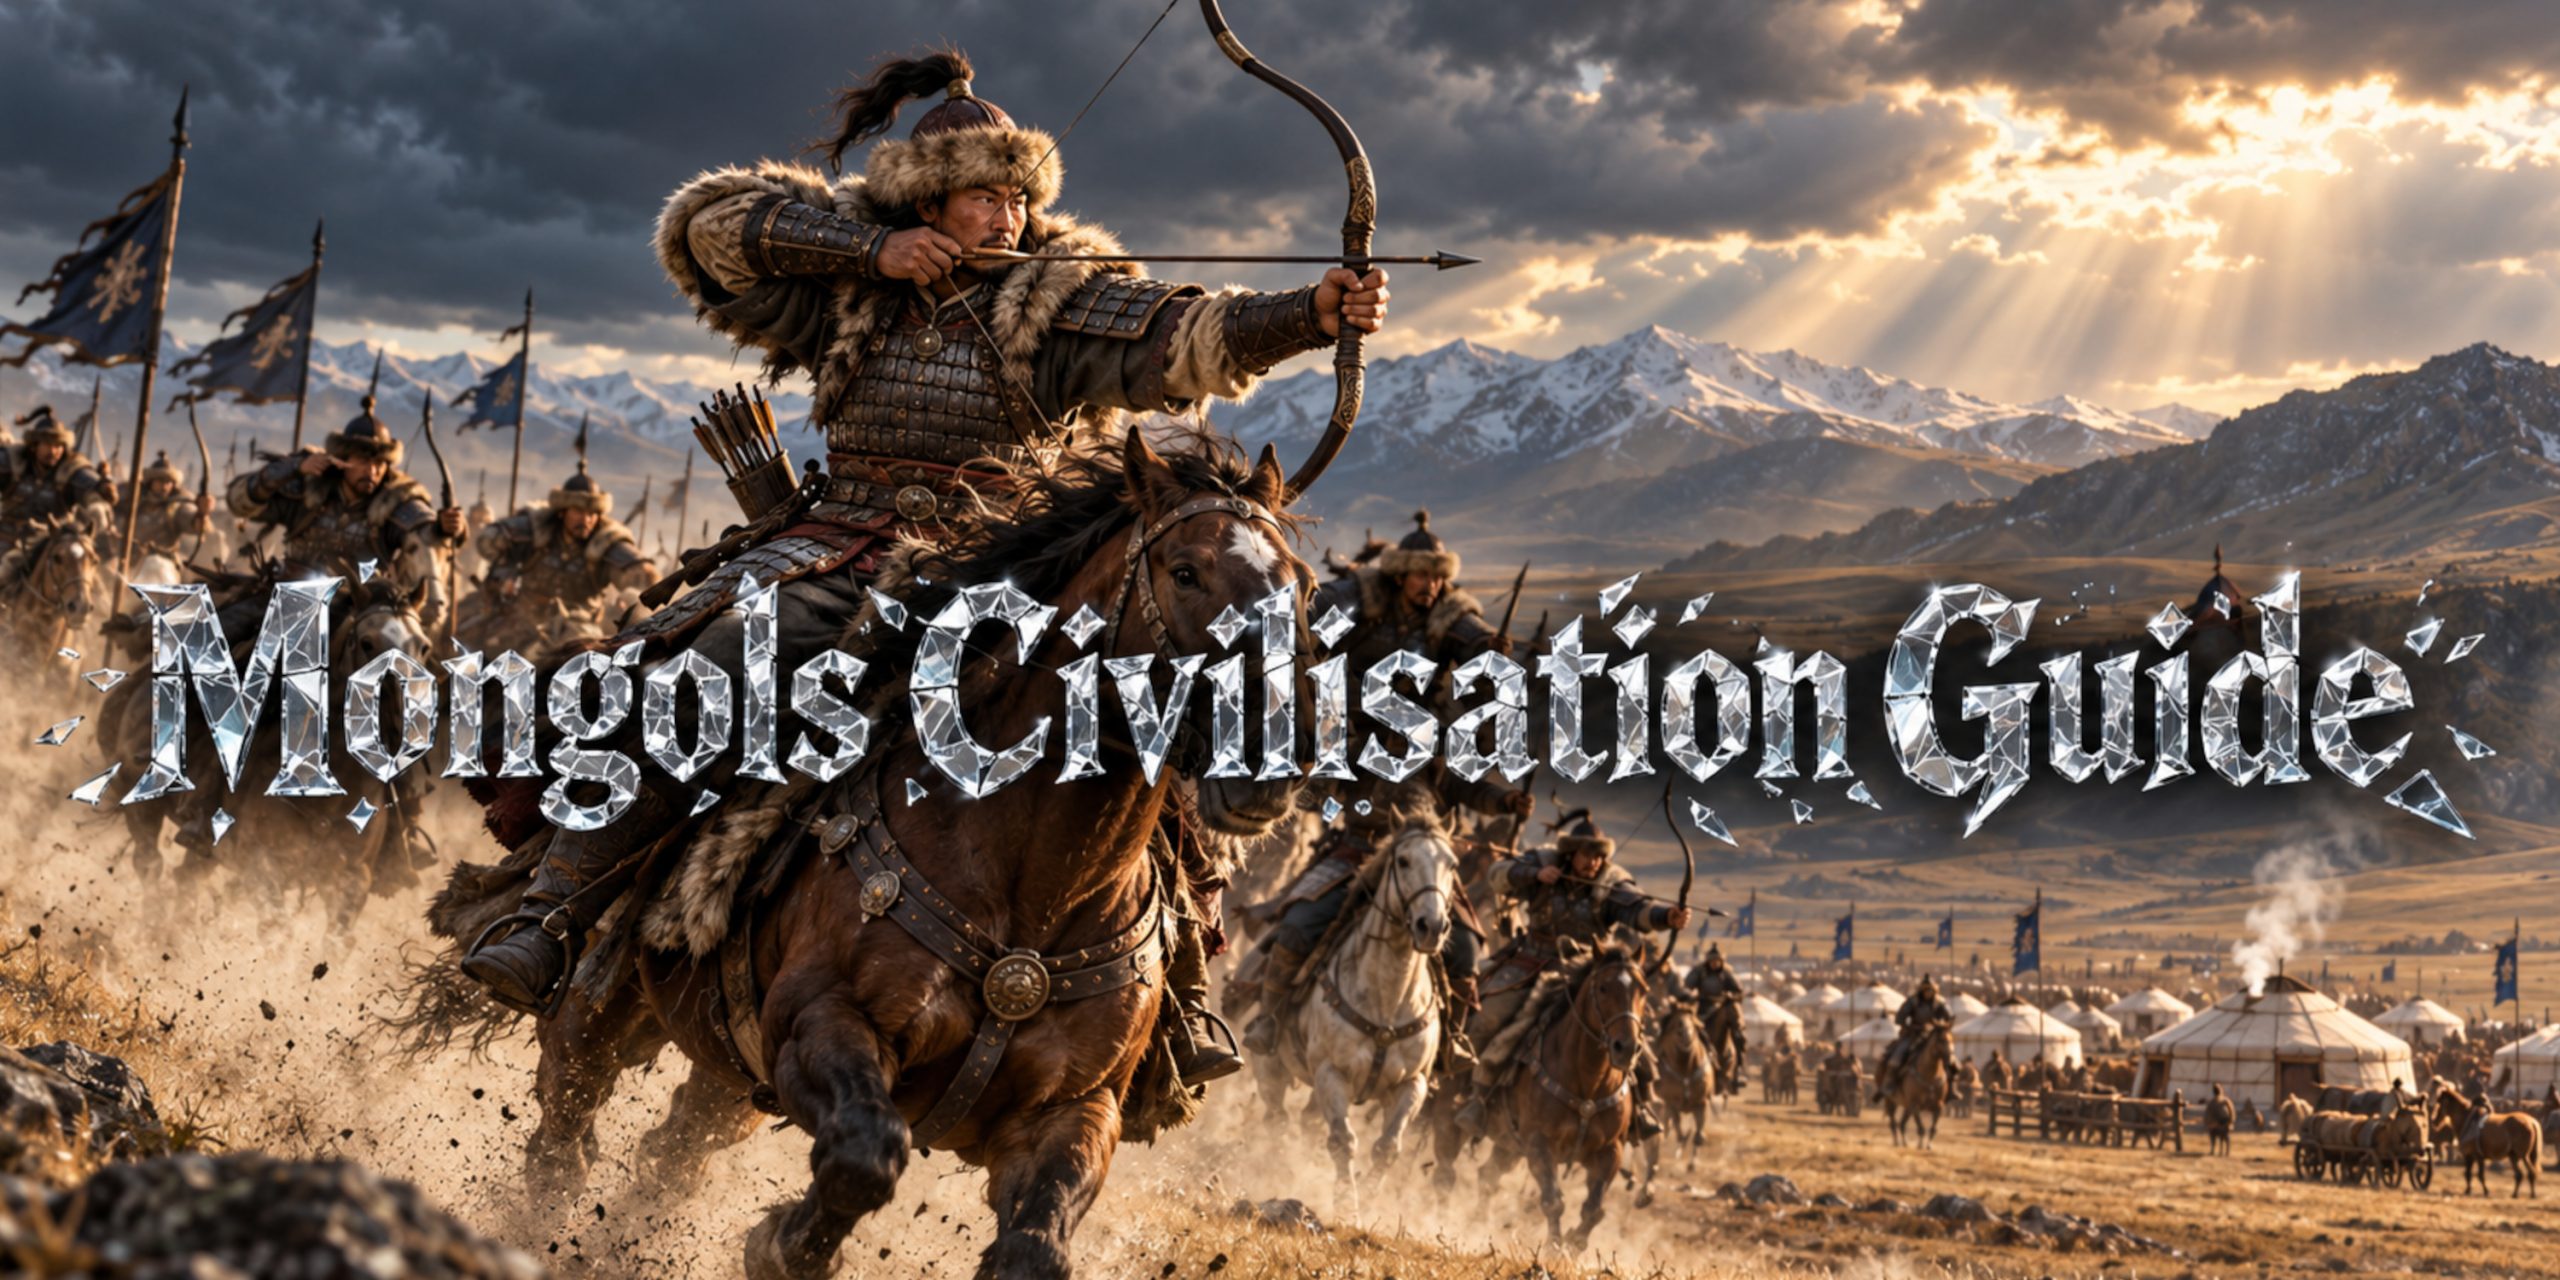
The Mongols in Age of Empires IV suit players who would rather ask awkward questions of an opponent’s economy than spend twenty minutes decorating their own base. Where is your gold? Who is protecting those traders? Are those villagers supposed to be that far from home?
Played well, they turn movement into economic pressure. Played badly, they produce an expensive cavalry collection that expires beneath a Town Centre.
What I like about the Mongols is that their aggression rewards observation. You need to recognise exposed resources, choose fights carefully and know when a raid has achieved enough. Constant attacking is easy. Making each attack useful takes a little more thought.
This guide focuses on the standard Mongols civilisation, with practical advice for land matches, rather than the separate Golden Horde variant.
Mongols at a Glance
The Mongols combine a mobile base, rapid military expansion and strong opportunities for harassment. Their buildings can largely relocate, while the Ovoo supplies stone and the Khan supports armies with Signal Arrows. They lack conventional farms and walls, making their economy and defensive planning feel noticeably different from most civilisations.
| Feature | What it means for your strategy |
|---|---|
| Mobile buildings | Adjust your economy and production as resources and battle lines change |
| Ovoo influence | Plan building placement around stone-supported production and improved technologies |
| Khan | Scout actively and preserve a valuable army support unit |
| Cavalry options | Raid exposed resources and switch targets before defenders arrive |
| Pasture economy | Plan renewable food before nearby sources run out |
| No walls or Keeps | Use vision, positioning, outposts and responsive armies to protect your economy |
| Trade potential | Invest when you can defend the route, rather than simply because a market exists |
The central Mongol skill is controlling where engagements happen. If the opponent consistently chooses the battlefield, much of your mobility advantage disappears.
How Mongol Mobility Actually Wins Games
Mobility creates value when it forces your opponent to respond inefficiently.
Imagine your cavalry reaches an exposed gold mine. The enemy withdraws villagers and sends spearmen to defend it. You retreat, circle towards their woodline and threaten a second resource.
Even without many kills, that sequence can disrupt gathering and pull defenders away from another part of the map. Meanwhile, your own villagers should still be working.
That last detail matters. I can admire a beautifully controlled raid, but if your Town Centre has been idle throughout it, the accounting department has concerns.
Look for three kinds of advantage:
- Economic disruption: force villagers away from resources.
- Positional advantage: pull defenders away from the location you actually want to attack.
- Time: keep the opponent occupied while you expand, establish trade or advance an age.
A raid should have a reason to continue. Once reinforcements arrive or the target becomes safe, withdrawing with your army intact is often the correct decision.
The Ovoo: Your Production Engine
The Ovoo gathers stone automatically. Buildings within its influence can use stone for double production and improved technologies, making its location important to your military development. Double production still consumes resources, so it should be treated as a deliberate investment.
Spend stone to solve a problem or create a useful timing advantage.
Early military numbers might let you control an exposed resource. Later, an improved technology might offer more lasting value. Neither option is automatically correct.
Before spending, consider:
- Will these units reach the battlefield while their numbers still matter?
- Do they counter what the opponent is producing?
- Can your food, wood and gold income support continued production?
- Would saving for an improved technology better serve your next objective?
Place the production buildings you intend to use within influence. When the stone deposit runs out, reassess the layout instead of leaving your military infrastructure organised around a monument to former productivity.
How to Use the Khan
The Khan is a mounted ranged unit whose Signal Arrows strengthen nearby troops. His value goes beyond personal damage.
Early on, use him to locate sheep, inspect enemy resources and identify military production. You want to know whether the opponent is preparing cavalry, ranged pressure or a more defensive opening.
During battles, keep him close enough to support your force without making him the first unit the enemy can surround. Use his abilities around the action you are taking: engaging, pursuing or withdrawing.
A common mistake is chasing one low-health villager until the Khan ends up beneath defensive fire. The possible kill looks tempting. The missing scouting and support afterwards usually feels less exciting.
Preserving information is often worth more than forcing a minor early kill.
Keshiks, Mangudai and Khan’s Hunters Explained
The Mongol cavalry roster offers different tools. Building whichever unit looks most thematic is a perfectly understandable instinct, but an unreliable strategy.
| Unit | Main purpose | Main caution |
|---|---|---|
| Horsemen | Raid and threaten exposed ranged troops | Avoid prepared spearmen |
| Keshiks | Armoured cavalry pressure and repeated engagements | Healing does not make them immune to counters |
| Mangudai | Mobile ranged harassment and kiting | Costly losses can undermine your economy |
| Khan’s Hunters | Support nearby ranged units with additional range | Preserve them and keep supported troops within their aura |
Keshiks are available in Feudal Age and recover health when attacking. Their sustain rewards keeping survivors alive through repeated engagements, rather than throwing them into one desperate fight.
Use ranged support to deal with spearmen and withdraw damaged cavalry when practical. A surviving Keshik can contribute again; a dead one requires another production cycle and another payment.
Mangudai can fire while moving, making them distinctive raiders. Their value depends on having room to manoeuvre and targets worth attacking. Against protected resources, massed ranged defenders or confined terrain, that investment becomes harder to justify.
Khan’s Hunters, unlocked through Deer Stones, are support Mangudai whose aura increases the range of nearby ranged units. They are particularly relevant to a mobile ranged force.
I would learn a mixed Mongol army before making mass Mangudai my default. It teaches you to identify counters rather than trying to kite every problem until it goes away.
Which Mongol Landmarks Should You Choose?
Your landmark should support the game you are actually playing. A promising trade route and an urgent defensive battle ask for different investments.
| Age | Landmark | Strategic role |
|---|---|---|
| Feudal | Deer Stones | Yam Network access and Khan’s Hunters |
| Feudal | Silver Tree | Trade development through cheaper, faster trader production |
| Castle | Steppe Redoubt | Stronger gold income from mining |
| Castle | Kurultai | Healing and combat support around its position |
| Imperial | White Stupa | Stone supply and more economical double unit production |
| Imperial | Khaganate Palace | Periodic army reinforcements |
For Deer Stones versus Silver Tree, consider how you intend to use the next several minutes. Deer Stones supports army movement and ranged support options. Silver Tree rewards a route you can protect, with its trader production benefits documented in the civilisation’s balance updates.
For Steppe Redoubt versus Kurultai, weigh income against battlefield support. A gold-focused plan favours the Redoubt’s economic role. Kurultai asks you to organise fighting around a useful location, so placing it where your army rarely operates wastes much of its purpose.
For Imperial Age, remember that White Stupa reduces the stone cost of unit double production by 50 per cent, a change introduced in Season Twelve. That makes it relevant to sustained reinforcement as well as stone income.
Khaganate Palace supplies periodic forces, including compositions updated to incorporate Khan’s Hunters. Treat those reinforcements as additions to a functioning army, while maintaining production for the counters you need.
A Practical Mongol Opening for Beginners
Start with a repeatable opening that gives you information, steady villager production and a clear Feudal plan. Exact assignments and timings vary with the map, available food and enemy civilisation.
Your opening priorities should be:
- Unpack your Town Centre promptly in a sensible resource position.
- Keep villagers producing.
- Establish your Ovoo and plan production around its influence.
- Use the Khan to gather sheep and inspect the opponent’s resources.
- Gather food and gold for Feudal Age while supporting your intended buildings with wood.
- Choose an initial army from what you have scouted.
A little early pressure can be useful, but Dark Age military spending must earn its keep. Denying an exposed resource may justify it. Attacking a protected position because a guide said “be aggressive” usually does not.
Once you reach Feudal Age, give the army a specific task. Threaten gold, contest food, protect a trade investment or force defensive spending.
Measure the opening by what it enables next, rather than by whether you have already killed villagers.
Tower Rushing: When It Helps and When to Stop
A Mongol tower rush uses forward units and an outpost to restrict access to important resources. Its effectiveness depends heavily on the enemy’s layout.
An exposed gold deposit can be a worthwhile target. A gold deposit beneath Town Centre protection, with another safe mine nearby, presents a much weaker opportunity.
Assess the position before committing:
| Situation | Sensible response |
|---|---|
| Important resource is exposed and difficult to replace | Consider sustained denial |
| Opponent has an easy alternative resource | Limit investment and scout their switch |
| Your forward position is becoming surrounded | Withdraw valuable units where possible |
| Pressure has forced substantial defensive spending | Use the breathing room to develop your economy or age up |
The trap is treating each additional outpost as proof of progress.
A tower rush can succeed by buying time. If it has already done that, redirecting resources into your next stage may be more valuable than trying to make the forward position permanent.
Keeping the Mongol Economy Running
Aggression becomes sustainable only when your economy can replace losses.
Pastures produce sheep, providing renewable food without conventional farms. Build towards that food supply before your current resources disappear.
Watch the balance between spending and gathering. Cavalry-heavy production asks for a different economy from an archer-heavy force. A large resource stockpile alongside an empty production queue usually signals a mismatch.
Trade offers another route to growth, but traders need time and safe journeys to repay their cost. Before expanding it, check the route’s entrances, enemy cavalry position and your ability to respond.
Protect trade with vision and a mobile force. If raids repeatedly interrupt it, address the security problem before purchasing another batch of traders.
The same principle applies to gold mines and woodlines. Economic expansion should come with a plan for defending the villagers who make it work.
How to Defend Without Walls
The Mongols lack walls and Keeps, so late-game defence demands particular attention to exposed villagers and approaches into the base.
Use terrain, outpost vision and compact resource positions to give yourself warning and shorten response times. Keep units available to intercept raids when the opponent has the mobility to launch them.
Packing buildings can save infrastructure or improve its position, but relocation carries a cost. Production stops during the move, resource drop-offs can become awkward and the destination may already be threatened.
Move with a purpose:
- Bring economic buildings closer to working resources.
- Relocate production to a safer or more useful position.
- Preserve a valuable structure when evacuation is realistic.
Moving the whole base during a collapsing defence rarely fixes the underlying problem. You still need somewhere safe to arrive.
Building an Army That Can Finish the Game
Raiding creates advantages. A balanced army converts them into lasting control.
Use cavalry to threaten flanks and exposed ranged troops, archers to support against light infantry, spearmen where enemy cavalry demands them, and crossbowmen against armoured targets once available.
Add appropriate siege when buildings prevent further progress. Support it properly; an isolated siege unit gives the opponent a straightforward target.
Avoid producing every unit type at once. Identify the main threat, select the counter and add the support needed to keep that counter effective.
Mongols can also fight with substantial infantry forces. Their cavalry identity should guide your opportunities, not dictate every production queue.
Common Mongol Mistakes
| Mistake | Why it hurts | Better habit |
|---|---|---|
| Attacking continuously without an objective | Losses accumulate without creating an advantage | Name the resource, position or timing you want |
| Making Mangudai regardless of the map | Their mobility may have little room to work | Check terrain and enemy ranged defence |
| Losing the Khan for a minor kill | Scouting and army support disappear | Prioritise his survival |
| Spending all stone immediately | Useful later options become unavailable | Tie spending to a clear need |
| Trading before securing the route | Early raids delay or erase the investment | Establish protection first |
| Ignoring renewable food | Military production stalls unexpectedly | Prepare the transition in advance |
| Remaining in Feudal after pressure stops working | The opponent gains stronger tools | Reassess whether to advance |
| Leaving your own economy exposed | Enemy raids cancel your offensive gains | Check home while pressuring elsewhere |
Are Mongols Good for Beginners?
Mongols are a demanding first civilisation because they ask you to scout, raid, manage abilities and defend an open economy at the same time. They can still be an enjoyable way to learn if active play appeals to you.
For your first matches, focus on three habits: continuous villager production, purposeful pressure and preserving useful units. Learn a reliable mixed army before attempting elaborate raids on several fronts.
What keeps me interested in the Mongols is the freedom to change the problem. If one resource becomes too well defended, threaten another. If your pressure buys time, invest it. If an engagement looks poor, leave before pride turns into a reinforcement bill.
The strongest Mongol aggression feels deliberate. Your opponent spends more time responding, while you keep deciding what happens next.