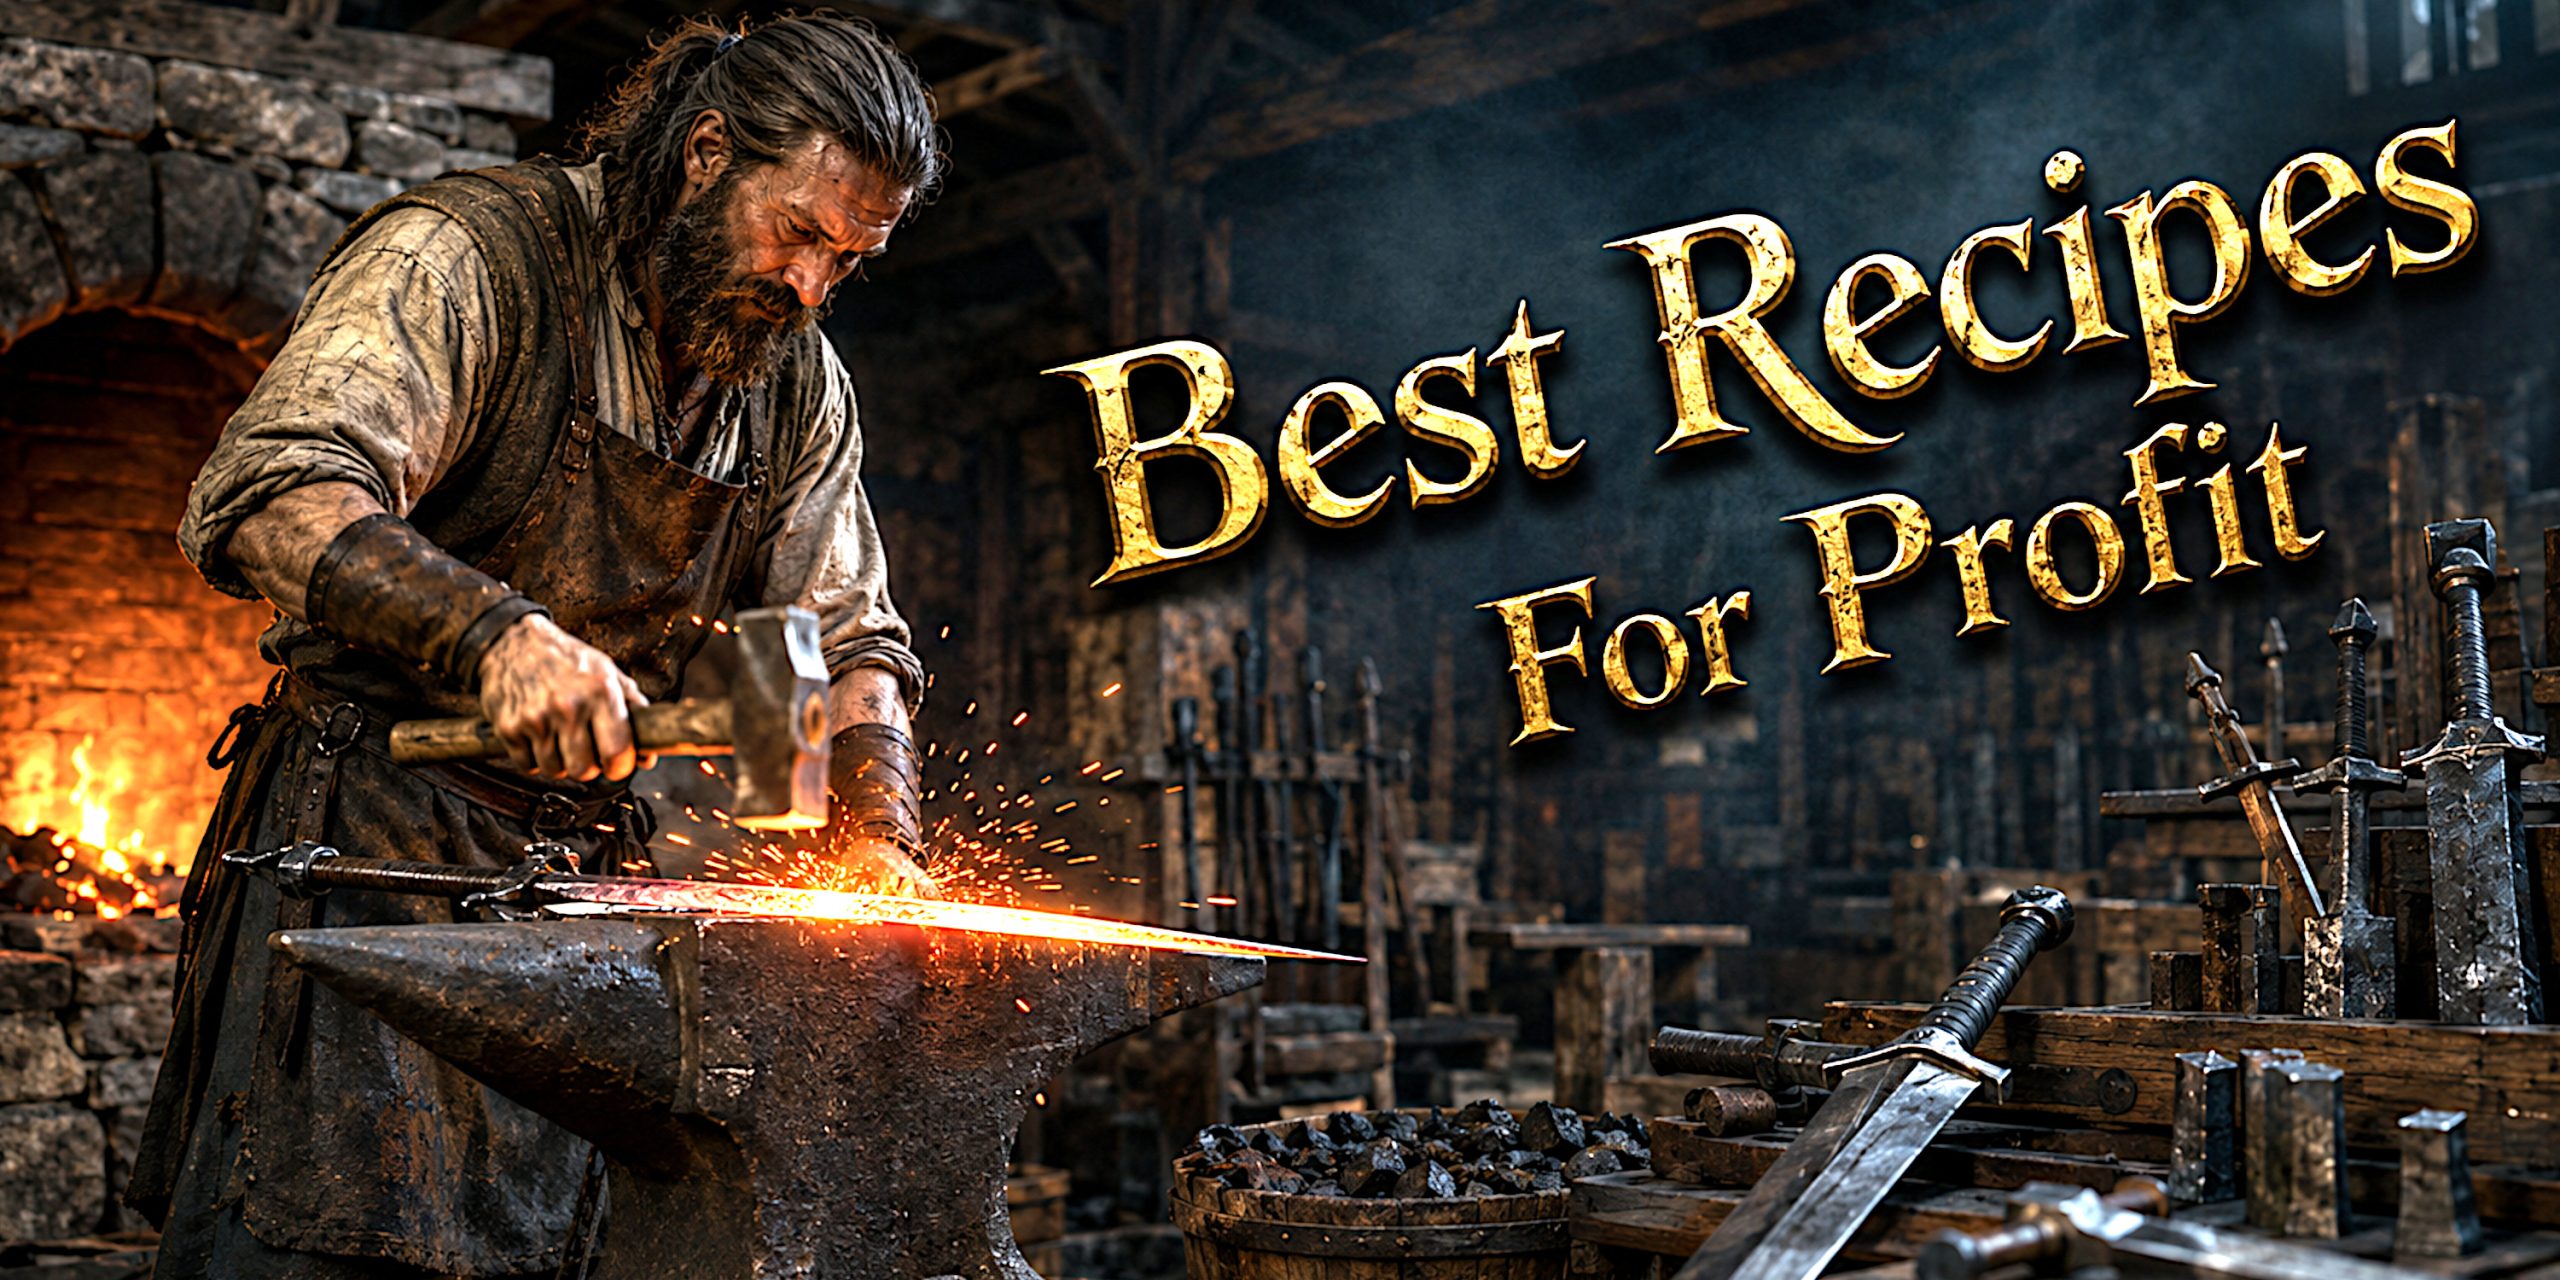
Smithing remains one of the strongest ways to make money in Mount & Blade II: Bannerlord. Workshops offer a respectable income, caravans can eventually repay their investment, and trading horses across half of Calradia builds character. None, however, quite matches the financial ingenuity of turning a few bars of steel into a sword worth more than a prosperous village.
The system is less forgiving than it once was. Expensive materials and decorative parts do not automatically produce an expensive weapon. Sale value is heavily influenced by damage, weapon class, part tier, quality and the character’s trading penalties. The most profitable recipe is therefore the one that produces valuable combat statistics without swallowing rare metal unnecessarily.
This guide covers the most dependable smithing recipes, how to unlock the required parts and how to turn the forge into a practical source of campaign income.
Best Smithing Recipes at a Glance
| Weapon type | Profit potential | Material efficiency | Unlock difficulty | Best use |
|---|---|---|---|---|
| Two-handed sword | Excellent | Very good | Medium | Reliable high-value sales |
| Swinging polearm | Excellent | Excellent | Medium to high | Profit per bar of metal |
| Javelin | Very good | Excellent | Low to medium | Cheap mass production |
| One-handed sword | Moderate | Good | Medium | Early and middle-game levelling |
| Throwing axe | Moderate | Good | Low | Part unlocking and lower-tier production |
| Dagger | Poor | Variable | Low | Smelting materials rather than sales |
Two-handed swords are the safest all-round choice. Swinging polearms can deliver a better return on materials once the correct heads are unlocked, while javelins are wonderfully economical. One-handed swords are useful, but merchants rarely value them with quite the same enthusiasm.
How Crafted Weapon Value Works
Bannerlord does not price crafted weapons simply by adding together the cost of their materials. Combat performance matters greatly, particularly the weapon’s damage.
The most important factors are:
- Weapon class
- Swing or thrust damage
- Damage type
- Part tier
- Crafted weapon quality
- Smithing perks
- Trade penalties
- The merchant’s available denars
- Changes introduced by the current game version
High swing cut damage is particularly valuable. This explains why two-handed swords and glaive-like polearms routinely outperform ordinary spears, despite all being perfectly capable of ruining someone’s afternoon.
A longer weapon is not automatically more profitable. Increasing component size may improve reach and damage, but it can also reduce handling and speed. Use the size sliders while watching the damage figures rather than simply making every component enormous.
Sale prices can differ substantially between campaigns and characters. Treat the price ranges below as realistic targets, not contractual obligations from the guild of Calradian merchants.
Best Two-Handed Sword Recipe for Profit
Two-handed swords provide the most dependable combination of high value, accessible parts and reasonable material costs.
Recommended low-cost recipe
| Component | Recommended part | Size |
|---|---|---|
| Blade | Tier IV Pointed Falchion Blade | Maximum or close to maximum |
| Guard | Tier IV Rounded Flat Guard | Minimum |
| Grip | Tier IV Tapered Horn Grip | Adjust for two-handed use |
| Pommel | Tier IV Holed Pommel | Minimum |
This is an unusually efficient recipe because the Pointed Falchion Blade produces strong swing cut damage while using relatively ordinary materials. Depending on the version and unlocked parts, it can produce a weapon above its apparent component tier without requiring a small treasury in fine or Thamaskene steel.
The blade matters far more than the furniture. A grand pommel might impress a courtier, but it does little for profitability if it consumes valuable metal while adding little damage.
High-tier two-handed sword template
For maximum value rather than material efficiency, use:
- A Tier V blade with very high swing cut damage
- A Tier IV or Tier V guard with a modest material cost
- A dedicated two-handed grip
- The cheapest suitable high-tier pommel
- A blade size that raises damage without destroying handling
Aim for:
| Statistic | Useful target |
|---|---|
| Swing cut damage | Above 120 |
| Reach | Roughly 110 to 125 |
| Handling | Above 80 where possible |
| Weapon tier | Tier V or Tier VI result |
| Difficulty | Close to or below the smith’s effective ability |
Late-game two-handed swords can sell for tens of thousands of denars, although the final amount depends on quality, perks and trade penalties. Your displayed inventory value may also be considerably higher than the price a merchant actually offers.
Best Swinging Polearm Recipe
Polearms divide rather neatly into two groups. There are powerful swinging weapons that merchants value highly, and there are ordinary thrusting spears that may be historically sensible but financially underwhelming.
For profit, select a head that provides swing cut damage.
Recommended recipe template
| Component | Recommended choice | Size |
|---|---|---|
| Head | Tier IV or Tier V glaive, war-razor or hewing head | Maximum |
| Reinforcement | Cheap high-tier reinforcement | Minimum |
| Shaft | A shaft allowing two-handed swinging attacks | Adjust for reach |
| Pommel | Lowest-cost compatible option | Minimum |
Look for the following traits on the completed weapon:
- Two-handed use
- Swing cut damage
- A high-tier head
- Good reach
- Strong damage without excessive material cost
- Thrust damage as a useful bonus rather than the main source of value
The Fine Steel Hewing Spear Head is particularly effective when available. Other glaive-style and war-razor heads can also work well, so compare the projected value and material bill before forging.
Avoid assuming that the longest possible shaft produces the best result. Some shafts change the weapon’s handling or available attack modes. A polearm that cannot perform the profitable swinging attack has rather missed the point.
Best Javelin Recipe for Profit
Javelins require few components, consume relatively little metal and have a much smaller part pool than swords. This makes them easier to develop into a repeatable production line.
High-value javelin recipe
| Component | Recommended part | Size |
|---|---|---|
| Head | Tier V Thin Fine Steel Hewing Spear Head | Maximum |
| Reinforcement | Tier IV Riveted Spear Head Reinforcement | Minimum |
| Shaft | Highest-tier compatible javelin shaft | Adjust for damage |
| Pommel | Cheapest compatible high-tier pommel | Minimum |
A version of this recipe can require approximately:
- One charcoal
- One hardwood
- Two steel
- Two fine steel
Well-made examples can command around 10,000 to 15,000 denars before differences caused by perks, quality and campaign economy. The precise figure varies, but the material-to-value ratio remains the attraction.
Javelins are also convenient for unlocking parts because their crafting category is comparatively small. You can reach the valuable components without excavating the sprawling two-handed sword catalogue one pommel at a time.
Best Early-Game Smithing Recipe
At low Smithing skill, the most profitable weapon is rarely a magnificent Tier V sword. You probably cannot make one, and attempting work far beyond the character’s ability produces poor results.
A more practical early-game approach is to build two-handed swords from the best unlocked blade and the cheapest compatible fittings.
Prioritise:
- The highest swing cut damage available
- A two-handed grip
- Cheap guards and pommels
- Parts near the smith’s current difficulty level
- Materials obtained from smelting rather than expensive refining
Do not become attached to a single recipe during this stage. Each new blade unlock may change the best available combination. Check the projected statistics whenever a new part appears.
Early forged weapons may sell for only a few hundred or a few thousand denars. Their greater value lies in Smithing experience and part discoveries. They are apprenticeship pieces, even if Calradia has no formal apprenticeship system and appears content to let wandering mercenaries experiment with white-hot steel.
Smithing Orders or Selling Weapons
Smithing orders can be more useful than direct sales, particularly while levelling the skill.
| Method | Advantages | Disadvantages |
|---|---|---|
| Selling forged weapons | Repeatable and easy to scale | Limited by merchant funds and trade penalties |
| Completing orders | Good rewards, experience and relationship gains | Requirements can be demanding |
| Smelting forged weapons | Recovers materials and unlocks parts | Produces no immediate income |
| Forging personal weapons | Excellent equipment without shop prices | Does not directly fund the campaign |
Orders reward you for matching requested statistics rather than producing the highest nominal sale value. A successful difficult order can provide considerable Smithing experience as well as payment. Failed requirements reduce the reward, so examine every statistic before confirming the craft.
Companions can attempt orders too. This is useful when one character has the right perks or higher skill, although the main character should handle sales if they possess perks that reduce the trade penalty on crafted equipment.
The Best Perks for Profitable Smithing
Smithing becomes much more efficient when party members specialise instead of every character trying to do everything.
| Role | Useful perk focus |
|---|---|
| Refiner | Charcoal and metal conversion efficiency |
| Smelter | Increased part discovery |
| Smith | Crafting quality and part discovery |
| Seller | Reduced trade penalty on crafted weapons |
Particularly useful Smithing perks include:
- Efficient Charcoal Maker
- Curious Smelter
- Curious Smith
- Experienced Smith
- Artisan Smith
- Master Smith
- Legendary Smith
Artisan Smith is important for commercial production because it reduces the trade penalty applied to crafted weapons. It does not transform a poor recipe into a priceless heirloom, but it can noticeably improve the return from an already valuable weapon.
The mutually exclusive perks make party specialisation worthwhile. Let one companion refine materials, another smelt weapons and your best smith handle production. It is less romantic than a lone master working by firelight, though considerably more productive.
How to Unlock Smithing Parts Faster
Parts are unlocked separately within each weapon category. Smelting a polearm will not unlock a two-handed sword blade, however much one might argue that both are long pieces of sharpened metal.
For quicker progression:
- Concentrate on one profitable weapon category at a time
- Take Curious Smelter or Curious Smith on the relevant character
- Smelt valuable weapons from the same category
- Forge the most difficult weapons your smith can make competently
- Smelt unwanted crafted weapons and reuse their materials
- Complete higher-difficulty orders when possible
- Use companions to expand the party’s available stamina
Two-handed swords have a large component pool, so unlocking a particular blade can take time. Javelins are much quicker to complete because they have fewer parts.
Save before investing heavily in a new production run if you are testing an unfamiliar combination. Bannerlord is a strategy game, but there is no strategic merit in converting all your fine steel into beautifully crafted disappointments.
The Most Efficient Material Loop
Hardwood and charcoal form the foundation of large-scale smithing.
A practical production cycle looks like this:
- Buy hardwood where it is inexpensive
- Refine hardwood into charcoal
- Smelt captured and purchased weapons
- Reserve fine steel for high-value components
- Forge profitable weapons
- Smelt poor-quality results when the recovered materials justify it
- Sell the best examples in towns with enough money
Do not smelt every valuable weapon automatically. Before feeding an item into the forge, compare its purchase or sale price with the materials shown on the smelting screen. Cheap daggers and certain throwing weapons can yield surprisingly good metal, while an expensive sword may provide less than its market price suggests.
Battlefield loot is particularly useful because its acquisition cost is effectively hidden inside the battle. A damaged weapon may be worth little to a merchant while still producing perfectly respectable raw materials.
Materials Worth Buying and Smelting
| Resource | Main purpose | Advice |
|---|---|---|
| Hardwood | Charcoal production | Buy in woodland regions when cheap |
| Charcoal | Smelting, refining and forging | Keep a large reserve |
| Crude iron | Low-tier components | Usually abundant |
| Wrought iron | Economical falchion-style blades | Excellent for budget recipes |
| Iron | Mid-tier components | Useful but rarely scarce |
| Steel | Strong profitable weapons | Preserve for valuable parts |
| Fine steel | Tier V components | Use where it materially improves value |
| Thamaskene steel | Premium parts | Rarely necessary for routine profit |
High-tier materials should be judged by what they add to the finished weapon. If one fine steel component increases the sale price substantially, it is worthwhile. If it merely turns a modest pommel into a slightly grander modest pommel, keep the steel.
Where to Sell Crafted Weapons
The best town is usually the one with enough money to buy your stock. Settlement prosperity can matter, but the merchant’s available denars are the immediate limitation.
Use these principles:
- Check the town’s available funds before selling
- Visit prosperous settlements away from prolonged warfare
- Spread large batches across several towns
- Sell expensive pieces individually if necessary
- Avoid dumping dozens of identical weapons into one market
- Use ordinary loot to balance transactions when buying supplies
There is no permanent list of towns that always pays best. War, sieges, raiding and campaign simulation alter local economies. Marunath may be rich in one campaign and a smoking administrative inconvenience in another.
Moving between neighbouring towns works better than waiting for a single merchant to recover enough cash. This also lets your party rest, buy hardwood and search for useful weapons to smelt.
Common Smithing Mistakes
Using the most expensive parts
Material cost does not translate directly into sale value. Spend metal on damage-producing components, especially blades and polearm heads.
Forging far above your skill
Excessive difficulty increases the chance of poor results. Progress towards advanced recipes rather than forcing them too early.
Ignoring weapon modes
A polearm head may look profitable, but the chosen shaft can remove its swinging attack. Always inspect the finished attack modes.
Refining everything personally
Smithing stamina belongs to individual characters. Divide the work among companions to increase total production.
Selling without Artisan Smith
Trade penalties can remove a large portion of the expected value. Use the appropriate seller whenever possible.
Trusting fixed price claims
Updates, campaign conditions, weapon quality and character perks all influence the eventual sale price. Compare projected values inside your own campaign.
Chasing Thamaskene steel too early
It is valuable, but ordinary steel and fine steel recipes often produce a better return on time and materials.
A Practical Smithing Progression
Early campaign
- Buy hardwood and inexpensive smelting weapons
- Produce charcoal
- Concentrate on two-handed swords or javelins
- Forge using the best unlocked damage component
- Complete manageable orders
- Reinvest the proceeds into materials
Middle campaign
- Assign specialist companions
- Unlock Tier III and Tier IV parts
- Use economical falchion, javelin or swinging polearm recipes
- Rotate sales between several towns
- Take Artisan Smith on the character handling transactions
Late campaign
- Forge Tier V and Tier VI results
- Pursue difficult noble orders
- Use high-end materials selectively
- Keep masterwork and legendary weapons for companions
- Sell surplus pieces to fund armies, tribute and settlement development
By the late game, the limiting factor is often merchant liquidity rather than production. You may own forty exceptional swords and still find that the local trader can afford one and perhaps the scabbard of another.
Is Smithing Still the Best Way to Make Money?
Smithing remains extremely profitable, but it is not necessarily the most enjoyable choice for every campaign.
It suits players who want:
- A dependable source of large payments
- Custom weapons for companions
- A non-combat character progression route
- Control over equipment statistics
- Enough money to sustain expensive armies
It is less appealing if you dislike repetitive crafting, resting in towns or managing materials. Caravans, workshops, warfare and trade create income with more movement and uncertainty. They also fit some characters better. A noble horse lord spending months beside a forge begins to look less like a ruler and more like someone avoiding his correspondence.
The best balance is often to use smithing as a financial foundation without allowing it to consume the campaign. Forge when resting, complete worthwhile orders and sell a handful of valuable weapons when the treasury needs help.
Final Verdict
The best general-purpose smithing recipe is an economical two-handed sword built around a high-damage falchion blade. Swinging polearms offer outstanding material efficiency, while high-tier javelins provide the easiest route to profitable mass production.
Focus on damage rather than decoration, use cheap fittings around an effective blade or head, and assign companions to refining and smelting. Most importantly, judge recipes through the statistics and projected values shown in your current game. Bannerlord’s economy has changed before and will doubtless do so again. Even Calradia occasionally discovers monetary policy.
Prices and precise part performance may vary with game version, campaign economy and character perks. The revised advice reflects the current page, recent player testing and documented perk behaviour, including the effect of Artisan Smith on crafted-equipment trade penalties. Bannerlord community recipe testing and recent weapon comparisons support treating the figures as ranges rather than guaranteed prices.