The Battle of Barnet, fought on 14 April 1471, was one of the most decisive and dramatic engagements of the Wars of the Roses. Pitting the Yorkist forces of Edward IV against the Lancastrian army led by the veteran commander Richard Neville, Earl of Warwick, it marked the end of Warwick’s political dominance and altered the course of English dynastic history.
Background
By early 1471, England was in a state of renewed civil conflict. Edward IV, previously forced into exile by Warwick and his erstwhile ally George, Duke of Clarence, had returned from Burgundy determined to reclaim his throne. Warwick, who had switched sides to support Henry VI’s restoration, mustered his forces to halt Edward’s advance before he could consolidate power in London.
Forces
Edward IV moved north from London to confront Warwick’s army at Barnet, a few miles to the north. Mist and confusion would play a significant role in the unfolding battle.
| Side | Commander | Estimated Troops |
|---|---|---|
| Yorkists | Edward IV | 10,000–12,000 |
| Lancastrians | Earl of Warwick (Richard Neville) | 15,000–16,000 |
While Warwick had the larger force, Edward’s troops were battle-hardened and well-led, with key allies returning to his side, including his brother Clarence who had defected once more.
Arms and Armour
Yorkist
- Leader: Edward IV
- Notable Commanders:
- Richard, Duke of Gloucester (future Richard III)
- William, Lord Hastings
- George, Duke of Clarence (joined mid-campaign)
- Armaments:
- Longswords, poleaxes, and war hammers
- Longbows and billhooks
- Partial plate armour with brigandines and sallets common
Lancastrian
- Leader: Richard Neville, Earl of Warwick
- Notable Commanders:
- John Neville, Marquess of Montagu (Warwick’s brother)
- Oxford (John de Vere, Earl of Oxford)
- Exeter (Henry Holland, Duke of Exeter)
- Armaments:
- Halberds, axes, and longswords
- Longbows and crossbows
- Full and partial plate armour among higher-ranking men-at-arms
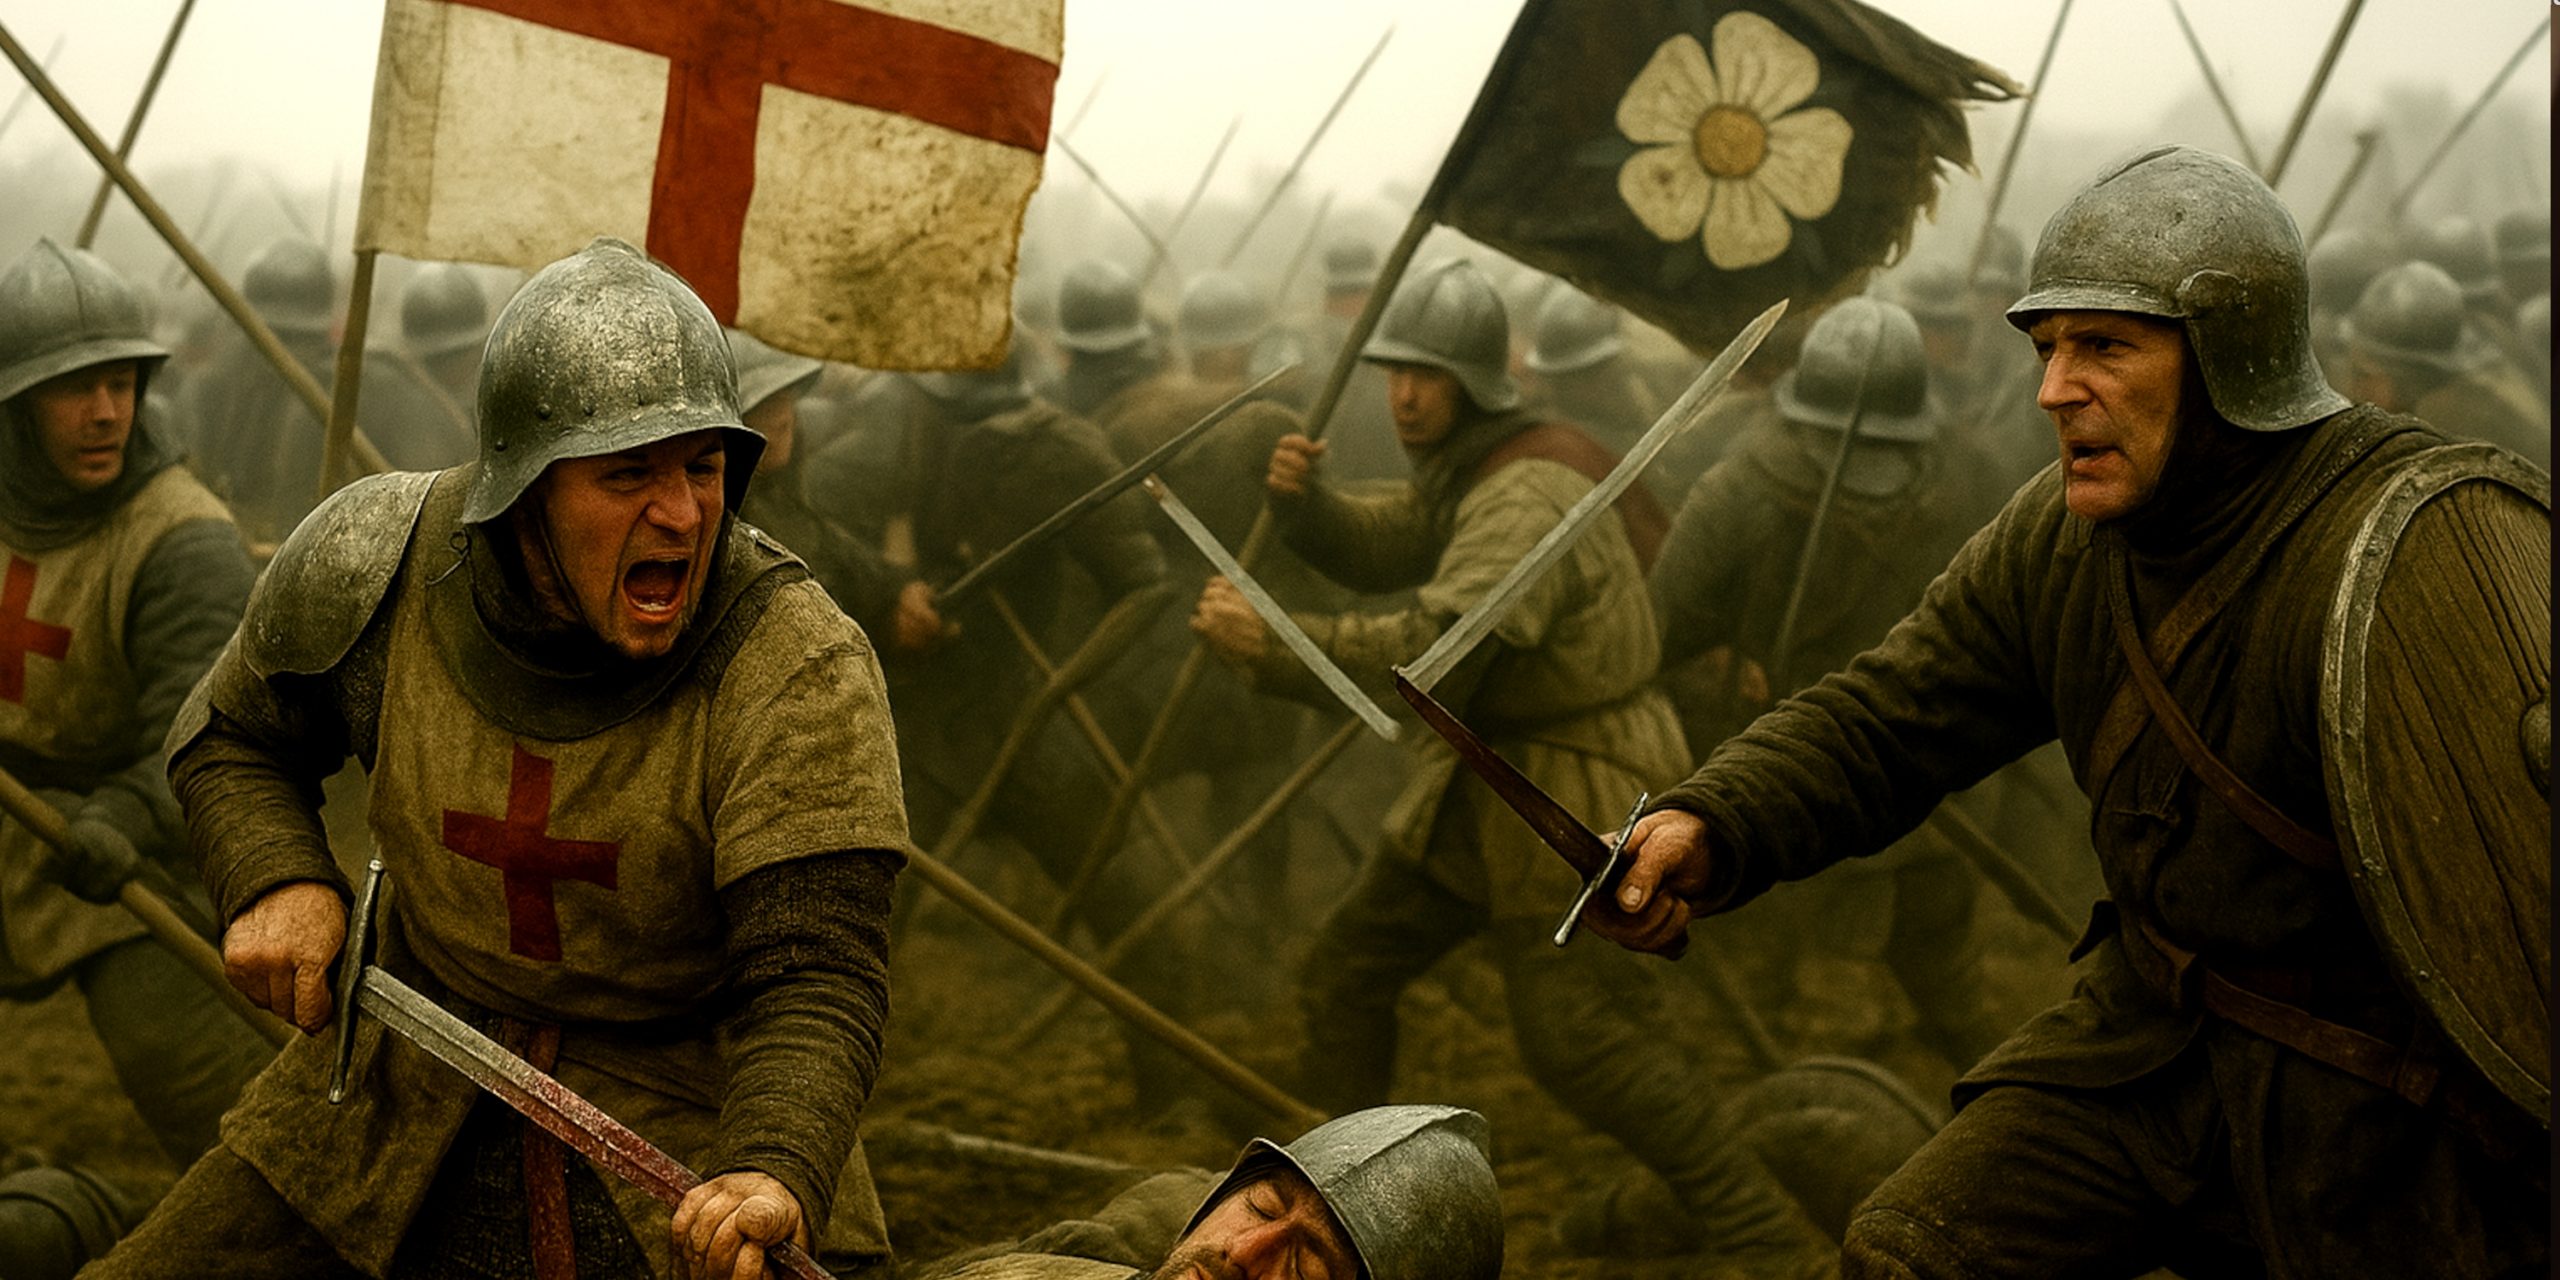
The Battle
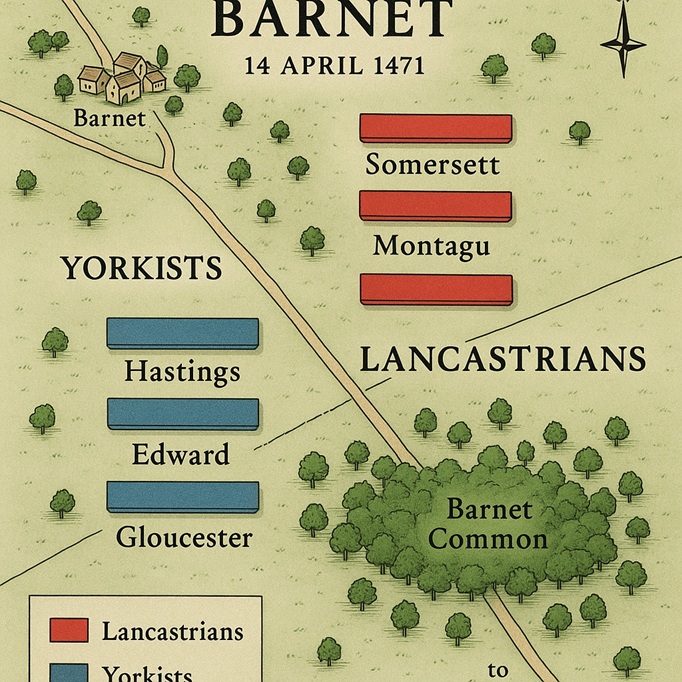
Barnet was enveloped in thick mist at dawn. Edward arranged his men with Gloucester on the right, Hastings on the left, and himself in the centre. Due to the fog, both armies misaligned, leading Oxford’s left wing to overpower Hastings’ division, pushing it back towards Barnet.
However, confusion soon took hold. Oxford’s men, returning through the mist, were mistakenly attacked by Warwick’s own forces, who took their star emblem for Edward’s sun-in-splendour. Cries of treachery spread through the Lancastrian ranks, damaging morale. Edward seized the moment, personally leading a charge into the centre where Warwick and Montagu fought.
Both Warwick and his brother were killed in the melee, either in combat or during retreat. Their deaths symbolised the collapse of the Lancastrian leadership.
Archaeology
Despite its importance, the battlefield’s exact location remains somewhat uncertain due to centuries of urban development. The area north of Barnet has been investigated for artefacts, though most finds are scattered and inconclusive.
A few fragments of weaponry and arrowheads have been attributed to the period, and soil disturbances hint at large-scale movement, but no clear mass graves or command positions have been firmly identified. English Heritage has designated the area as a registered battlefield, recognising its national significance.
Timeline of the Battle
| Time | Event |
|---|---|
| Pre-dawn | Thick mist covers the battlefield |
| Dawn | Battle begins; Edward’s army misaligned with Warwick’s |
| Early morning | Oxford routes Hastings on the Yorkist left |
| Mid-morning | Oxford’s returning men attacked by Montagu’s forces |
| Late morning | Confusion spreads; cries of “Treason!” damage Lancastrian cohesion |
| Noon | Edward leads central charge; Warwick and Montagu fall |
| Afternoon | Lancastrian army collapses; Edward claims decisive victory |
Contemporary Quotes
Chronicler Warkworth wrote:
“There was so great a mist that neither host could see the other, and by misadventure the one part of the Earl of Warwick’s host slew the other.”
From the Croyland Chronicle:
“Edward, brave and bold in arms, charged amidst the thickest of his enemies. There fell Warwick, that proud setter-up and puller-down of kings.”
Legacy
The Battle of Barnet effectively removed the most capable Lancastrian commander and allowed Edward IV to secure his rule. Weeks later, he would defeat Queen Margaret’s forces at Tewkesbury and re-imprison Henry VI, who would soon die in the Tower. The wars were far from over, but Barnet shifted the balance irreversibly in favour of the Yorkists and set the stage for a more stable reign under Edward.
While often overshadowed by the bloodbath at Towton or the political implications of Bosworth, Barnet remains a battle where weather, loyalty, and misjudgement shaped the future of the English crown.
Watch the documentary: