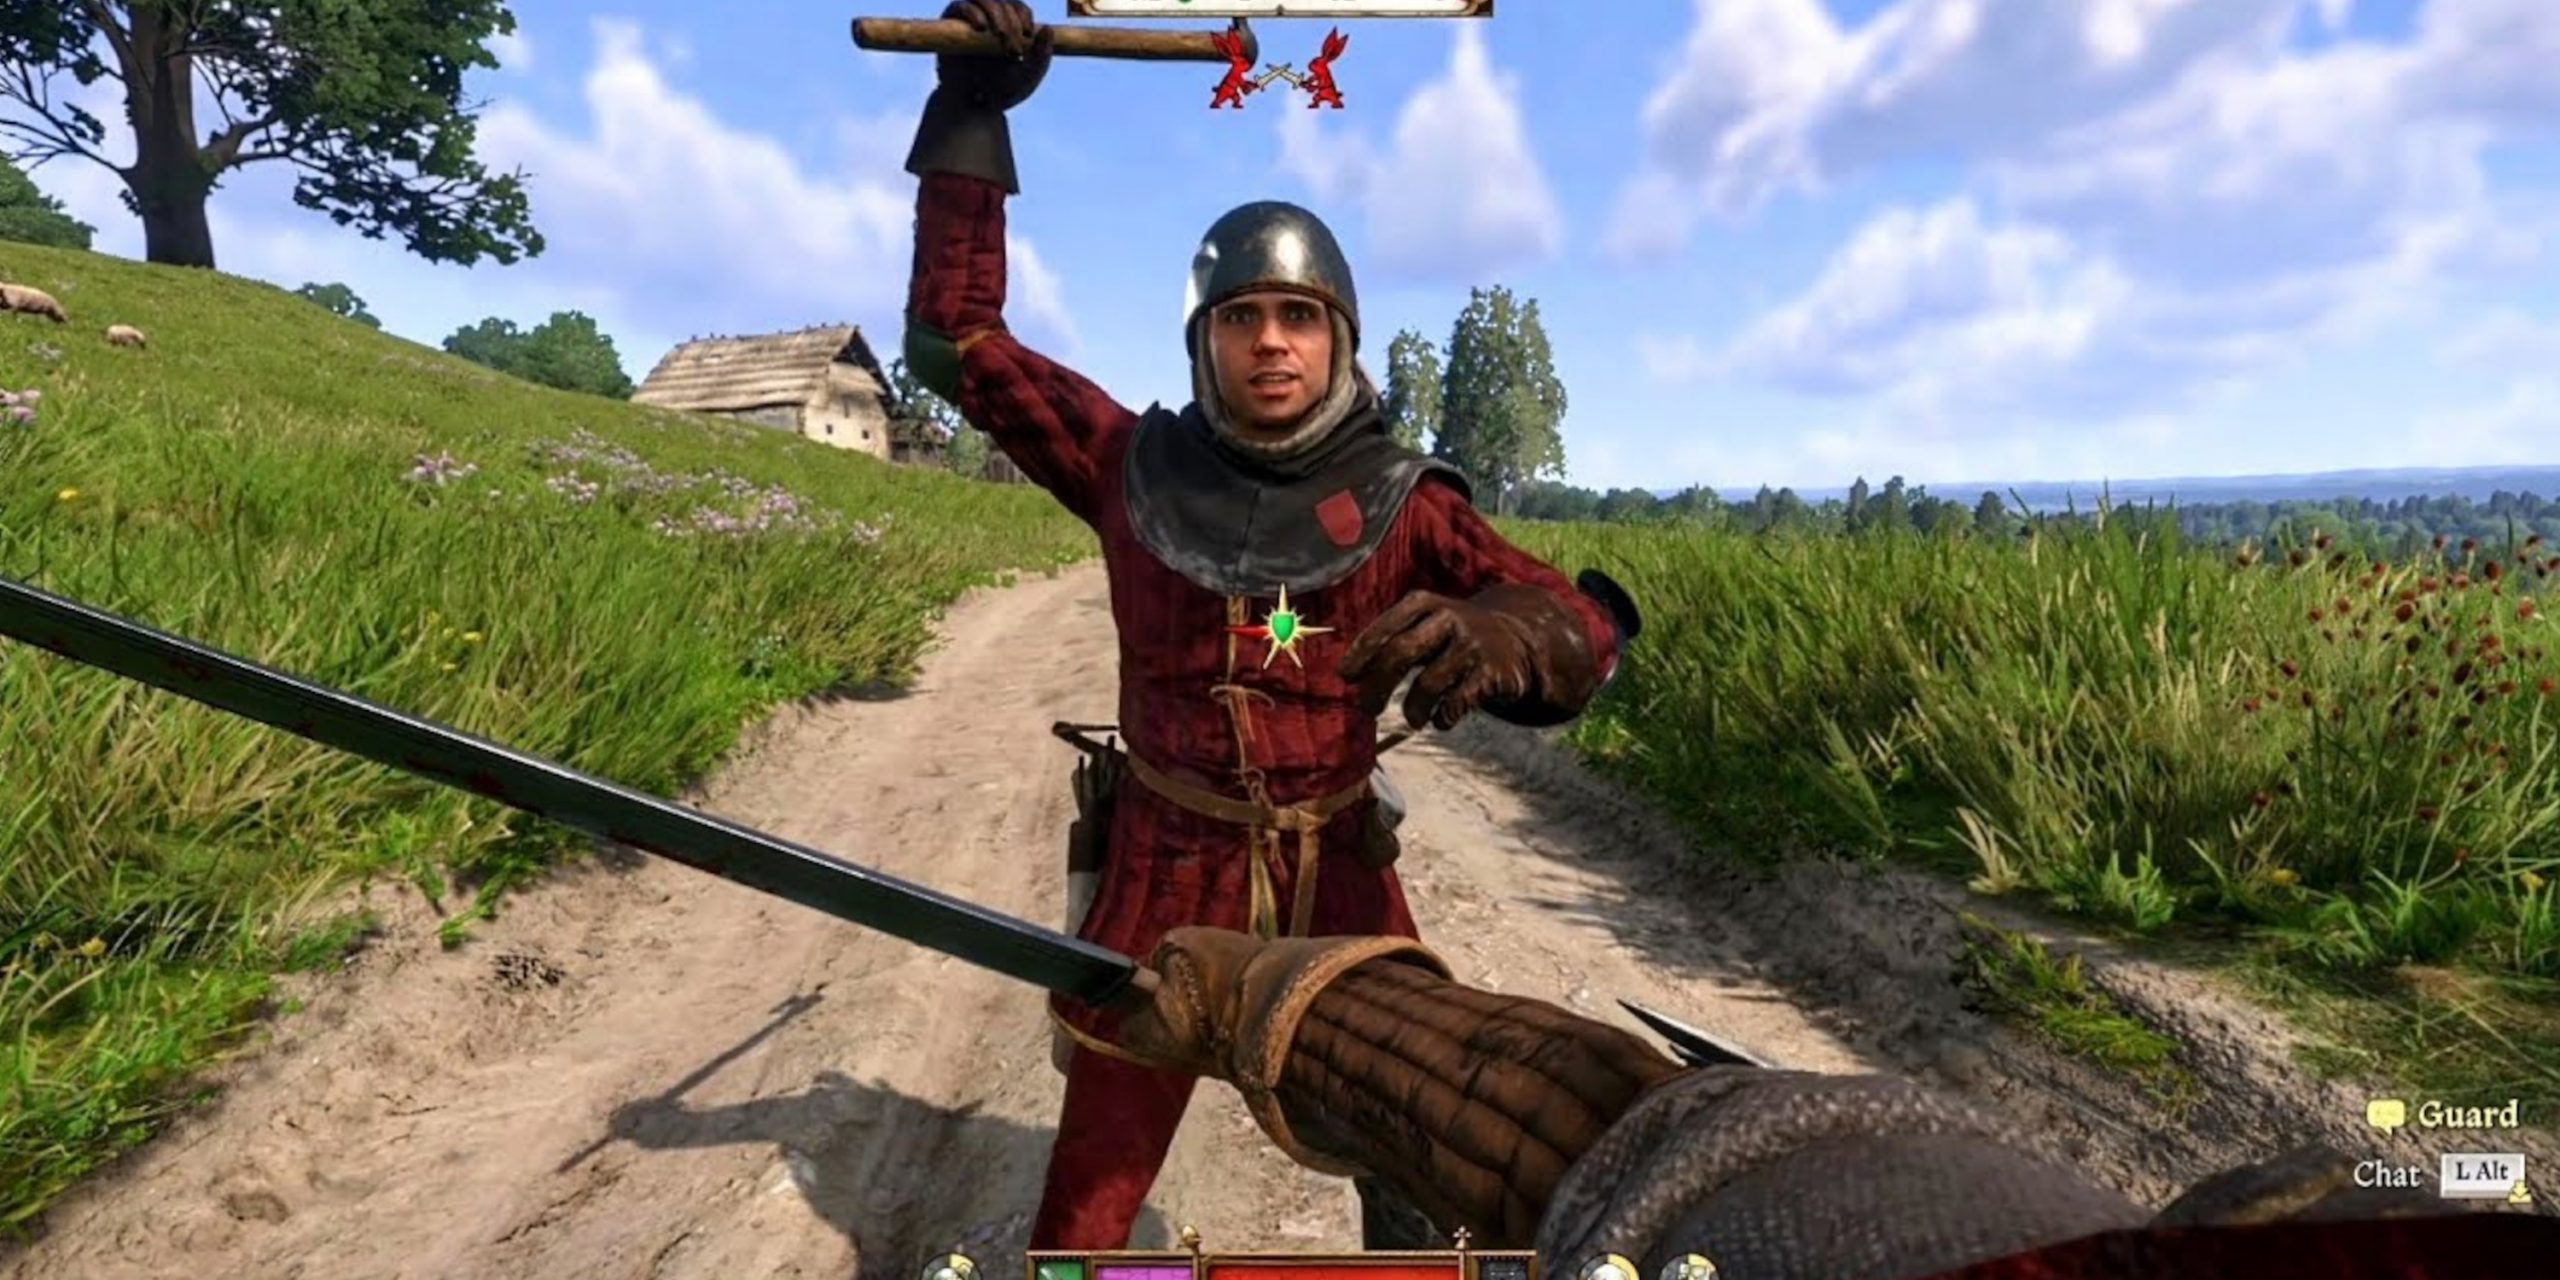
Combat in Kingdom Come: Deliverance II has a way of making you feel underqualified for your own sword. Henry may be the hero, but early on he can swing like a man who has just met his arms.
That awkwardness is part of the design. Fights reward timing, distance and preparation more than frantic attacks. Learn to read an opponent, keep your stamina in reserve and choose the right weapon for the job, and Henry becomes far more capable. He still won’t be invincible. Bohemia has a lot of people with sharp opinions and sharper tools.
This guide explains the combat basics, how to train master strikes, what different weapons are good for, and how to improve your chances when a fight turns into a crowd.
How combat works in Kingdom Come: Deliverance II
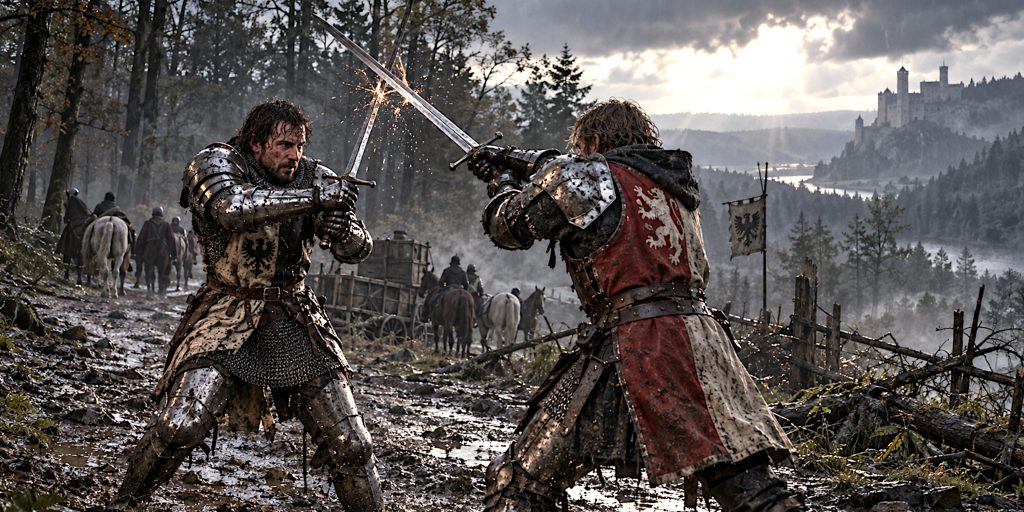
Melee combat uses directional attacks. You choose a strike direction, then try to catch your opponent off guard or draw their weapon away from the line of attack. The exact directions available vary by weapon.
The main challenge is creating an opening. An enemy can defend against predictable attacks, while a well-timed parry, a successful feint or a missed enemy swing can leave them vulnerable.
Keep an eye on your stamina as well as your health. Attacking, defending and dodging all put pressure on it. When Henry is exhausted, he is less able to attack and defend effectively. A fight that looks winnable can turn ugly very quickly if you spend every last breath swinging at a raised shield.
The basic rhythm is:
- Keep enough distance to see what your opponent is doing.
- Watch their weapon and stance before choosing an attack.
- Use a timed block to stop an incoming strike.
- Counter when the opponent is off balance.
- Back away briefly if your stamina is running low.
The game’s official combat overview emphasises parries, combos, distinct weapon styles and equipment care. Those systems work together: a good weapon helps, but it cannot rescue every bad decision.
Blocking, perfect blocks and master strikes
A regular block can reduce or stop damage, but holding the block button indefinitely drains stamina and leaves Henry with fewer options. For most fights, timing your defence is more useful than trying to become a human wall.
A perfect block is performed by pressing block when the green shield prompt appears. It can interrupt an opponent’s attack and give you a moment to respond. The timing takes practice, so use training sessions to learn the cue before trying to rely on it in a hectic fight.
A master strike is a separate technique. You learn it from Master Tomcat during the Combat Training II quest at the Nomad’s Camp. In broad terms, you read the incoming attack and strike from the appropriate opposing direction at the right moment. It is a counter, not simply a perfect block with a fancier name.
The distinction matters:
| Technique | What you do | What it gives you |
|---|---|---|
| Block | Hold or press the block control | Basic protection, with stamina cost |
| Perfect block | Press block as the green shield appears | A timed defence and an opening to respond |
| Master strike | Use the trained counter at the correct moment and direction | A counterattack that interrupts the enemy |
If you are still learning, focus on landing perfect blocks consistently before trying to force master strikes. A mistimed counter is still a mistimed attack, and the other person is rarely polite enough to wait while you reconsider.
How to learn the master strike
Master Tomcat teaches the master strike after you progress through the combat training quests. The training takes place at the Nomad’s Camp in the Trosky region.
The training is worth seeking out early. It gives you a chance to practise the technique in a controlled duel and makes the distinction between blocking and countering clearer. You can also use the earlier training to practise basic attacks and combos.
To improve during training:
- Use a sword so you can follow the instructions for sword techniques.
- Watch the direction of Tomcat’s attack instead of reacting to the first movement you see.
- Practise one direction at a time.
- If a counter fails, adjust either your timing or your direction on the next attempt, not both.
The details can feel fiddly at first. That is normal. Combat is much easier once the green prompt and the opponent’s movement stop looking like a blur of medieval bad news.
Stamina, distance and timing
Stamina is one of the most important resources in a fight. Spending it all on attacks leaves Henry vulnerable when he needs to block, evade or recover.
Try to avoid long strings of attacks when an enemy is defending well. Instead, make them commit to a swing, defend at the right moment, then answer while they are recovering. If they keep their guard up, use feints or change your attack direction to make them respond.
Distance matters just as much. Too close, and an opponent can pressure Henry or force a clinch. Too far away, and your attacks may fall short. A small step back can make an enemy miss, while a controlled step in can put you within striking range.
A useful early-fight routine:
- Lock on and keep the opponent in view.
- Let them show you how they attack.
- Use a timed block rather than holding guard constantly.
- Counter once they are open.
- Create space and recover stamina before pressing again.
Combos and feints
Combos are specific sequences of attacks. Training and skill progression unlock more of them, and different weapons have their own techniques. A combo is not simply several attacks in a row. The sequence and direction matter, and an enemy can interrupt you if you telegraph it or run out of stamina.
Feints help make an attack less predictable. Start an attack from one direction, then change direction before it lands. If the opponent commits to defending the first line, the altered strike may find an opening.
A few practical rules:
- Learn combos in training before trying them in a difficult fight.
- Use them when the opponent is already under pressure or recovering.
- Do not force a long combo against a fresh, alert enemy.
- Change your approach if an opponent repeatedly reads the same attack.
Combos look excellent when they work. When they do not, Henry tends to perform an elaborate demonstration of why stamina matters.
Choosing the right weapon
Weapon choice depends on the opponent, their armour and your own skill. A sword is versatile, but it is not automatically the answer to every heavily armoured enemy. Maces and other heavy weapons are useful when blunt force is more effective. Axes offer a different mix of attacks, while polearms bring reach at the cost of close-quarters flexibility.
| Weapon type | Useful against | Keep in mind |
|---|---|---|
| Sword | Unarmoured or lightly armoured opponents | Versatile and suited to precise attacks |
| Mace or war hammer | Heavily armoured opponents | Strong blunt damage, but movement and timing still matter |
| Axe | A range of opponents, depending on the weapon | Check the weapon’s damage and handling rather than assuming all axes behave alike |
| Polearm | Enemies you want to keep at a distance | Reach is useful, but close spaces can make the weapon awkward |
| Bow or crossbow | Enemies at range or before a melee begins | Aim, loading and ammunition take preparation |
Use the weapon you can handle well. A theoretically ideal weapon is not much help if Henry is under-skilled with it or you cannot land a clean strike.
Armour, weapon condition and preparation
Armour gives protection, but heavier equipment can affect Henry’s movement and stamina recovery. Choose your kit with the likely fight in mind. A heavy set may be sensible for a planned duel, while lighter gear can help when movement and speed matter.
Weapon and armour condition also matter. Damaged equipment performs worse, so check it after difficult encounters and repair what needs attention. The official combat page warns that weapon care is critical, and that a broken weapon can be lost. A repair kit or a visit to a craftsman is a more sensible plan than discovering this halfway through a bandit camp.
Before a fight, check:
- Your weapon is in usable condition.
- Your armour is repaired and suited to the encounter.
- You have enough health and stamina.
- Your food, sleep and general condition are not working against you.
- You have a ranged option available if the situation allows it.
Preparation is less dramatic than a last-second parry. It is also much more reliable.
How to fight multiple enemies
Fighting several opponents at once is dangerous, especially early in the game. Enemies can attack from different angles, and focusing on one can leave another free to land a hit.
Try to keep opponents in front of Henry and avoid getting surrounded. Move towards terrain that narrows their approach, such as a doorway or passage, when the environment allows it. If you can avoid a group fight altogether, that may be the smartest combat move available. There is no shame in choosing a better battlefield.
When a fight is unavoidable:
- Keep moving so enemies do not surround you.
- Focus on reducing the number of active attackers.
- Avoid long attack animations while other enemies are in range.
- Use a horse or ranged weapon when it is practical and safe.
- Create distance to recover stamina, but do not let yourself get trapped.
A clean duel is a luxury. A group fight is mostly a lesson in positioning delivered at sword-point.
Bows, crossbows and firearms
Ranged weapons give Henry another way to approach a fight. Bows reward practice and careful aim. Crossbows are a newer addition to the series, while firearms offer substantial power but require maintenance.
Use ranged weapons to shape an encounter when you have room and time. They can help you damage or disrupt an enemy before close combat, but they are not a guaranteed solution. Reloading and aiming can leave Henry exposed if opponents are already closing in.
Keep ammunition and weapon condition in mind. A neglected firearm can fail at the worst possible time, while an unpractised bow may be more entertaining for your enemies than it is for you.
Training and skill progression
Combat skills improve through use, and teachers can help Henry learn techniques that are difficult to pick up alone. The game’s skill system rewards practising with the weapon types you intend to use, so try different options before committing to one style.
Start with the fundamentals:
- Train with Master Tomcat and complete the combat lessons.
- Practise your preferred weapon instead of switching constantly.
- Spend perk points on skills that suit your approach.
- Use duels and lower-risk encounters to build confidence.
- Reassess your equipment as Henry’s skills improve.
Strength, Agility and Vitality influence how Henry performs, while weapon and combat skills develop through use. You do not need to build a perfect character before you can win. You do need to give yourself time to learn what each weapon asks of you.
Common combat mistakes
A few habits make fights harder than they need to be:
- Holding block constantly: It drains stamina and can leave you unable to respond.
- Attacking into a ready guard: The opponent may defend while Henry wastes energy.
- Ignoring weapon condition: A damaged weapon can undermine your damage and reliability.
- Trying advanced counters too early: Learn the timing in training before betting your health on it.
- Standing still in a group fight: That is an invitation for someone to get behind you.
- Wearing unsuitable equipment: Protection, mobility and stamina all affect how a fight feels.
- Treating every enemy the same: Armour and weapon choice change which approach is effective.
Frequently asked questions
How do I perform a perfect block in Kingdom Come: Deliverance II?
Press the block control when the green shield prompt appears. The timing takes practice, so use combat training to learn the cue.
How do I learn master strikes?
Complete the combat training quests with Master Tomcat at the Nomad’s Camp. The master strike is a trained counter that uses timing and attack direction.
Which weapon is best in KCD2?
There is no single best weapon for every fight. Swords are versatile, while maces and other heavy weapons can be more suitable against armour. Your skill with the weapon matters too.
How do I survive fights against several enemies?
Keep opponents in front of Henry, use terrain to limit how many can reach you at once, and avoid spending all your stamina on attacks. If you can disengage or reposition, do so.
Why does Henry lose fights so quickly?
Low stamina, poor equipment condition, a lack of training and being surrounded can all make combat much harder. Check your gear and practise timed defence before taking on tougher opponents.
Final combat tips
Combat in Kingdom Come: Deliverance II gets easier when you stop treating every opening as a chance to swing. Watch the enemy, manage your stamina, train the techniques and choose weapons that suit the situation.
Start with perfect blocks and simple counters. Add combos and master strikes as your timing improves. And when three bandits appear at once, remember: retreating to better ground is still a combat decision. Henry does not get extra points for being surrounded.