Heavy cavalry could turn a wavering line into a rout within moments. Armoured riders, trained horses and a well-timed charge gave medieval commanders a powerful way to exploit weakness.
The important word there is weakness.
A cavalry charge against scattered soldiers was a very different proposition from an attack on disciplined spearmen holding difficult ground. Defeating heavy cavalry usually meant denying it the conditions it needed: space, momentum, exposed targets and an enemy already considering a career elsewhere.
What interests me most is how often the answer involved cooperation. Spears, archers, obstacles and reserves worked best together. Medieval warfare had plenty of individual ambition, but surprisingly few problems could be solved by one expensive man on a horse.
Here are the tactics that worked, why they sometimes failed, and how to explore many of the same decisions in Levy & Lance.
Why Heavy Cavalry Was So Dangerous
Heavy cavalry combined mobility, protection and the ability to concentrate force. Mounted men-at-arms could threaten a flank, exploit a gap or pursue retreating troops much faster than infantry.
Their advantage was psychological as well as physical. Soldiers who broke formation before contact made the riders’ task considerably easier.
But “heavy cavalry” covers centuries of changing equipment and practice. A Norman mounted warrior in 1066 was not equipped like a fifteenth-century man-at-arms. Nor did every rider have a fully armoured horse. Complete plate horse armour reached its greatest development towards the end of the medieval period and into the sixteenth century.
It is also worth abandoning the idea that armoured warriors were helpless once separated from their horses. Properly fitted field armour allowed considerable movement, and knights commonly fought alongside other troop types rather than operating as an independent battlefield solution. The Metropolitan Museum of Art
The challenge was therefore more demanding than “knock knight down, collect victory”.
Hold Formation With Spears and Pikes
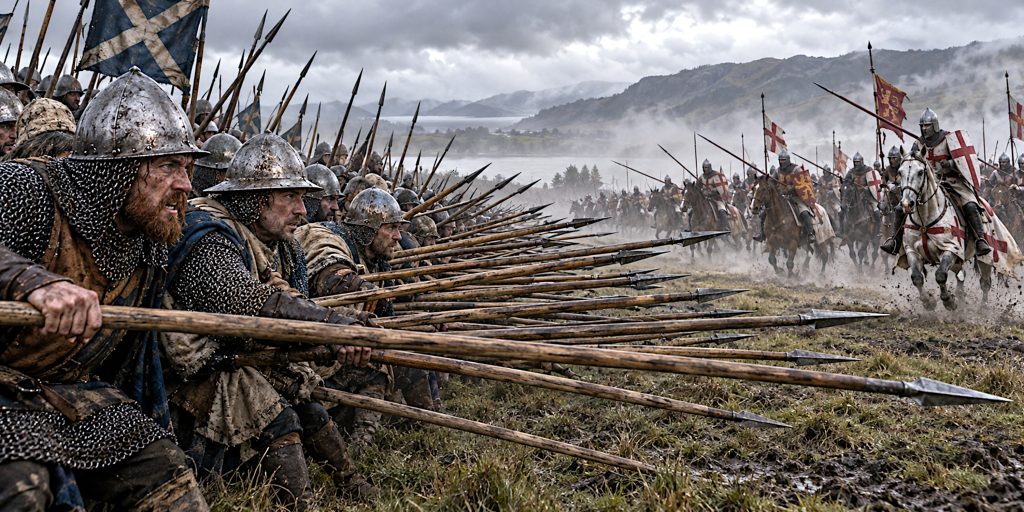
A long spear gave infantry reach. A disciplined formation made that reach much harder to bypass.
The principle was straightforward: present a coherent frontage of weapons, protect neighbouring soldiers and avoid opening gaps as the enemy approached. The difficult part was doing this while mounted opponents were trying very convincingly to frighten you.
Bannockburn in 1314 provides a strong example. Scottish schiltrons resisted English cavalry, including the mounted force intercepted by Thomas Randolph, Earl of Moray. These formations could also advance while maintaining cohesion. Their success depended on preparation and control, rather than simply standing still behind sharp objects.
Effective spear formations needed:
- Enough cohesion to maintain their frontage.
- Leaders who could control movement.
- Protected flanks or supporting troops.
- Soldiers willing to remain in place.
- An answer to enemy missile fire.
That final point matters. A formation built to resist mounted attack could still be vulnerable to archers. At Falkirk in 1298, Scottish schiltrons initially resisted cavalry, but their resistance did not prevent an English victory after missile fire and renewed attacks weakened their position. Falkirk Local History Society
The lesson: spears could stop cavalry, but a spear formation still needed an army around it.
Choose Ground That Makes Charging Difficult
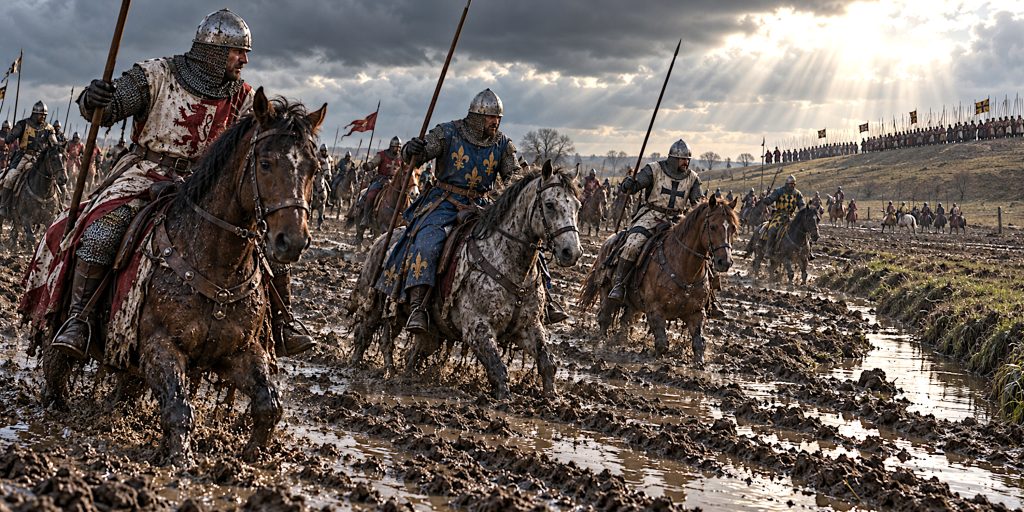
Good ground could reduce the advantages of expensive mounted troops before the fighting began.
A commander defending a narrow approach, steep slope or awkward crossing could limit how many riders attacked together. Soft or broken ground could disrupt movement and make it harder to preserve an orderly formation.
The best position was not necessarily the highest hill available. It was somewhere that fitted the army’s weapons and restricted the enemy’s options.
| Ground feature | Potential advantage | Main limitation |
|---|---|---|
| Slope or ridge | Makes an uphill approach more demanding | Can be bypassed |
| Narrow crossing | Restricts the attacking frontage | Also restricts your escape |
| Soft or broken ground | Disrupts mounted movement | May hinder your troops too |
| Woodland edge | Helps protect a flank | Can obstruct visibility and missiles |
At Bannockburn, restricted space and the relationship between the opposing armies and surrounding terrain contributed to English difficulties. The precise location of parts of the fighting remains debated, so a diagram showing every movement with absolute confidence deserves a raised eyebrow.
The lesson: choose somewhere cavalry cannot easily use its numbers or manoeuvre around your defence.
Use Stakes, Ditches and Prepared Obstacles
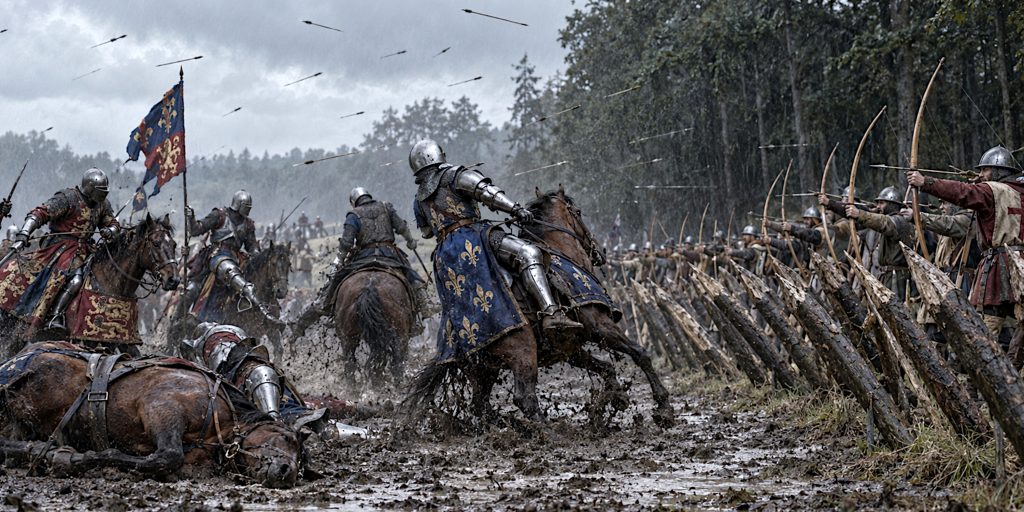
Obstacles forced mounted troops to slow down, divert or approach through predictable gaps.
Their purpose was not always to inflict spectacular casualties. Making a charge lose its shape could be valuable enough.
At Agincourt in 1415, English and Welsh archers used sharpened stakes as protection against mounted attack. The stakes worked alongside shooting, the chosen position and difficult conditions. They were one element of the defence, rather than a wooden explanation for the entire battle.
Prepared defences could include:
- Stakes protecting missile troops.
- Ditches interrupting an approach.
- Barricades blocking routes.
- Existing hedges, banks and enclosures incorporated into a position.
Obstacles still needed soldiers to defend them. An undefended barrier might delay an enemy, but a barrier covered by missiles and infantry created a much more unpleasant decision.
It also needed sensible gaps for friendly movement. Building yourself an excellent defensive position and then discovering you cannot leave is an avoidable plot twist.
The lesson: obstacles were most effective when they shaped an attack into ground your troops could cover.
Combine Missile Fire With a Solid Defence
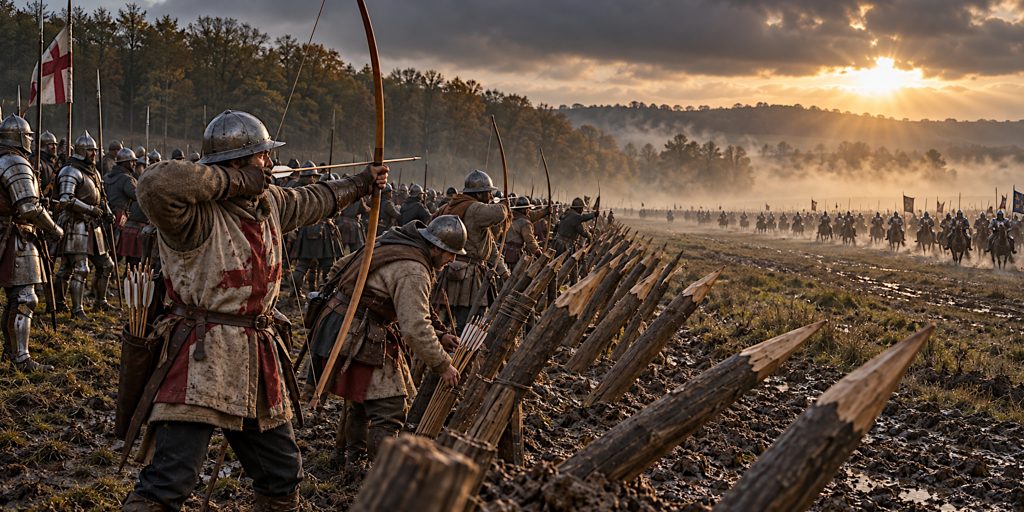
Archers and crossbowmen could disrupt mounted attacks, inflict losses and force opponents to react.
They were much less comfortable when cavalry reached them without interference.
The strongest arrangement therefore combined shooting with protection: infantry, obstacles or terrain that made a direct charge difficult.
Agincourt illustrates this interaction, although it is frequently reduced to a misleading image of knights repeatedly charging into arrows. Much of the central French attack was delivered on foot. The unsuccessful mounted attacks formed part of a larger battle involving mud, congestion, archery and close combat.
Missile fire did not need to penetrate every breastplate to matter. Hits on horses, less protected areas and vulnerable troops could disrupt an attack. Armour protection varied, as did weapons, range and the angle of impact.
I find the “could an arrow defeat armour?” argument much more useful when someone remembers to specify which arrow, which armour and from where.
The lesson: use missile troops to weaken and disrupt cavalry while preventing an easy charge into the shooters.
Protect Your Flanks and Keep a Reserve
A strong front was useful only if the enemy could not ride around it.
Terrain could help anchor a flank, but neighbouring units and reserves mattered too. A reserve gave a commander something to commit when the battle stopped following the plan, which battles had an irritating habit of doing.
Rather than placing every soldier in the first line, a commander might retain troops to:
- Reinforce a threatened sector.
- Block an enemy turning movement.
- Protect missile troops.
- Counterattack an exposed enemy.
- Cover a withdrawal.
The timing was crucial. Commit too early and the reserve became another engaged unit. Commit too late and it might inherit a collapsing army.
The lesson: stopping the first attack was only part of the job. Keep enough control to deal with the next one.
Refuse the Temptation to Chase
An enemy falling back offered an obvious temptation. Pursuit promised prisoners, booty and the satisfaction of proving that the other side had made a terrible decision.
It could also dismantle a perfectly good defensive position.
At Hastings in 1066, parts of the English army left their position during Norman withdrawals and became vulnerable. Accounts describe deliberate feigned retreats, although historians debate their extent and how the manoeuvres developed from an initial genuine retreat.
For infantry confronting cavalry, the danger was clear. Men who pursued lost the protection of their formation and could become scattered targets for mounted troops turning back.
A controlled advance could exploit success. An enthusiastic chase could erase it.
The lesson: do not abandon the conditions that kept you alive simply because the enemy appears to be leaving.
Counterattack When the Enemy Loses Cohesion
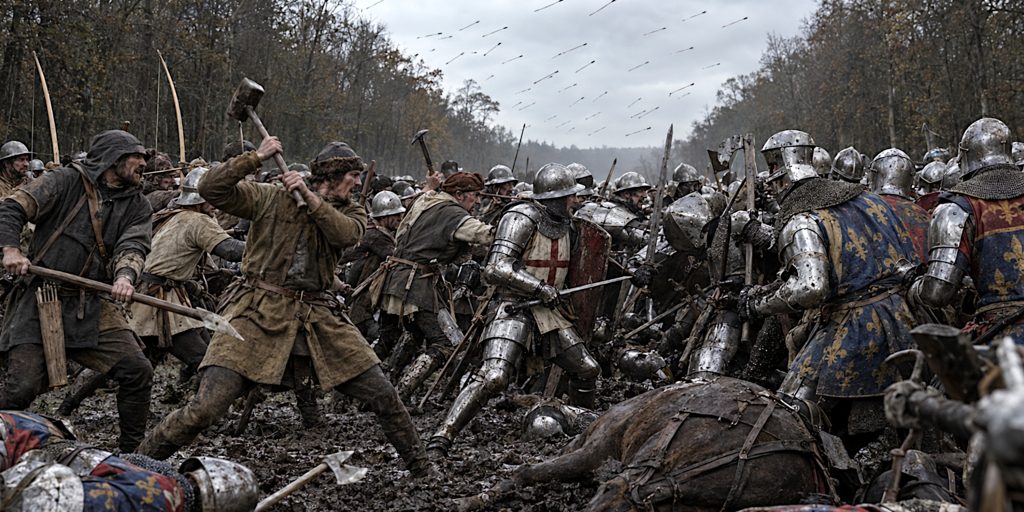
Resisting a charge did not automatically defeat the mounted force.
Riders might withdraw, reorganise and attack again. A defender needed to judge whether to remain in position or exploit a temporary advantage.
An effective counterattack targeted a genuine weakness:
- A flank exposed by an unsuccessful assault.
- Troops separated from their supports.
- Riders confined by terrain.
- An enemy formation already withdrawing under pressure.
But moving forward also created risks. Infantry could lose alignment, uncover their own flanks or advance beyond supporting missiles.
Bannockburn is particularly useful here because Scottish infantry did more than survive mounted attacks. Their coordinated advance helped turn resistance into victory.
The lesson: counterattack with formed troops and a clear purpose. “They look vaguely inconvenienced” is not quite enough.
Why These Tactics Sometimes Failed
There was no universal medieval cavalry counter.
Long weapons were valuable, but their users could be exhausted, outflanked or subjected to sustained shooting. Obstacles could be bypassed. Strong positions could become traps. Missile troops could run short of ammunition or lose their protection.
Heavy cavalry also had commanders capable of recognising a bad opportunity. They did not have to charge the most obvious patch of spears simply because modern viewers expected a dramatic scene.
At Hastings, the Norman army combined infantry, archery and mounted action against a defensive position that resisted for much of the day. The eventual victory came through a prolonged contest, rather than cavalry effortlessly overrunning a shield wall. English Heritage
The more useful question is therefore:
How do you make cavalry attack on terms that favour your army, while preventing its supporting troops from undoing your defence?
That is where the interesting decisions begin.
Test the Principles in Levy & Lance
You can explore much of this in Levy & Lance, although the current beta abstracts some historical details.
| Historical principle | Current game mechanic |
|---|---|
| Meet cavalry with long weapons | Spears and pikes gain an extra attack die against mounted troops |
| Deny a clean charge | Several ground types cancel horse charge bonuses |
| Use difficult weather | Rain slows mounted movement and limits charges |
| Combine shooting and defence | Missile, movement and melee phases reward coordination |
| Exploit exposed sides | Flank and rear attacks gain combat and morale advantages |
| Preserve cohesion | Disorder reduces attack and prevents charging |
Try a defended position first, then repeat with a more exposed deployment. Keep missile support and a reserve, and compare what happens when your infantry advances too soon.
These are suggested experiments with the published rules, rather than guaranteed winning builds.
The Real Secret Was Making Cavalry Fight Your Battle
Heavy cavalry was dangerous because it could exploit movement, disorder and fear. Successful defenders reduced those opportunities.
Disciplined infantry held together. Terrain restricted approaches. Obstacles disrupted movement. Missile troops added pressure. Reserves prevented a local problem from becoming an army-wide disaster.
None of that made victory certain. It made victory possible.
That is also what makes the subject worth testing in a wargame. The interesting moment is rarely when you buy the unit with the longest spear. It is when you decide where it should stand, what should support it and whether moving forward would be clever or merely exciting.