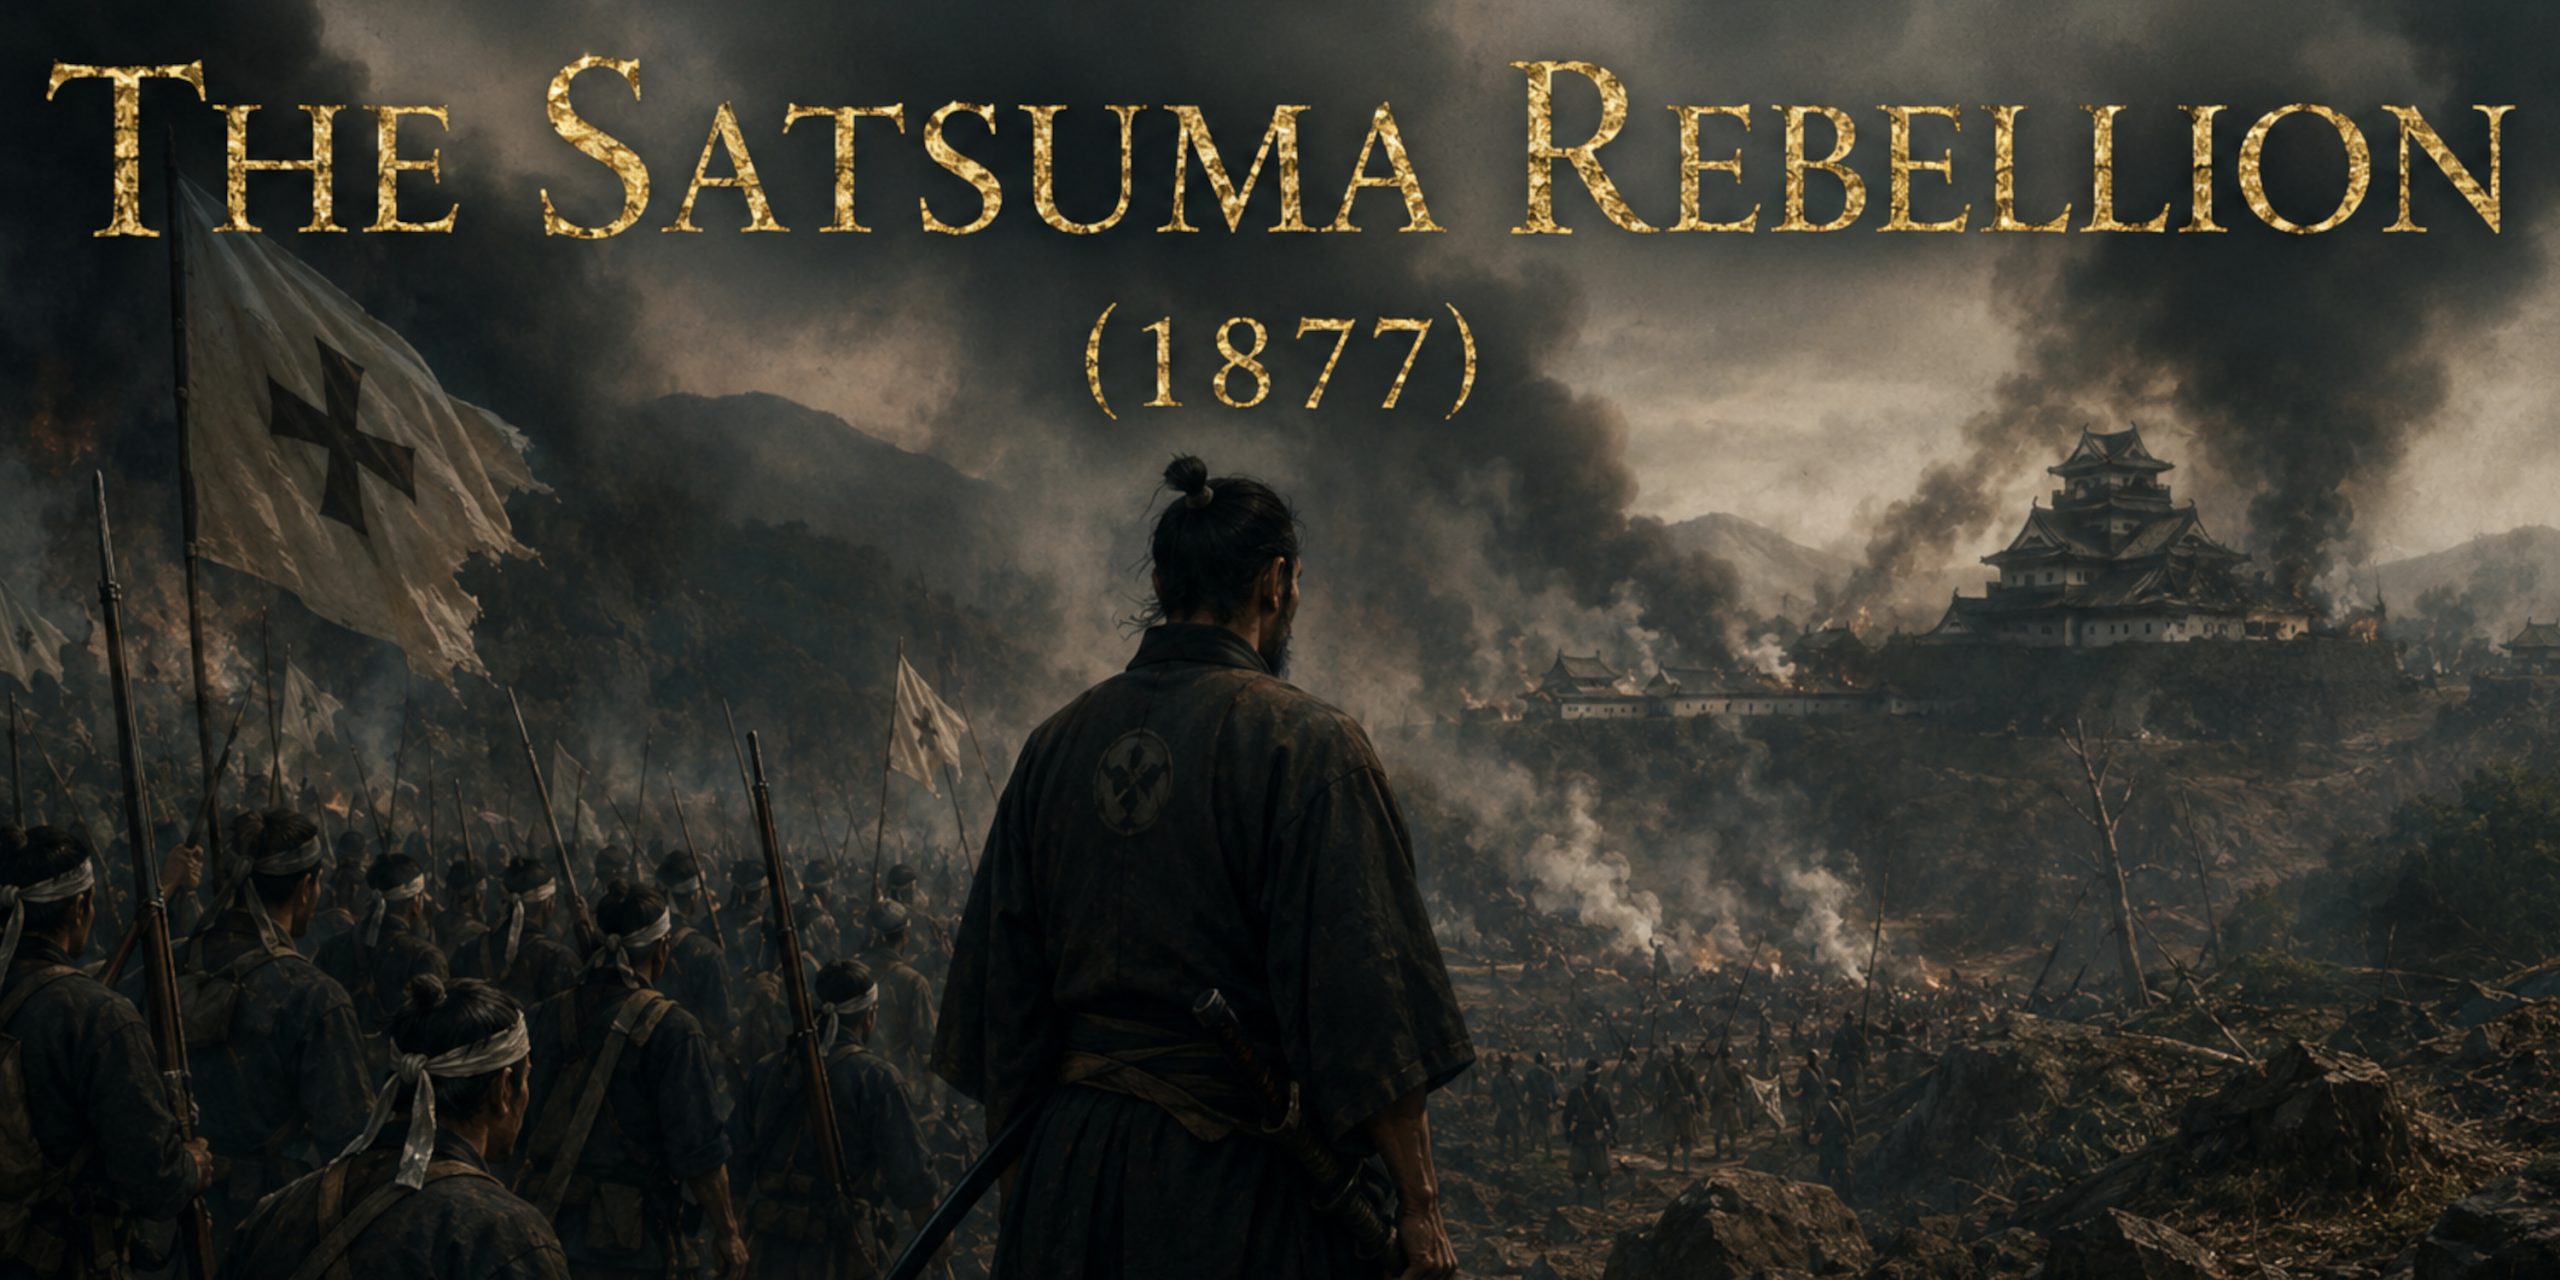
The Satsuma Rebellion of 1877 was not a clash between swords and rifles. It was a brutal civil conflict over what Japan should become. On one side stood a modernising imperial government building a Western-style army. On the other stood thousands of former samurai who believed the reforms had stripped away their status, purpose and identity.
At the centre was Saigō Takamori, one of the architects of the Meiji Restoration who had helped overthrow the Tokugawa shogunate less than a decade earlier. History has a cruel sense of humour. Few people have the misfortune of creating a new political order and then becoming its most famous rebel.
The rebellion ended the military power of the samurai class, but it also turned Saigō into a national symbol of loyalty, honour and tragic resistance.
Background: Why Did The Satsuma Rebellion Begin?
The Meiji Restoration of 1868 transformed Japan at remarkable speed. The new government aimed to prevent foreign domination by turning Japan into a modern industrial and military power.
Major reforms included:
- Abolition of the feudal han domains
- Replacement of samurai armies with a national conscript army
- Ending hereditary samurai privileges
- Removal of traditional stipends
- Restrictions on wearing swords in public under the Haitōrei Edict of 1876
For many former samurai, this was not progress. Their entire social role had disappeared almost overnight.
Satsuma Province in southern Kyushu became a centre of opposition. Former samurai gathered around Saigō Takamori, who had retired there after disagreements with the Meiji leadership.
Forces
The rebellion was fought between highly motivated former samurai and a much larger Imperial Japanese Army. The contrast between the two sides showed exactly where warfare was heading.
Leaders And Troop Composition
| Side | Commander | Estimated Strength | Composition |
|---|---|---|---|
| Satsuma Rebels | Saigō Takamori | Around 20,000 to 30,000 at peak strength | Former samurai, students from military academies, local supporters |
| Imperial Government | General Yamagata Aritomo, General Kuroda Kiyotaka | Over 60,000 troops committed | Conscripts, Imperial Guard, police units, artillery forces |
Satsuma Rebel Army
Strengths:
- Highly experienced samurai officers
- Strong morale and discipline
- Skilled individual fighters
- Knowledge of Kyushu terrain
Weaknesses:
- Limited ammunition supplies
- Poor industrial support
- Few modern artillery resources
- Unable to replace heavy losses
Imperial Army
Strengths:
- Modern command structure
- Large manpower reserves
- Superior logistics
- Greater artillery and ammunition supplies
Weaknesses:
- Many soldiers lacked combat experience
- Early doubts over whether conscripts could defeat samurai veterans
The answer came quickly. Courage mattered, but supply lines mattered more.
Arms And Armour
The Satsuma Rebellion has often been romanticised as a battle of katana against rifle. The reality was more complex. Samurai rebels used firearms extensively, while Imperial troops sometimes fought with swords in close combat.
Satsuma Rebel Weapons
| Weapon | Type | Use |
|---|---|---|
| Katana | Curved Japanese long sword | Close combat, officer weapon, symbolic samurai weapon |
| Wakizashi | Short sword | Backup blade carried by samurai |
| Tantō | Dagger | Last-resort personal weapon |
| Tanegashima | Matchlock firearm | Older firearms still available among some fighters |
| Enfield Rifle | Rifled musket | Used by many rebel troops |
| Snider-Enfield Rifle | Breech-loading rifle | Captured or acquired modern weapon |
| Yari | Spear | Limited traditional use |
| Naginata | Curved polearm | Rare battlefield use by this period |
The katana remained culturally powerful, but by 1877 its battlefield dominance was gone. A beautiful blade does not solve the problem of someone shooting at you from 300 metres away.
Imperial Army Weapons And Equipment
| Weapon | Type | Use |
|---|---|---|
| Snider-Enfield Rifle | Breech-loading rifle | Main infantry firearm |
| Murata Rifle | Early Japanese-designed rifle | Entering service around this era |
| Artillery guns | Field artillery | Bombardment and siege operations |
| Sabres | Military swords | Used by officers and cavalry |
| Bayonets | Rifle attachments | Close combat |
Uniforms followed Western military styles rather than traditional armour.
Traditional samurai armour such as dō chest armour, kabuto helmets and kote sleeves had largely disappeared from active warfare, though some rebels carried older protective equipment or symbolic items.
Major Battles Of The Satsuma Rebellion
Siege Of Kumamoto Castle (February To April 1877)
The rebellion began when Saigō’s army marched north and attacked Kumamoto Castle.
The rebels expected a quick victory, but the Imperial garrison resisted fiercely.
Commanders
Satsuma:
- Saigō Takamori
- Kirino Toshiaki
- Shinohara Kunimoto
Imperial:
- Tani Tateki
Outcome:
- Imperial victory
- Rebels failed to capture the castle
- Satsuma forces lost momentum
Kumamoto proved that Japan’s new army could withstand a samurai assault. The symbolism was enormous.
Battle Of Tabaruzaka (March 1877)
Tabaruzaka was one of the decisive engagements of the war.
The battlefield became a grinding fight through rain, mud and difficult terrain.
Casualties were severe on both sides, with intense close combat alongside modern rifle fire.
Outcome:
- Imperial breakthrough
- Heavy Satsuma casualties
- Loss of rebel strategic initiative
Battle Of Shiroyama (September 1877)
The final stand came at Mount Shiroyama near Kagoshima.
Saigō’s remaining followers numbered only a few hundred. Imperial forces surrounded them with thousands of soldiers and artillery.
After heavy bombardment, the surviving samurai launched a final attack.
Saigō was wounded and died during the battle. Accounts differ on whether he committed seppuku with assistance or died from his wounds, but his death instantly entered legend.
Battle Timeline
| Date | Event |
|---|---|
| January 1877 | Rising tensions in Satsuma after government actions against local military stores |
| February 1877 | Saigō Takamori’s army begins marching north |
| February 1877 | Siege of Kumamoto Castle begins |
| March 1877 | Battle of Tabaruzaka results in major Imperial success |
| April 1877 | Kumamoto Castle siege ends |
| Summer 1877 | Satsuma forces retreat through Kyushu |
| September 1877 | Final battle at Shiroyama |
| 24 September 1877 | Saigō Takamori dies and rebellion ends |
Archaeology And Surviving Evidence
Modern study of the Satsuma Rebellion combines battlefield archaeology, surviving weapons, documents and physical remains.
Important areas include:
Kumamoto Castle
Evidence includes:
- Bullet damage from fighting
- Surviving defensive structures
- Military artefacts connected with the siege
The castle itself became a monument to the effectiveness of modern defensive warfare.
Shiroyama Battlefield
Researchers have studied:
- Bullet fragments
- Battlefield positions
- Terrain evidence
- Locations linked to Saigō’s final hours
The landscape shows how heavily outnumbered the final rebels were.
Surviving Weapons And Artefacts
Objects associated with the rebellion can be seen in collections including:
- Kagoshima historical museums
- Japanese military collections
- Sword museums preserving late Edo and early Meiji blades
Common surviving items:
- Katana from former samurai families
- Military documents
- Uniform pieces
- Rifles and ammunition
- Personal belongings from combatants
Contemporary Quotes
Saigō Takamori is traditionally associated with the phrase:
“I know nothing about winning, I only know the way to avoid losing.”
Although many sayings linked to Saigō are difficult to verify, they reflect the later image created around him.
British observer Augustus Henry Mounsey wrote about the conflict:
“The rebellion was the death struggle of feudalism against the new civilisation.”
This outside perspective captured how foreign observers viewed the war, although Japanese motivations were far more complicated than a simple old versus new divide.
Military Analysis: Could The Samurai Have Won?
A Satsuma victory was always unlikely.
The rebels had brilliant fighters and experienced commanders, but they faced a government that controlled:
- National finances
- Industry
- Transport networks
- Ammunition production
- Recruitment systems
The rebellion proved something uncomfortable for traditional warriors everywhere. The age of elite hereditary fighters was ending. A trained farmer with a rifle could now defeat a swordsman whose family had studied warfare for centuries.
History is rarely polite when technology changes the rules.
Legacy Of The Satsuma Rebellion
The defeat of Saigō Takamori ended serious armed resistance to the Meiji government. The samurai class disappeared as a political and military force.
Yet the memory of the rebellion remained complicated.
Saigō was eventually pardoned posthumously in 1889 and became celebrated as a model of loyalty and personal honour. Japan remembered him both as a rebel and as one of the nation’s great figures.
The Satsuma Rebellion was the final battlefield appearance of the samurai tradition, but it was also the beginning of Japan’s rise as a modern military power.
The sword lost to the rifle. The legend, somehow, survived.