Few battles have altered the course of English history as profoundly as the Battle of Assandun. Fought on 18 October 1016, it was the climactic confrontation between King Edmund Ironside and the Danish prince Cnut. By sunset, the House of Wessex stood on the brink of extinction, and England’s future lay in Scandinavian hands.
The battle is often overshadowed by the Norman Conquest fifty years later, yet without Assandun there may never have been a Hastings. Cnut’s victory reshaped the English monarchy, drew the kingdom into a vast North Sea empire and demonstrated that Viking rulers could become capable kings rather than transient conquerors.
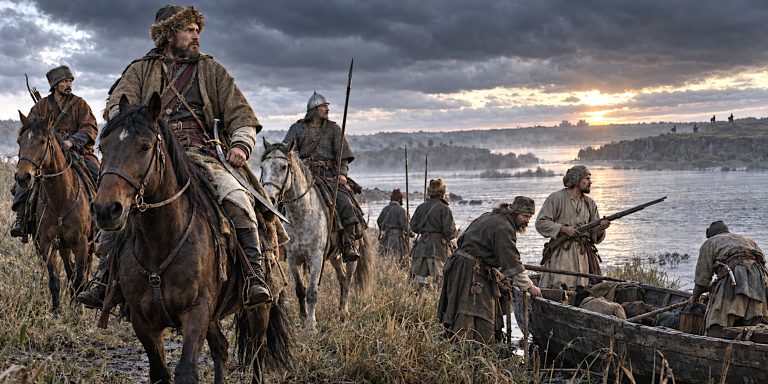
It was also one of the last great shield wall battles fought for the English crown. Thousands of warriors armed with spears, swords and axes met on a windswept hill in Essex, where discipline, endurance and perhaps betrayal decided the fate of a kingdom.
The surviving sources are frustratingly brief, occasionally contradictory and coloured by political bias. Even the battlefield itself remains disputed. Yet by combining contemporary chronicles, archaeology, place-name evidence and modern scholarship, it is possible to reconstruct one of the defining military encounters of early medieval Britain.
Battle Overview
| Category | Details |
|---|---|
| Date | 18 October 1016 |
| Conflict | Danish Conquest of England |
| Location | Probably Ashingdon, Essex |
| Result | Decisive Danish victory |
| English Commander | King Edmund Ironside |
| Danish Commander | Cnut |
| Estimated Combined Strength | Approximately 12,000 to 16,000 men |
| Primary Tactics | Shield walls, spear combat, close-quarter infantry fighting |
| Significance | Ended effective Anglo-Saxon independence and established Cnut as King of England |
At a Glance
- Date: 18 October 1016
- Location: Probably Ashingdon, Essex
- Belligerents: Kingdom of England and the Danish invasion army
- Victor: Cnut
- Estimated Casualties: Unknown, but extremely heavy on both sides
- Famous For: The alleged betrayal of Eadric Streona and the fall of the House of Wessex
Background
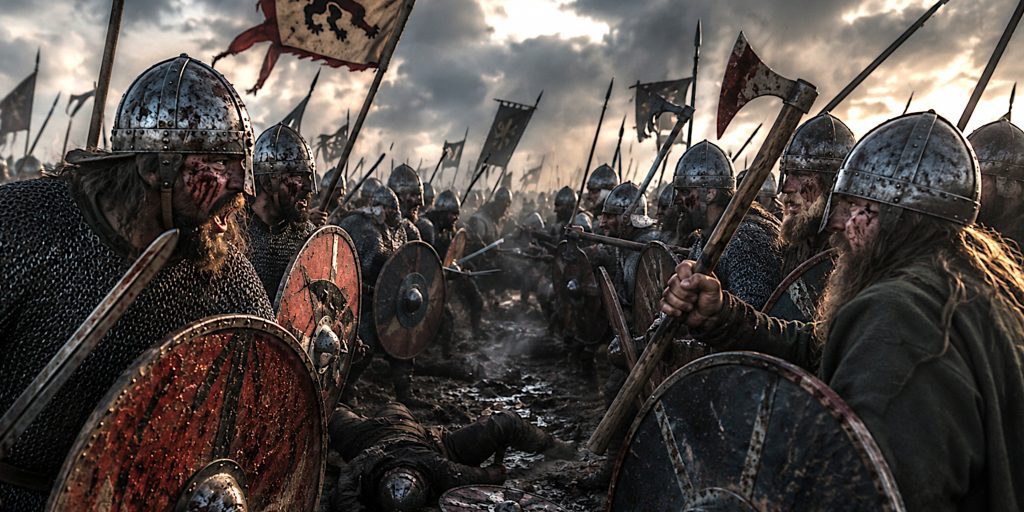
The Battle of Assandun was not an isolated clash. It was the culmination of nearly forty years of Scandinavian pressure upon England, a struggle that had steadily worn down the authority of Anglo-Saxon kings and exhausted the kingdom’s resources.
Raids by Viking fleets had intensified during the reign of King Æthelred II, remembered rather unfairly as “the Unready”. The nickname derives from the Old English unræd, meaning poorly advised rather than unprepared. Unfortunately for Æthelred, poor advice proved almost as dangerous.
Repeated Danish attacks forced the English crown into an expensive cycle of military mobilisation and tribute payments. Vast sums of silver were handed over as Danegeld in the hope that invaders might simply sail away. Sometimes they did. More often they returned for another payment.
As the eleventh century dawned, Scandinavian ambitions changed. Raiding was no longer enough. Kings sought kingdoms.
In 1013, Sweyn Forkbeard launched a full-scale invasion of England. His campaign moved with astonishing speed. One by one, English nobles submitted, and before the end of the year Sweyn had been recognised as king across much of the country.
His triumph proved short-lived.
Sweyn died suddenly at Gainsborough in February 1014 after ruling England for only a matter of weeks. His death created an opportunity that the English eagerly seized. Æthelred returned from exile in Normandy, while Sweyn’s son, Cnut, temporarily withdrew to Denmark to consolidate his position.
The respite lasted barely a year.
England in Crisis
When Æthelred died on 23 April 1016, England immediately descended into a succession crisis.
London proclaimed his son Edmund as king.
Elsewhere, influential nobles acknowledged Cnut.
England now possessed two rival monarchs, each commanding loyal supporters and each determined to claim the entire kingdom.
The contest would not be settled through diplomacy.
Instead, 1016 became one of the most exhausting military campaigns in English history.
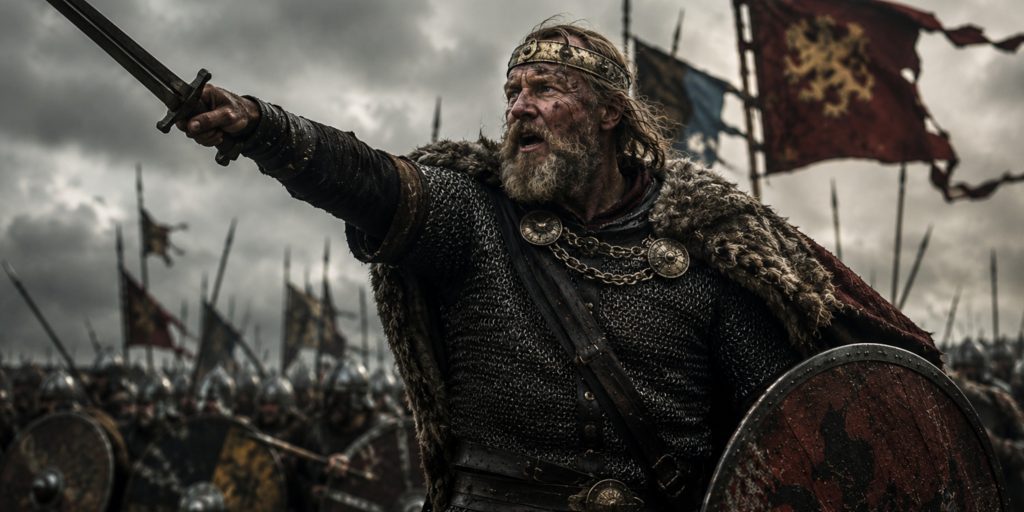
Edmund Ironside
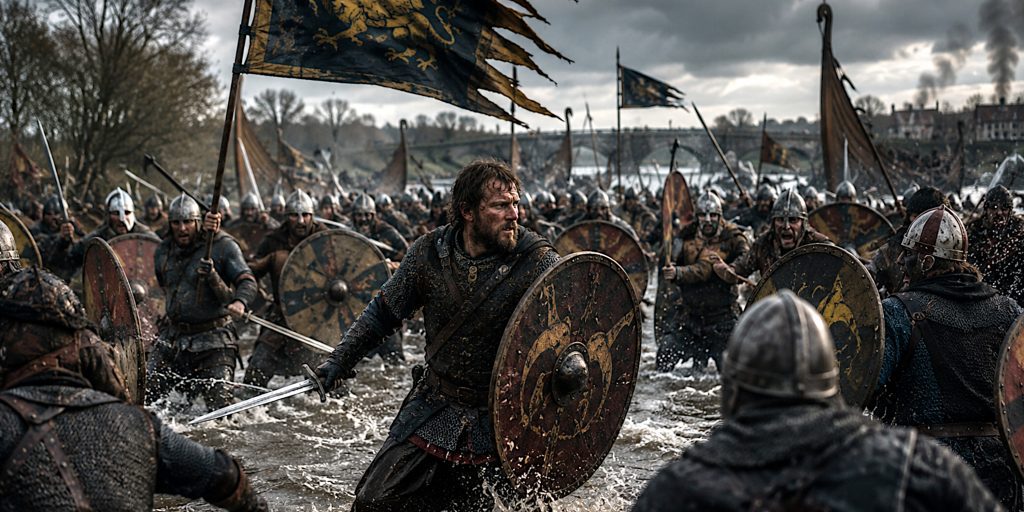
Edmund earned his famous nickname through relentless determination rather than spectacular victories.
Unlike many Anglo-Saxon kings who relied heavily upon their ealdormen, Edmund personally led his armies across southern England. Whenever one force dispersed, he assembled another. Whenever Cnut gained ground, Edmund marched to meet him again.
During 1016 he fought no fewer than six major engagements against the Danes.
These included battles at Penselwood, Sherston, Brentford and Otford, together with the successful relief of London.
Few medieval commanders demonstrated comparable resilience.
The anonymous author of the Encomium Emmae Reginae, while writing in support of Cnut’s dynasty, nevertheless portrays Edmund as a formidable opponent whose courage could not easily be questioned.
His soldiers clearly believed in him.
Whether they could continue following him after months of relentless campaigning was another matter.
Cnut’s Campaign
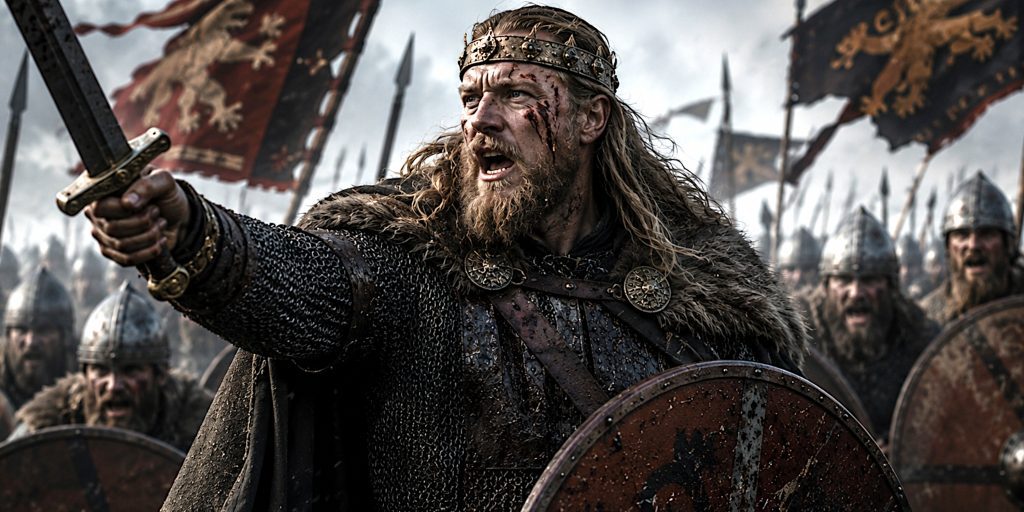
If Edmund embodied determination, Cnut represented patience.
Still only in his early twenties, he had inherited not only his father’s ambition but also a battle-hardened army of experienced Scandinavian warriors. Many had spent years campaigning across England and knew both the terrain and their opponents.
Cnut rarely rushed into unnecessary risks.
Instead, he exploited England’s political divisions, secured alliances with powerful nobles and maintained pressure until resistance began to fracture.
Among his greatest advantages was continuity.
While Edmund repeatedly rebuilt armies from regional levies, Cnut retained a professional core of veteran fighters who remained together throughout the campaign.
That experience would become invaluable when the two armies finally met at Assandun.
The Campaign Before Assandun
The months leading to the final battle were marked by constant movement across southern England.
Edmund achieved notable successes. His victory at Brentford briefly lifted the Danish siege of London, while his ability to raise fresh armies repeatedly frustrated Cnut’s hopes of a swift conquest.
Yet every victory came at a price.
The English fyrd was never intended to remain permanently in the field. Farmers needed to harvest crops, communities required protection and local obligations competed with military service. Each new army Edmund assembled was therefore less experienced than the last.
Cnut faced no such limitation.
His warriors expected campaigning. Warfare was their livelihood.
By October 1016 both armies had endured months of fighting, but they reached the decisive encounter in very different conditions. Edmund’s men were courageous but increasingly weary. Cnut’s army remained disciplined, cohesive and accustomed to campaigning together.
The stage was set for one final confrontation.
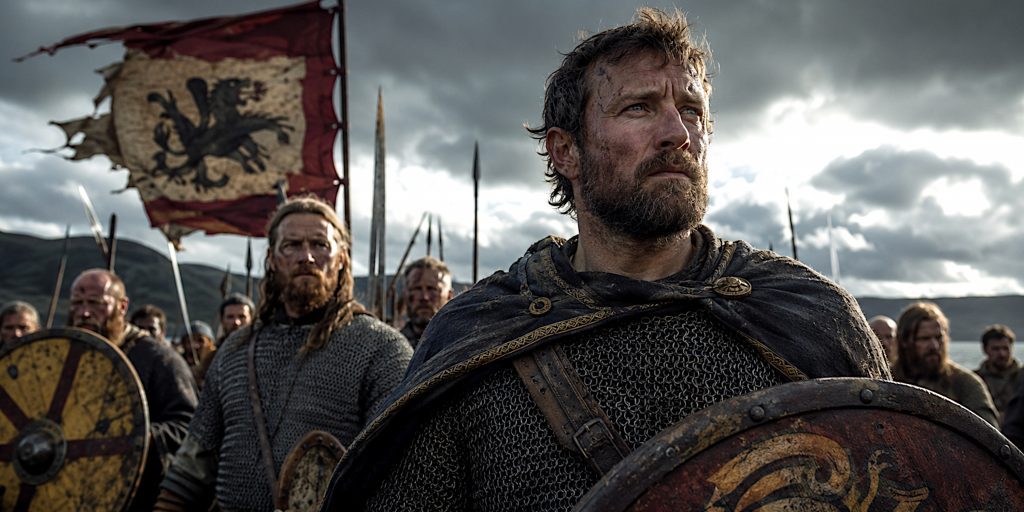
Why Assandun Became the Decisive Battle
Neither king could afford another indecisive engagement.
Edmund needed a victory that would drive the Danes from England and restore confidence in the House of Wessex.
Cnut needed to destroy the only army still capable of resisting his claim to the throne.
Both understood that the campaign had reached its breaking point.
The next battle would determine not merely who ruled England, but what sort of kingdom England would become.
By the time the two armies marched towards the hills of Assandun, compromise had all but disappeared.
Only one king would leave the battlefield with a realistic claim to the English crown.
The Battlefield: Where Was Assandun?
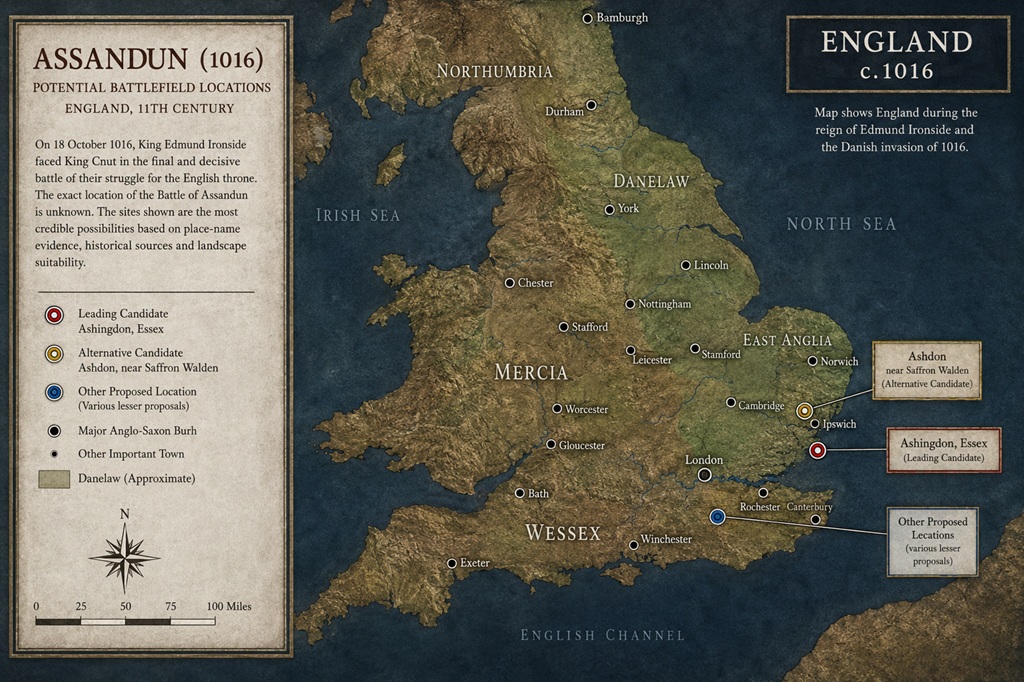
One of the enduring mysteries surrounding the Battle of Assandun is that nobody can say with complete certainty where it took place.
Unlike Hastings, Bosworth or Towton, no battlefield has been identified beyond reasonable doubt. Medieval chroniclers offered frustratingly little detail, assuming their readers already knew where “Assandun” was. A thousand years later, that assumption has become rather inconvenient.
Today, most historians favour Ashingdon in Essex, a village overlooking gently rolling countryside not far from the River Crouch. The landscape fits both the written accounts and the military realities of the campaign. A smaller group argues instead for Ashdon near Saffron Walden, some twenty-five miles to the north-west.
Both sites have supporters, and both have weaknesses.
The debate continues because no archaeological discovery has yet provided the decisive piece of evidence.
What Does the Name Assandun Mean?
The name recorded in the Anglo-Saxon Chronicle is Assandun or Assandune, derived from the Old English words æsc and dūn.
This is generally interpreted as:
- Ash tree hill
- Hill where ash trees grew
Older romantic interpretations have suggested “Hill of Ashes”, imagining a landscape blackened by war and fire. It is an evocative image, but linguistically unlikely. Medieval place names were usually far more practical than poetic.
Even so, there is an uncomfortable appropriateness in the fact that England’s old royal dynasty effectively came to an end upon a hill named after one of its commonest trees.
Ashingdon, Essex
Ashingdon remains the leading candidate for several compelling reasons.
It lies close to the route taken by Cnut after campaigning across southern England. The surrounding countryside contains broad ridges and open slopes well suited to large infantry formations, while the elevated ground would have offered an excellent defensive position for an army relying upon shield walls.
Perhaps most significantly, King Cnut later ordered the construction of St Andrew’s Church on the hill overlooking the presumed battlefield.
According to later tradition, the church commemorated those who died during the battle.
Although the present building dates largely from the Norman period, it almost certainly replaced an earlier church connected with Cnut’s victory.
Few medieval rulers built churches simply because they liked the view.
Advantages of Ashingdon
- Matches medieval place-name evidence.
- Fits the known movements of both armies.
- Elevated terrain suitable for shield wall warfare.
- Strong local tradition linking the site with the battle.
- Association with St Andrew’s Church, traditionally founded by Cnut.
Ashdon, Near Saffron Walden
The alternative proposal places the battle near Ashdon in north-west Essex.
Supporters argue that the place name is equally convincing and that the surrounding hills could also accommodate large armies.
Some historians believe this location better reflects the movements described in certain later medieval sources.
The principal difficulty is that there is considerably less historical tradition connecting Ashdon with the battle compared with Ashingdon.
It remains possible.
It is simply less convincing.
The Landscape
Regardless of the exact location, the battlefield was almost certainly dominated by rising ground.
High ground mattered enormously in early medieval warfare.
Unlike later armies equipped with artillery or cavalry charges, infantry shield walls relied upon momentum, stability and cohesion.
Defenders standing uphill enjoyed several important advantages.
They could:
- Force attackers to climb while carrying heavy equipment.
- Maintain tighter shield formations.
- Deliver downward spear thrusts.
- Observe enemy movements more clearly.
- Recover more easily if pushed backwards.
For Cnut to attack successfully, his army would need exceptional discipline.
His veterans possessed exactly that.
Weather and Conditions
No contemporary source records the weather on 18 October 1016, but educated estimates are possible.
An Essex autumn would probably have brought:
- Cool temperatures.
- Damp ground after seasonal rain.
- Shortening daylight.
- Occasional mist during the morning.
Such conditions favoured infantry.
Firm autumn soil allowed shield walls to maintain formation without the deep mud that plagued later medieval battles.
Visibility would likely have improved as the morning progressed, allowing commanders to observe developments across the battlefield.
How Anglo-Saxon Battles Were Fought
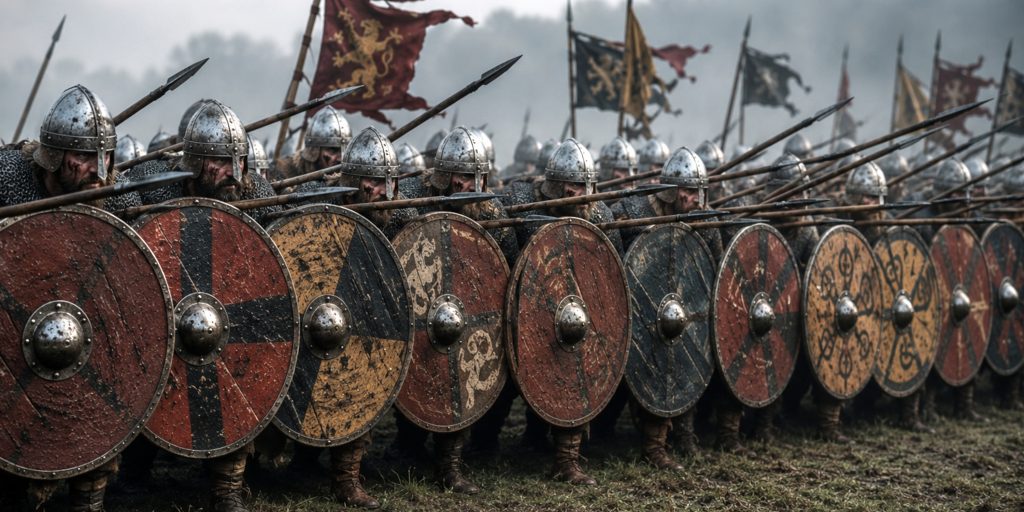
To understand Assandun, it helps to forget many familiar images of medieval warfare.
There were no lines of charging knights.
There were no elaborate manoeuvres involving cavalry wings.
There were certainly no ranks of longbowmen darkening the sky.
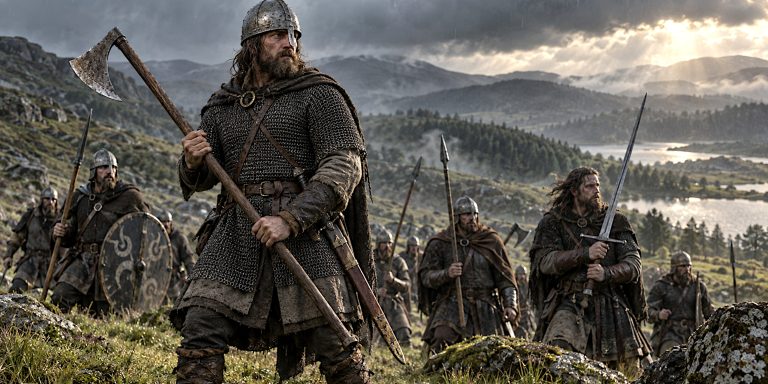
Instead, victory depended upon disciplined infantry standing shoulder to shoulder behind overlapping shields.
The shield wall was both a physical barrier and a psychological one.
Every warrior depended upon the man standing beside him.
If one soldier panicked, a gap appeared.
If a gap appeared, spears followed.
If spears followed, the wall began to unravel.
The result could be catastrophic.
This made morale almost as important as weapons.
The greatest danger rarely came from enemy swords.
It came from the moment somebody decided the battle was already lost.
The Shield Wall
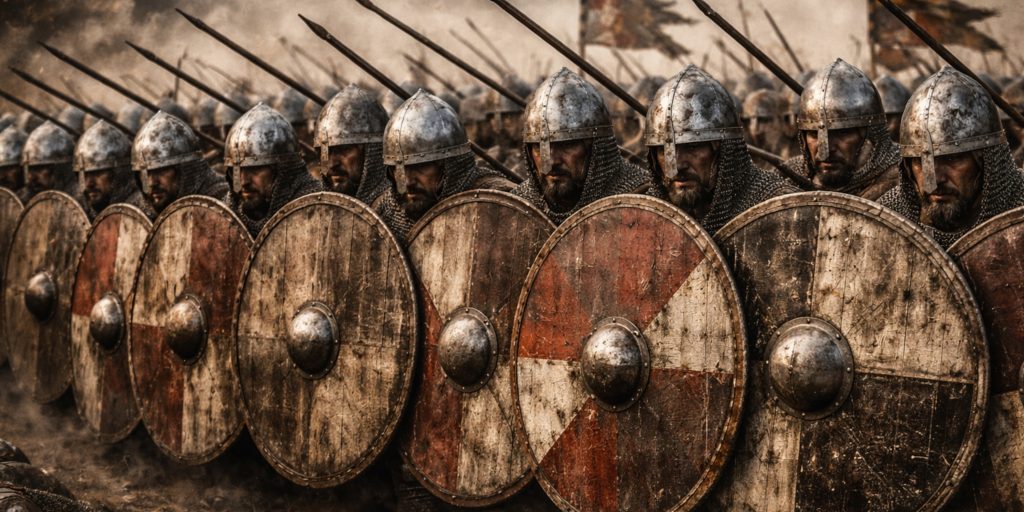
The defining tactical formation of both armies was the shield wall.
Rows of warriors stood close together with shields overlapping.
Behind the front rank stood additional fighters ready to replace casualties or thrust spears between comrades.
The formation offered remarkable defensive strength.
An advancing shield wall resembled a slowly moving wooden fortress.
Breaking one required extraordinary determination.
Or extraordinary bad luck.
Once opposing shield walls collided, the battle changed character entirely.
There was little room for elegant swordsmanship.
Warriors shoved with shields, stabbed with spears, hacked with axes and searched desperately for any weakness in the opposing line.
Combat was exhausting.
Mail armour grew heavier with sweat.
Shields splintered.
Spears snapped.
Eventually the fighting became a series of brutal struggles measured in yards rather than miles.
The Importance of Morale
Modern readers sometimes imagine medieval armies fighting until every soldier was dead.
Reality was considerably more sensible.
Battles were often decided long before casualties reached their highest levels.
Once one side believed defeat inevitable, formations collapsed.
Retreat became flight.
Flight became slaughter.
This is why the alleged actions of Eadric Streona have attracted so much attention.
If an important contingent visibly withdrew during the battle, neighbouring troops could easily conclude they had been abandoned.
Whether Eadric truly betrayed Edmund remains debated.
What cannot be disputed is the devastating effect such an event would have had upon morale.
An army already exhausted after months of campaigning needed confidence more than ever.
Instead, confidence may have evaporated at precisely the worst possible moment.
The Strategic Importance of Assandun
By October 1016 there was little room for another stalemate.
Edmund had already demonstrated remarkable resilience by raising successive armies throughout the year.
Cnut had repeatedly shown he could survive setbacks without losing control of his experienced Scandinavian veterans.
One decisive victory would almost certainly end the campaign.
Both kings knew it.
Neither commander marched towards Assandun expecting another indecisive skirmish.
They marched expecting to decide the fate of England.
The soldiers gathering beneath their banners could not have known that historians would still debate the exact hill on which they stood a millennium later.
They probably had more immediate concerns, such as surviving until sunset.
Forces
Estimating the size of medieval armies is notoriously difficult. Contemporary chroniclers rarely counted soldiers with any precision, and later writers often exaggerated numbers to magnify the scale of a victory or defeat. Claims of armies numbering tens of thousands should therefore be treated with caution.
Modern historians generally suggest that both Edmund Ironside and Cnut fielded between 6,000 and 8,000 men at Assandun. While these figures remain estimates, they reflect the logistical realities of early eleventh-century warfare. Feeding, equipping and moving even a few thousand men across southern England required considerable organisation.
More important than the numbers was the quality of the troops.
Edmund’s army was a mixture of experienced household warriors and newly raised local levies. Cnut’s force contained a hardened core of Scandinavian veterans who had campaigned together for years. That difference in cohesion would become increasingly important as the battle wore on.
Order of Battle
| Kingdom of England | Danish Invasion Army |
|---|---|
| Commander: King Edmund Ironside | Commander: Cnut |
| 6,000 to 8,000 men | 6,000 to 8,000 men |
| Royal household troops | Danish housecarls |
| Anglo-Saxon thegns | Norwegian warriors |
| Fyrd levies | Scandinavian mercenaries |
| Mercian contingents | Danish nobles and retainers |
| Regional militia | Allied English supporters |
Neither army was composed entirely of one nationality.
England had become a politically fragmented kingdom where loyalties often mattered more than birthplace. Some English nobles fought for Cnut, while Scandinavian warriors had lived in England for years and regarded it as home.
The conflict was therefore not simply English against Viking. It was equally a civil war fought over who possessed the stronger claim to rule England.
Edmund Ironside’s Army
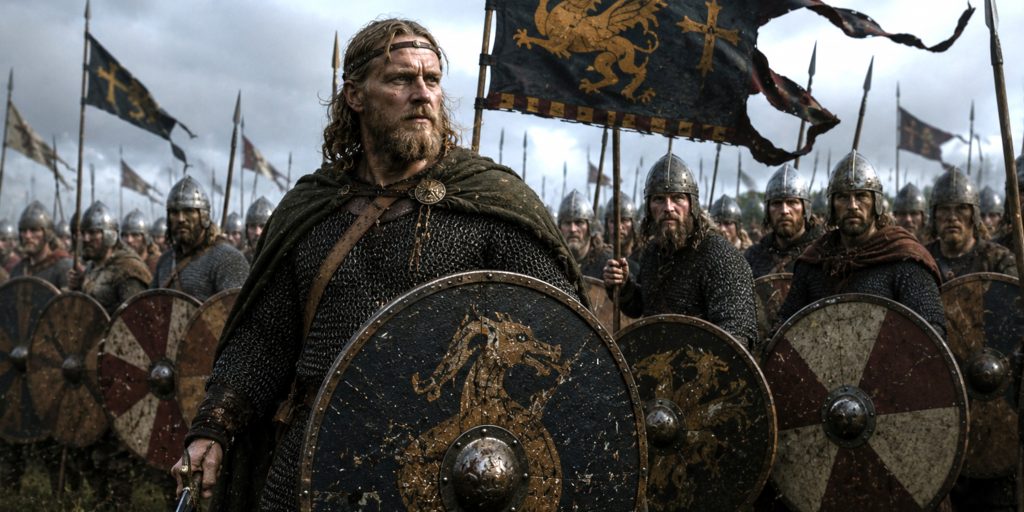
Edmund’s forces reflected the traditional military system of late Anglo-Saxon England.
At their heart stood the king’s own household warriors, professional fighting men who served throughout the year. Surrounding them were regional thegns, each accompanied by their own retainers, while the bulk of the army consisted of the fyrd, local levies summoned from across Wessex and neighbouring shires.
The quality of these troops varied enormously.
Some thegns were seasoned veterans who had spent decades resisting Viking raids.
Others were farmers called away from the autumn harvest, handed a spear and shield, and expected to stand against professional Scandinavian warriors.
What united them was loyalty to Edmund himself.
Repeatedly during 1016 he had inspired fresh armies to assemble after previous defeats and dispersals. That alone speaks volumes about his reputation.
The King’s Household
The royal household formed the backbone of Edmund’s army.
These men were:
- Full-time professional warriors.
- Equipped with high-quality weapons and armour.
- Personally loyal to the king.
- Expected to fight wherever the danger was greatest.
Many carried expensive swords passed down through generations, symbols of status as much as practical weapons.
If Edmund launched a counterattack during the battle, these warriors almost certainly led it.
The Thegns
Below the king stood England’s military aristocracy.
Thegns were landowners who owed military service in return for their estates. Wealth determined the quality of their equipment, and the richest could rival Scandinavian nobles in arms and armour.
Their retinues varied from only a handful of warriors to several dozen.
The death of numerous thegns at Assandun represented more than battlefield losses. It removed experienced regional leaders whose absence weakened England for years afterwards.
The Fyrd
The fyrd has often been misunderstood as an untrained peasant mob.
The reality was more complicated.
Military obligations formed part of Anglo-Saxon society, and many members of the fyrd possessed experience defending their local communities from Viking raids.
Even so, they were not permanent soldiers.
Their responsibilities included:
- Defending local districts.
- Supporting royal campaigns.
- Manning fortified burhs.
- Providing logistical support.
Months of continuous campaigning placed enormous strain upon this system.
By October 1016 many communities had already supplied several successive levies.
Enthusiasm, one suspects, had become rather scarce.
Cnut’s Army
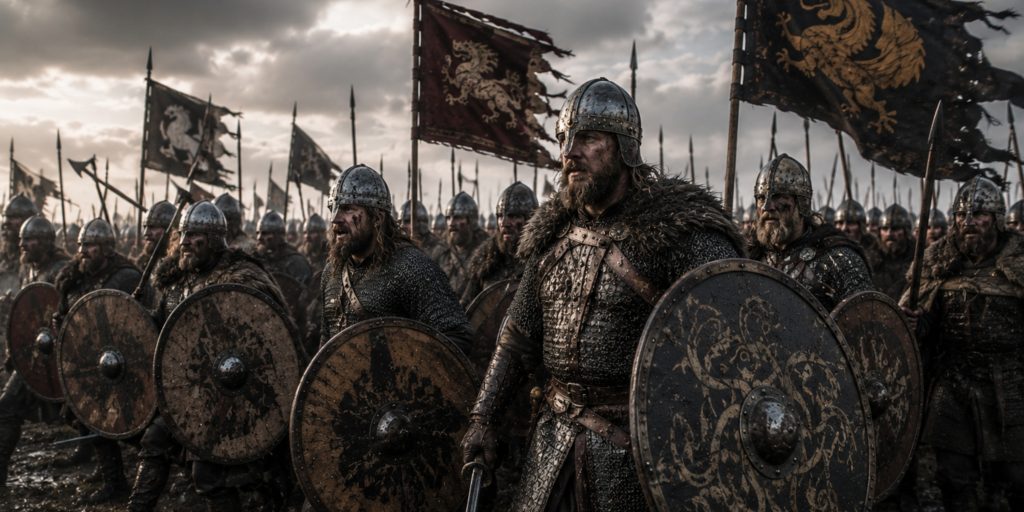
Cnut commanded one of the most experienced armies operating anywhere in northern Europe.
His force had evolved over years of campaigning under both himself and his father, Sweyn Forkbeard. It contained seasoned warriors from Denmark, Norway and across the Scandinavian world.
Unlike Edmund’s repeatedly assembled armies, Cnut’s veterans trained, marched and fought together continuously.
That familiarity produced exceptional battlefield discipline.
Professional soldiers learn not merely how to fight, but how to trust the man standing beside them.
At Assandun, that trust mattered enormously.
The Housecarls
The elite of Cnut’s army consisted of his household warriors, often described as housecarls.
These were heavily armed professionals whose role extended beyond simple bodyguards.
They acted as:
- Shock infantry.
- Royal guards.
- Military advisers.
- Veteran battlefield leaders.
Many wielded the fearsome Danish axe, capable of smashing through shields or delivering devastating blows against armoured opponents.
Others preferred swords or spears, depending upon personal experience and battlefield circumstances.
The image of every housecarl carrying a giant axe is a popular one, but reality was considerably more varied.
Scandinavian Veterans
Years of campaigning had forged Cnut’s army into a remarkably cohesive fighting force.
These men understood:
- Shield wall tactics.
- Maintaining formation under pressure.
- Coordinated spear attacks.
- Rotating exhausted front ranks.
- Exploiting weaknesses in enemy lines.
Many had fought together across England for several seasons.
By comparison, Edmund’s army often contained men who had only recently met each other.
Military experience cannot eliminate fear.
It can, however, teach soldiers how to function despite it.
Notable Commanders
Edmund Ironside
The English king personally directed operations throughout the campaign.
Sources consistently describe him as energetic, courageous and unwilling to abandon the battlefield while resistance remained possible.
His reputation as one of England’s finest warrior kings rests largely upon the events of 1016.
Cnut
Still a relatively young commander, Cnut displayed remarkable political and military maturity.
He balanced aggression with patience and avoided unnecessary risks.
Following Assandun he would prove equally capable as a ruler, creating one of the most stable reigns of the eleventh century.
Thorkell the Tall
Among Cnut’s most valuable commanders was Thorkell the Tall, one of the most famous Viking leaders of his generation.
An experienced mercenary, Thorkell had previously fought both against and for the English crown before eventually supporting Cnut.
His career neatly illustrates how flexible political loyalties could become during this period.
Eiríkr Hákonarson
The Norwegian earl brought valuable military experience gained during Scandinavian conflicts.
Although later sources provide limited detail regarding his actions at Assandun, he remained one of Cnut’s senior commanders.
Eadric Streona
No figure connected with Assandun has attracted greater controversy than Eadric Streona, Ealdorman of Mercia.
An exceptionally capable politician, Eadric also possessed an almost supernatural ability to find whichever side appeared most likely to win.
Throughout his career he repeatedly changed allegiance between English and Danish rulers.
Whether he deliberately betrayed Edmund during the battle remains debated.
His reputation, however, has never recovered.
Medieval chroniclers blamed him for almost everything short of poor weather.
Comparing the Two Armies
| Category | England | Denmark |
|---|---|---|
| Commander | Edmund Ironside | Cnut |
| Leadership | Brave and aggressive | Disciplined and calculating |
| Core Troops | Royal household | Veteran housecarls |
| Majority | Fyrd levies | Professional warriors |
| Experience | Mixed | Extensive |
| Morale | High but fatigued | Confident and cohesive |
Both armies possessed brave men.
Both possessed experienced nobles.
Both relied upon the shield wall.
The greatest difference lay in endurance.
Edmund had spent months rebuilding armies.
Cnut had spent months preserving one.
As daylight broke over Assandun, that distinction remained invisible.
By evening, it would define the battle.
Before the First Blow
The opposing armies now faced one another across rising ground.
Standards fluttered above tightly packed ranks.
Priests offered blessings.
Warriors checked spearheads, tightened shield grips and glanced nervously towards the enemy line.
Some would have recognised familiar faces.
Years of warfare had blurred the distinction between Englishman and Dane, with men serving different masters at different times.
Soon such acquaintances would matter very little.
Once the shield walls advanced, diplomacy would end.
The outcome of England’s greatest struggle would be decided with spear, axe and sword.
Arms and Armour
The armies that met at Assandun looked remarkably alike.
Centuries of trade, migration and warfare across the North Sea had created a shared military culture between Anglo-Saxon England and Scandinavia. English smiths produced weapons inspired by Scandinavian fashions, while Viking warriors prized Frankish blades imported through continental Europe. Armour, shields and helmets followed similar patterns on both sides.
This meant that victory would not be decided by superior equipment.
Instead, discipline, leadership and the ability to maintain the shield wall would prove far more important than the individual weapon carried into battle.
That said, the finest warriors still owned arms that represented a small fortune. A well-made sword could be passed from father to son for generations, acquiring a reputation almost as impressive as its owner.
The Sword
The sword occupied a special place in early medieval society.
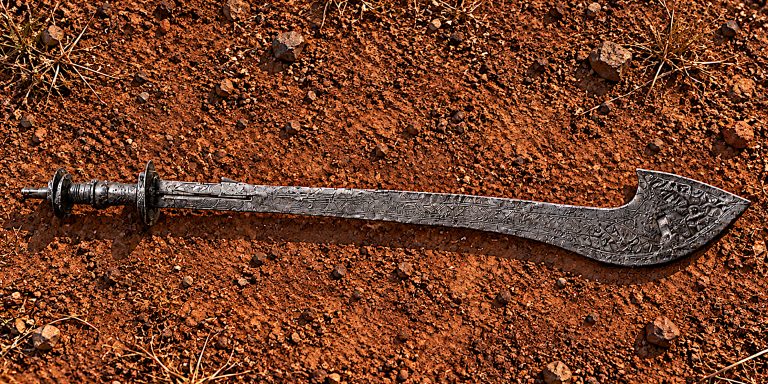
It was more than a battlefield weapon. It symbolised honour, wealth and noble status. While nearly every warrior carried a spear, only the wealthier members of society could afford a high-quality sword.
Many blades used at Assandun were forged in workshops along the Rhine before being exported throughout northern Europe. English and Scandinavian craftsmen then fitted these blades with distinctive hilts that reflected local tastes.
Common Sword Types
| Sword Type | Description | Users |
|---|---|---|
| Petersen Type S | Broad blade with a five-lobed pommel, popular during the late tenth and early eleventh centuries. | Anglo-Saxon and Scandinavian nobles |
| Petersen Type T | Characterised by a heavy, robust hilt suited to powerful cuts. | Veteran Scandinavian warriors |
| Early Petersen Type X | A transitional design leading towards the classic medieval knightly sword. | Senior warriors across both armies |
| Anglo-Saxon Sword | Often featuring locally made fittings attached to imported Frankish blades. | English thegns and royal retainers |
Most swords measured between 75 and 90 centimetres in blade length.
Designed for cutting as well as thrusting, they performed best once shield walls began to fragment and combat became more individual.
Contrary to popular belief, swords were not especially heavy. Most weighed little more than 1.2 kilograms, making them fast, balanced and surprisingly agile in experienced hands.
The Spear
If the sword was the weapon of prestige, the spear was the true king of the battlefield.
The overwhelming majority of warriors at Assandun carried one.
Spears were:
- Inexpensive to produce.
- Effective in close formations.
- Useful for both thrusting and throwing.
- Easy to replace if broken.
Ash wood shafts provided flexibility and strength, while iron heads varied considerably in shape depending upon local manufacture.
Some spearheads were narrow and designed to penetrate mail.
Others were broader, creating devastating wounds against lightly armoured opponents.
The opening stages of the battle were probably dominated by ranks of overlapping spear points extending beyond the shield wall.
The Danish Axe
Few weapons inspire quite as much fascination as the Danish axe.
Although often associated exclusively with Vikings, these formidable two-handed weapons were also used by elite English warriors during the eleventh century. By Cnut’s reign they had become one of the defining weapons of professional household troops.
The Danish axe featured:
- A long wooden haft, often between 1.2 and 1.5 metres.
- A broad, thin blade capable of delivering tremendous cutting power.
- Excellent reach against opponents armed with swords.
In skilled hands, the weapon could split shields, sever spear shafts and inflict catastrophic injuries.
Its principal weakness was equally obvious.
A missed swing left the wielder dangerously exposed.
Housecarls therefore relied upon discipline and teamwork rather than wild, theatrical blows. Medieval warriors generally preferred surviving the battle to looking impressive while losing it.
The Seax
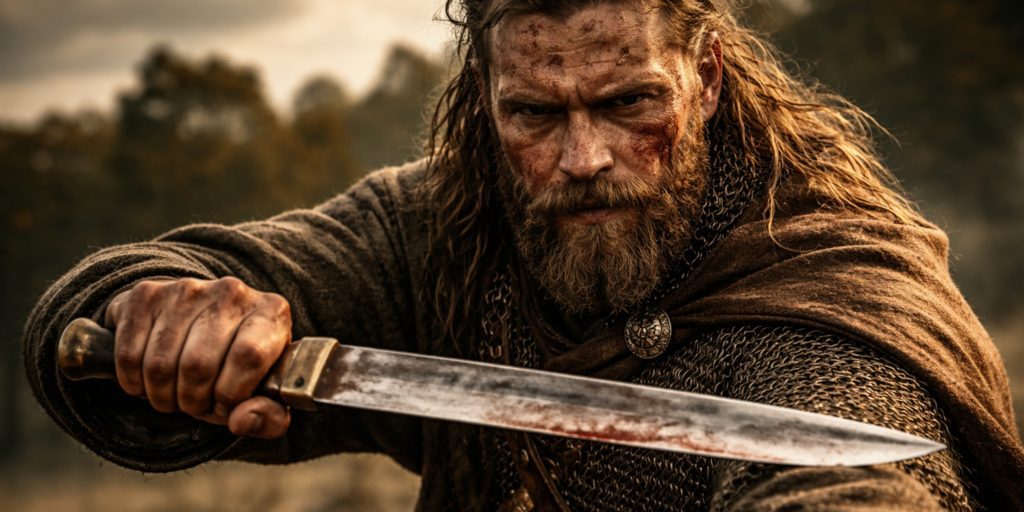
Many English warriors also carried a seax, the long single-edged knife that gave the Saxons their very name.
Although no longer the primary battlefield weapon it had once been centuries earlier, the seax remained an important sidearm.
It served as:
- A utility knife during campaigns.
- A backup weapon if the spear was lost.
- A close-quarter fighting blade.
Lengths varied enormously, from modest knives to impressive long seaxes approaching the size of short swords.
For many ordinary soldiers, it was the only edged weapon they owned.
Shields
The shield was arguably the single most important piece of military equipment on the battlefield.
Without it, the famous shield wall simply could not exist.
Most shields were:
- Circular in shape.
- Between 80 and 95 centimetres in diameter.
- Constructed from wooden planks.
- Reinforced with an iron boss protecting the hand.
- Covered with leather or rawhide to improve durability.
Many were painted in bright colours.
These designs were more than decoration.
They identified households, noble retinues and regional contingents amid the confusion of battle.
After prolonged fighting, the battlefield would have been littered with shattered shields, broken rims and splintered timber.
Helmets
Iron helmets remained expensive possessions.
Only wealthier warriors could afford them, making head protection an obvious marker of status.
The most common forms included:
Nasal Helmets
These featured a projecting iron strip protecting the nose while leaving much of the face exposed.
Simple yet effective, they became increasingly widespread during the late Viking Age.
Spectacle Helmets
An older Scandinavian design, these helmets incorporated distinctive eye guards resembling a pair of spectacles.
Although becoming less common by 1016, examples remained in use among experienced Scandinavian warriors.
The famous helmet discovered at Gjermundbu in Norway provides an excellent surviving example of this type.
Mail Armour
Mail represented the finest body armour available.
Constructed from thousands of interlinked iron rings, it offered excellent protection against sword cuts while remaining flexible enough for prolonged combat.
A typical mail shirt:
- Extended to mid-thigh.
- Included short sleeves.
- Weighed between 10 and 13 kilograms.
- Required hundreds of hours to manufacture.
Only kings, wealthy thegns and elite housecarls could normally afford complete mail.
Most members of the fyrd fought wearing little more than thick woollen clothing and perhaps a padded garment beneath.
The difference in protection could be significant, although even mail offered limited defence against powerful spear thrusts or heavy axe blows.
Clothing and Personal Equipment
Away from armour, soldiers dressed according to wealth and climate.
Typical clothing included:
- Woollen tunics.
- Linen undergarments.
- Tight-fitting trousers.
- Leather shoes or ankle boots.
- Wool cloaks secured with brooches.
Belts supported swords, seaxes and small leather pouches containing everyday essentials.
A campaigning army travelled surprisingly light.
Food, spare clothing and cooking equipment were often carried separately with baggage trains rather than by individual warriors.
Banners and Symbols
Medieval armies relied heavily upon banners.
In the chaos of battle, a standard allowed warriors to identify their commander and maintain formation.
Although no detailed description survives for Edmund’s standard at Assandun, Cnut almost certainly carried a raven banner, a symbol closely associated with Scandinavian rulers and one that appears repeatedly in Viking Age sources.
Losing a banner could shatter morale.
Capturing one became an enduring mark of honour.
Fighting Styles
Despite carrying similar weapons, English and Danish warriors approached combat with subtle differences.
The English generally relied upon maintaining a dense defensive shield wall before launching coordinated counter-attacks.
Cnut’s veterans appeared more willing to exploit local weaknesses, applying sustained pressure until gaps appeared within the opposing formation.
Neither army sought elaborate manoeuvres.
The battle would instead become a contest of endurance.
The side capable of maintaining discipline for longest would almost certainly prevail.
As one shield wall edged forward and the other resisted, the fate of England would be decided one spear thrust at a time.
The Calm Before the Storm
When the two armies finally deployed beneath their banners, the equipment they carried reflected generations of military evolution across northern Europe.
There were no revolutionary weapons waiting to surprise either side.
Both kings trusted the same essentials.
Strong shields.
Reliable spears.
Well-forged swords.
Experienced warriors.
The difference would lie not in what they carried, but in how they used it.
Soon the silence would end.
The shield walls would advance.
One of the most decisive battles in English history was about to begin.
The Battle of Assandun
By the morning of 18 October 1016, both armies had reached the point where further manoeuvring served little purpose.
Edmund Ironside had spent months shadowing Cnut’s movements, repeatedly raising fresh armies whenever earlier ones dispersed. Cnut, meanwhile, had methodically advanced across southern England, maintaining pressure while avoiding unnecessary risks. Both commanders understood that another indecisive engagement would merely prolong a campaign that neither side could sustain indefinitely.
Somewhere among the hills of what is now south Essex, the two kings finally committed themselves to battle.
No contemporary source provides a blow-by-blow account. Instead, historians must piece together events from brief chronicles, later medieval narratives and an understanding of how early medieval armies fought.
The broad outline, however, is remarkably consistent.
The battle began with two shield walls advancing towards one another.
It ended with one of them destroyed.
Deployment
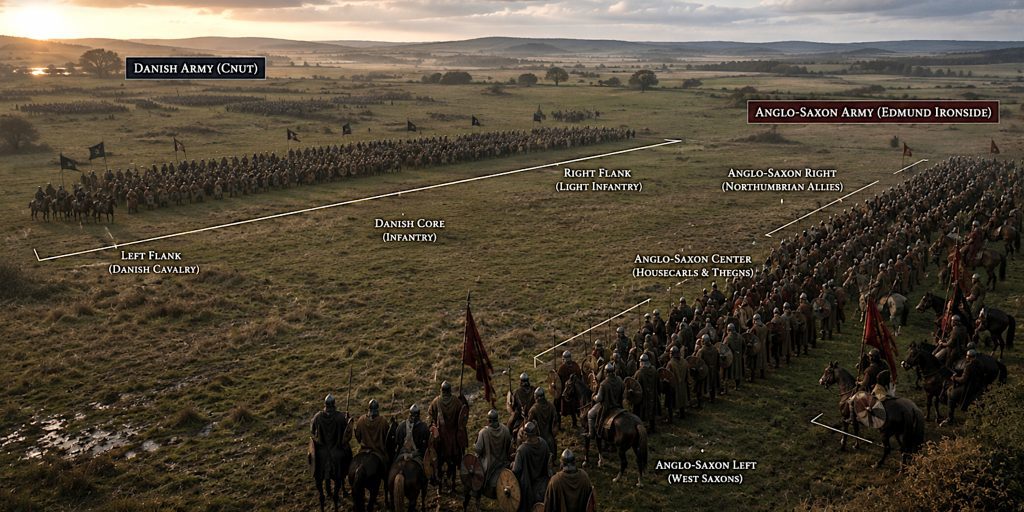
Edmund appears to have occupied the stronger defensive position.
Most reconstructions place the English army on higher ground, forcing Cnut’s men to advance uphill. This would have given the Anglo-Saxons several advantages.
The defenders could:
- Hold tighter formations.
- Strike downward with spears.
- Force attackers to expend energy climbing the slope.
- Observe enemy movements more easily.
Such positions had been favoured by Anglo-Saxon commanders for centuries.
If Edmund hoped to blunt the Danish advance before launching a counterattack, the terrain suited his intentions.
Cnut, however, had little choice but to attack.
His campaign depended upon destroying the last substantial English field army.
The Opening Phase
Like many battles of the period, the fighting probably began with a limited exchange of missiles.
Spears and javelins were thrown.
Archers may have loosed scattered volleys, although bows played only a minor role in most shield wall engagements.
These exchanges served less to inflict casualties than to unsettle the opposing line.
Soon afterwards came the moment every warrior anticipated with equal measures of determination and dread.
The shield walls met.
The impact would have been deafening.
Thousands of wooden shields crashed together.
Iron spearheads scraped against bosses.
Axes hammered into timber.
The air filled with shouted commands, battle cries and the unmistakable sound of men discovering that someone else was attempting to kill them.
The Struggle of the Shield Walls
Popular culture often portrays medieval battles as swirling duels across open ground.
The reality was considerably less graceful.
Most warriors could barely swing a sword freely.
Instead, they fought packed shoulder to shoulder, relying upon the strength of the formation rather than individual heroics.
The front ranks pushed relentlessly against one another.
Behind them, additional warriors thrust spears over their comrades’ shoulders.
Whenever a man fell, another stepped forward to fill the gap.
The struggle became one of endurance.
Every shield grew heavier.
Every spear arm tired.
Every helmet became slick with sweat despite the October chill.
A battle of this nature could continue for hours before either side showed signs of collapse.
Edmund Ironside Leads from the Front
Although contemporary accounts offer limited tactical detail, Edmund’s personal bravery is beyond dispute.
Throughout the campaign of 1016 he repeatedly placed himself wherever the fighting proved fiercest.
The chroniclers consistently portray him as a king who fought beside his household warriors rather than directing operations from a safe distance.
Such leadership inspired confidence.
A king visible in the shield wall reminded his followers that victory remained possible.
It also carried considerable risk.
If Edmund had fallen during the fighting, the English army might have disintegrated almost immediately.
His survival therefore mattered almost as much as the battle itself.
Cnut’s Veterans Hold Their Ground
Facing Edmund were warriors who had spent years campaigning together.
Cnut’s professional core had fought across England under both his command and that of his father, Sweyn Forkbeard.
Experience showed itself not through dramatic charges but through discipline.
Veteran soldiers:
- Maintained formation under pressure.
- Replaced exhausted comrades.
- Closed gaps quickly.
- Followed commands despite mounting casualties.
- Resisted the temptation to pursue isolated opponents.
The Danish shield wall appears to have absorbed everything Edmund’s army could throw against it.
Gradually, almost imperceptibly, the balance began to shift.
The Death of Bishop Eadnoth
Among the most significant casualties recorded during the battle was Bishop Eadnoth of Dorchester.
Unlike modern bishops, senior churchmen in Anglo-Saxon England often accompanied armies into the field. Their presence provided spiritual encouragement and symbolised divine support for the king’s cause.
According to the Anglo-Saxon Chronicle, Eadnoth was killed during the fighting.
His death carried symbolic as well as military importance.
For soldiers already enduring an exhausting struggle, seeing one of the kingdom’s leading churchmen fall could hardly have strengthened morale.
Several important nobles also lost their lives, further weakening the English command structure.
The Controversy of Eadric Streona
No aspect of the Battle of Assandun has generated more debate than the actions of Eadric Streona, Ealdorman of Mercia.
The traditional account is dramatic.
At the height of the fighting, Eadric supposedly withdrew the Mercian contingent under his command.
Whether he intentionally deserted, panicked or merely misunderstood events remains impossible to establish with certainty.
The sources, however, leave little doubt regarding how later generations interpreted his actions.
John of Worcester wrote:
“The Danes gained the victory through the treachery of Eadric.”
Henry of Huntingdon was even more scathing:
“Never was there greater treachery than at Assandun.”
These chroniclers wrote decades after the battle and almost certainly exaggerated Eadric’s role.
Even so, the consistency of the tradition suggests that something extraordinary occurred.
Modern historians generally offer three possibilities.
Deliberate Betrayal
Eadric intentionally abandoned Edmund after secretly reaching an agreement with Cnut.
This remains the traditional explanation.
Tactical Withdrawal
Eadric believed another part of the line had already collapsed and withdrew in an attempt to preserve his own forces.
Such confusion was common in medieval warfare.
Later Scapegoating
Eadric’s notoriously poor reputation encouraged chroniclers to blame him for a defeat caused by broader military factors.
This interpretation has gained support among several modern scholars.
Whatever the truth, Eadric became medieval England’s favourite villain.
His name soon became almost synonymous with political betrayal.
The Collapse of the English Line
Whether triggered by Eadric’s withdrawal or simply by relentless pressure, the English formation eventually began to break apart.
Once gaps appeared, Cnut’s veterans exploited them ruthlessly.
Shield walls depended upon mutual support.
A single opening could spread panic with astonishing speed.
Warriors who had stood firm for hours suddenly found themselves exposed on their flanks.
Some attempted to reform.
Others retreated.
Retreat soon became flight.
The disciplined struggle that had characterised the earlier stages of the battle dissolved into desperate individual combat.
For those caught in the collapse, survival became the only objective.
Edmund’s Final Resistance
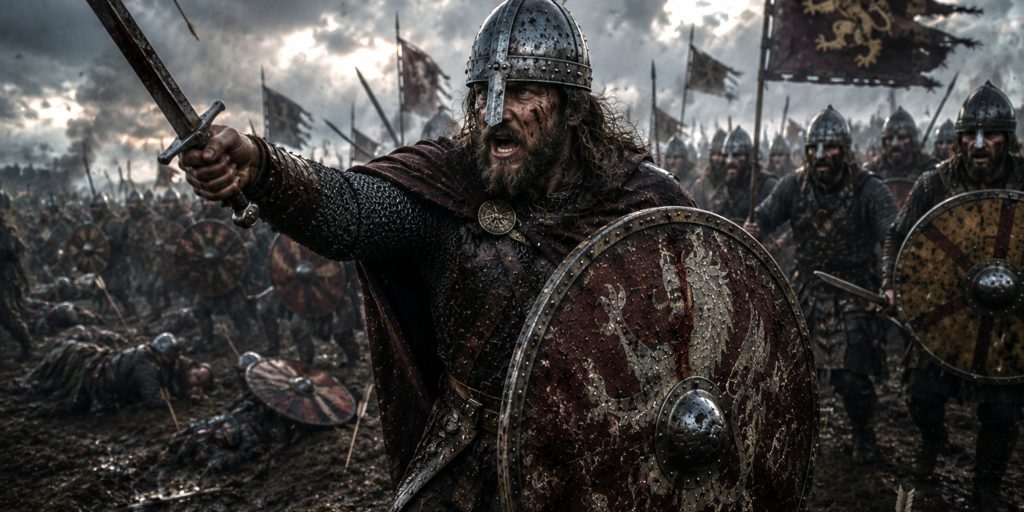
Even after the English line gave way, Edmund himself appears to have continued fighting.
Later writers describe him rallying surviving household troops and attempting to organise an orderly withdrawal.
Whether these accounts contain elements of heroic embellishment is impossible to determine.
What seems clear is that Edmund escaped the battlefield with a portion of his army still intact.
This mattered enormously.
Although Assandun was a decisive defeat, it was not a complete annihilation.
Edmund remained alive.
As long as the king survived, organised resistance remained possible.
Cnut had won the battlefield.
He had not yet secured the kingdom.
Cnut Holds the Field
By late afternoon, the fighting had ended.
The battlefield belonged to Cnut.
The dead lay where the shield walls had collided only hours earlier.
Among them were bishops, thegns, household warriors and ordinary members of the fyrd, men whose names have long since disappeared from history but whose deaths helped determine England’s future.
The Anglo-Saxon Chronicle summarised the outcome with characteristic restraint:
“There was great slaughter on either side. King Edmund went thence with his following into Wessex, and Cnut held the field.”
The chronicler needed remarkably few words.
Their significance was enormous.
Holding the field meant victory.
The campaign had reached its decisive turning point.
Casualties
Precise casualty figures are unknown and probably unknowable.
No contemporary source attempts to count the dead.
What can be said with confidence is that losses were severe.
Among those known or believed to have died were:
- Bishop Eadnoth of Dorchester.
- Numerous English thegns.
- Members of Edmund’s household.
- Hundreds, and probably thousands, of ordinary soldiers from both armies.
The destruction of so much experienced Anglo-Saxon leadership would prove almost impossible to replace.
England could recruit more spearmen.
It could not easily replace decades of military experience lying across the hillside at Assandun.
The battle itself was over.
Its political consequences, however, were only just beginning. Within weeks, two rival kings who had spent an entire year trying to destroy one another would meet not with drawn swords, but across a negotiating table.
The Aftermath
The Battle of Assandun ended the military campaign, but it did not immediately decide who would wear the English crown.
Despite suffering a crushing defeat, Edmund Ironside escaped alive. He withdrew westwards with the survivors of his army, still controlling Wessex and retaining enough authority to continue the struggle if he chose.
Cnut had won the battlefield.
He had not yet won England.
Both kings understood that another major battle would be ruinously expensive. Their armies had endured months of continuous campaigning, and many of England’s greatest nobles had already been killed. Even a victorious army could only absorb so many losses before victory became meaningless.
Rather than gambling everything on another bloody encounter, the rivals chose negotiation.
It was a remarkably pragmatic decision.
The Meeting at Alney
According to later tradition, Edmund and Cnut met on an island in the River Severn near Alney, close to Gloucester. Other sources suggest Deerhurst, only a short distance away.
Whatever the precise location, the symbolism was unmistakable.
Two warrior kings who had spent the better part of a year trying to kill one another now met face to face to divide a kingdom.
The details of their meeting have inevitably acquired a legendary quality.
Some later accounts claim they embraced as brothers after recognising each other’s courage.
Others describe formal negotiations conducted beneath armed escort.
The truth is probably less theatrical, but no less significant.
Both men recognised that compromise offered the quickest route to stability.
Dividing England
The agreement reached between Edmund and Cnut effectively partitioned the kingdom.
| Region | Ruler |
|---|---|
| Wessex | Edmund Ironside |
| Mercia | Cnut |
| Northumbria | Cnut |
| East Anglia | Cnut |
| Much of the Danelaw | Cnut |
Perhaps more importantly, the treaty contained an understanding that whichever king outlived the other would inherit the whole kingdom.
It was an extraordinary arrangement.
England had occasionally been divided between rival claimants before, but rarely under such formal terms.
For a brief moment, it appeared that two kings might successfully coexist.
History had other plans.
The Death of Edmund Ironside
On 30 November 1016, barely six weeks after Assandun, Edmund Ironside died.
He was probably no more than twenty-six years old.
His sudden death transformed the political landscape overnight.
The cause remains uncertain.
Contemporary sources simply record his passing.
Later medieval chroniclers, never knowingly guilty of understatement, produced a colourful assortment of explanations.
Among the more imaginative stories were claims that Edmund was:
- Murdered while using a privy.
- Assassinated by agents acting on Cnut’s behalf.
- Killed by a hidden spear thrust from beneath a wooden seat.
- Poisoned.
- Succumbed to wounds received during the campaign.
These dramatic tales appeared generations after the event and are generally regarded as legend rather than history.
Most modern historians consider natural illness or complications arising from months of campaigning to be far more plausible.
The truth is unlikely ever to be known.
What is certain is that Edmund’s death removed the only serious obstacle to Cnut’s rule.
Cnut Becomes King of England
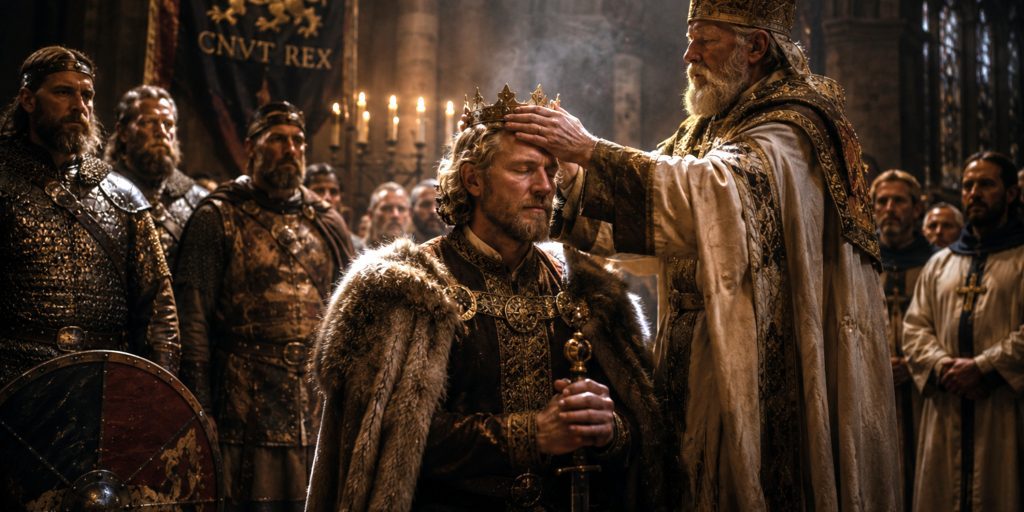
Following Edmund’s death, the surviving English nobility accepted Cnut as king.
His coronation marked the beginning of one of the most successful reigns in Anglo-Saxon history.
This often surprises modern readers.
Popular memory tends to remember Cnut primarily through the famous story of ordering the tide to stop, usually misunderstanding the anecdote in the process.
The historical Cnut was a far more impressive figure.
Rather than ruling through terror, he sought legitimacy.
He retained much of England’s existing legal system, worked closely with the Church and preserved many Anglo-Saxon administrative institutions.
Instead of dismantling the kingdom he had conquered, he strengthened it.
The transition was considerably smoother than the Norman Conquest half a century later.
What Happened to Eadric Streona?
If medieval chroniclers delighted in condemning Eadric Streona for the defeat at Assandun, they took even greater satisfaction in describing his eventual fate.
Initially, Eadric prospered.
Cnut rewarded him with high office and considerable influence.
It did not last.
In 1017, less than a year after the battle, Cnut ordered his execution.
According to the Encomium Emmae Reginae, Cnut declared:
“Pay this man what we owe him.”
The wording varies between sources, but the implication is unmistakable.
Whether or not Eadric had betrayed Edmund, Cnut evidently regarded him as too dangerous to trust.
A man who had repeatedly abandoned one master might reasonably abandon another.
Even successful traitors rarely enjoy long careers.
The Fate of Edmund’s Family
Although Cnut had secured the throne, the House of Wessex had not disappeared completely.
Edmund left behind two young sons:
- Edward
- Edmund
Both were sent into exile, probably to prevent them becoming rallying figures for future rebellions.
Their remarkable journeys eventually took them through Scandinavia and Kievan Rus before reaching Hungary.
One son, Edward the Exile, later returned to England during the reign of Edward the Confessor, although he died soon after his arrival.
His own son would become rather more famous.
That grandson was Edgar Ætheling, the last male heir of the House of Wessex and briefly proclaimed king after the Battle of Hastings in 1066.
The shadow of Assandun therefore stretched across the next half century of English history.
Cnut’s North Sea Empire
Assandun gave Cnut England.
It was only the beginning.
Over the following years he added Denmark and Norway to his dominions, creating what historians call the North Sea Empire.
At its height, his realm included:
- England
- Denmark
- Norway
- Parts of Sweden
- Territories around the Baltic and North Sea
Although geographically vast, it was held together less by conquest than by Cnut’s ability to command loyalty from powerful regional elites.
His empire would fragment after his death in 1035, but for two decades it represented one of the most formidable political powers in Europe.
England Under Cnut

One of the great ironies of Assandun is that the victorious conqueror proved to be an exceptionally capable king.
Cnut:
- Confirmed existing English laws.
- Supported monasteries and bishops.
- Strengthened royal government.
- Encouraged trade across the North Sea.
- Reduced internal conflict.
- Rewarded loyal English nobles alongside Scandinavian followers.
His reign demonstrated that conquest did not necessarily require cultural destruction.
England remained recognisably Anglo-Saxon, even under a Scandinavian monarch.
Indeed, many aspects of royal government later inherited by Edward the Confessor and even William the Conqueror owed much to Cnut’s administration.
Why Assandun Was So Important
Some battles determine the outcome of a campaign.
Others reshape the future of entire nations.
Assandun belongs firmly in the second category.
Its consequences included:
- The end of the House of Wessex as England’s ruling dynasty.
- The establishment of Danish rule over England.
- The creation of the North Sea Empire.
- Greater political stability after decades of Viking warfare.
- The preservation and adaptation of Anglo-Saxon government rather than its destruction.
In many respects, Assandun marked the end of one England and the beginning of another.
The kingdom that emerged under Cnut was wealthier, more outward-looking and more deeply connected to the Scandinavian world than ever before.
Few battles can claim to have altered the direction of an entire nation’s history so profoundly.
Archaeology
Unlike the Battle of Hastings or Towton, the Battle of Assandun has yet to produce a definitive archaeological signature. This is not unusual. Early medieval battlefields are notoriously difficult to identify. Weapons were valuable and rarely left behind, armour was stripped from the fallen, and centuries of agriculture have disturbed or destroyed much of the surviving evidence.
Even so, archaeology has helped narrow the search and deepen our understanding of the campaign.
The strongest candidate remains Ashingdon in Essex, where the landscape closely matches the descriptions preserved in medieval sources. The rolling ridges provide ideal ground for shield wall warfare, while nearby place names preserve echoes of the battle.
Archaeologists have recovered isolated early medieval artefacts from the surrounding area, including iron objects, weapon fragments and human burials dating broadly to the period. None, however, can yet be linked conclusively to the battle itself.
That absence of spectacular discoveries should not be mistaken for evidence that the battle occurred elsewhere.
Early eleventh-century battlefields rarely leave obvious traces.
Thousands of men could fight, die and be buried without leaving the dramatic concentrations of artefacts often associated with later conflicts.
St Andrew’s Church
The most tangible surviving connection with Assandun is St Andrew’s Church at Ashingdon.
According to medieval tradition, Cnut ordered a church to be built on or near the battlefield as an act of thanksgiving following his victory and in memory of those who had died.
Although the present building has been substantially altered over the centuries, there is good reason to believe that an earlier church occupied the same site.
Its prominent position overlooking the surrounding countryside would have made it visible for miles.
Whether Cnut stood upon that very hill surveying the battlefield cannot be proven.
It is, however, one of the few places where history, tradition and landscape appear to meet.
Modern Battlefield Research
In recent decades historians have increasingly combined archaeology with disciplines such as:
- Landscape archaeology.
- LiDAR surveys.
- Place-name analysis.
- Geographic Information Systems (GIS).
- Environmental reconstruction.
These approaches allow researchers to study how the landscape appeared in 1016 rather than relying upon its modern appearance.
Fields become woodland.
Marshes disappear.
Roads move.
Entire villages shift location.
Understanding the battlefield therefore requires looking beyond today’s map to reconstruct the terrain that Edmund and Cnut would have recognised.
Future discoveries may yet settle the debate over Assandun’s exact location.
For now, the battlefield remains one of England’s great historical mysteries.
Contemporary Accounts
Although frustratingly brief, several medieval writers recorded the events of 1016. Together they provide the foundation for everything historians know about the battle.
The most important source is the Anglo-Saxon Chronicle, compiled by English monks and updated during the events themselves.
Its entry for 1016 records:
“There was great slaughter on either side. King Edmund went thence with his following into Wessex, and Cnut held the field.”
The chronicler’s restrained language makes the outcome all the more powerful.
Victory required no embellishment.
Holding the battlefield said everything.
John of Worcester, writing in the twelfth century, emphasised the role of Eadric Streona:
“Through the treachery of Eadric the Danes gained the victory.”
Henry of Huntingdon echoed that judgement:
“Never was there greater treachery than at Assandun.”
The Encomium Emmae Reginae, written to celebrate Cnut’s dynasty, naturally presents events from a more favourable Scandinavian perspective. Even so, it acknowledges Edmund as a courageous and determined opponent worthy of respect.
Taken together, these sources require careful interpretation.
Each writer had political, regional or dynastic biases.
No medieval chronicler approached history with modern ideas of objectivity.
The truth lies somewhere between their competing narratives.
Historical Debate
Assandun continues to generate lively discussion among historians.
Several important questions remain unresolved.
Where was the battle fought?
Ashingdon remains the leading candidate, but Ashdon and several other locations continue to attract scholarly support.
Did Eadric Streona betray Edmund?
Traditional accounts blame him directly for the defeat.
Modern historians are more cautious, noting that much of the evidence comes from writers hostile to Eadric long after his death.
How large were the armies?
Older estimates sometimes suggested forces exceeding 20,000 men.
Most modern scholars consider totals of approximately 12,000 to 16,000 combatants more realistic.
Was Assandun the decisive moment?
Some historians argue that Edmund’s death six weeks later proved more significant than the battle itself.
Others counter that Assandun made Edmund’s position virtually impossible regardless of what followed.
Healthy disagreement is one of the strengths of medieval history.
The sources are limited enough that certainty is often impossible, but rich enough to encourage continual reassessment.
Legacy
Few battles have reshaped England more profoundly than Assandun.
The victory ended nearly six centuries of rule by the House of Wessex, the dynasty that had united England under Alfred the Great and his successors.
It also demonstrated that Viking rulers had evolved beyond seasonal raiders.
Cnut governed as a Christian king, maintained English institutions and built one of the most stable administrations of the early medieval period.
The conquest therefore represented transformation rather than destruction.
Many English nobles continued serving under Cnut.
English law remained largely intact.
The Church flourished.
Trade expanded across the North Sea.
Rather than replacing Anglo-Saxon England, Cnut absorbed it into a wider Scandinavian world.
The consequences echoed through the remainder of the century.
Edward the Confessor inherited a kingdom shaped by Cnut’s reforms.
William the Conqueror inherited many of the same administrative structures in 1066.
In that sense, Assandun influenced not only the Danish conquest but also the Norman one that followed half a century later.
Battle Timeline
| Date | Event |
|---|---|
| February 1014 | Sweyn Forkbeard dies after briefly ruling England. |
| Summer 1015 | Cnut returns to England with a new invasion force. |
| April 1016 | Æthelred II dies. Edmund Ironside is proclaimed king in London. |
| Spring to Autumn 1016 | Edmund and Cnut fight a series of six major engagements across southern England. |
| 18 October 1016 | Battle of Assandun. Cnut wins a decisive victory. |
| Late October 1016 | Edmund and Cnut agree to divide England. |
| 30 November 1016 | Edmund Ironside dies. |
| Early 1017 | Cnut becomes undisputed King of England. |
| 1017 | Eadric Streona is executed on Cnut’s orders. |
Frequently Asked Questions
When was the Battle of Assandun fought?
The battle took place on 18 October 1016 during Cnut’s conquest of England.
Where was the Battle of Assandun?
Most historians favour Ashingdon in Essex, although the exact location remains uncertain.
Who won the Battle of Assandun?
Cnut achieved a decisive victory over Edmund Ironside, paving the way for his accession as King of England.
Why is the battle important?
Assandun effectively ended the rule of the House of Wessex and brought England under Scandinavian rule.
Did Eadric Streona really betray Edmund Ironside?
The medieval chronicles largely say yes, but modern historians remain divided because the evidence is incomplete and often biased.
What weapons were used at Assandun?
Most warriors fought with spears, round shields, swords, axes and seaxes, while wealthier soldiers wore mail armour and iron helmets.
Further Reading
For readers wishing to explore the battle in greater depth, the following primary and secondary works are among the most valuable:
Primary Sources
- The Anglo-Saxon Chronicle
- Encomium Emmae Reginae
- John of Worcester, Chronicon ex Chronicis
- Henry of Huntingdon, Historia Anglorum
Modern Works
- Frank Stenton, Anglo-Saxon England
- Ryan Lavelle, Cnut: The North Sea King
- M. K. Lawson, Cnut: England’s Viking King
- Ann Williams, The English and the Norman Conquest
Takeaway
The Battle of Assandun was far more than the final clash between Edmund Ironside and Cnut. It represented the moment when centuries of Anglo-Saxon rule gave way to a new political order centred on the North Sea. England did not simply change kings. It changed direction.
Edmund fought with extraordinary determination throughout one of the most demanding campaigns in English history, earning a reputation that still commands admiration a millennium later. Cnut matched that courage with patience, organisation and political skill, qualities that allowed him not only to conquer England but to govern it successfully.
The battlefield itself remains elusive, hidden somewhere beneath the fields of Essex, its exact location still debated by archaeologists and historians. Yet its significance has never been in doubt.
Assandun reminds us that history is rarely shaped by numbers alone. Leadership, endurance, loyalty and sometimes betrayal can matter just as much as swords and shields.
When the fighting ended on that October afternoon in 1016, one kingdom had fallen, another had begun, and England entered a new age under a king who arrived as a conqueror but would become one of its most capable rulers.