The Battle of Sedgemoor, fought on 6 July 1685, marked the end of the Monmouth Rebellion. It was the last pitched battle on English soil and brought a decisive victory for the forces of King James II over the rebel army of the Duke of Monmouth.
Background
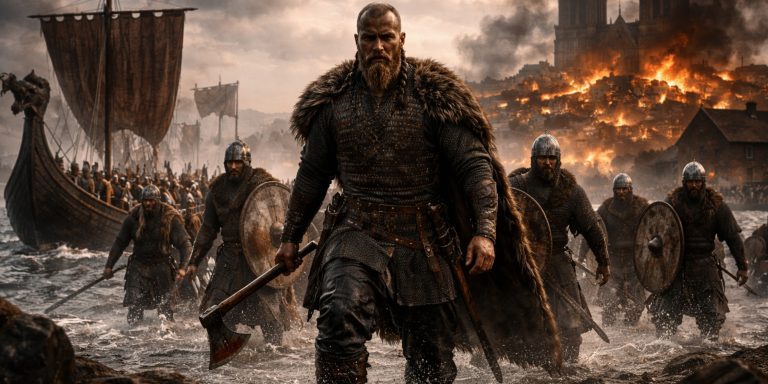
The rebellion began when James Scott, Duke of Monmouth and illegitimate son of Charles II, landed in the West Country to rally support against his uncle, James II. Despite some local enthusiasm, his forces lacked training, cavalry, and adequate arms. The royal army, commanded by Lord Feversham and supported by experienced officers like John Churchill, advanced to suppress the uprising.
Forces
Leaders
| Side | Commander | Notable Officers |
|---|---|---|
| Monmouth Rebels | James Scott, Duke of Monmouth | Lord Grey of Warke, Nathaniel Wade |
| Royal Army | Louis de Duras, Earl of Feversham | John Churchill, Sir Francis Compton |
Troop Composition
- Rebel Army (approx. 3,500–4,000 men):
- Mostly untrained infantry armed with farm tools, pikes, scythes, and muskets
- Small cavalry detachment under Lord Grey, poorly disciplined
- Some artillery pieces but inadequately supplied
- Royal Army (approx. 2,700–3,000 men):
- Professional infantry regiments (e.g. Foot Guards, Dumbarton’s Regiment)
- Horse and dragoons providing mobility and shock power
- Well-supplied artillery under regular command
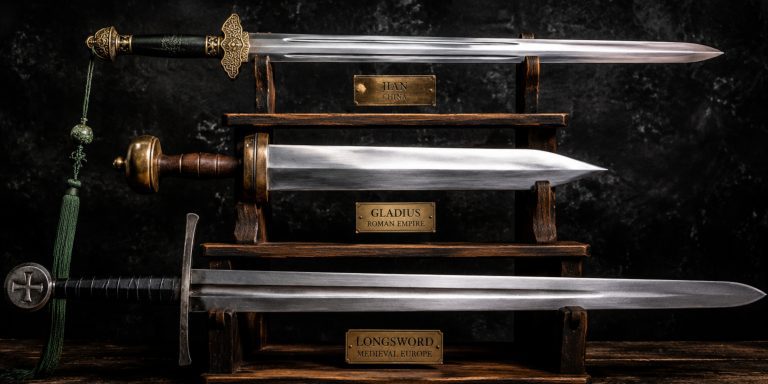
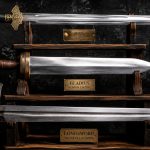
Arms and Armour
- Rebel Forces:
- Muskets, though often of poor quality and short supply
- Pikes and agricultural weapons (scythes, flails, billhooks)
- Limited swords, mostly civilian side-swords and hangers
- Little to no armour
- Royal Forces:
- Muskets with socket bayonets becoming more common
- Pikes still in use among infantry formations
- Cavalry equipped with backswords, broadswords, and pistols
- Officers carried rapiers and smallswords
- Armour limited to cuirasses for some cavalry
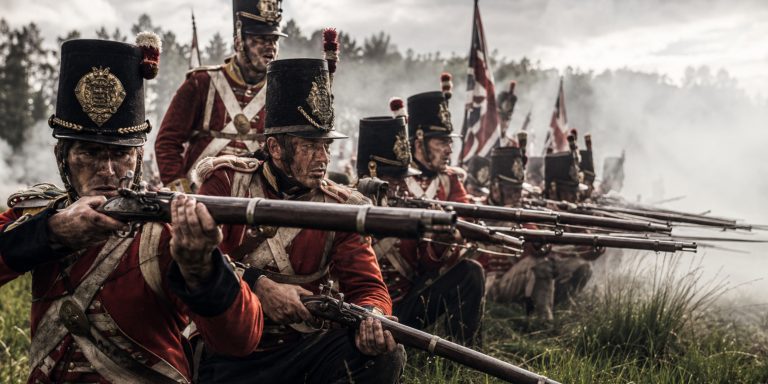
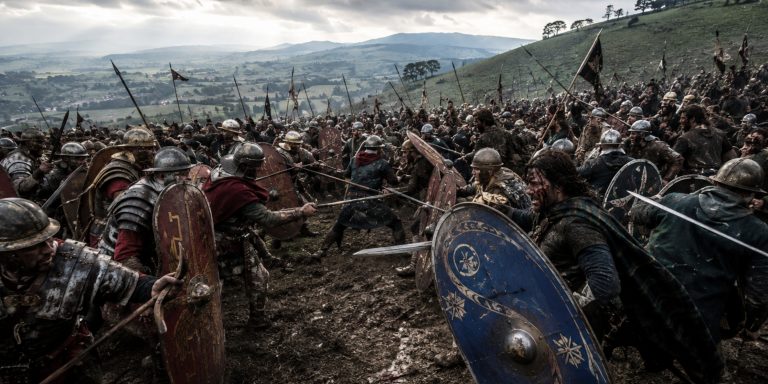
The Battle
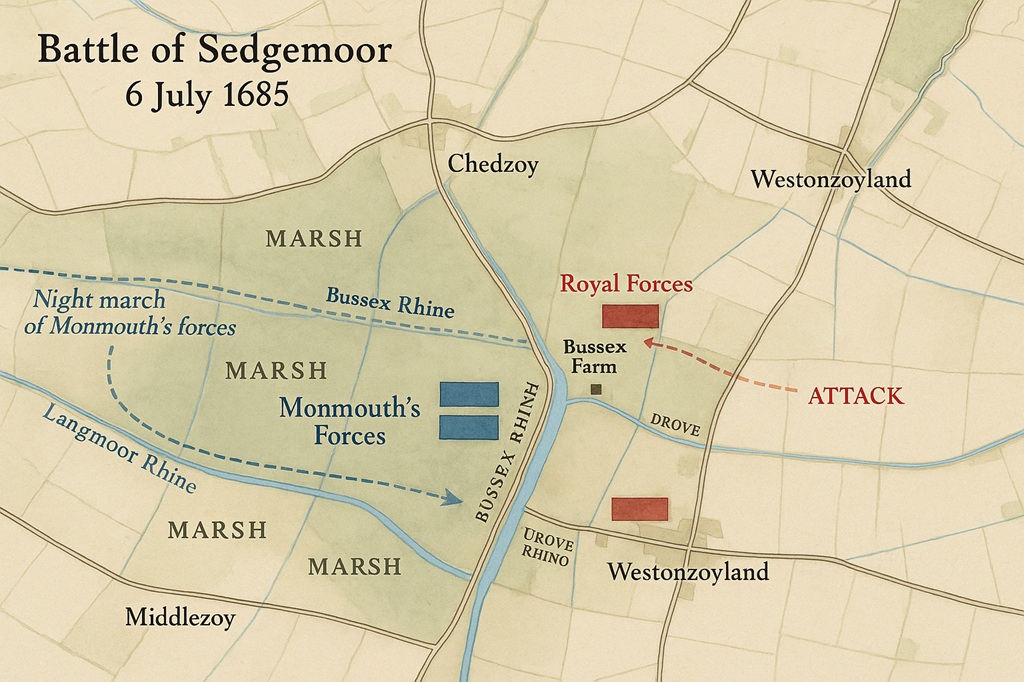
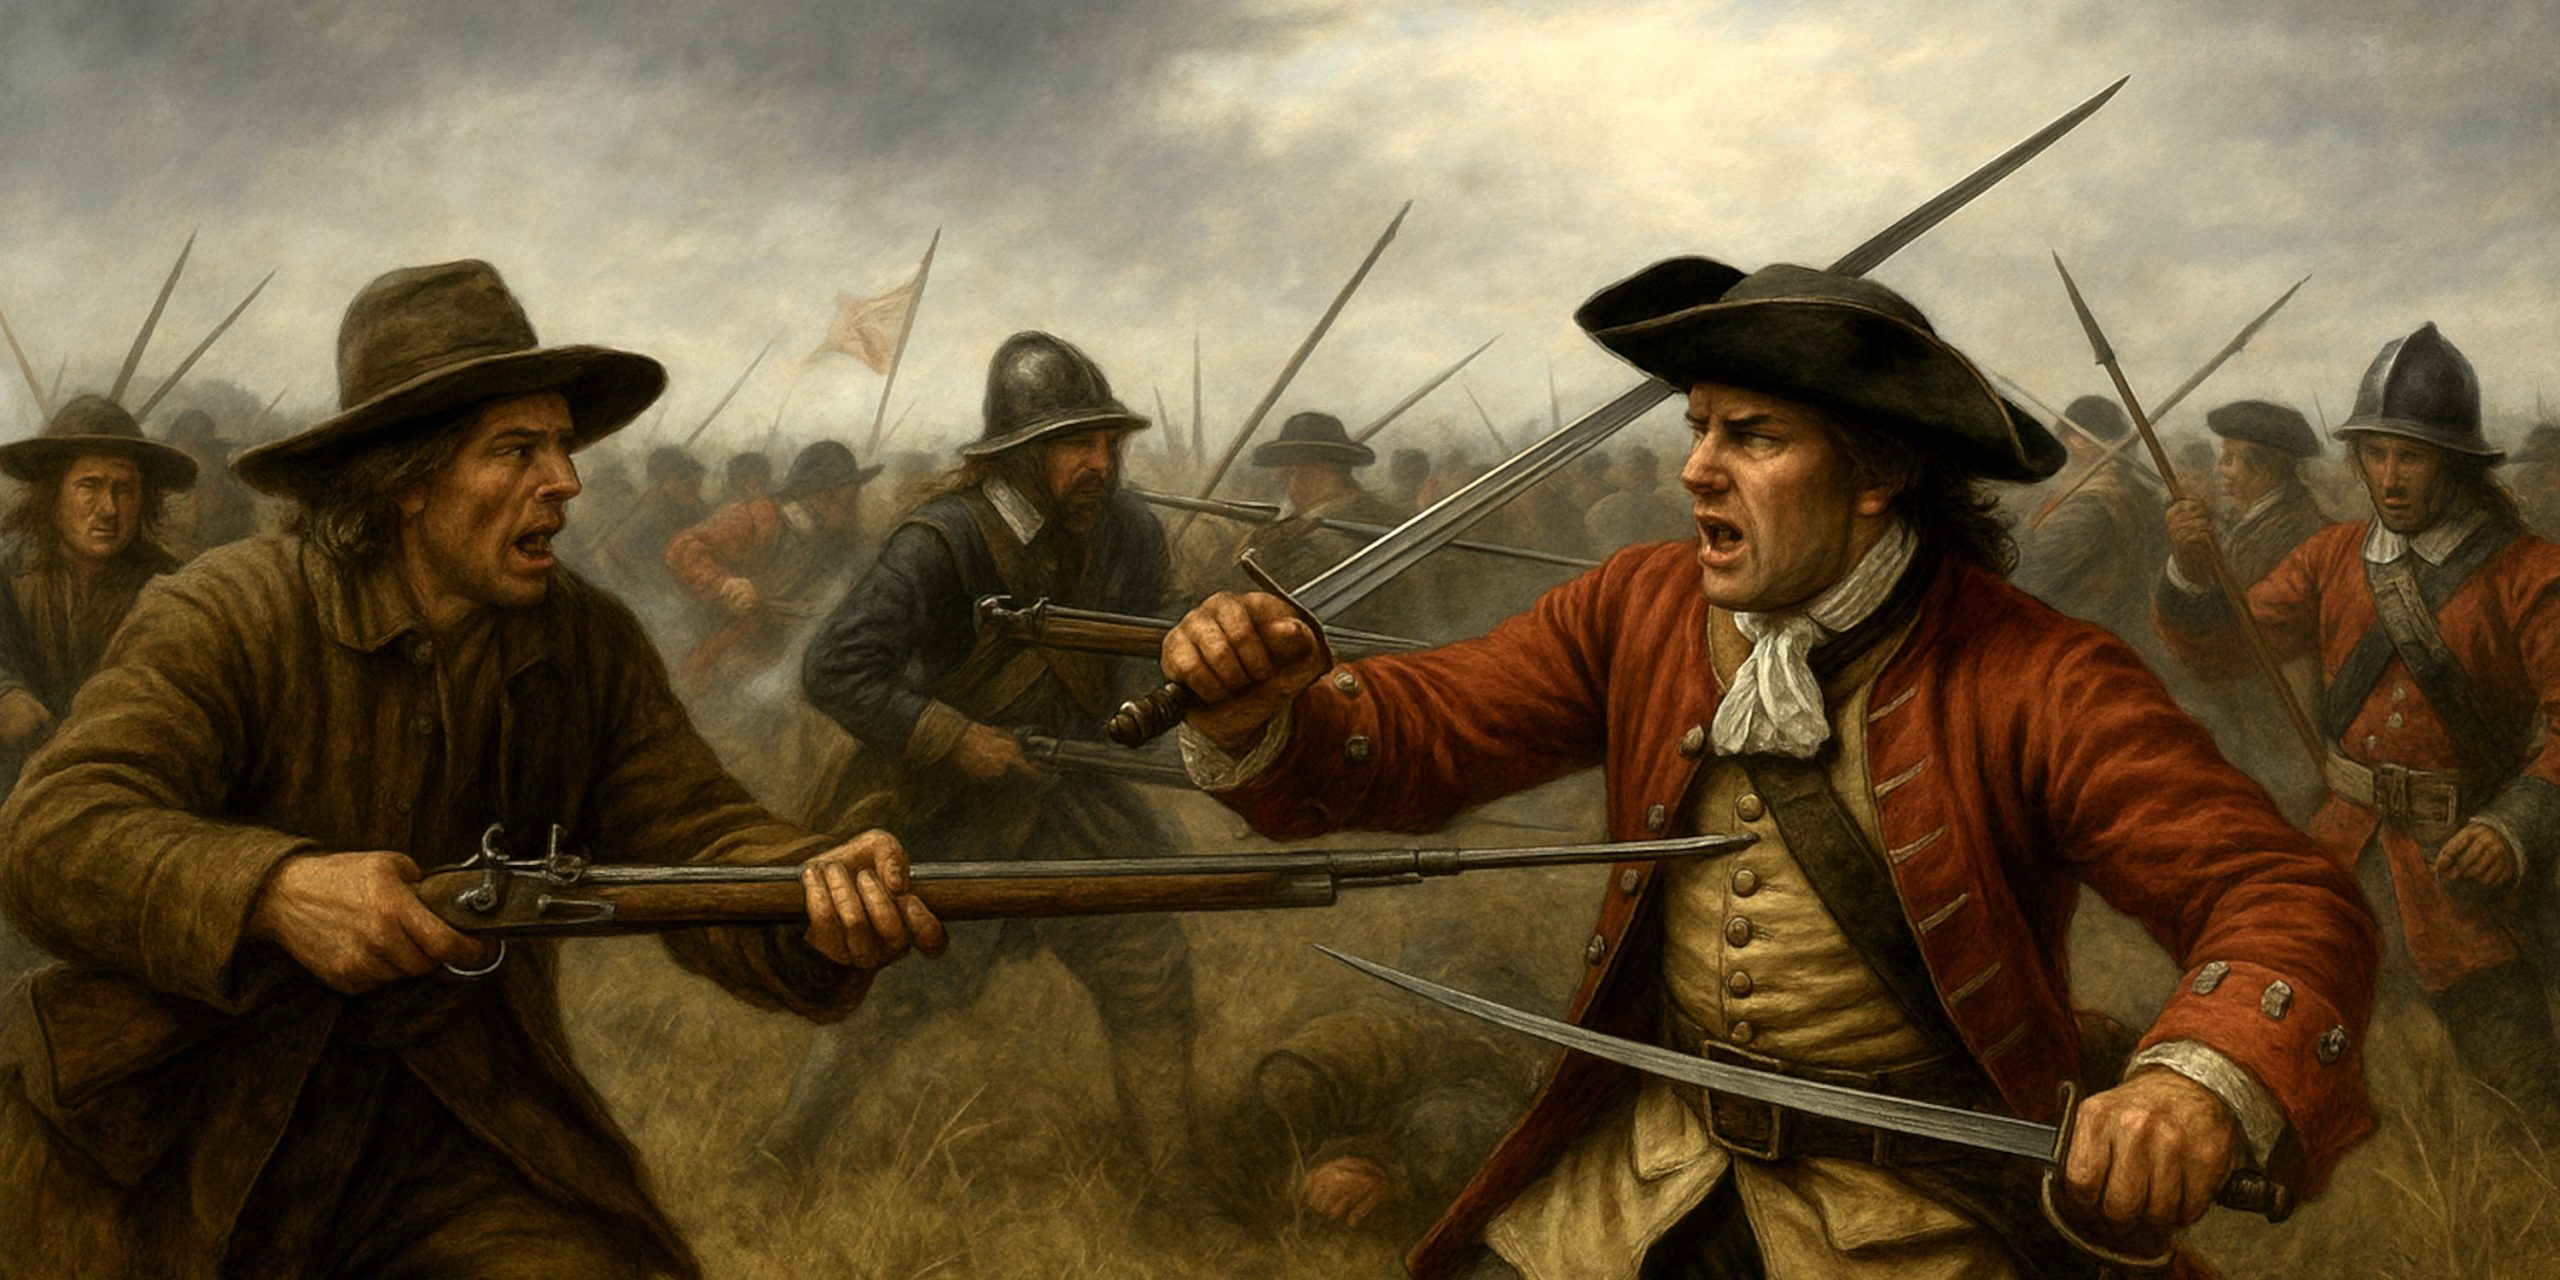
Monmouth attempted a surprise night attack on the royal encampment at Sedgemoor. His troops advanced across marshland, guided by local knowledge. However, the plan faltered when rebel forces became disorganised in the dark and encountered royal patrols.
The alarm was raised, and the royal army formed ranks. Cavalry charges, combined with disciplined musket fire, broke the rebel lines. Monmouth’s inexperienced infantry fled, and many were cut down during the pursuit.
Casualties were heavy for the rebels, with estimates of over 1,000 dead. Royal losses were far lighter, around 70.
Archaeology
Modern investigations have uncovered musket balls, shot, and fragments of equipment from the battlefield. Finds confirm the use of both matchlock and flintlock firearms. Local legends of mass graves have also been supported by ground surveys.
Battle Timeline
- Night of 5–6 July 1685: Monmouth leads his forces on a night march to surprise the royal camp.
- Around 1 a.m.: Rebels encounter royal patrols and lose the element of surprise.
- Early hours: Royal infantry form up, supported by cavalry. Rebels struggle in the marshy ground.
- Dawn: Royal artillery and cavalry charges scatter Monmouth’s army.
- Morning: Rebels routed; Monmouth flees but is later captured.
Contemporary Quotes
- John Churchill (later Duke of Marlborough): “The rebels came on with great fury, but in disorder. They were quickly repulsed and turned into flight.”
- James Scott, Duke of Monmouth (before his capture): “I am undone, and must shift for myself.”
Legacy
The defeat at Sedgemoor ended the Monmouth Rebellion. The aftermath was brutal: the “Bloody Assizes” overseen by Judge Jeffreys condemned hundreds to execution, transportation, or imprisonment.
Sedgemoor stands as the last pitched battle fought on English soil and a turning point in the consolidation of James II’s authority before the Glorious Revolution of 1688.
Watch the archeology: