The Battle of Edgecote Moor sits awkwardly in the Wars of the Roses, a major clash born not from open dynastic war but from political sabotage, wounded pride, and one nobleman’s habit of believing he knew best. It was less a clean battlefield contest and more a violent reckoning between royal authority and overmighty subjects. As a historian, I find it fascinating precisely because it feels improvised, messy, and deeply human.
Fought in Northamptonshire near the village of Edgecote, the battle pitched royal forces loyal to King Edward IV against troops aligned with Richard Neville, Earl of Warwick. Warwick’s rebellion, dressed up as concern for “good governance,” was really about control. Edgecote Moor proved that even a crowned king could be made fragile by the ambitions of his allies.
Background and Causes
By 1469, Edward IV had been king for eight years. His throne was secure enough to irritate those who expected gratitude. Warwick, once the king’s chief architect and loudest supporter, had grown bitter over Edward’s independence, especially his marriage to Elizabeth Woodville and the sudden rise of her family.
Warwick found a useful accomplice in Edward’s brother, George, Duke of Clarence. Together they encouraged unrest in the north, backing a rebellion nominally led by “Robin of Redesdale.” The rising was a smokescreen. Warwick wanted leverage, not reform.
When royal forces moved to suppress the rebels, Warwick ensured they would not meet the king himself. Instead, Edward’s commanders were left to deal with a crisis that Warwick had carefully shaped.
Forces
Royal Army
- Commanded by William Herbert, Earl of Pembroke
- Supported by Humphrey Stafford, Earl of Devon
- Estimated strength: 8,000 to 10,000 men
- Drawn largely from Wales and the Marches
Rebel Army
- Acting under Warwick’s influence
- Likely commanded on the field by Sir John Conyers
- Estimated strength: 12,000 to 15,000 men
- Included northern levies and experienced retainers
The numbers matter, but morale mattered more. The royal army was divided and uncertain. The rebels knew exactly who they were fighting and why.
Leaders
| Side | Commander | Notes |
|---|---|---|
| Royal | William Herbert | Loyal to Edward IV, politically exposed |
| Royal | Humphrey Stafford | Quarrelled with Herbert before the battle |
| Rebel | Richard Neville | Directed events without being present |
| Rebel | Sir John Conyers | Likely field commander at Edgecote |
Arms and Armour
Infantry Equipment
- Bills and polearms for close fighting
- Longbows, still decisive when used well
- Hand weapons including daggers and falchions
Cavalry and Men at Arms
- Mail and plate combinations, typical of the late 15th century
- Heater shields still present but declining in use
Swords in Use
- Knightly arming swords with broad blades
- Early longswords favoured by professional men at arms
- Falchions and messers among infantry and retainers
The mix reflects a transitional period. Armour was improving, but not enough to make men feel safe. A good sword stroke still settled arguments quickly.
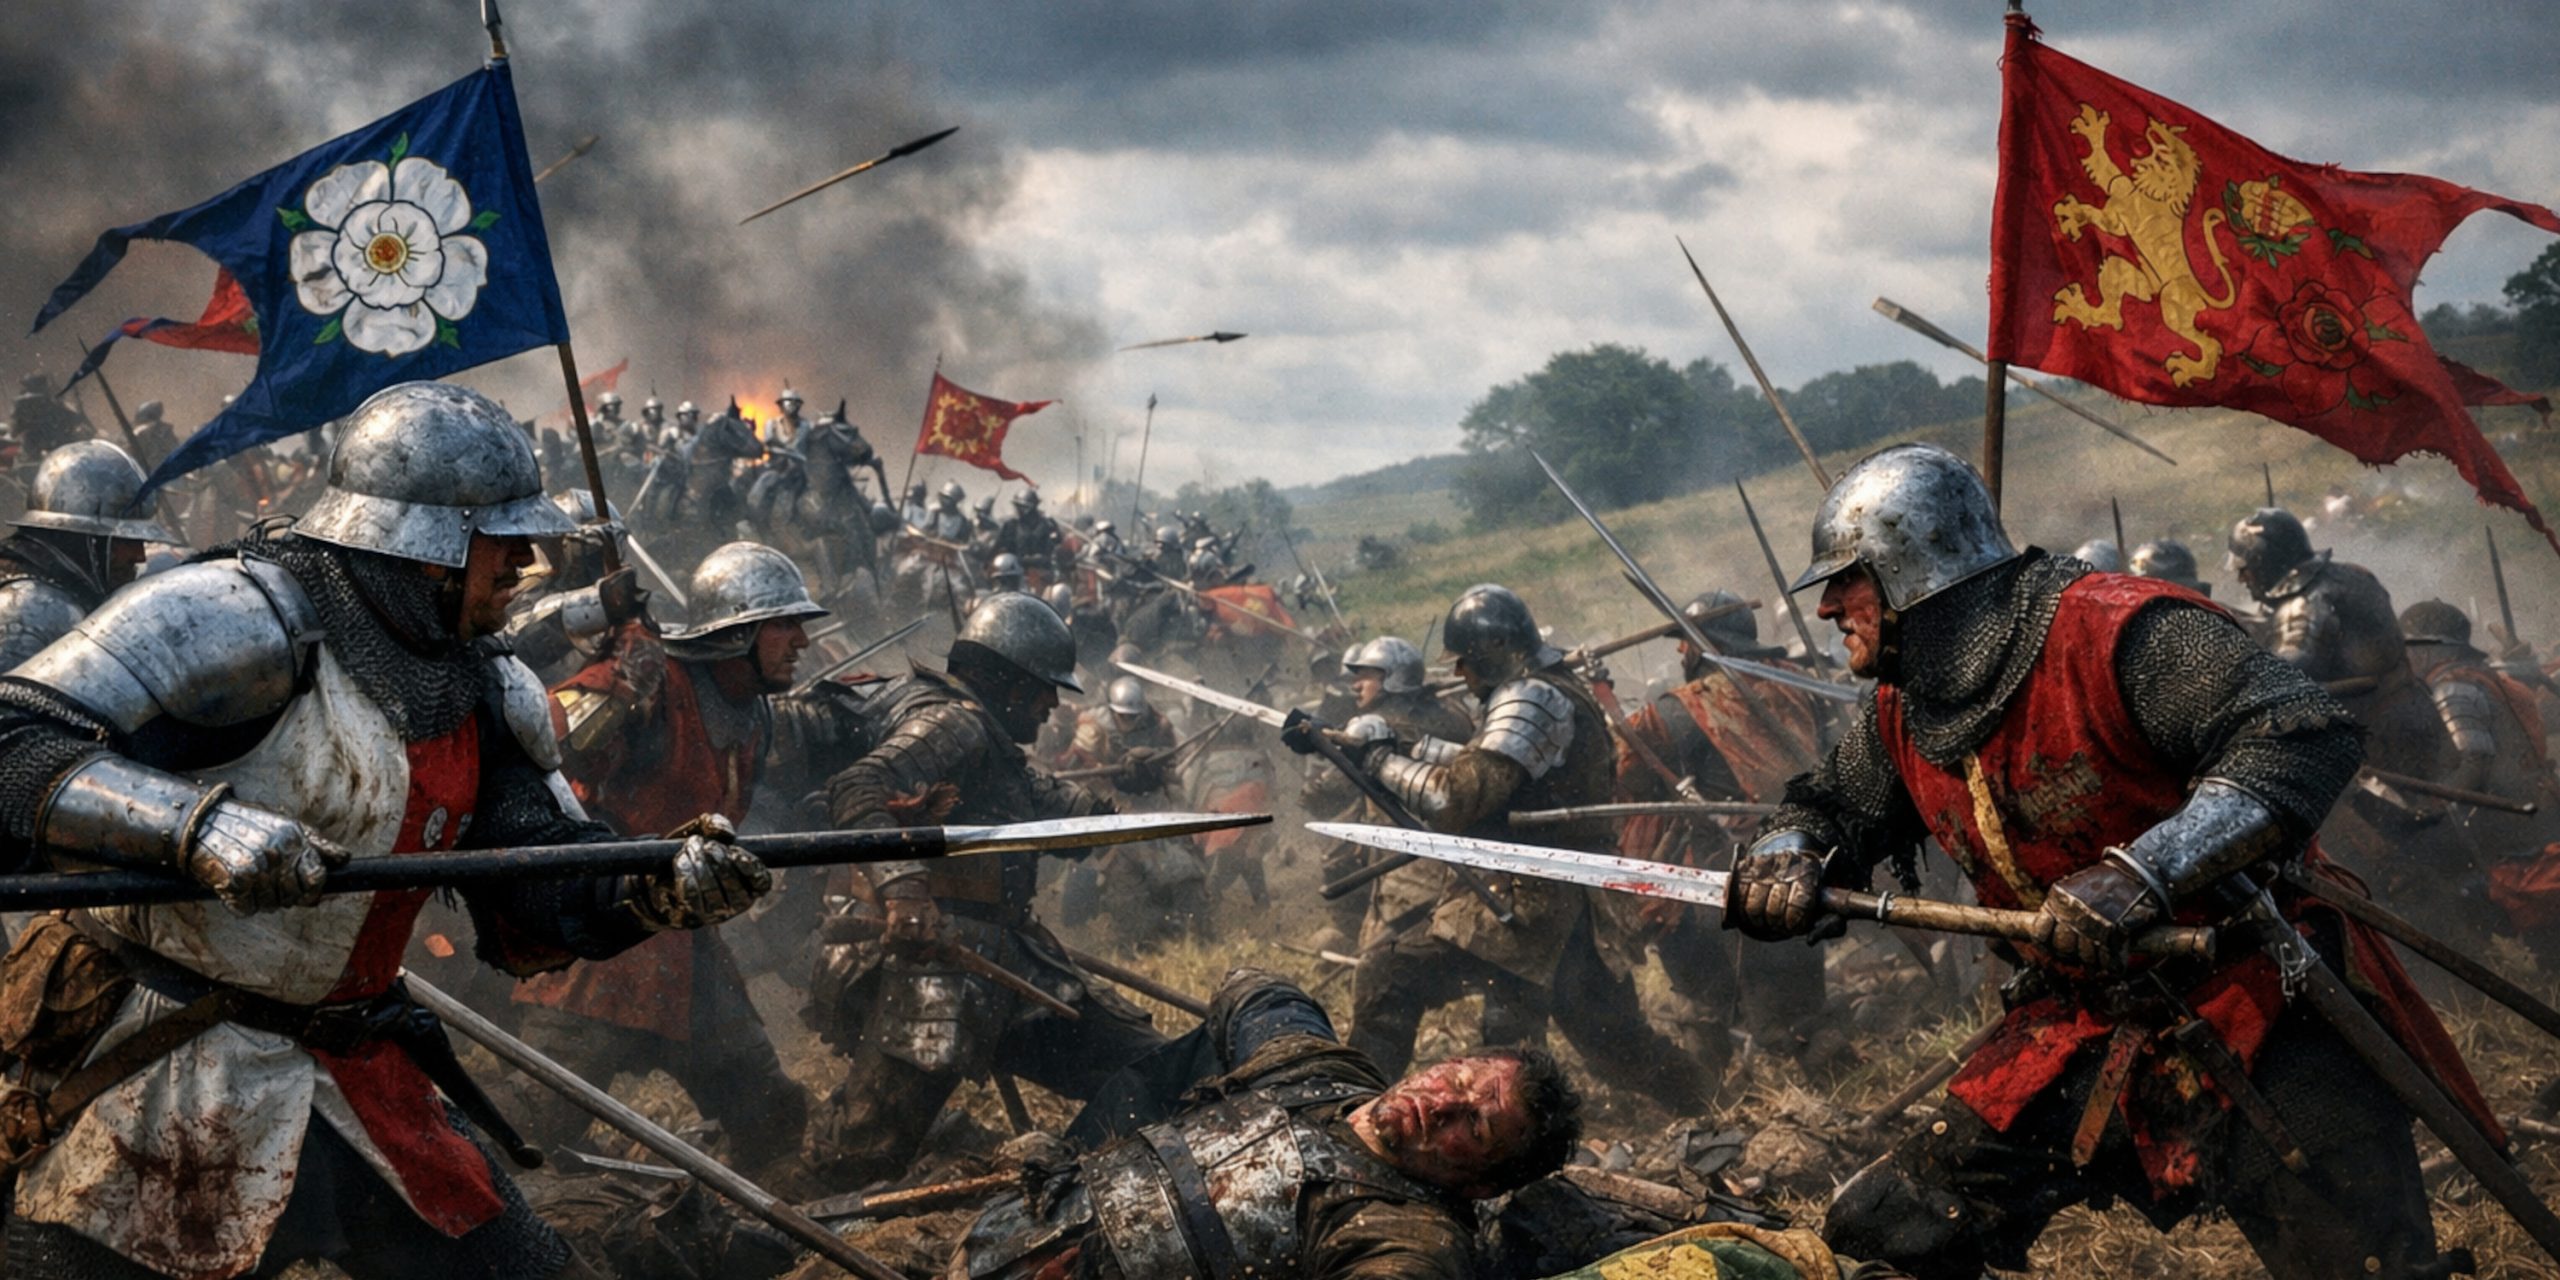
The Battle Timeline
| Time | Event |
|---|---|
| Morning | Royal army assembles near Edgecote Moor |
| Late Morning | Herbert waits for Devon’s contingent |
| Midday | Devon withdraws after a dispute, leaving Herbert exposed |
| Early Afternoon | Rebel forces engage with numerical advantage |
| Afternoon | Royal line collapses under sustained pressure |
| Evening | Herbert captured, battle effectively over |
The absence of Devon’s men is crucial. This was less a tactical error and more a social one. Medieval armies ran on trust, and Herbert had lost it.
The Battle Itself
The fighting opened with skirmishing and archery, but it soon devolved into brutal hand to hand combat. Herbert’s men fought hard, especially the Welsh contingents, but they were steadily enveloped.
Once it became clear that reinforcement was not coming, the outcome was only a matter of time. Herbert was captured and later executed. His brother met the same fate. For Edward IV, this was a body blow, delivered without Warwick ever needing to draw a sword himself.
Archaeology and the Battlefield
Edgecote Moor has not produced dramatic treasure hoards, which is fitting. This was not a glorious set piece battle. However:
- The likely battlefield area has been identified near Edgecote village
- Stray finds of arrowheads and weapon fragments support contemporary accounts
- Landscape analysis suggests limited room for manoeuvre, favouring the larger rebel force
The quietness of the site today is striking. Fields that once echoed with shouting and steel now do an excellent impression of innocence.
Contemporary Quotes
The chronicler John Warkworth recorded the aftermath with blunt clarity:
“There was slayne moche people, and namely of the Walshemen.”
Another contemporary lamented the political consequences more than the bloodshed:
“From that day forth the king stood in great jeopardy.”
Neither exaggeration nor poetry was required. Everyone understood what had happened.
Aftermath and Significance
Edgecote Moor did not depose Edward IV, but it humiliated him. Warwick briefly held the king in custody and executed key royal supporters. Yet Warwick overplayed his hand. England did not want a kingmaker running the kingdom by committee.
Within two years, Edward would return stronger, Warwick would be dead at Barnet, and Clarence would regret almost everything.
Edgecote Moor reminds us that medieval power was personal, fragile, and prone to spectacular misjudgement. It is a battle about politics first and swords second, though the swords still did their share of work.
The Seven Swords Takeaway
This battle shows how civil wars are often decided away from the main throne room or the most famous fields. Edgecote was about loyalty breaking down, about egos colliding, and about how easily a kingdom could be tipped into chaos by men who believed they were indispensable.
As ever in the Wars of the Roses, they were wrong.
Watch the documentary: