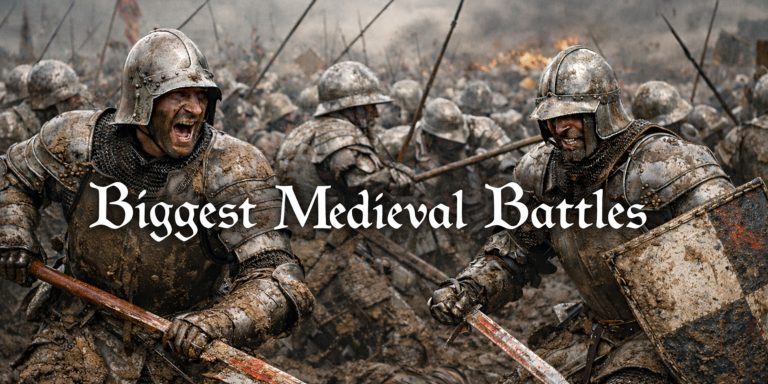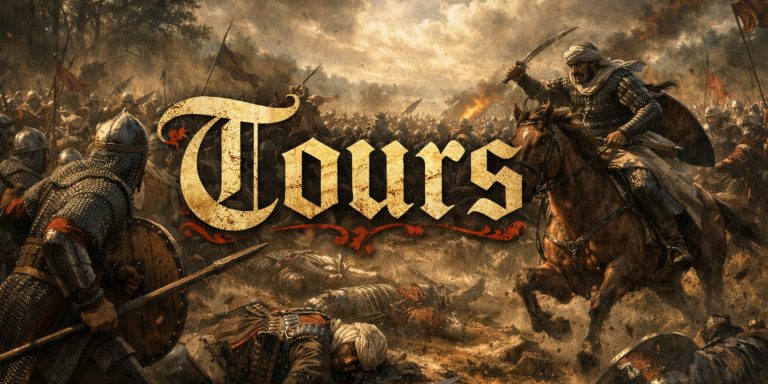
A sharp Royalist success in the middle of the English Civil War
The Battle of Cropredy Bridge, fought on 29 June 1644, sits among the more intriguing encounters of the English Civil War. It was not the largest battle of the conflict, nor the bloodiest. Yet its consequences were considerable. At a moment when the Royalist cause seemed to be tightening under pressure, King Charles I managed to outmanoeuvre a larger Parliamentarian army and deliver a sudden, disciplined blow.
The fighting unfolded along the River Cherwell near the Oxfordshire village of Cropredy. A handful of bridges, hedged fields and the meandering river itself shaped the course of events. In these cramped surroundings, cavalry charges, musket volleys and a small but decisive artillery engagement broke the cohesion of the Parliamentarian pursuit.
The result was a clear Royalist victory. The King retained freedom of movement in the Midlands and preserved the Royalist capital at Oxford for the time being. For students of the civil wars, Cropredy Bridge offers a fascinating glimpse into manoeuvre warfare, battlefield opportunism and the dangers of overconfidence.
Historical Background
By the summer of 1644 the English Civil War had reached a tense stage. Parliamentarian forces were growing in strength, particularly in the north where an alliance with the Scottish Covenanters threatened Royalist control. Meanwhile the King attempted to keep his field army intact while protecting Oxford.
Sir William Waller commanded the main Parliamentarian army in the region. Waller had earned a reputation as one of Parliament’s most capable generals. His aim was simple enough. Trap the King, force a decisive battle and break Royalist resistance in central England.
Charles I had no intention of obliging him.
During late June the two armies marched and counter marched across Oxfordshire and Warwickshire. Waller attempted to cut the King’s communications and shadow his movements. The King withdrew cautiously, searching for a favourable position.
Cropredy Bridge provided exactly that.
Forces
Estimates vary slightly among historians, though the broad balance of forces is reasonably clear.
| Army | Commander | Estimated Strength | Notes |
|---|---|---|---|
| Royalist Army | King Charles I | 5,000 to 6,000 | Strong cavalry arm under experienced officers |
| Parliamentarian Army | Sir William Waller | 7,000 to 8,000 | Larger infantry force with field artillery |
The Parliamentarians possessed numerical superiority. The Royalists held better ground and a more cohesive command structure.
Arms and Armour
English Civil War armies were equipped with a mixture of traditional melee weapons and increasingly prominent firearms.
Infantry Weapons
- Matchlock muskets with fork rests
- Pike formations for defence against cavalry
- Basket hilted broadswords
- Early backswords and military hangers
Cavalry Weapons
- Backswords and mortuary hilt swords
- Early cavalry sabres
- Pistols carried in saddle holsters
- Carbines for mounted skirmishing
Several sword types commonly associated with Civil War cavalry likely appeared on the field.
| Sword Type | Users | Characteristics |
|---|---|---|
| Mortuary Hilt Sword | Royalist and Parliamentarian cavalry | Guard shaped with bars protecting the hand |
| English Backsword | Cavalry troopers | Single edged blade suited for powerful cuts |
| Military Hanger | Officers and infantry | Short curved or straight blade for close combat |
Armour
By the 1640s armour had begun to decline but had not vanished.
- Cavalry cuirasses protecting chest and back
- Lobster tail helmets worn by mounted troops
- Buff coats for officers and cavalry
- Simple helmets and breastplates for pikemen
A Civil War battlefield still carried echoes of earlier centuries, though gunpowder increasingly dictated the outcome.
Leaders and Troop Composition
Royalist Army
Overall Commander
- King Charles I
Key Officers
- Lord Bernard Stuart, cavalry commander
- Sir Marmaduke Langdale, cavalry officer
- Lord Wilmot, experienced Royalist cavalry leader
Composition
- Cavalry regiments forming the striking arm
- Pike and musket infantry brigades
- Light artillery pieces supporting defensive positions
Parliamentarian Army
Overall Commander
- Sir William Waller
Key Officers
- Major General John Middleton
- Colonel Edward Harley
- Sir Arthur Hesilrige commanding cavalry
Composition
- Infantry brigades with pike and musket
- Cavalry regiments including Hesilrige’s cuirassiers
- Field artillery supporting river crossings
Waller’s army had capable officers, though coordination during the battle would prove less than perfect.
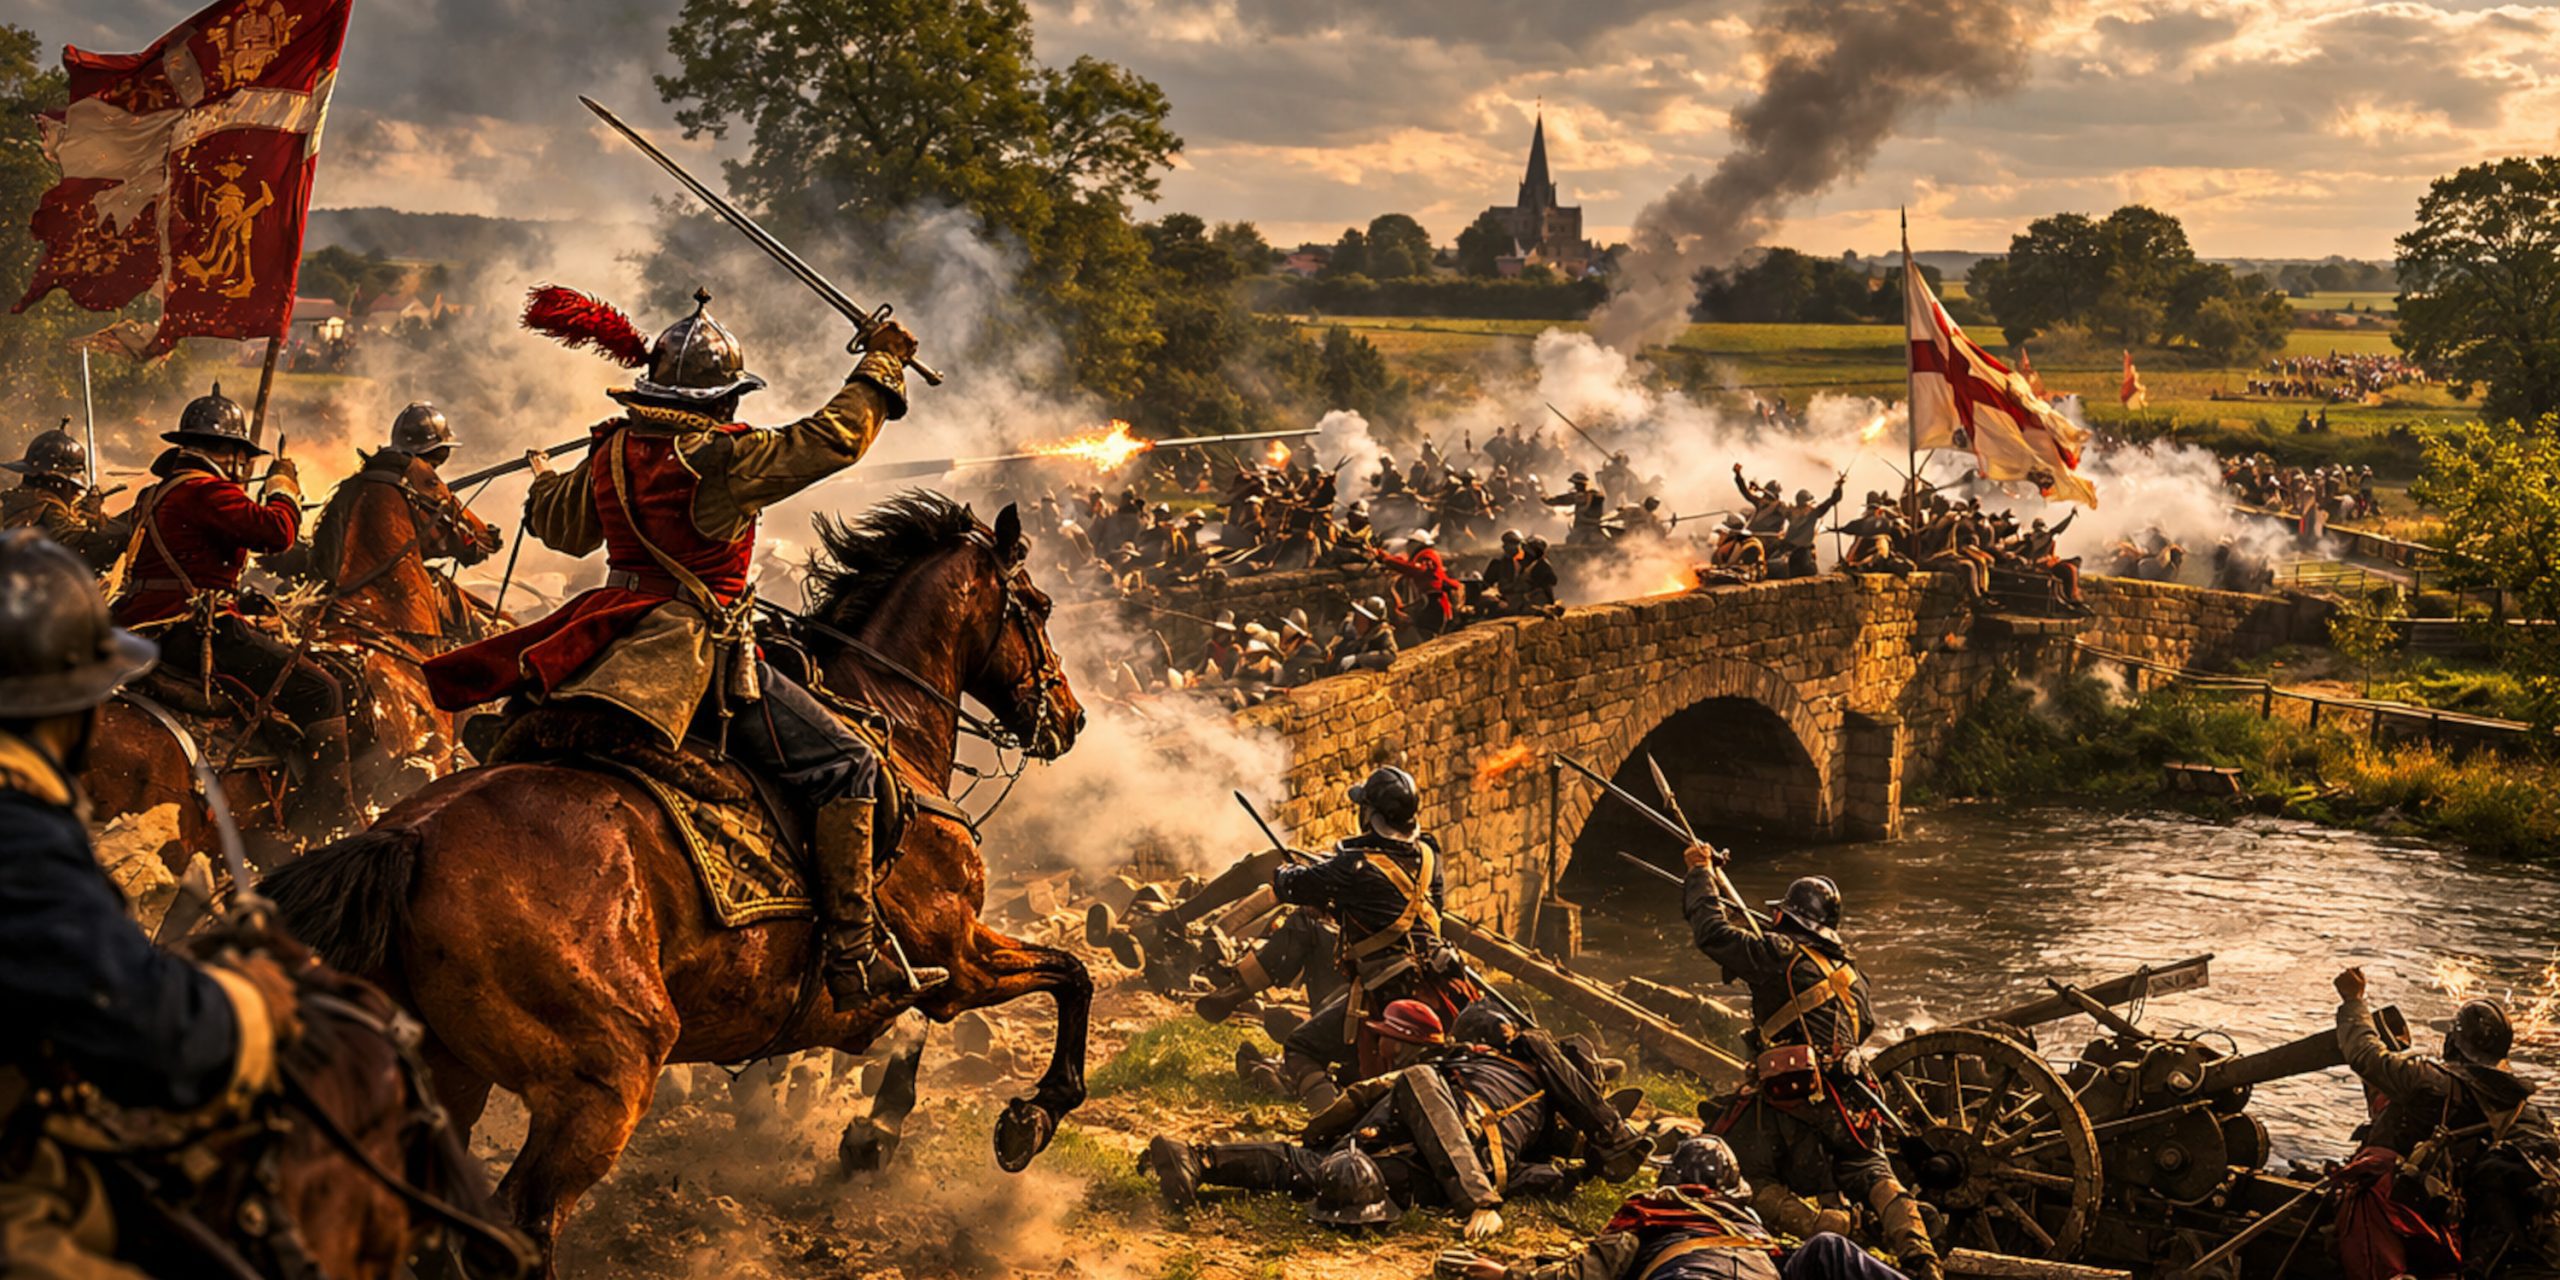
The Battlefield
Cropredy Bridge crosses the River Cherwell north of Banbury. The river winds through low meadows, hedgerows and small ridges. Bridges were critical crossing points and the surrounding lanes restricted rapid movement.
The Royalists occupied ground along the river with their baggage train moving slowly ahead. Waller pursued from the south, attempting to cut off the rear of the Royalist column.
The geography encouraged fragmented fighting. Units crossed bridges, became isolated, and then faced concentrated counter attacks.
Military historians often note that the battlefield rewarded patience. The Royalists had it. The Parliamentarians rather lost it.
Battle Timeline
Morning
- Royalist forces march north along the Cherwell
- Waller’s army follows closely, hoping to trap the King’s rear guard
- Parliamentarian troops begin crossing the river in pursuit
Late Morning
- Two Parliamentarian regiments become separated after crossing Hay’s Bridge
- Royalist cavalry launches a sudden counter attack
- Parliamentarian artillery is captured during the confusion
Midday
- Royalist cavalry under Wilmot presses the attack
- Parliamentarian forward units collapse and retreat
- Several guns and ammunition wagons are seized
Afternoon
- Waller attempts to reorganise his army across the river
- Royalist artillery opens fire on exposed Parliamentarian positions
- Fighting subsides as Waller withdraws south
By evening the Parliamentarian pursuit had turned into a retreat.
Archaeology
Cropredy Bridge has attracted archaeological attention in recent decades, though the nature of the fighting means the evidence is scattered rather than concentrated.
Finds from the area include:
- Musket balls consistent with Civil War firearms
- Fragments of pistol shot likely fired by cavalry
- Pieces of horse equipment and harness fittings
Metal detector surveys have identified clusters of shot along the likely line of cavalry engagement. These patterns suggest close range fighting rather than extended infantry combat.
The terrain has also remained relatively intact compared with other Civil War sites. Hedgerows and field boundaries still follow historic patterns, giving historians a rare sense of how the battlefield originally appeared.
Contemporary Accounts
Civil War battles were widely reported through pamphlets and letters. Cropredy Bridge produced several vivid descriptions.
A Royalist account recorded the sudden reversal of fortune:
“The enemy pressed our rear with great confidence, but their forward regiments were suddenly charged and quite broken.”
Sir William Waller wrote soberly after the engagement:
“The passage of the river divided our forces and gave the enemy advantage of ground.”
Royalist propaganda celebrated the victory enthusiastically, though even Parliamentarian writers acknowledged that the King’s cavalry handled the moment with impressive discipline.
Consequences and Legacy
The victory at Cropredy Bridge lifted Royalist morale during a difficult phase of the war. Charles I retained control of the Oxford region and preserved his field army intact.
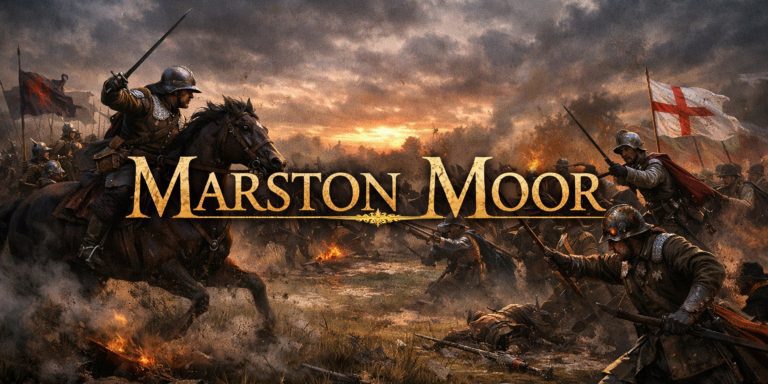
Strategically the battle did not end Parliamentarian pressure. Within days the much larger Battle of Marston Moor would shatter Royalist power in the north. In that wider context, Cropredy appears as a local success rather than a decisive turning point.
Still, the engagement remains a fine example of tactical opportunism. A pursuing army allowed itself to become divided by a river crossing, and a smaller force struck precisely where the line was weakest.
Civil wars are often decided by large set piece battles. Occasionally they hinge on a bridge, a hedgerow, and a moment of impatience.
At Cropredy Bridge, impatience did the rest.